There is a particular kind of pride in pulling the lid off a steamer and finding buns so smooth they throw back the kitchen light. That mirror finish is what Chinese home cooks call 水光肌 — “glass skin” — and it has almost nothing to do with how hard you knead. These silky steamed buns get there with a cold rest, a late addition of fresh yeast, and a patient proof, which is exactly how the softest mantou in northern China are made.
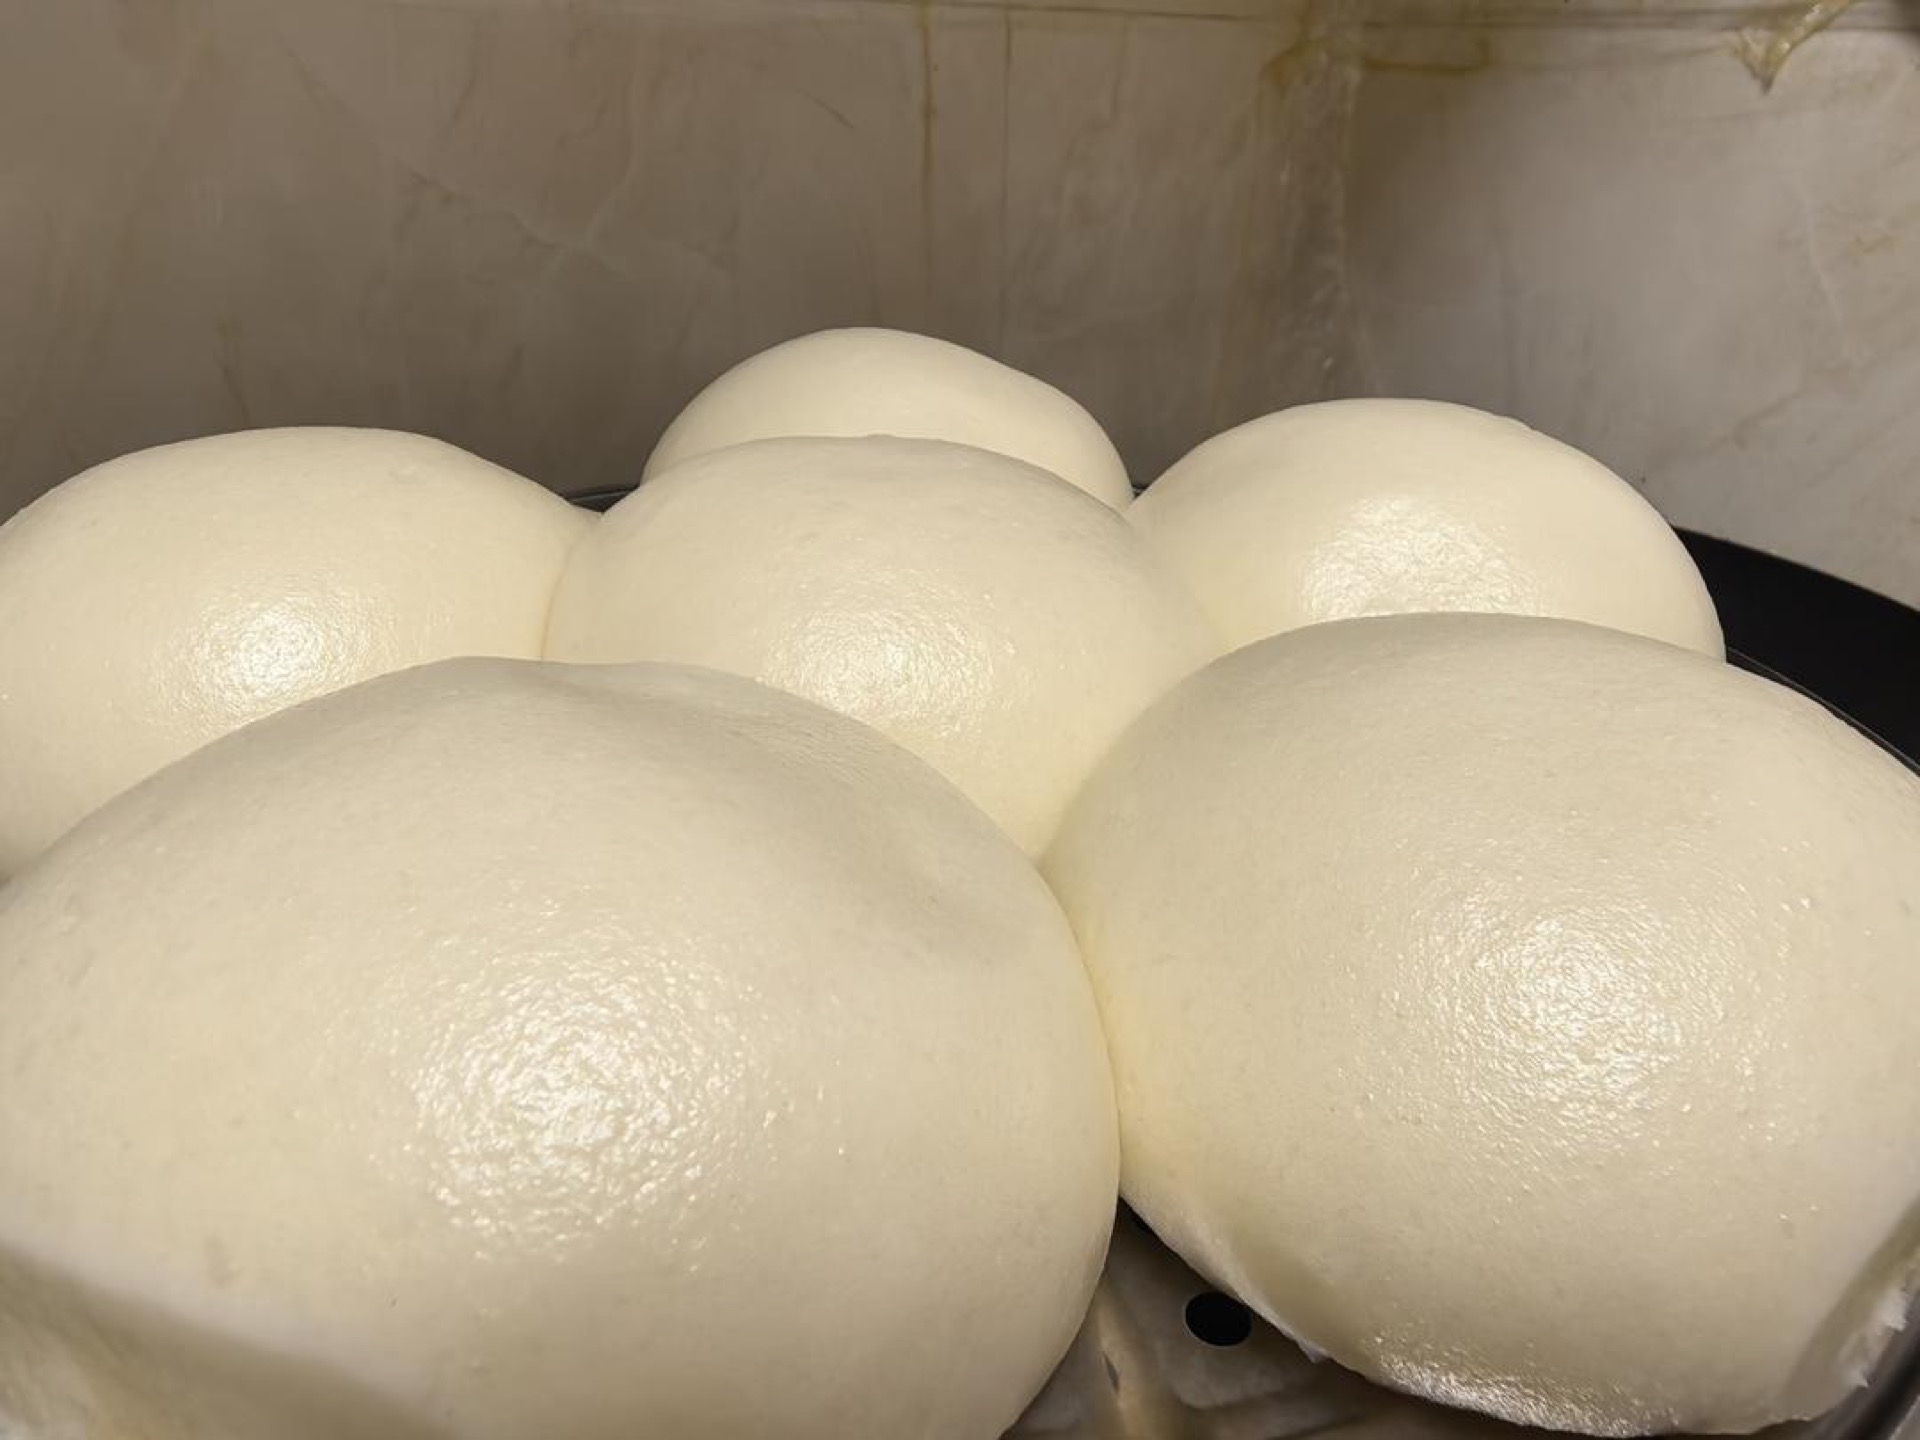
Most mantou recipes ask you to knead until your arms ache and hope for the best. This one asks you to walk away. The flour and water sit together in the fridge overnight, hydrating slowly until the gluten forms itself, and the yeast goes in the next morning so the dough never over-ferments while you sleep. What comes out of the steamer is a bun with a taut, shiny skin and a crumb so light it compresses like a marshmallow under your thumb.
If you have only ever made bread with dry yeast, this is the recipe that will make you a fresh yeast convert. It is also the most forgiving steamed bun I know, because the cold rest does the hard work for you.
What Is 水光肌馒头?
水光肌馒头 (shuǐ guāng jī mán tou) translates literally to “glass-skin steamed bun.” It is not a different dough from ordinary mantou — it is the same flour, water, and yeast — but the method is engineered so the surface comes out of the steamer glossy, smooth, and free of the dimples, wrinkles, and dull patches that plague home-steamed buns. The name is a beauty-world term borrowed for food: the skin looks like it has a glass finish.
The technique behind it has three moving parts. First, a cold rest of the flour-and-water dough (no yeast yet) hydrates the flour completely and lets gluten develop without kneading. Second, fresh yeast is kneaded in the next day, so fermentation happens fast and controlled rather than overnight. Third, the shaped buns proof gently in warm water and are steamed with a covered rest at the end, which prevents the sudden temperature drop that wrinkles a bun’s surface.
Why does the cold rest matter so much? When flour hydrates slowly at refrigerator temperature, the proteins have time to line up into an even gluten network, and the starch granules swell fully. A fully hydrated dough steams into a smoother surface because there is less free water left to escape as irregular steam pockets. This is the same principle behind autolyse in bread baking, just stretched over hours instead of minutes.
The result is a bun that is soft enough to press flat and spring back, with a skin that genuinely shines. It is the everyday bread of northern China, eaten with everything from braised pork to plain congee, and it is one of the first things a Chinese home cook learns to make well.
If you enjoy the texture of these buns, fluffy coconut bread strips take the same soft, feathery crumb in a sweeter direction and are a lovely next project.
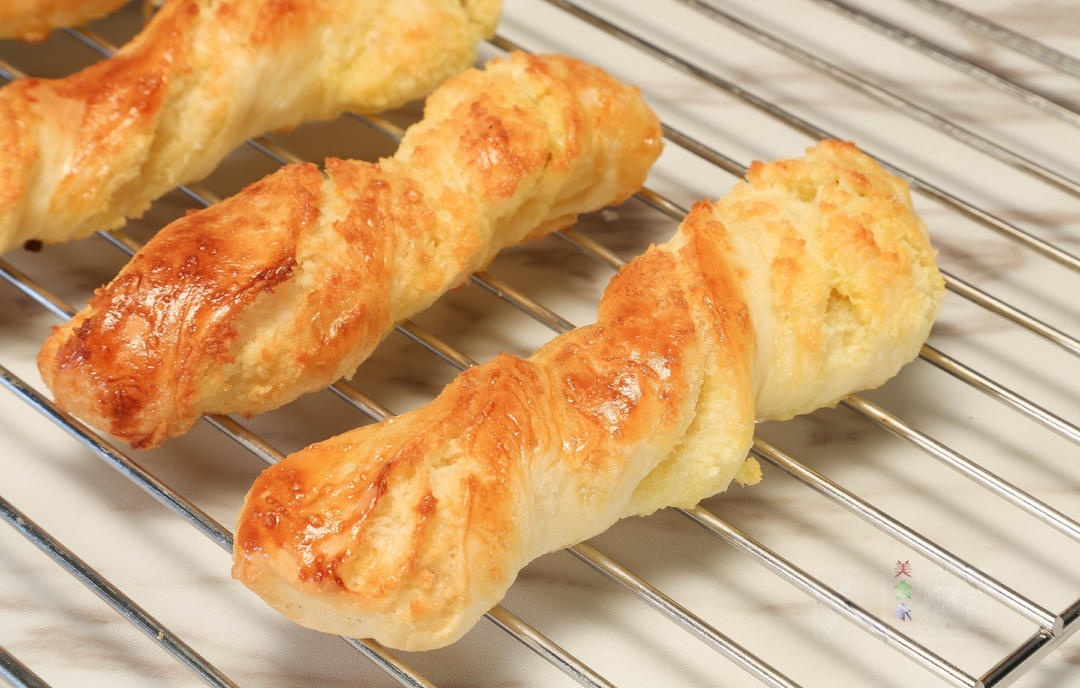
1Coconut Bread Strips (Ye Rong Mian Bao)These soft, fluffy Chinese coconut bread strips are filled with a sweet buttery coconut filling and twisted for a beautiful bakery-style look. Perfect for breakfast or a tea-time snack.Check out this recipe
For a version with more whole grains and a nuttier flavor, bread machine whole wheat buns show how far you can push the flour blend while keeping the crumb tender.
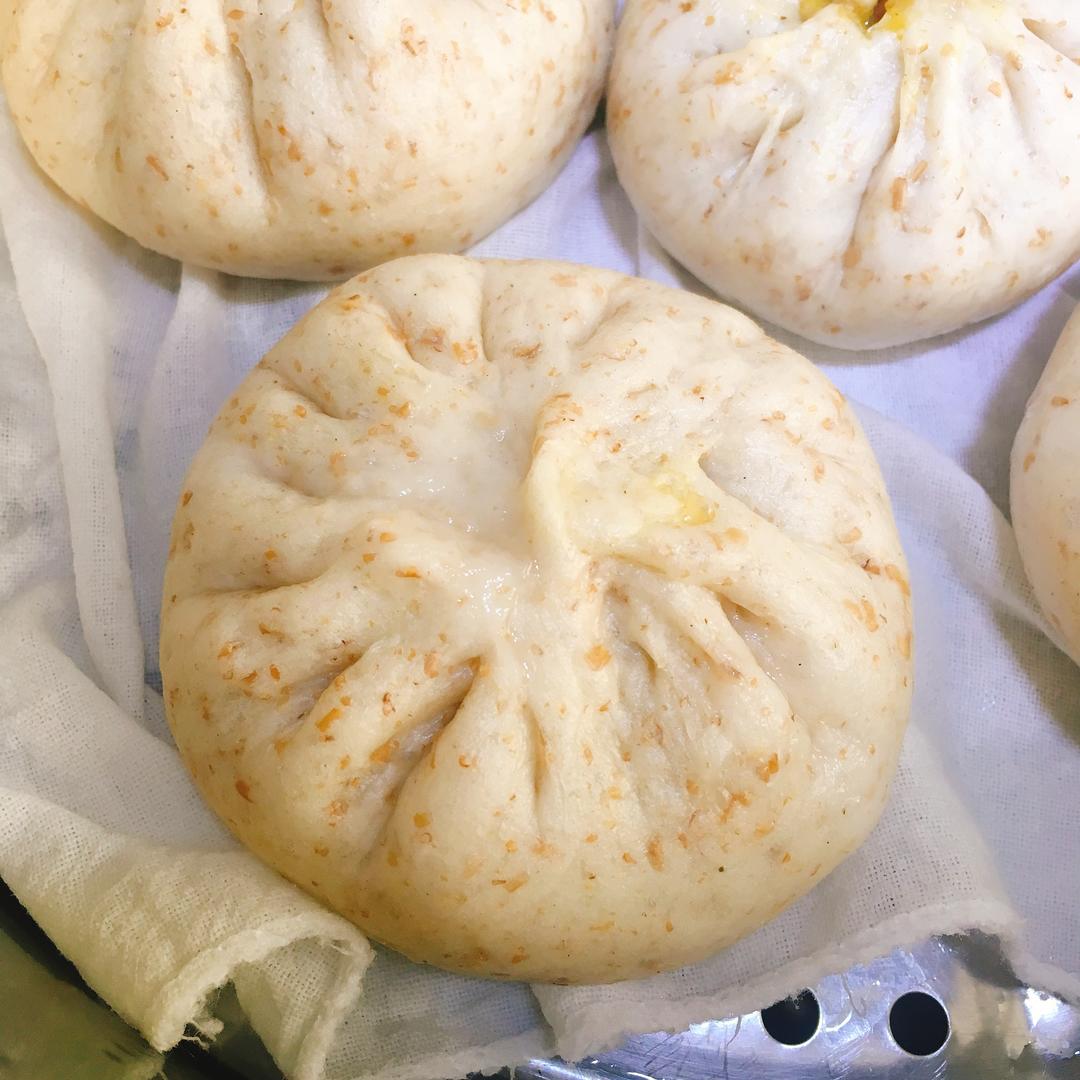
2Quick Bread Machine Whole Wheat Buns (Quan Mai Bao Zi)Learn how to make authentic, fluffy whole wheat steamed buns (Quan Mai Bao Zi) using a bread machine for effortless kneading. A foolproof Chinese breakfast recipe perfect for sweet or savory fillings.Check out this recipe
And if you want to see where this style comes from, Shandong steamed buns are the big, sturdy, deeply traditional ancestor of the glass-skin bun.
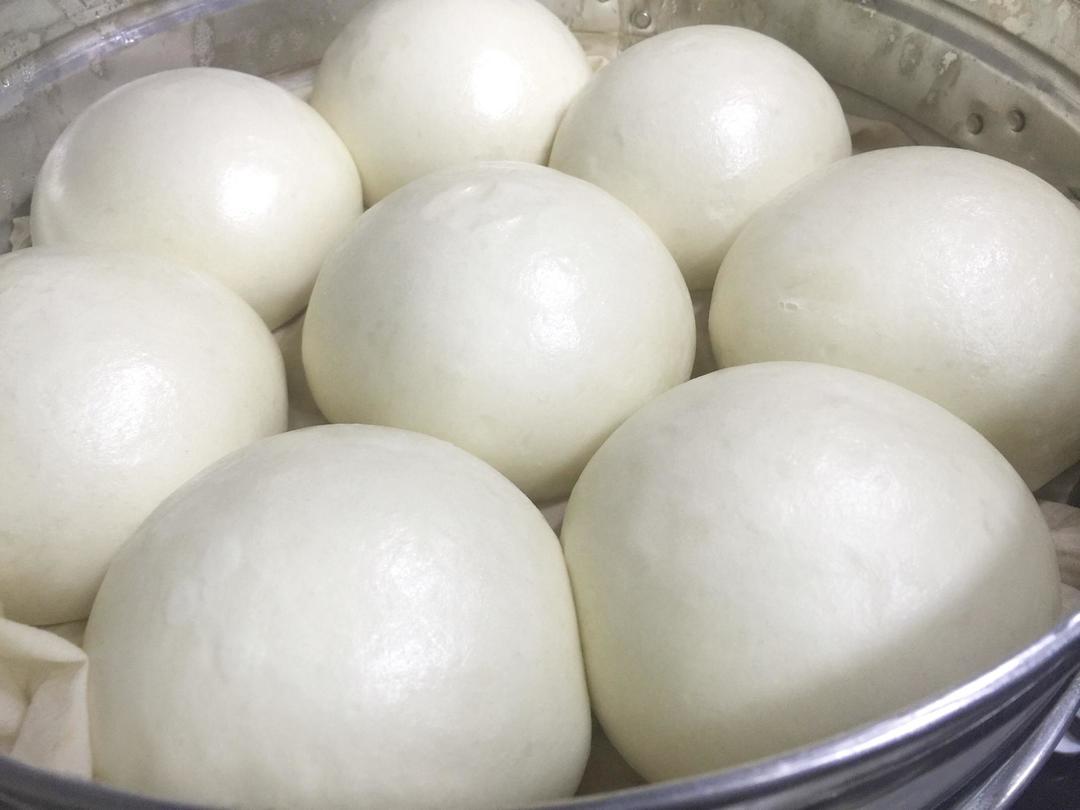
3Authentic Shandong Steamed Buns (Da Mantou)Learn the secrets to authentic, dense, and chewy Shandong Da Mantou. This recipe uses the traditional double-knead method and precise hand-shaping techniques for flawlessly smooth, wrinkle-free steamed buns.Check out this recipe
Why This Recipe Works
The overnight cold rest is the whole trick. By mixing only flour and water first and letting them sit in the fridge, you get full hydration and a smooth, elastic dough without a single minute of serious kneading. When you pull it out the next morning, a few folds are all it takes to bring it to a silky, uniform ball.
Adding the yeast the next day is the second half of the trick. Fresh yeast is fast and active, so the dough ferments in a controlled window instead of sitting overnight and turning sour or collapsing. It also means the yeast is never stressed by cold, so it produces an even rise with fine, regular bubbles — and fine bubbles are what give you a smooth skin.
Finally, the proofing setup matters more than most recipes admit. Proofing the buns over warm water keeps them in a humid, gently warm environment so the surface never dries into a skin that later cracks. The 3-minute covered rest after steaming lets the buns equalize pressure with the steamer before the lid comes off, which is what stops the surface from collapsing into wrinkles.
Weigh everything. A kitchen scale is not optional here — a dough that is even slightly too wet will spread during proofing and lose its shine.
Equipment Needed
You do not need much, but a few pieces make the difference between good buns and glass-skin buns.
- Kitchen scale. Grams, not cups. Flour compresses differently every time you scoop it.
- Large mixing bowl for the initial dough and the cold rest.
- Fine-mesh sieve for sifting the flour, which removes lumps that would otherwise show up as rough spots on the skin.
- Steamer basket or bamboo steamer that fits over your wok, plus a lid that seals reasonably well.
- Wok or wide pot to hold the steamer and the water below it.
- Parchment paper squares or cabbage leaves to keep the buns from sticking.
- Slotted spoon for lifting buns out without squashing them.
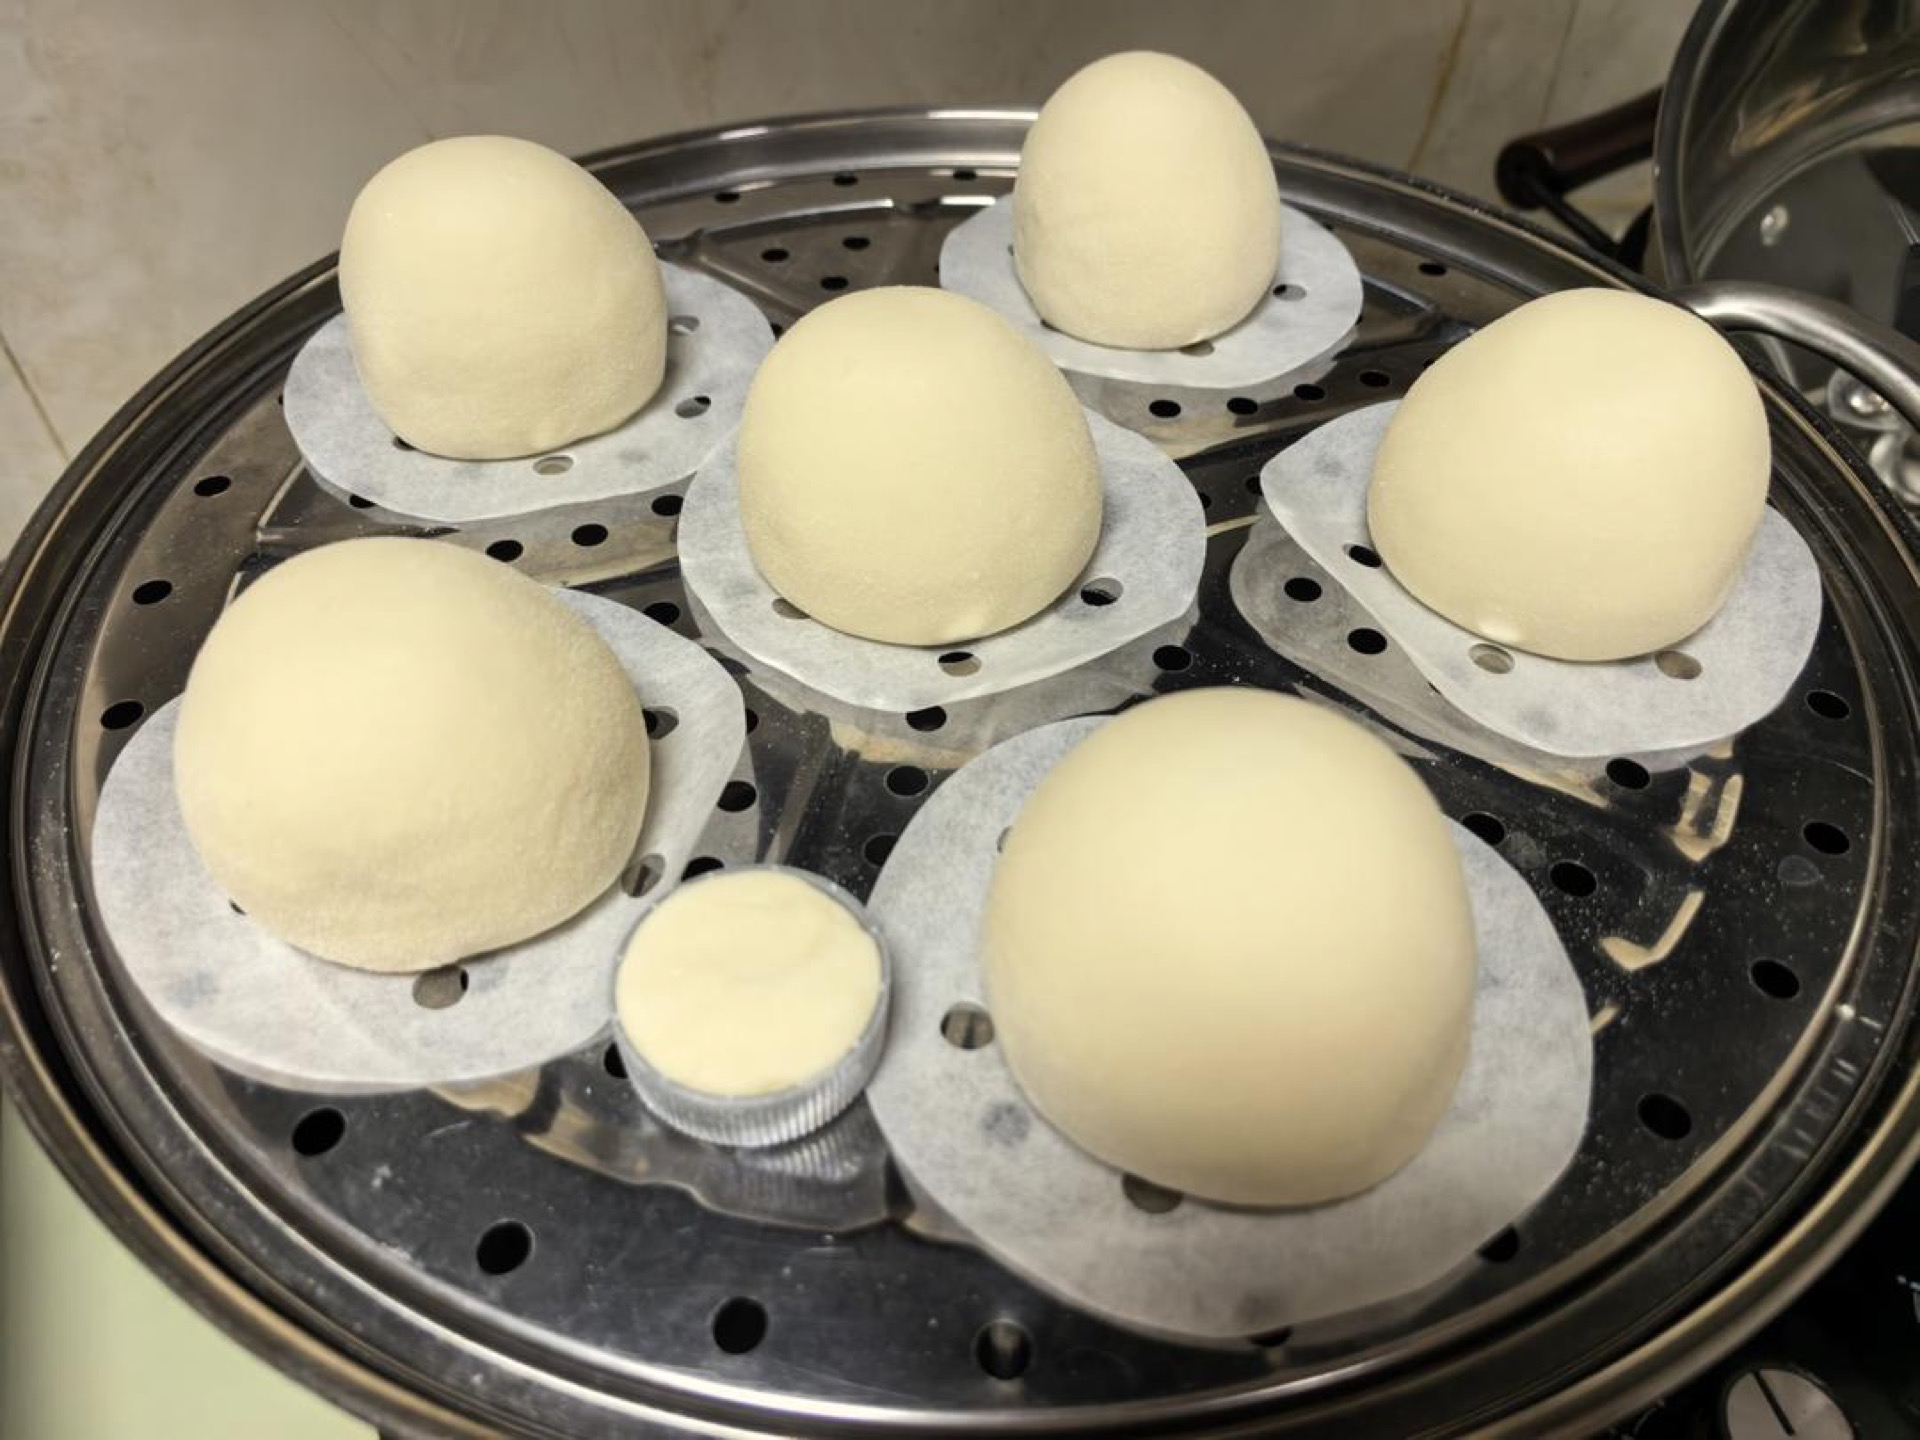
- A small bottle cap or jar lid. This sounds odd, but it is the traditional trick for judging proofing: you press a small ball of dough into the cap and set it beside the buns, so you can watch the rise without touching the buns themselves.
- Clean kitchen towel to wrap the lid and catch condensation.
Ingredients
Three ingredients. That is the entire list, and it is why the technique matters so much — there is nowhere to hide.
- 400 g all-purpose flour (about 3 1/4 cups), sifted. A medium-protein flour labeled for buns or mantou is ideal. If you only have bread flour, cut it with a little cornstarch; if you only have cake flour, expect a slightly softer, less structured bun.
- 190 g water (about 3/4 cup plus 1 tbsp), room temperature. That is roughly 47% hydration, which is intentionally stiff. A stiff dough holds its shape during proofing, and shape is what keeps the skin taut.
- 12 g fresh yeast (about 2 tsp), crumbled. Fresh yeast gives the cleanest, fastest second-day rise. See the notes below for dry yeast conversion.
- 5 g water (about 1 tsp) to bloom the fresh yeast into a smooth paste.
Ingredient Notes
Flour choice. The flour you use determines how glossy the skin can get. A medium-protein all-purpose or a dedicated mantou flour gives the best balance of structure and tenderness. Very high-protein flour makes a chewier bun; very low-protein flour makes a bun that slumps and loses its shine. Sifting is not cosmetic — it breaks up clumps that would otherwise mar the surface.
Fresh yeast vs. dry yeast. Fresh yeast is about 70% water, so the conversion is roughly 3:1 by weight against instant dry yeast. If you only have instant dry yeast, use about 4 g (1 1/4 tsp) and skip the blooming water, or add an extra teaspoon of water to the dough to compensate. Active dry yeast should be proofed in the 5 g of water first, exactly as you would the fresh yeast.
Water temperature. Room temperature for the initial dough, and lukewarm — never hot — for proofing. Water above 120°F (49°C) will kill fresh yeast on contact.
Salt. Traditional mantou often contains no salt at all, and this recipe follows that. If you want a savory version, add 3 g (1/2 tsp) of fine salt with the yeast in the second mix. Adding it earlier tightens the gluten and slows hydration.
Sugar. Optional, up to 15 g (1 tbsp). It speeds browning and fermentation slightly, and gives a faint sweetness. It also makes the crumb marginally softer.
Milk powder. A tablespoon of milk powder in the flour adds tenderness and a creamier color. It is common in commercial mantou, less so in home versions.
Prep & Mise en Place
This recipe has two sessions, and the first one takes about ten minutes.
Session one (the night before): Sift the flour into a large bowl. Pour in the water and stir in one direction until the mixture looks like shaggy flakes, then press and knead it into a rough ball — it does not need to be smooth. Cover the bowl tightly and refrigerate for at least 30 minutes, ideally overnight. The dough can rest in the fridge for up to 24 hours.
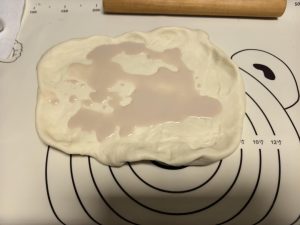
Session two (the next day): Crumble the fresh yeast into a small bowl, add the 5 g of water, and stir until you have a smooth paste. Take the dough out of the fridge. Flatten it into a rough rectangle on a clean counter, spread the yeast paste over it, then fold and knead until the yeast is completely absorbed and the dough is smooth — usually 3 to 5 minutes.
Before you start shaping, set up your steamer: fill the wok or pot with a couple of inches of water, place the steamer basket on top, and warm the water until it is comfortably warm to the touch but not steaming. Line your steamer with parchment squares. Cut your dough into 100 g pieces and keep them covered with a towel while you work.
Have a small ball of dough pressed into a bottle cap ready on the counter. This is your proofing gauge, and it is far more reliable than poking the buns.
Cooking Process
Step 1 — Sift the Flour
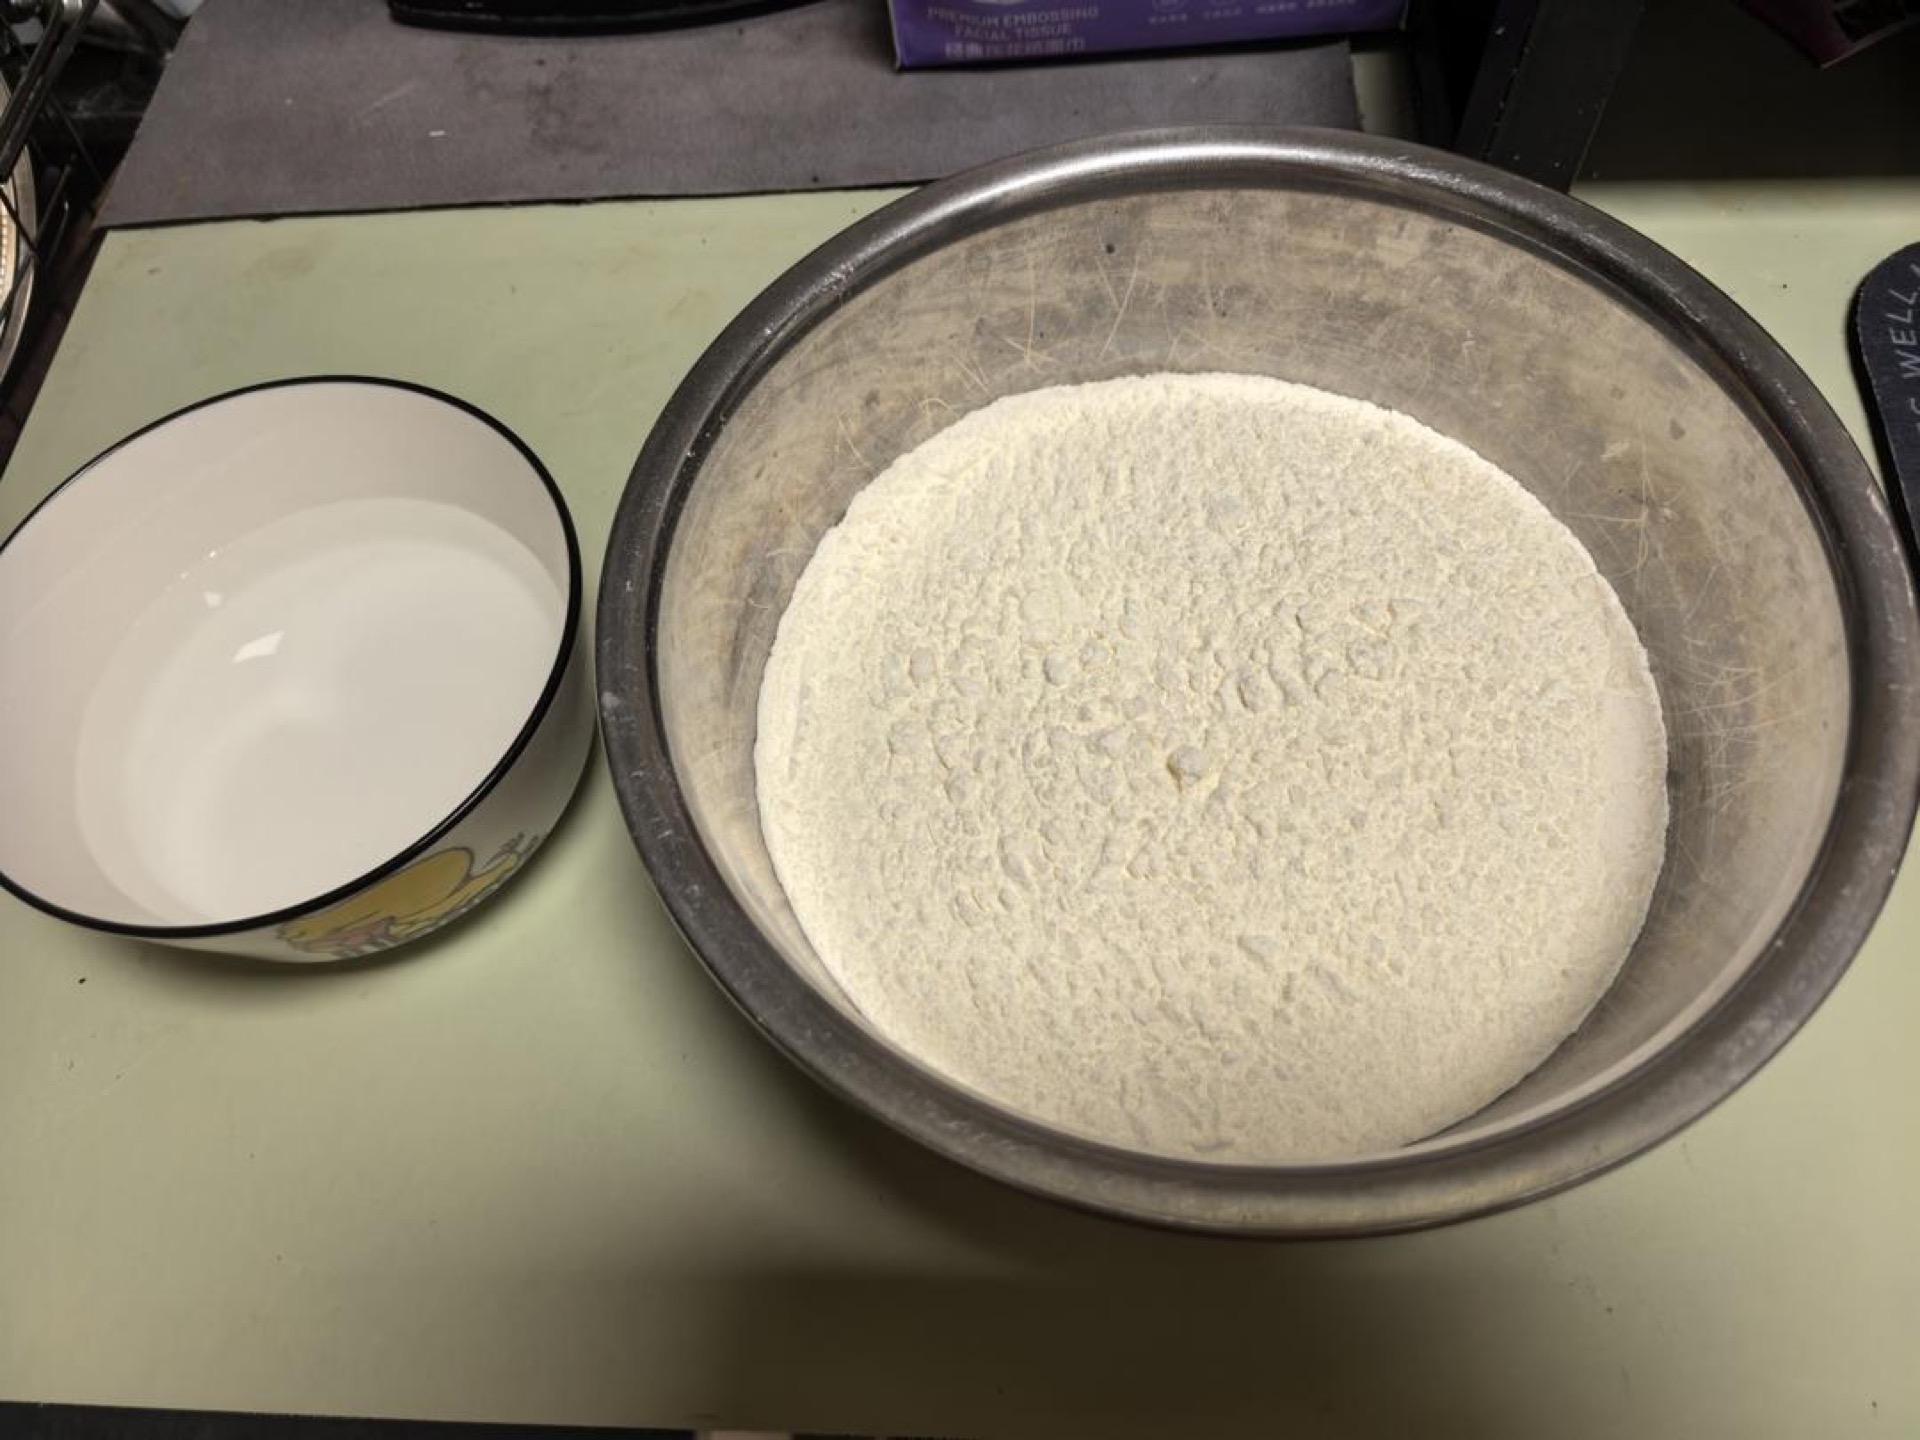
I used Wudeli 8-star flour, which is well suited to mantou, and I sifted the flour once.
Step 2 — Mix the Dough
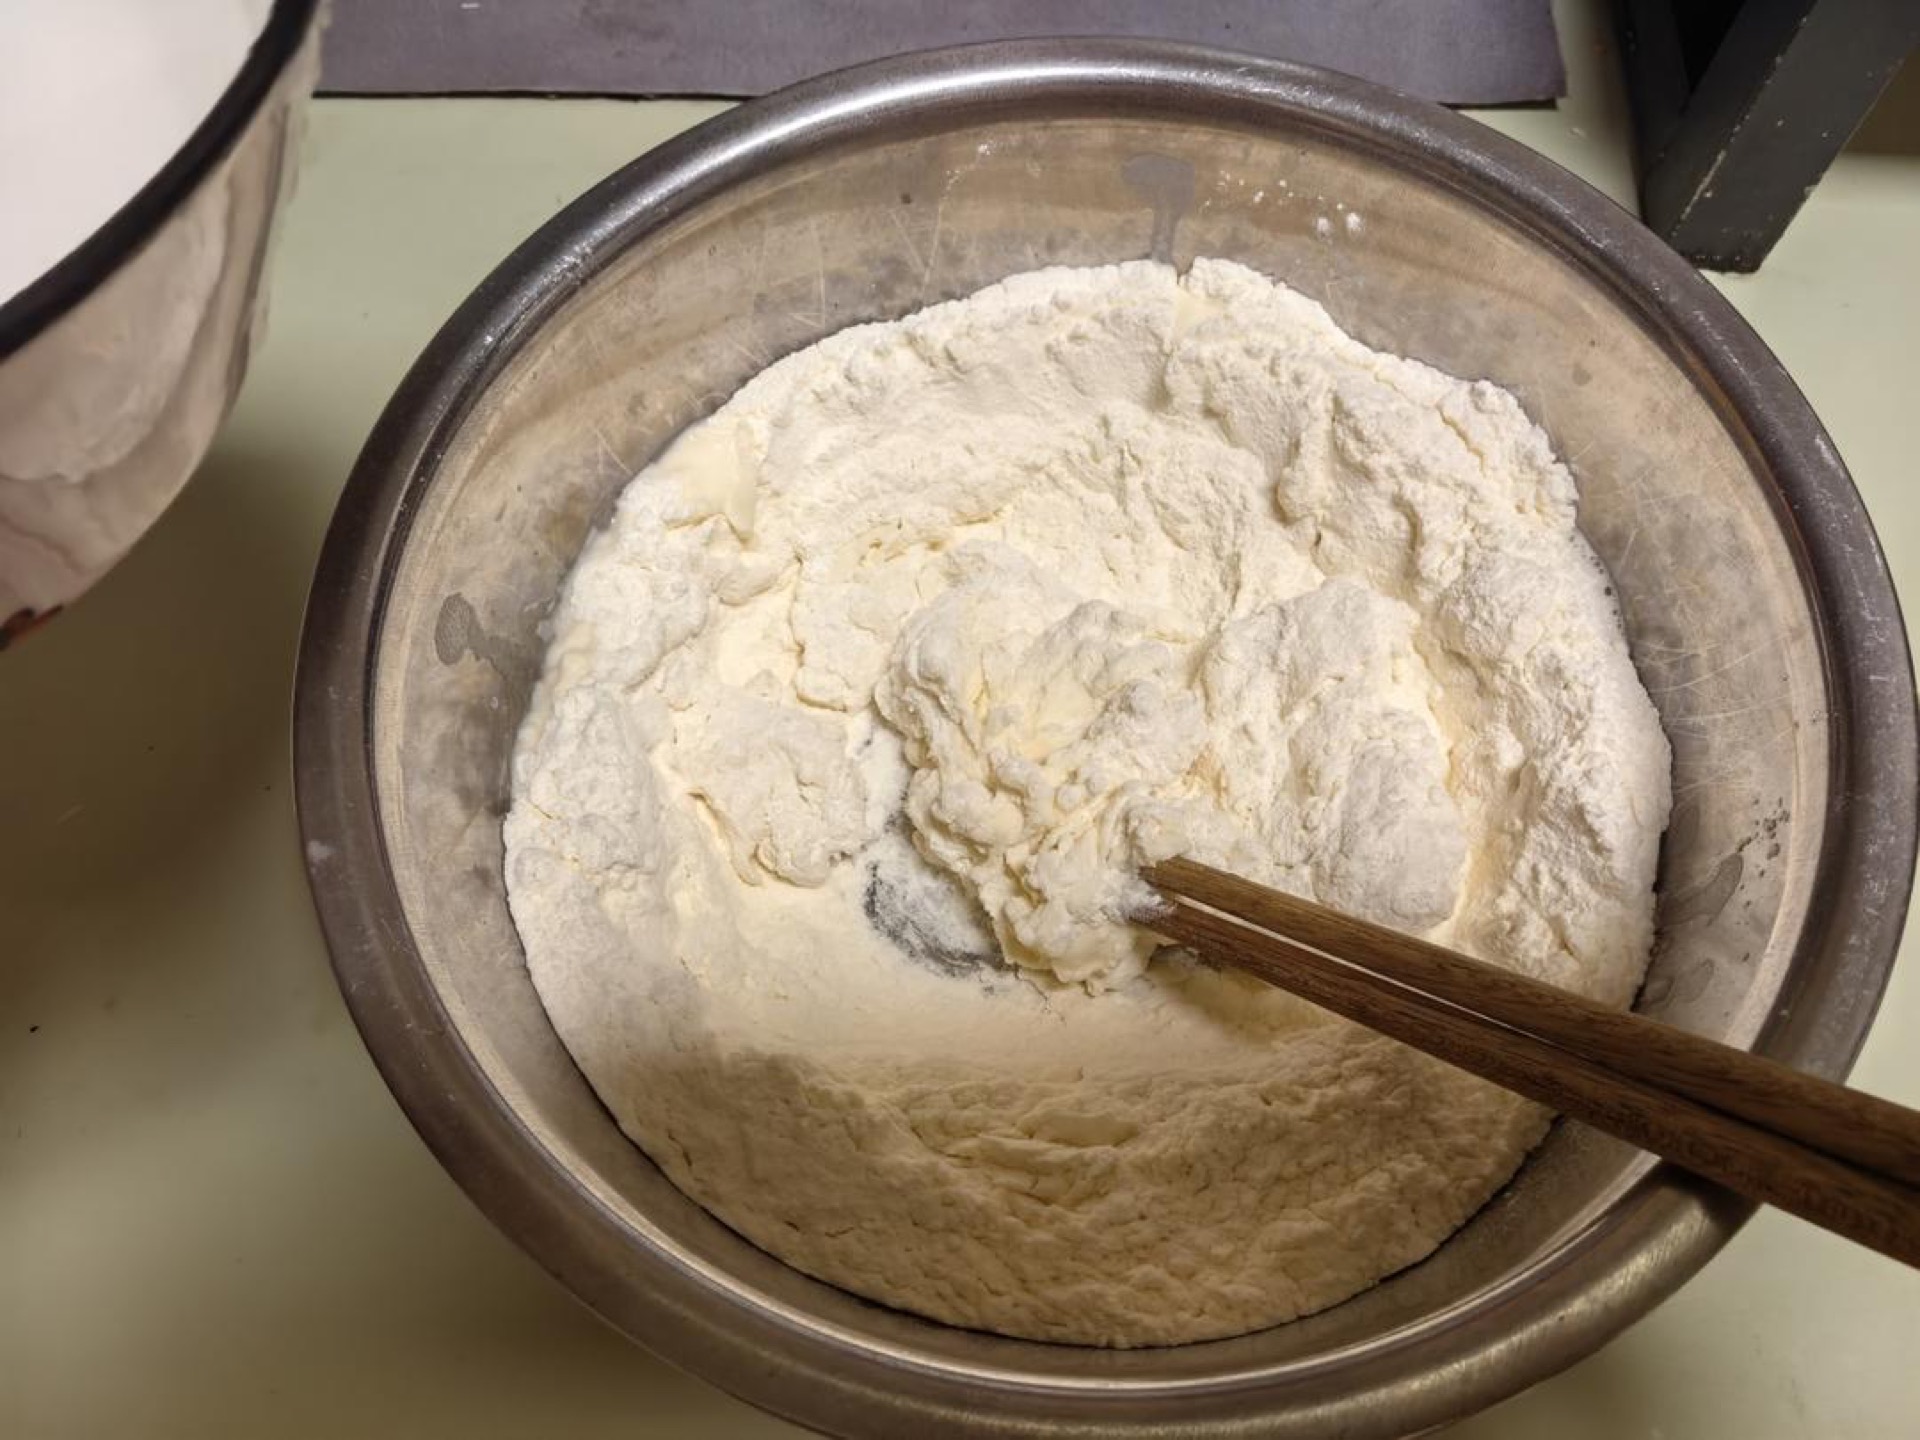
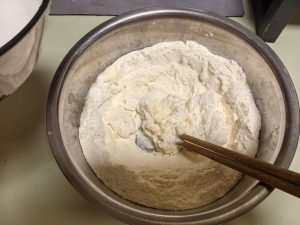
Pour the prepared water into the flour, stir in one direction until it forms shaggy flakes, then knead with your hands into a ball.
Step 3 — Chill the Dough
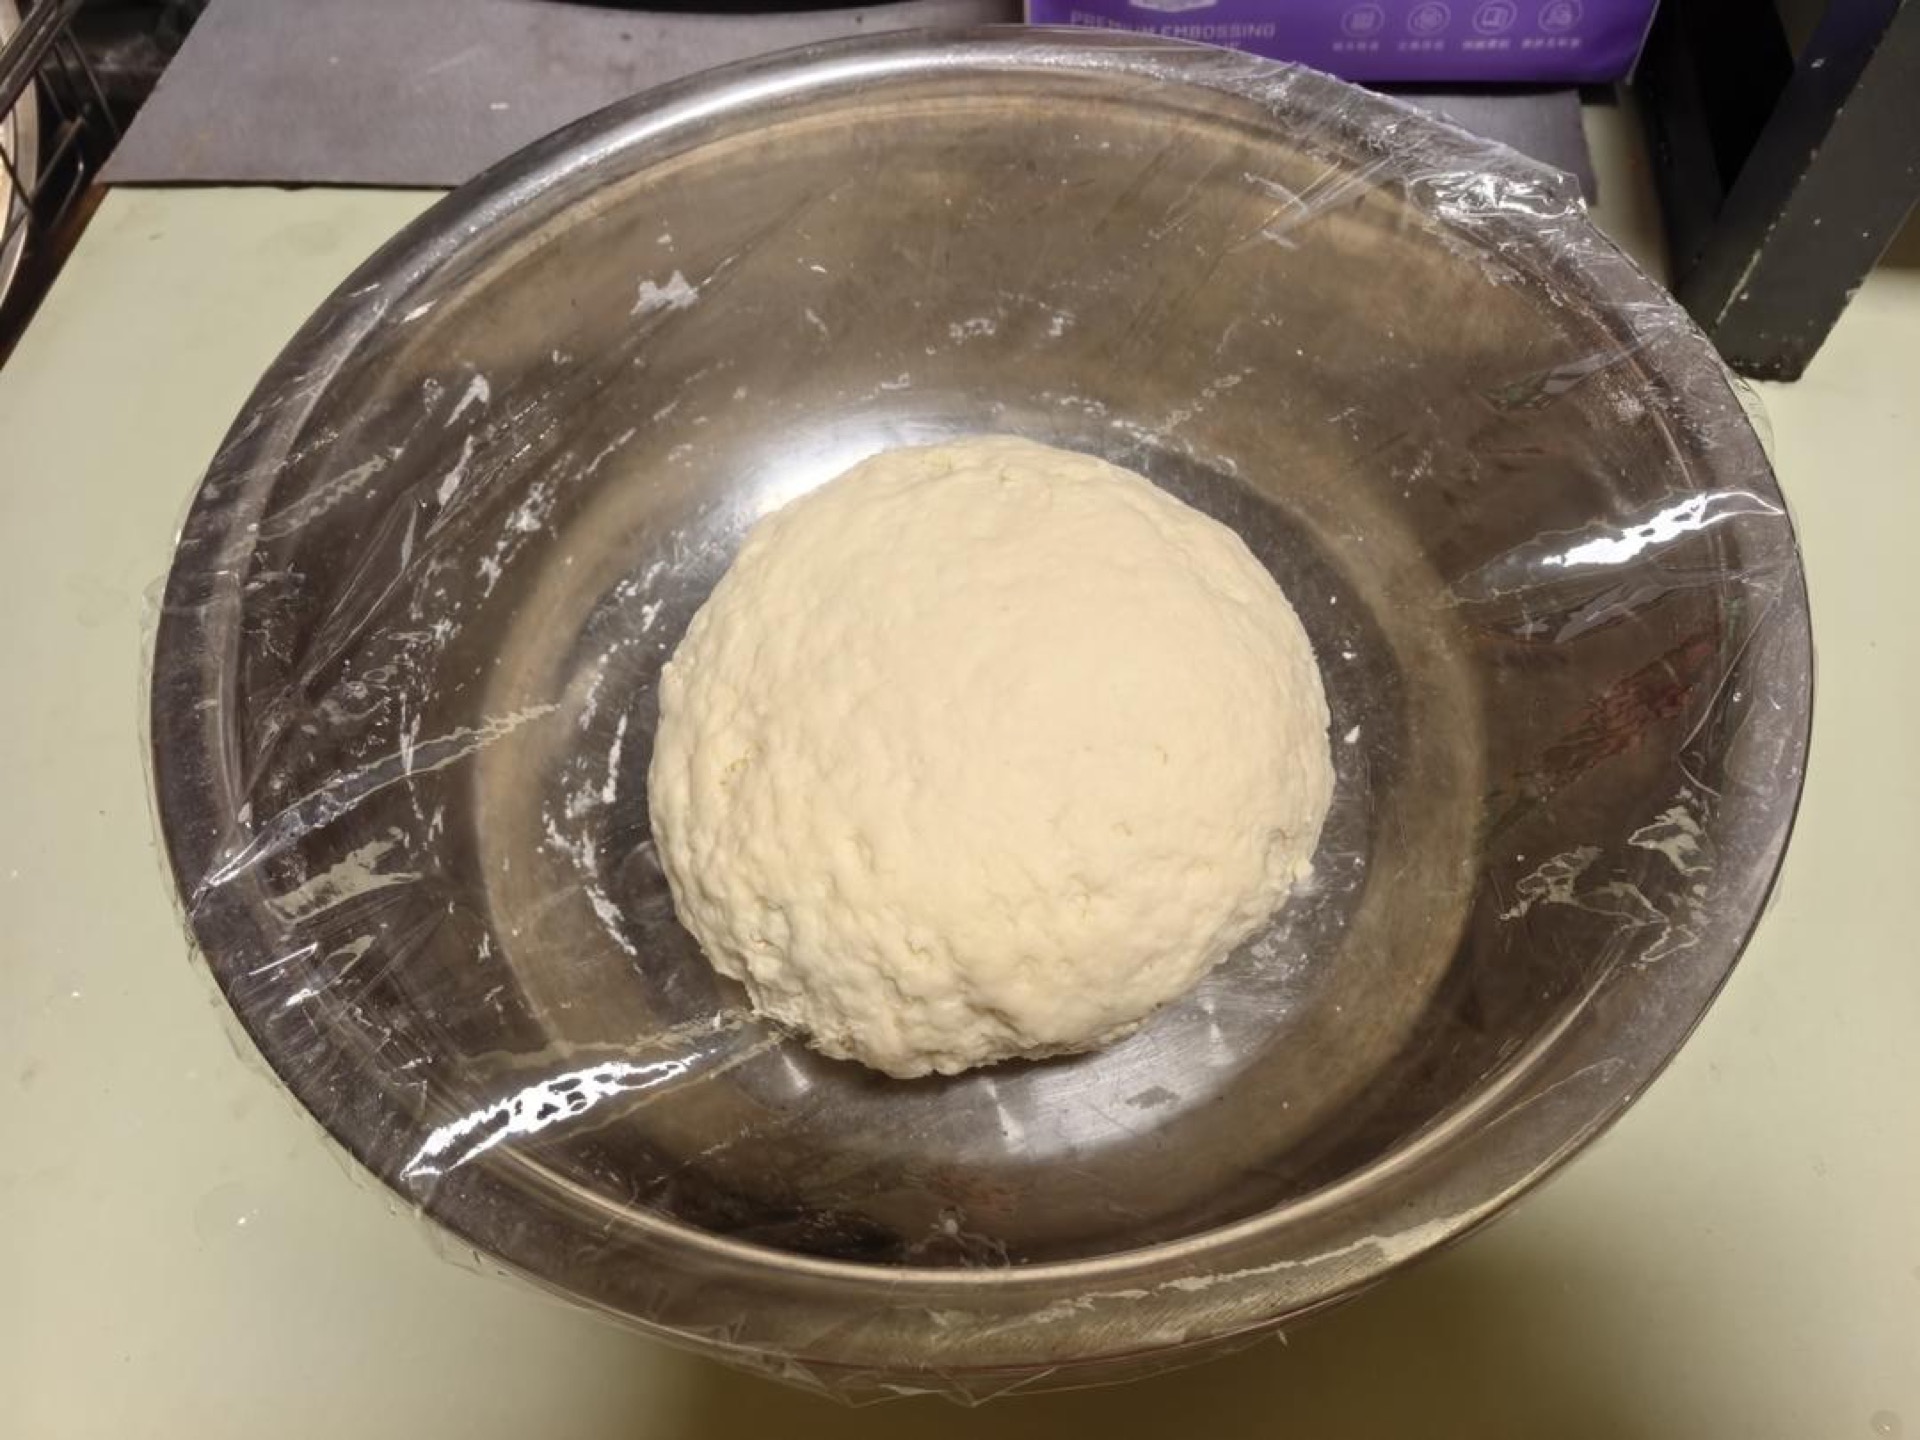
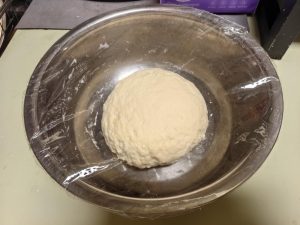
Once it forms a ball, there is no need to knead it smooth — seal it and put it in the fridge to chill for half an hour.
Step 4 — Rest Overnight
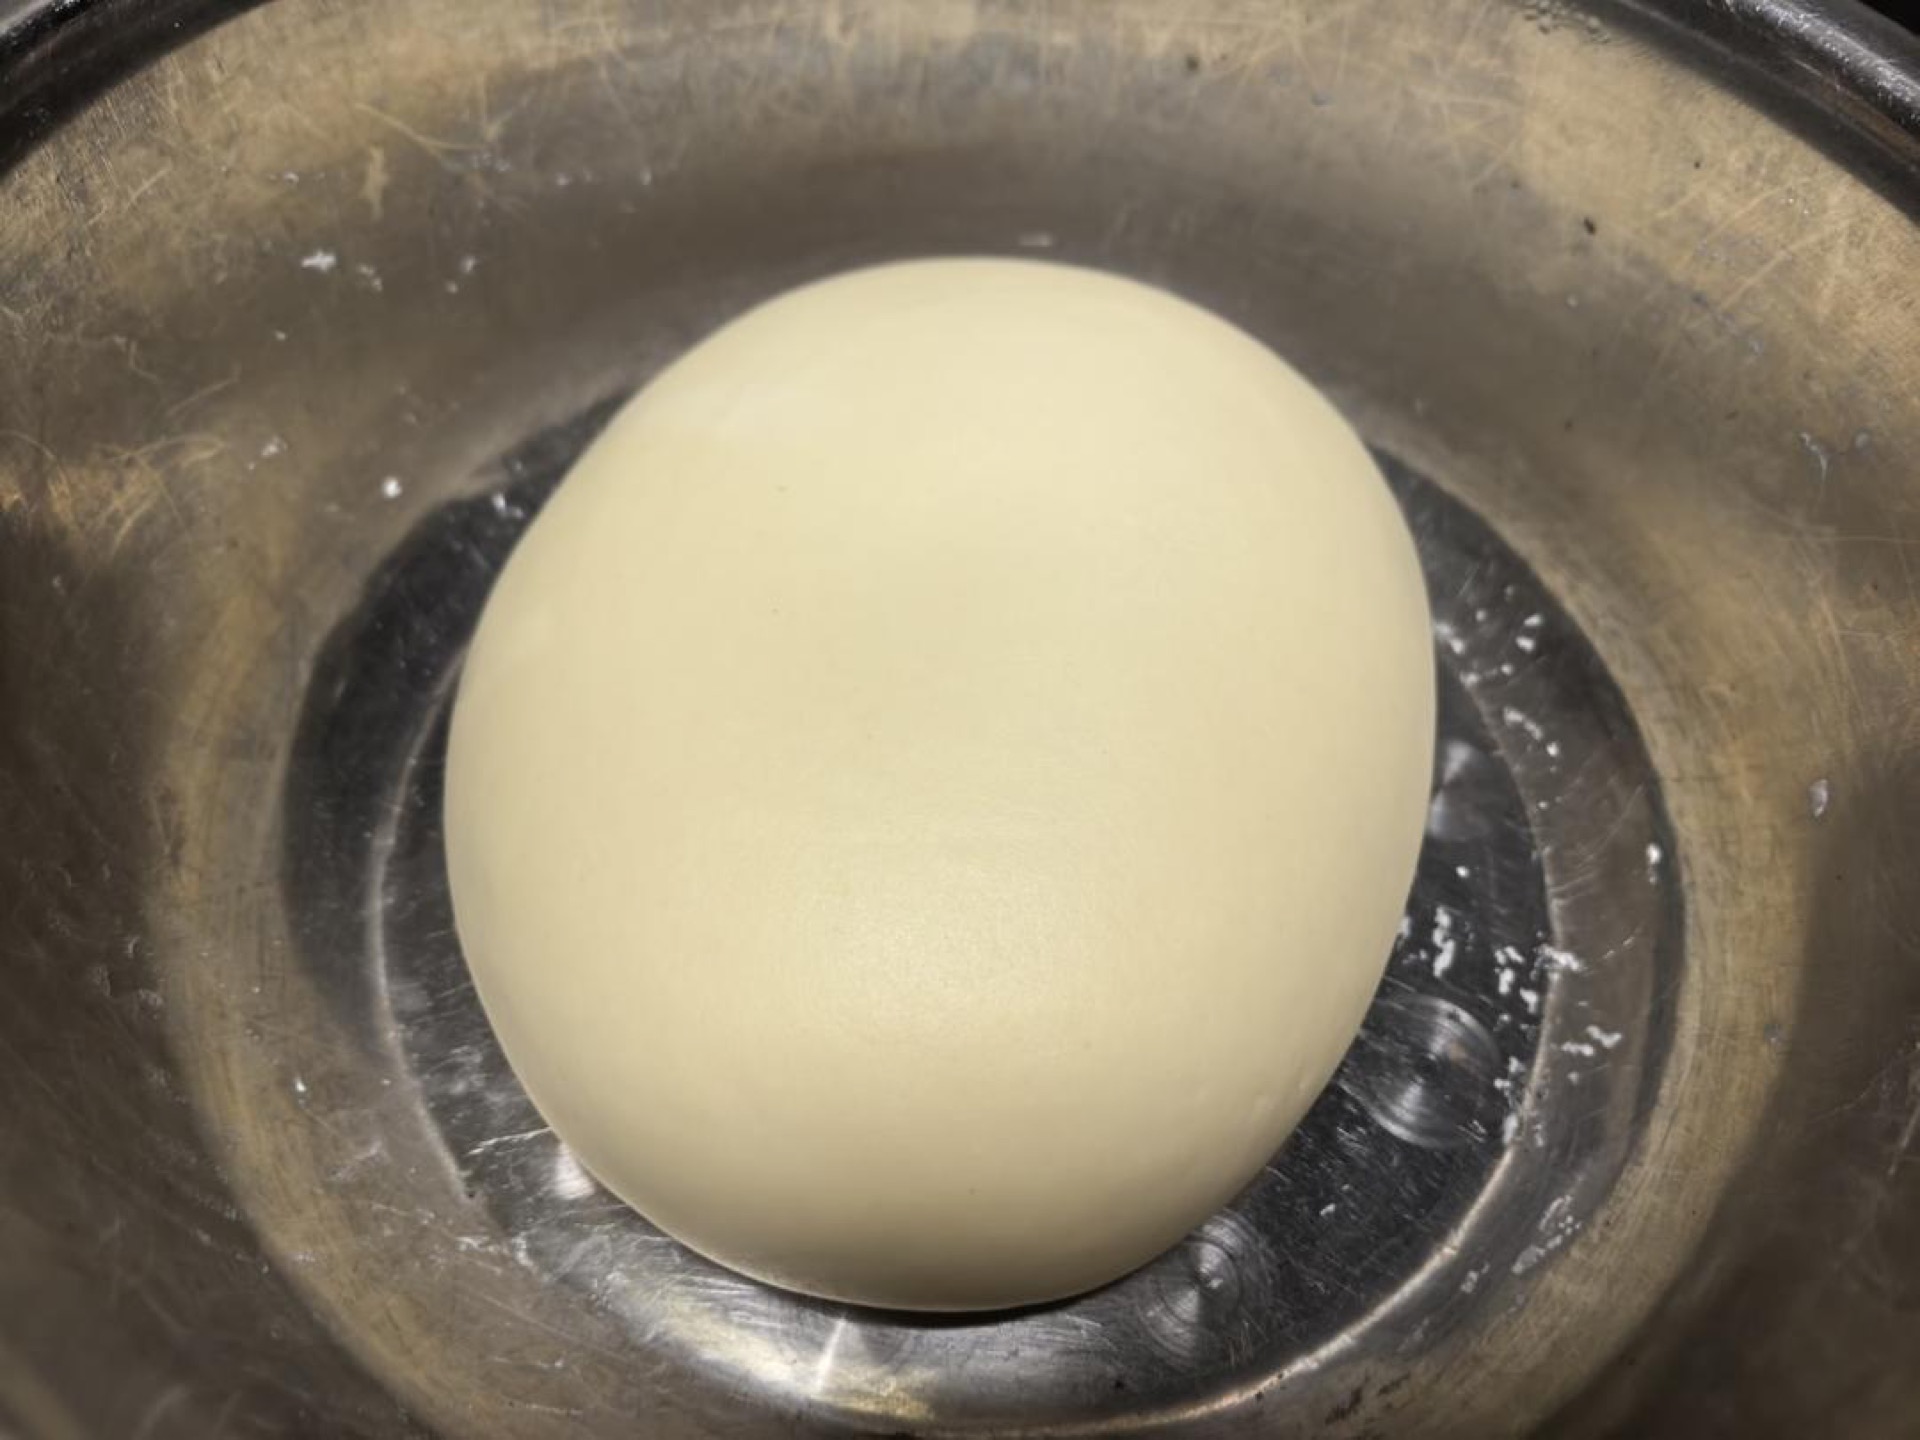
After half an hour, take the dough out; a few casual kneads will smooth it out, no long kneading needed. Put it back in the fridge and take it out the next day when you want to make the buns. If you are in a hurry, chill it for 3 hours. This step lets the water and flour blend better.
Step 5 — Bloom the Fresh Yeast
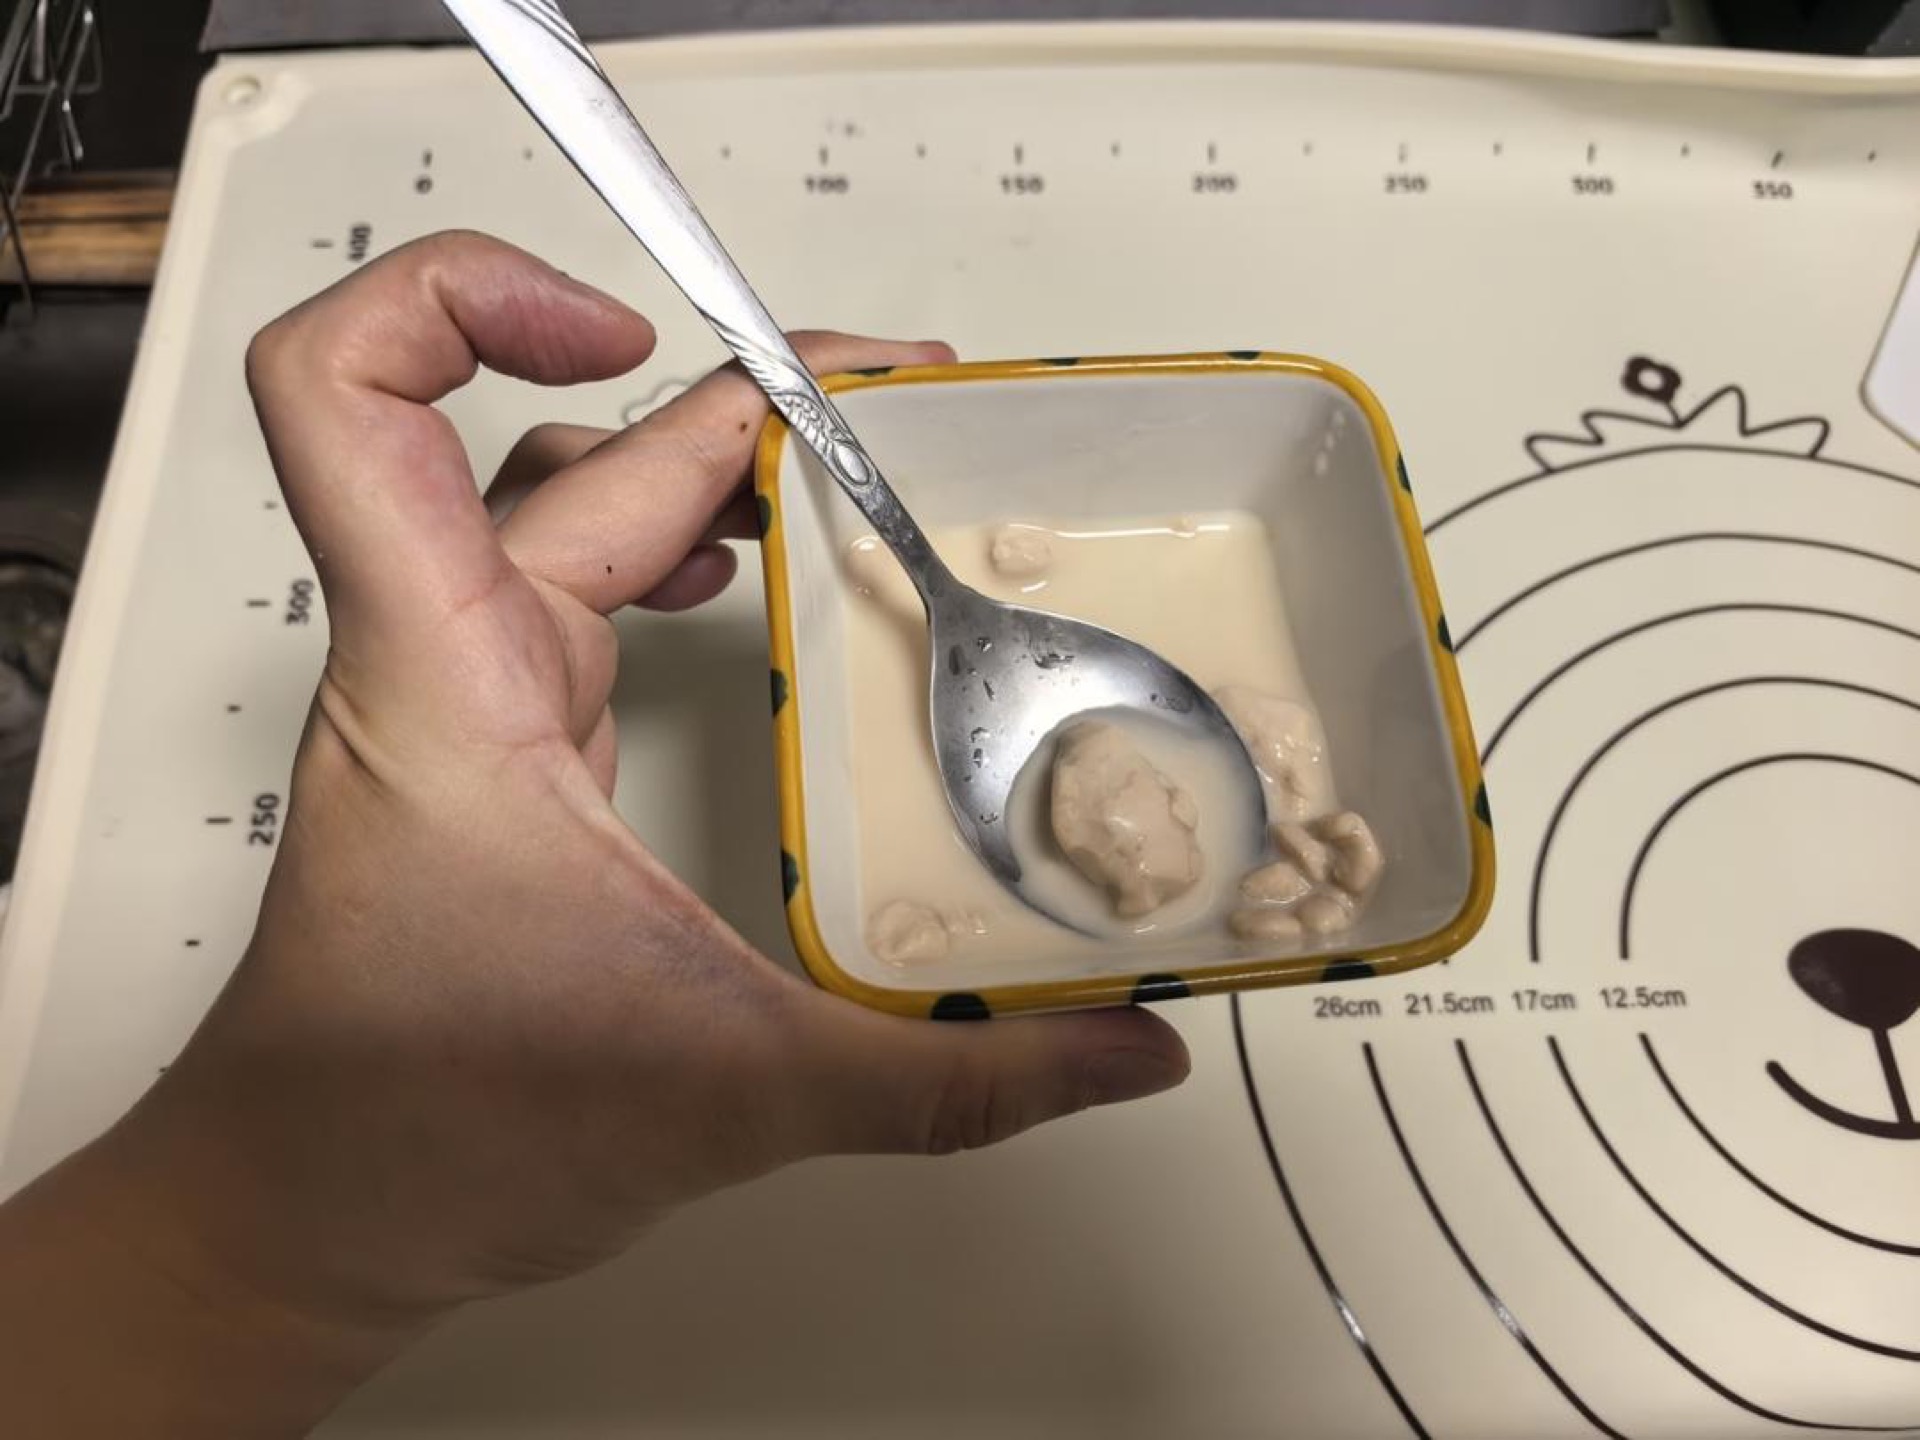
The next day, first prepare 12 grams of fresh yeast and add 5 grams of water to dissolve it.
Step 6 — Knead In the Yeast
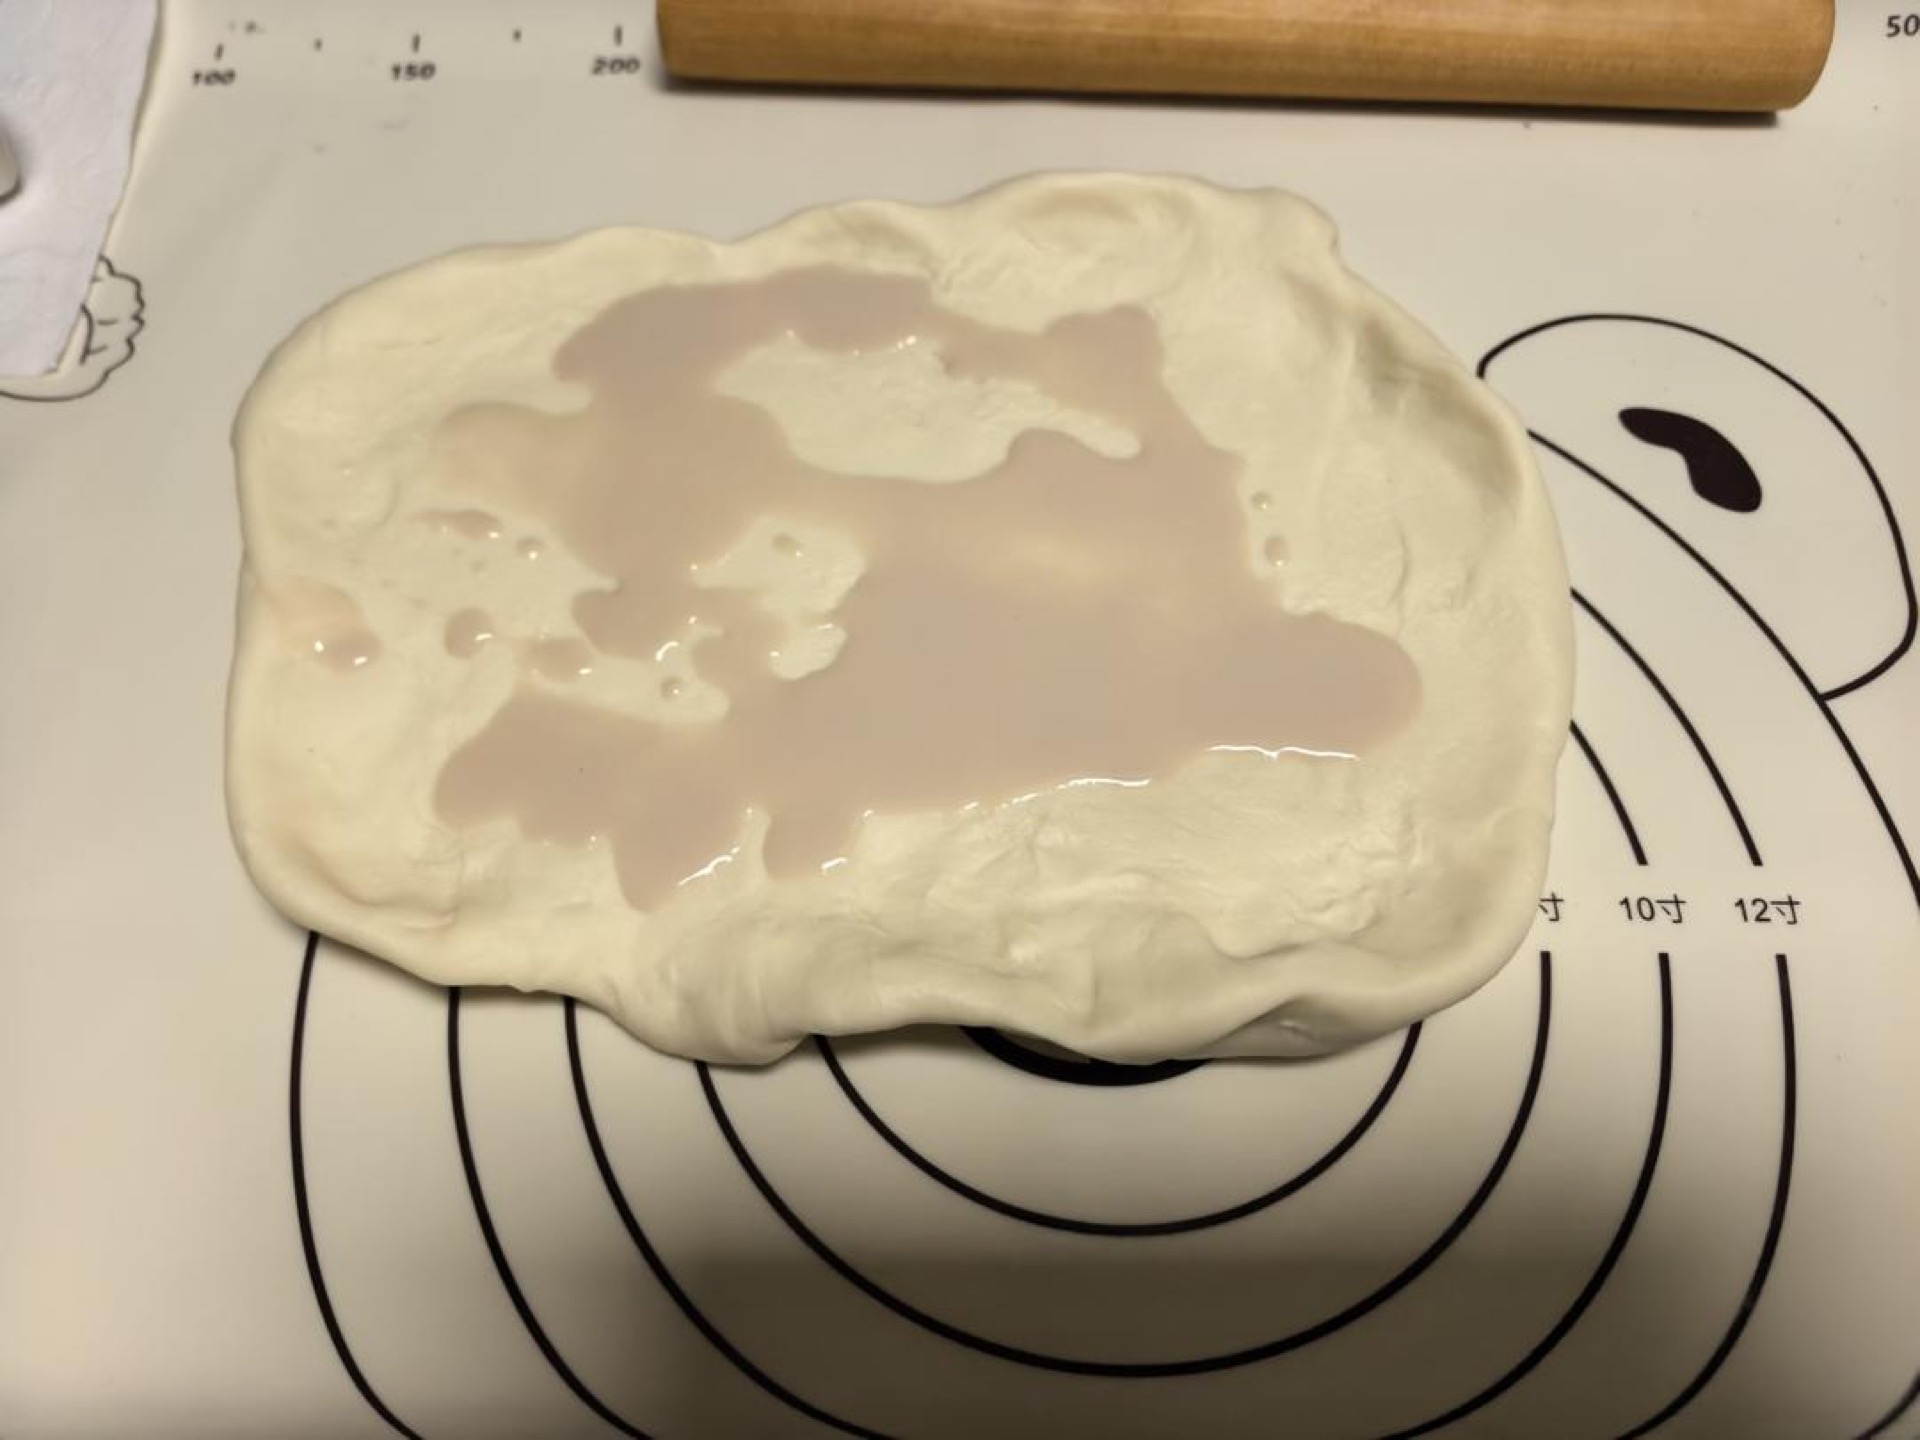
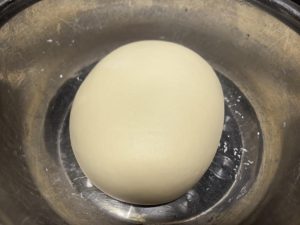
Flatten the dough out, pour in the fresh yeast, and slowly knead it in until evenly combined.
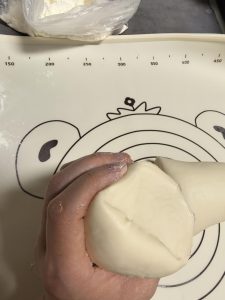
Step 7 — Check for No Air Pockets
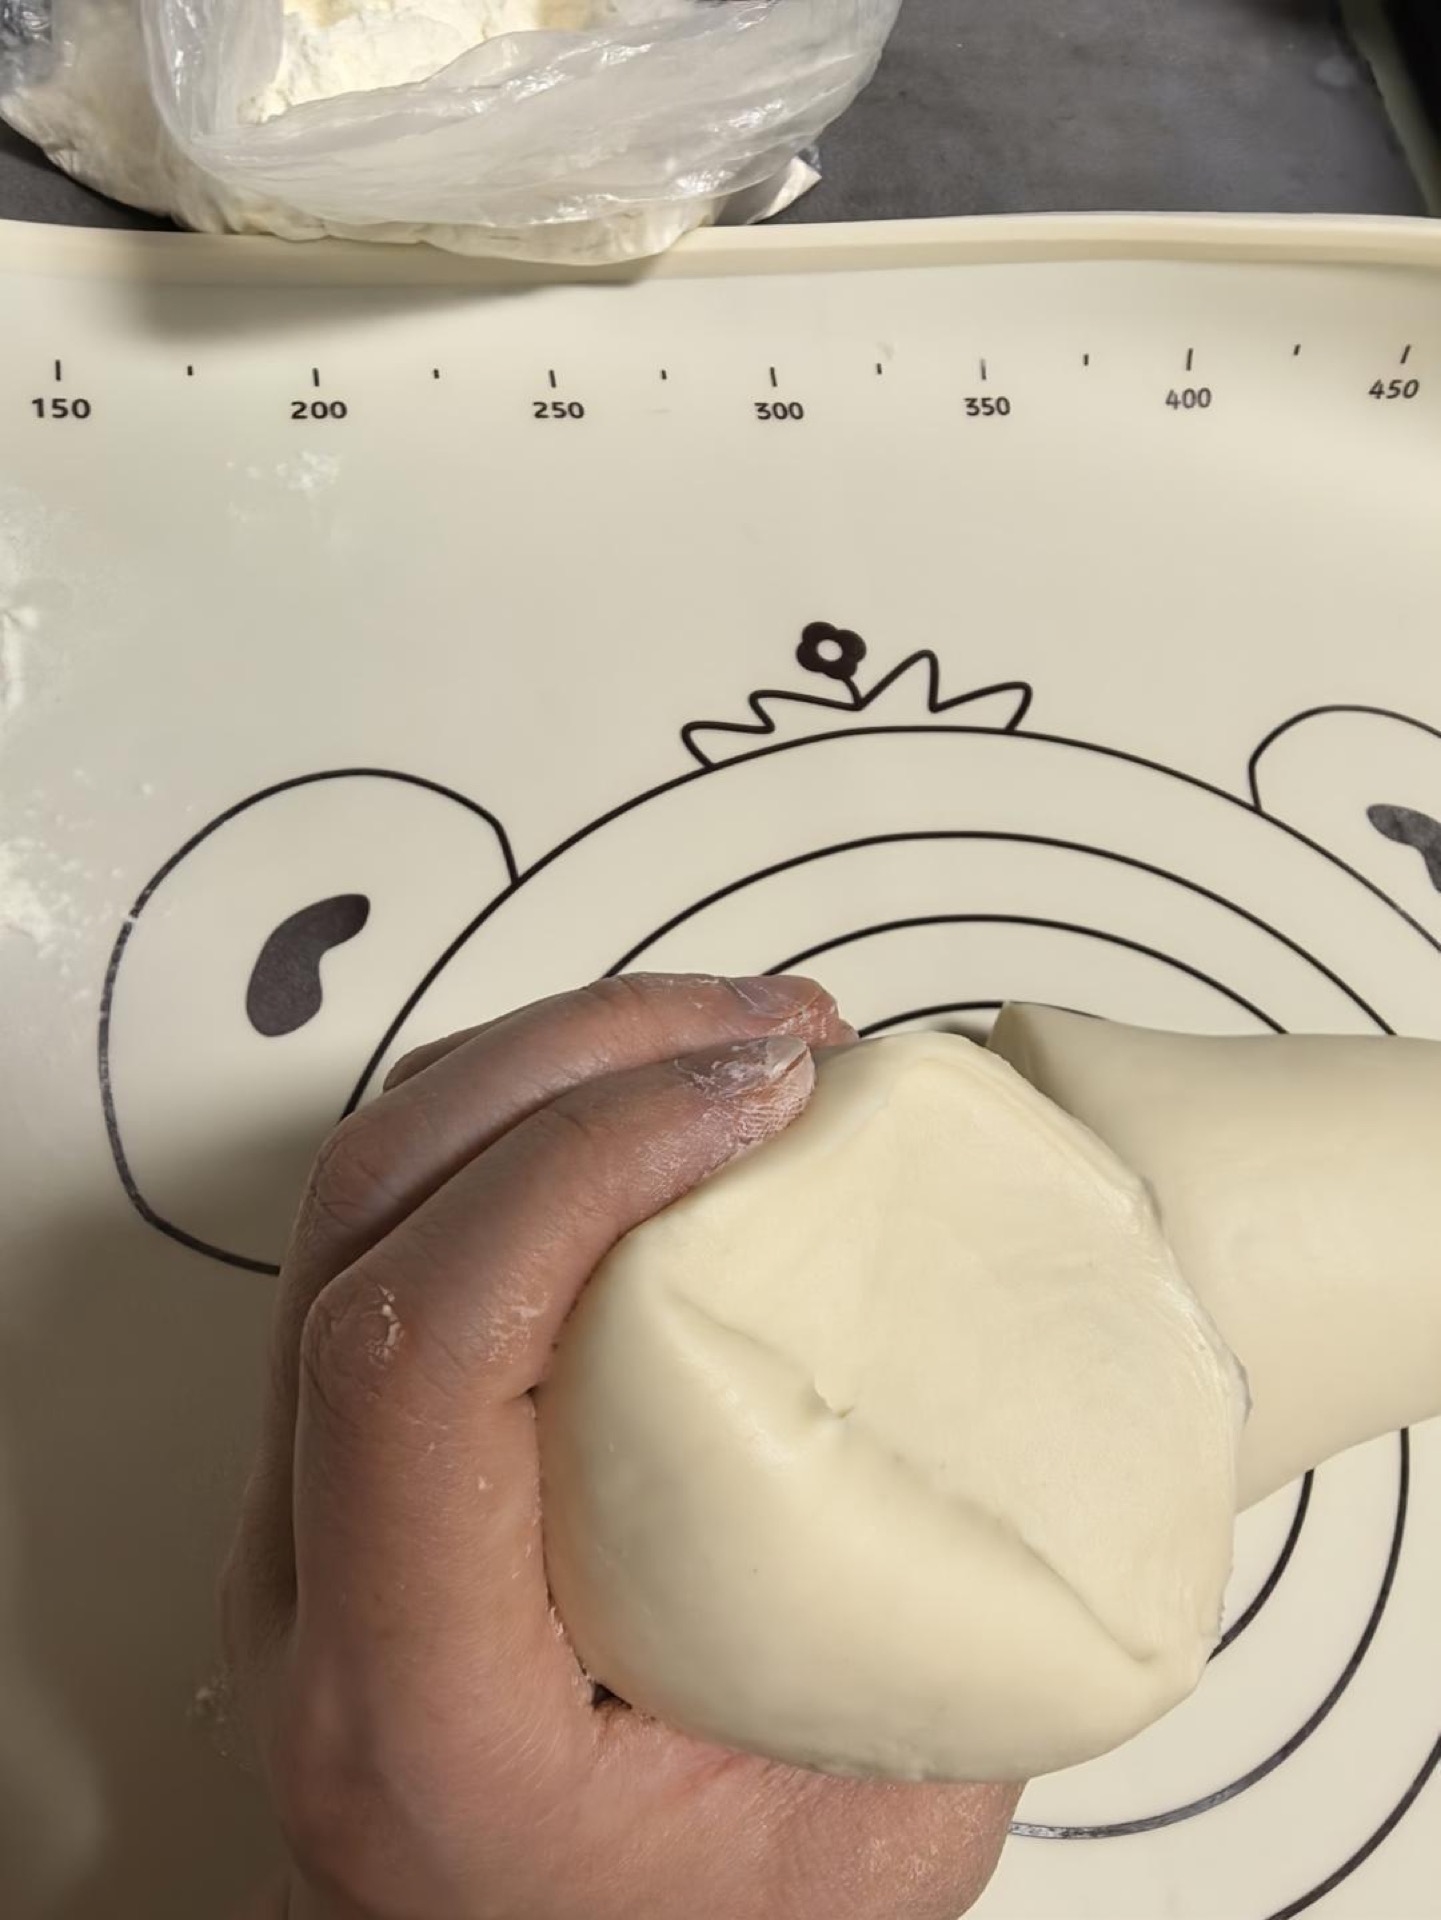
Knead until the cut surface of the dough shows no air pockets.
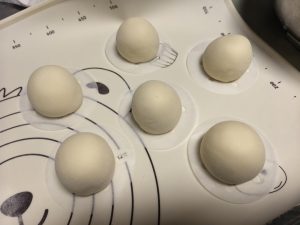
Step 8 — Divide the Dough
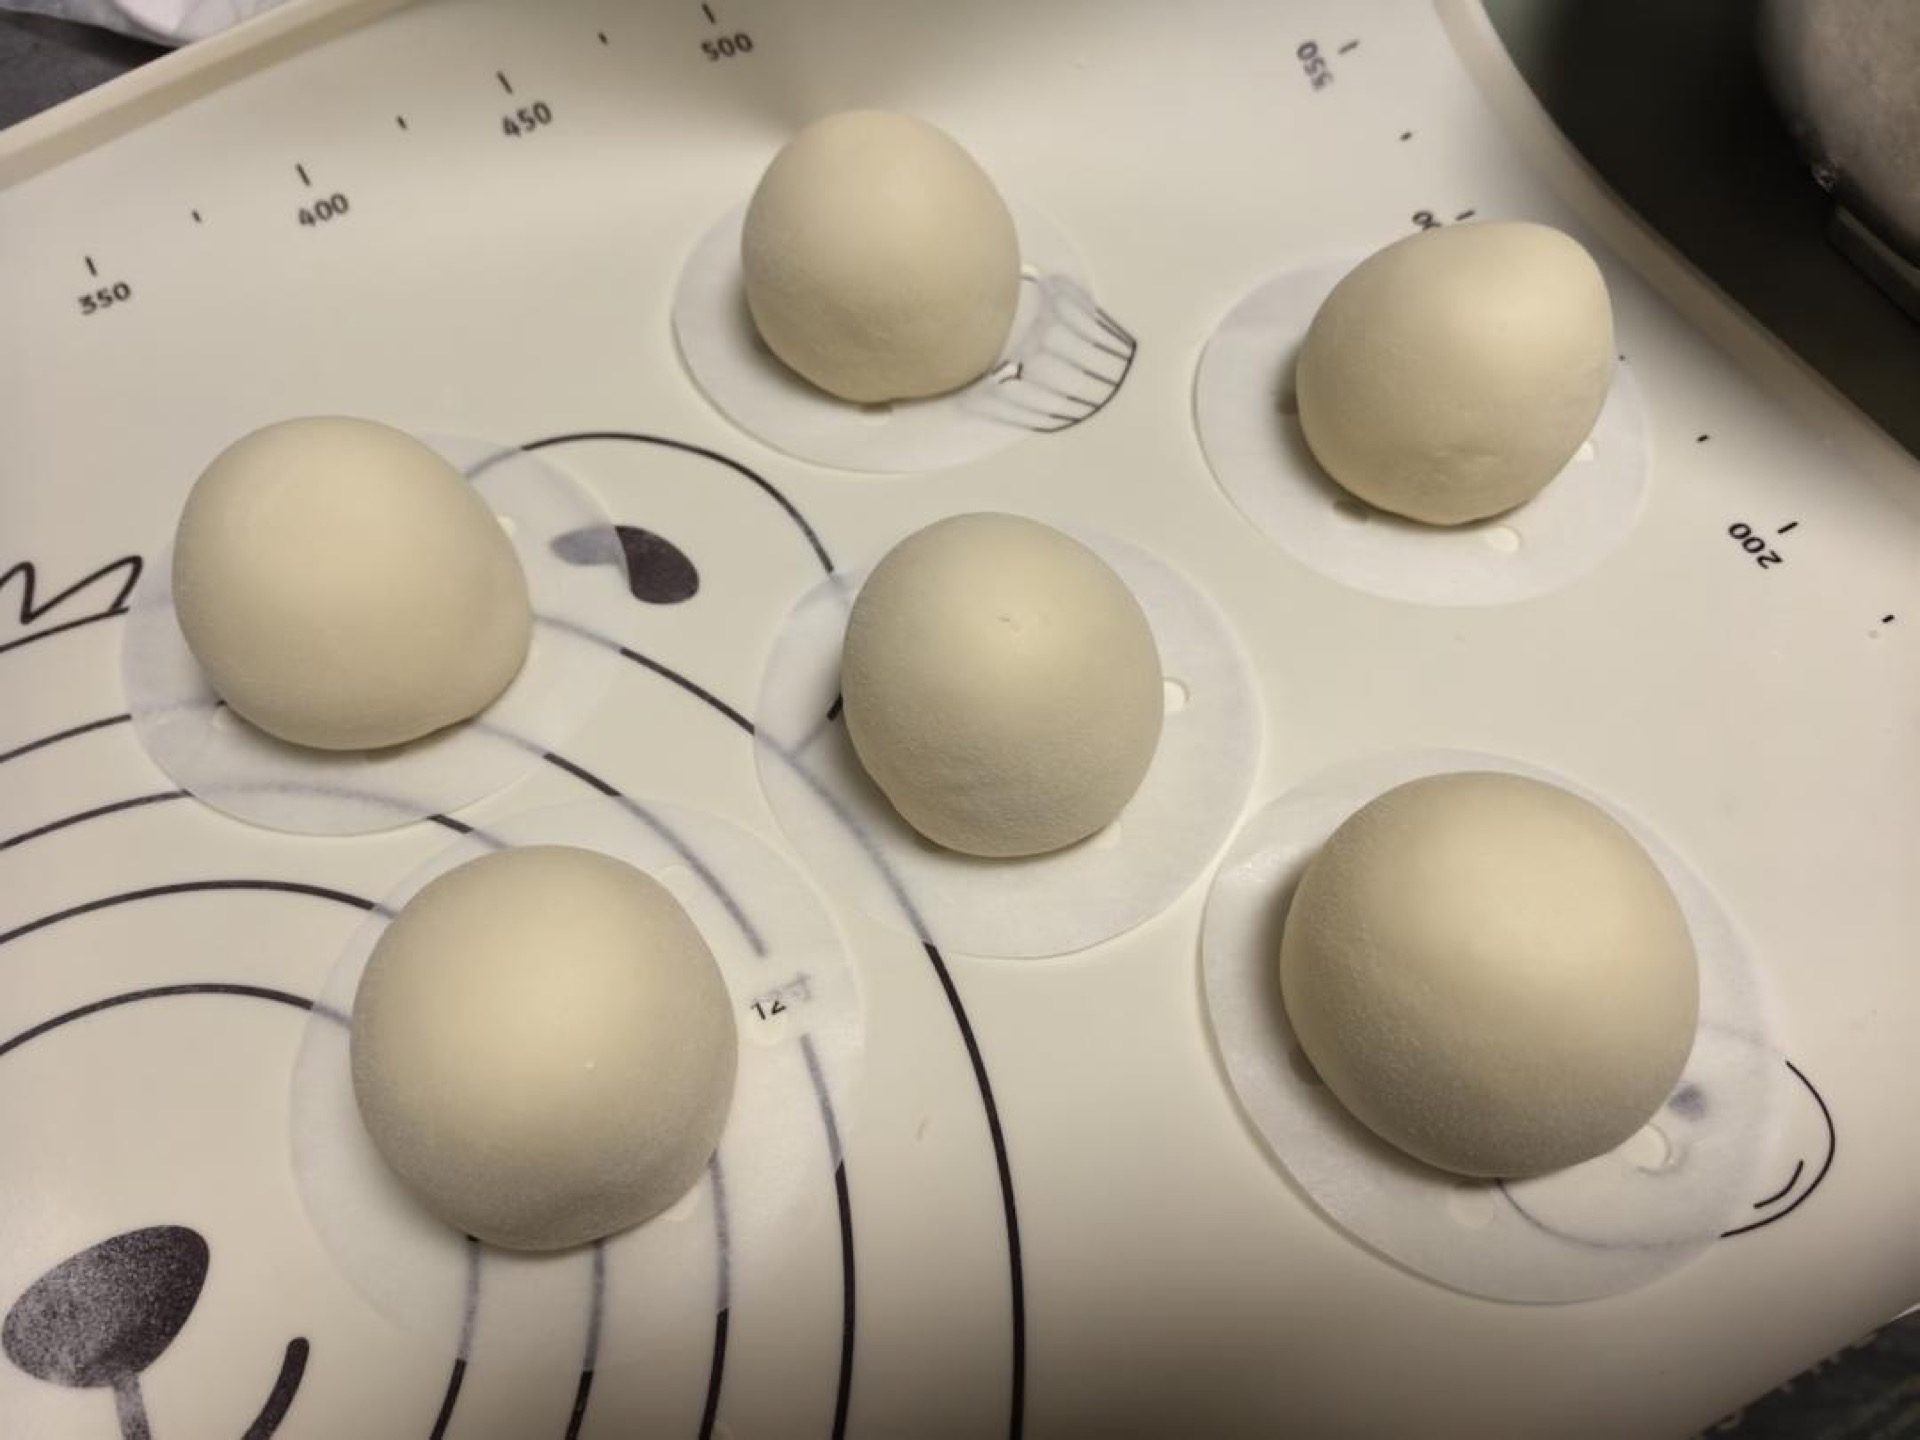
After kneading evenly, divide the dough into 100-gram pieces.
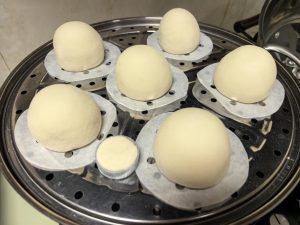
Step 9 — Proof the Buns
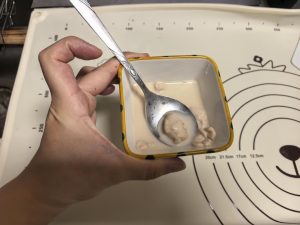
Put them in water that is warm but not hot to proof for 40 minutes; a bottle cap makes it more intuitive to judge.
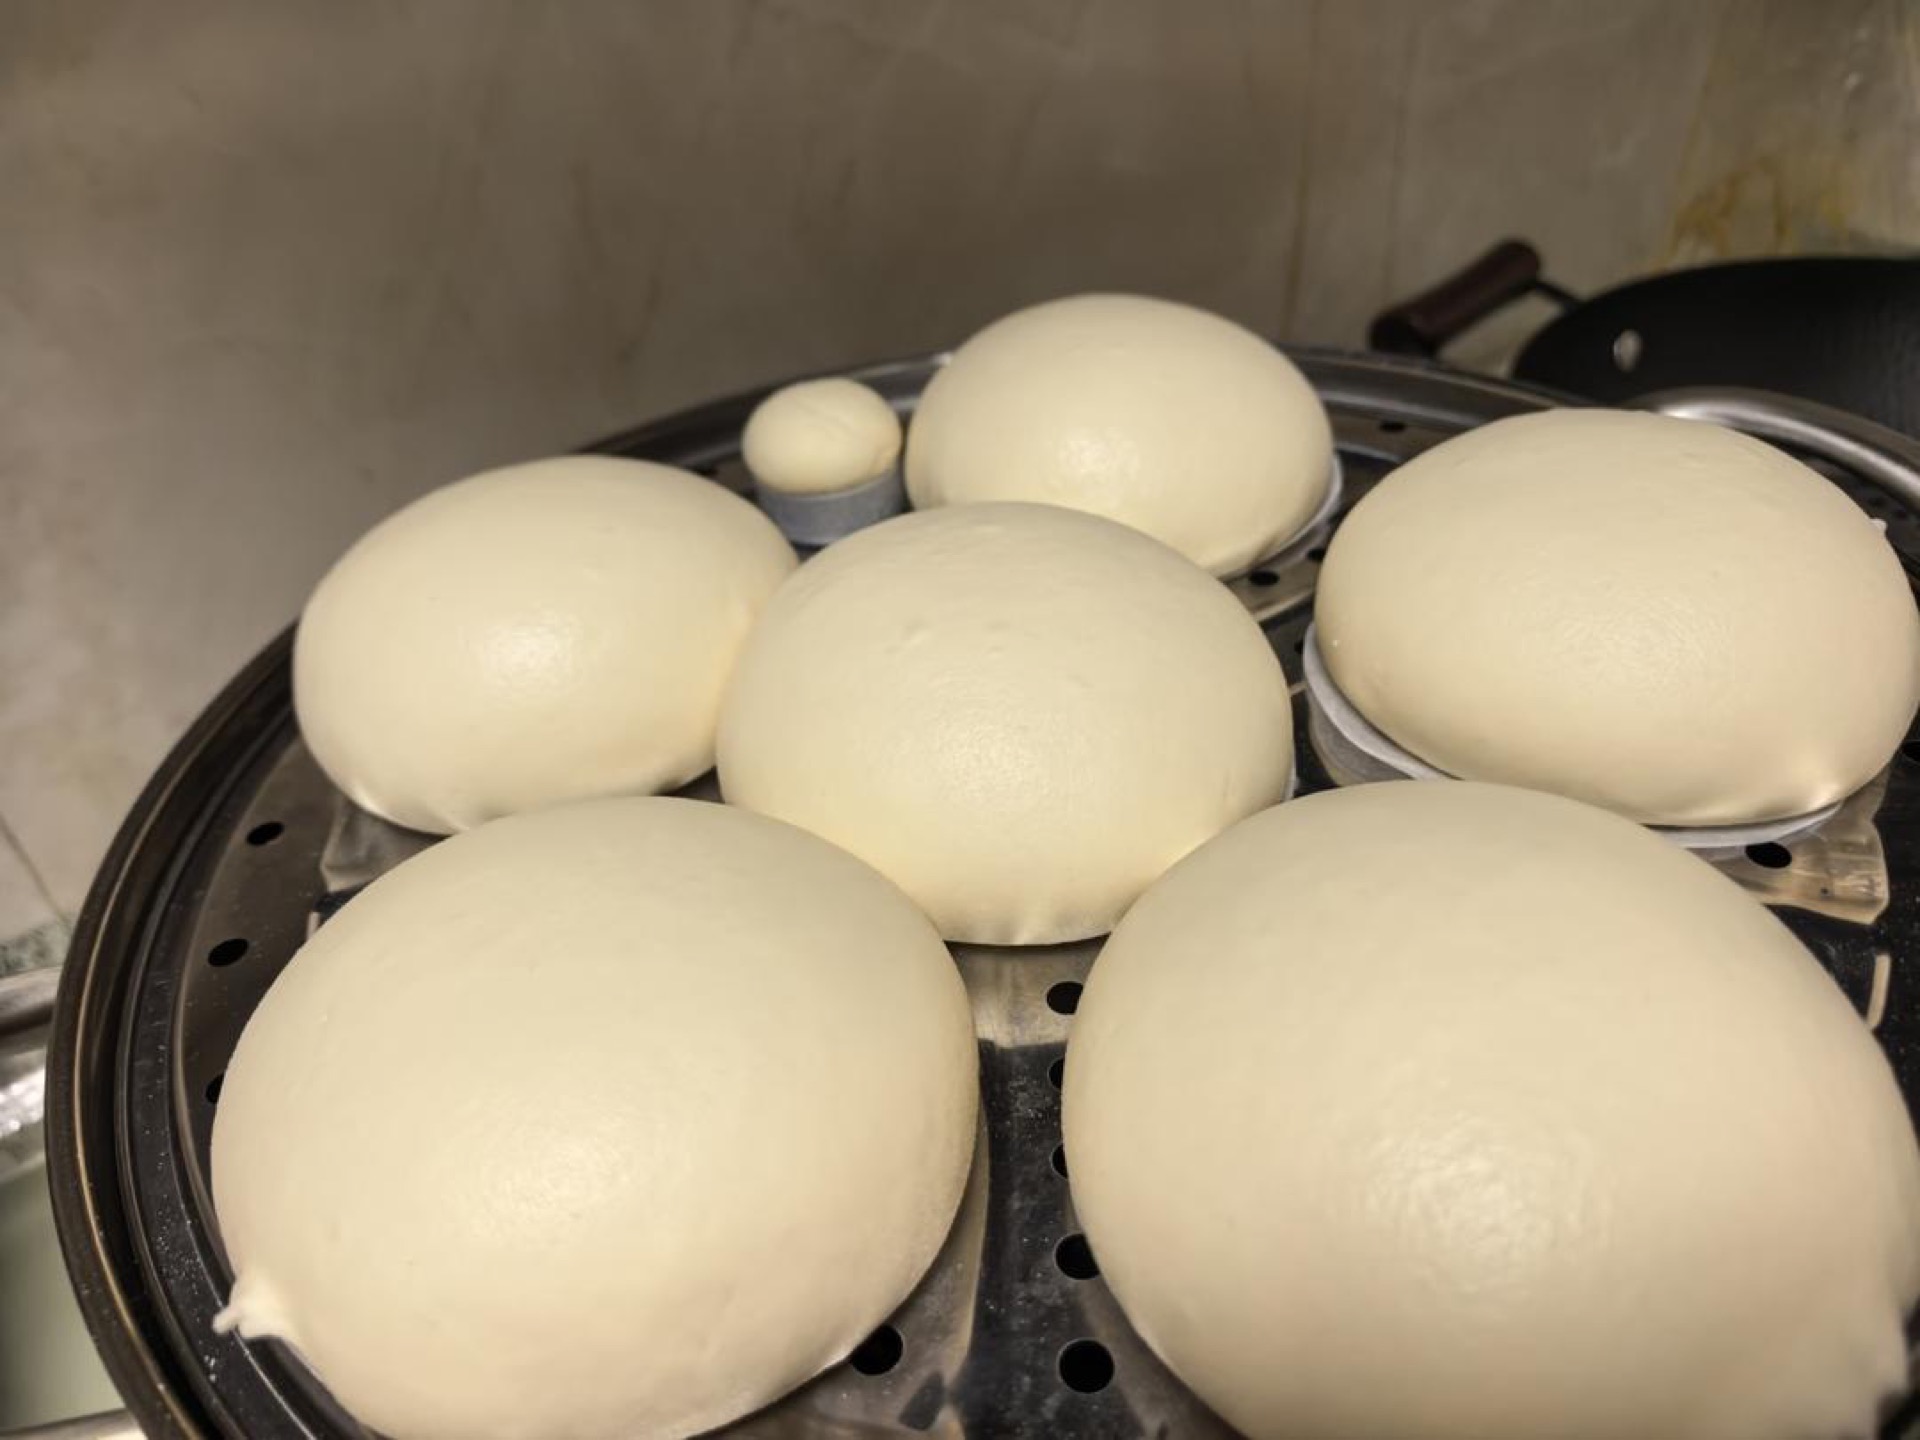
Step 10 — Steam and Rest
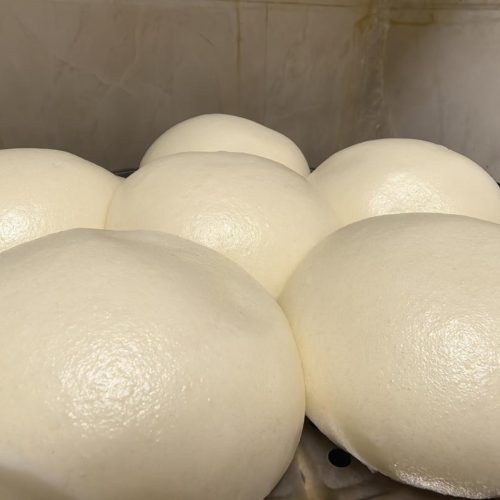
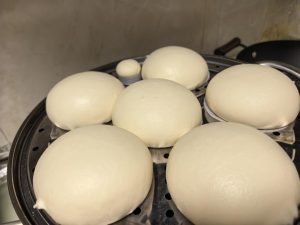
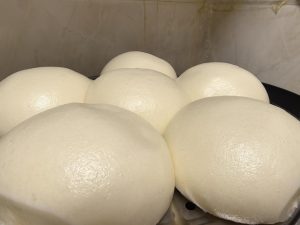
Once they have proofed to 1–1.5 times their size, you can turn on the heat and steam them! Steam for 15 minutes, then let them sit covered for 3 minutes. Remember to take the dough out of the bottle cap. Do not steam the lid along with them!
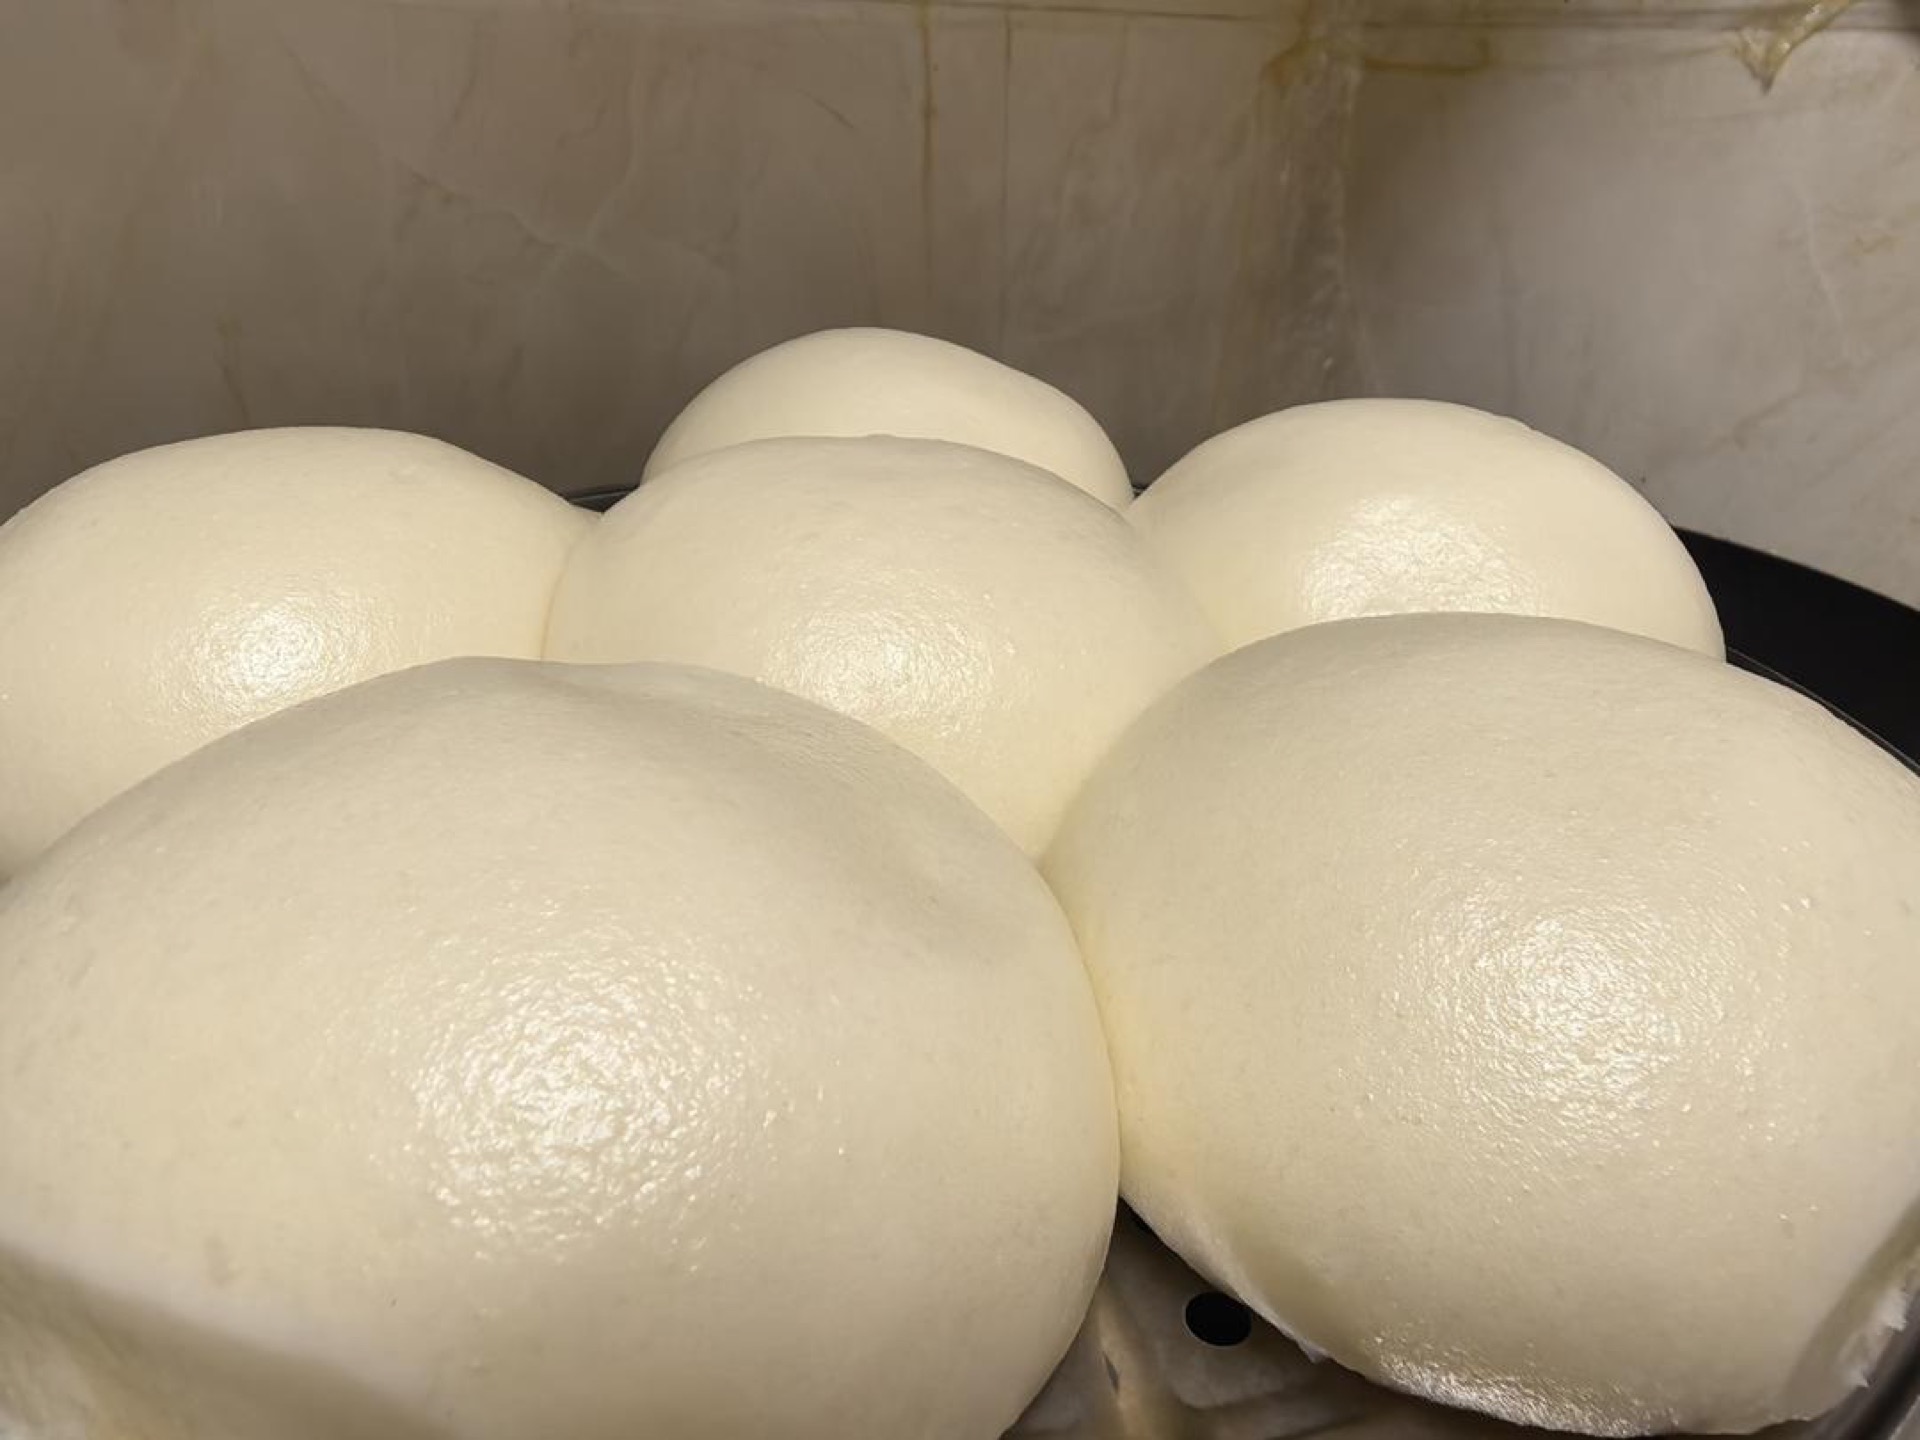
Step 11 — Serve
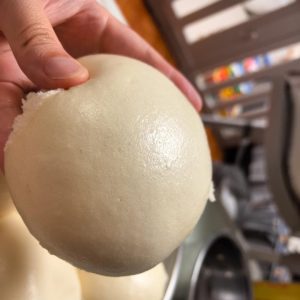
After the covered rest, pick them out and put them in a bowl. Super fluffy and delicious 😋
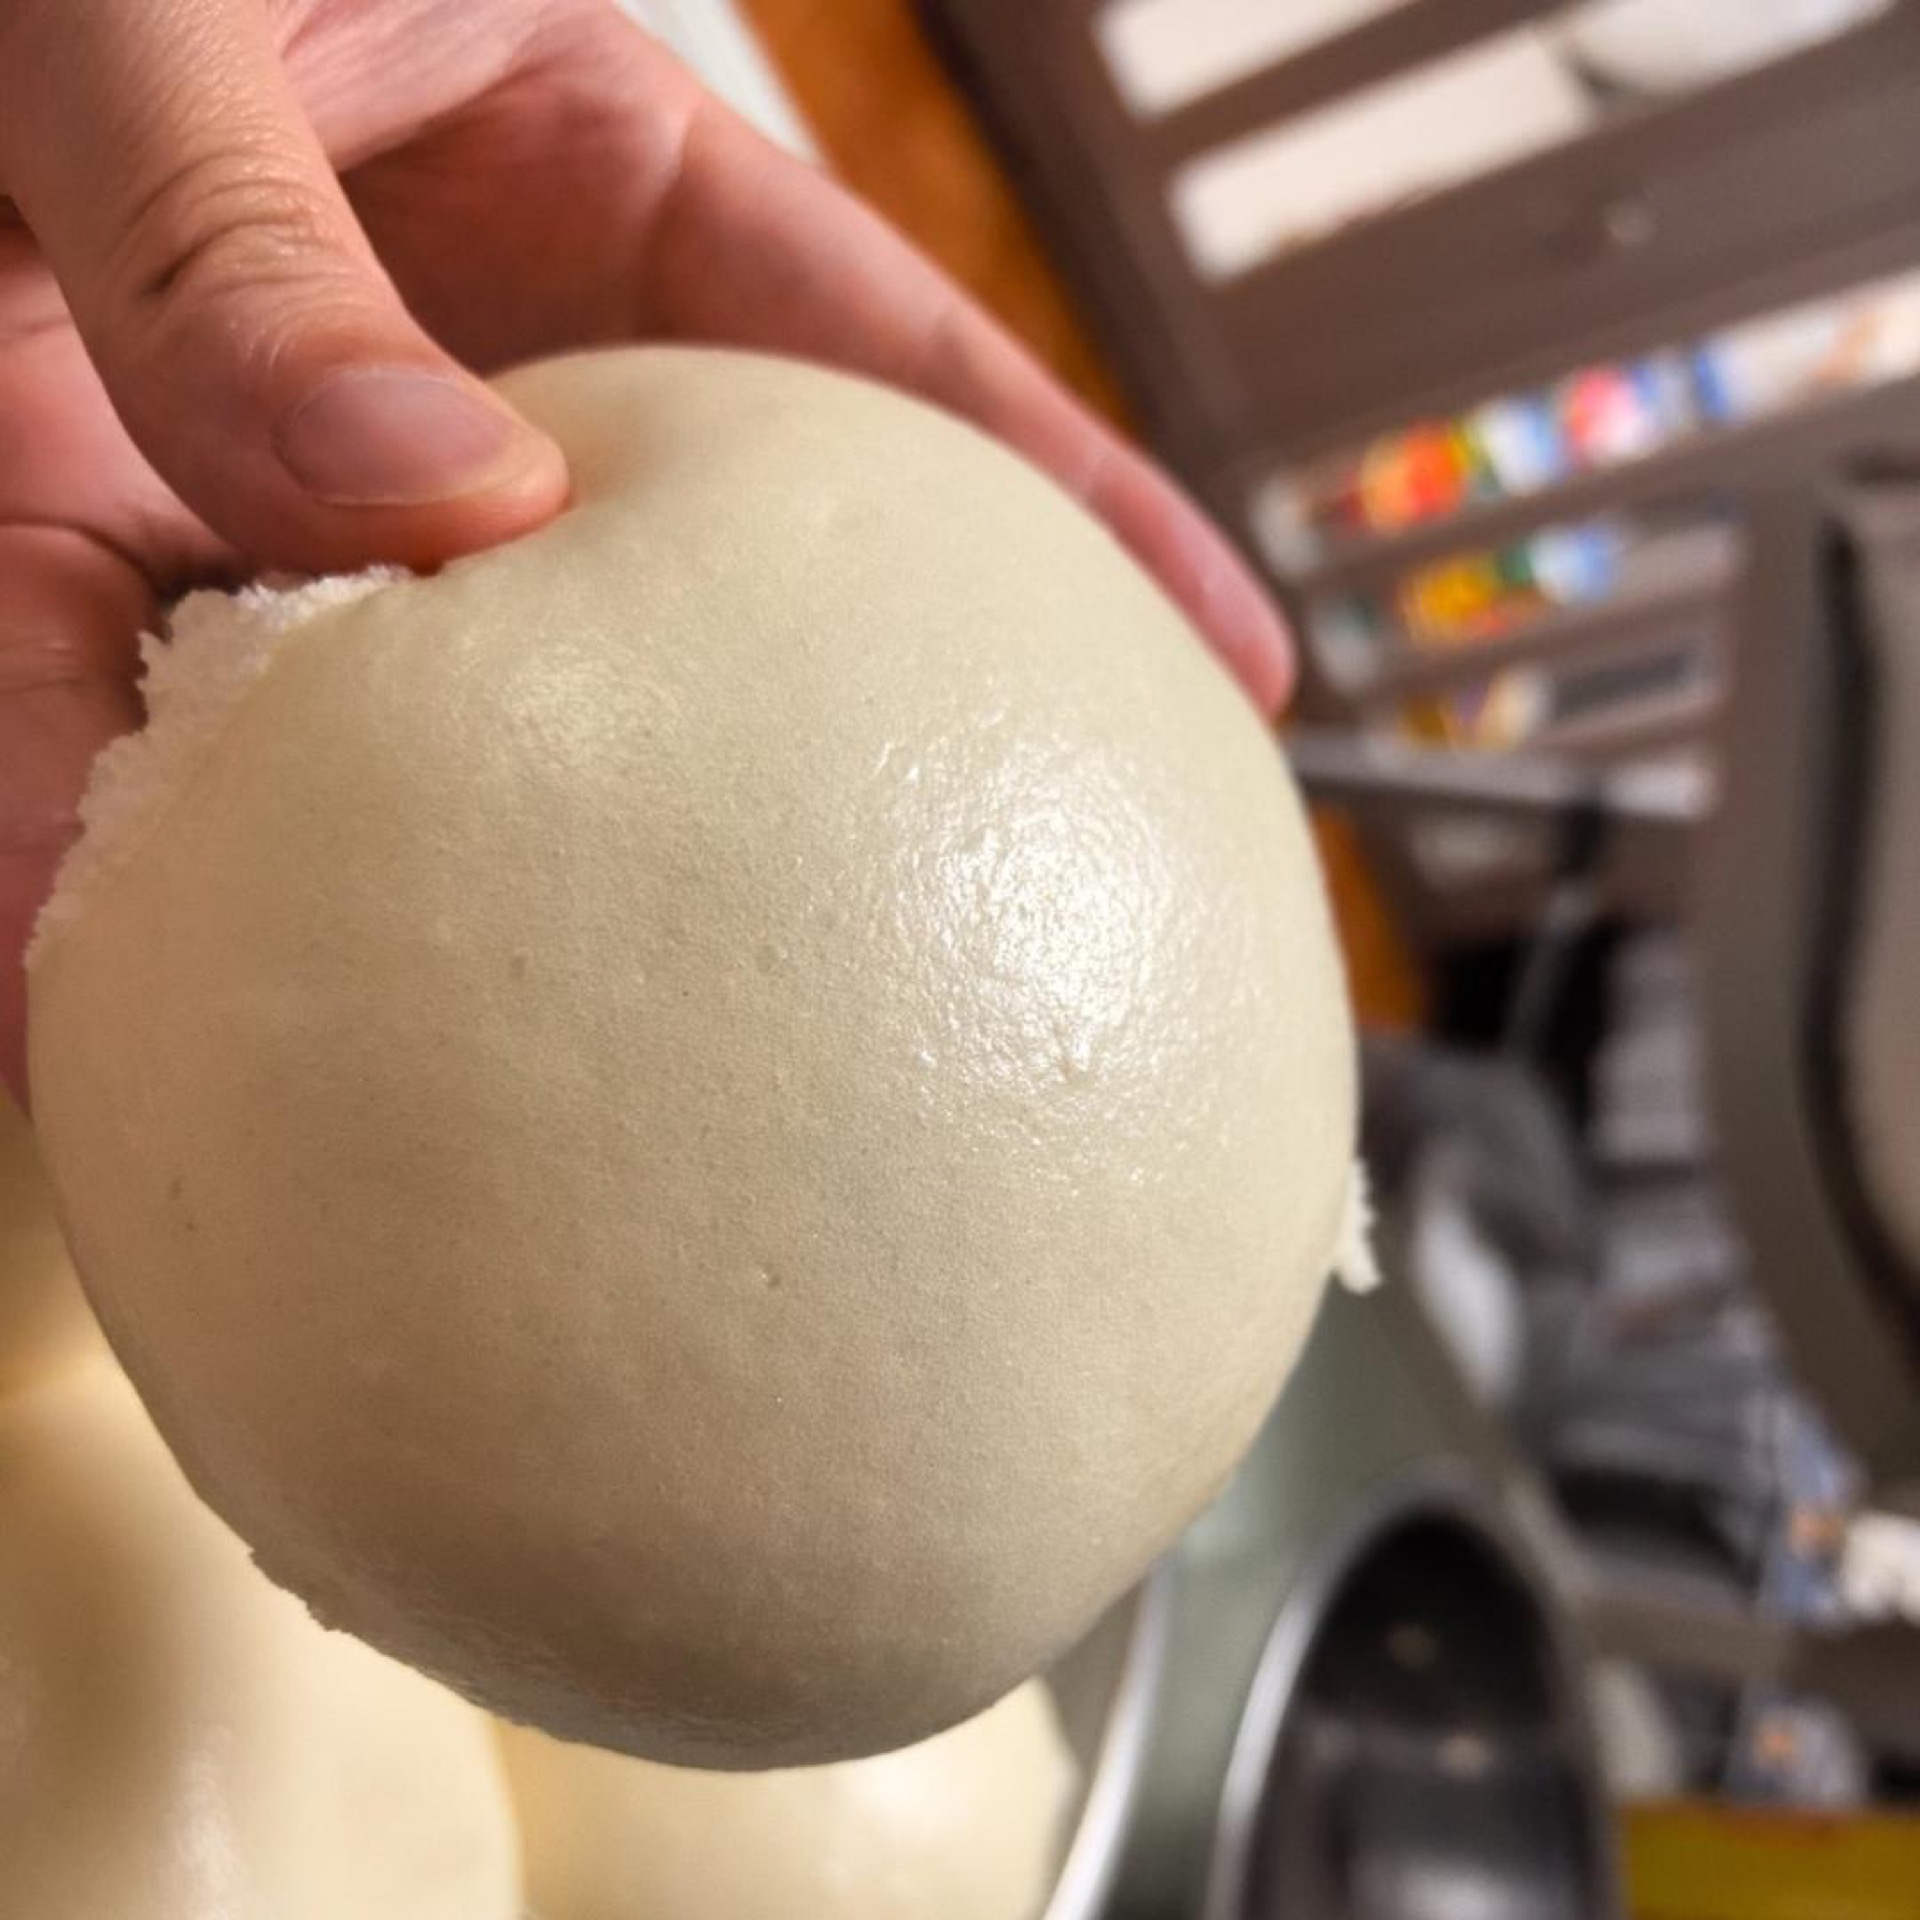
Step 12 — Enjoy
Delicious 😋😋😋😋
Common Mistakes When Making Silky Steamed Buns
- The buns wrinkle after steaming. This happens when the lid comes off too fast, so the buns hit cold air while still at full internal pressure and collapse. Fix: turn off the heat, leave the lid on for a full 3 minutes, then slide the lid slightly ajar for 30 seconds before removing it completely.
- The surface is dull or dimpled. Usually caused by a dough that is too wet, which spreads during proofing and loses its taut skin. Fix: weigh your water and flour exactly, and if your dough feels sticky, work in another tablespoon of flour before shaping.
- The buns taste sour or smell of alcohol. The dough over-fermented, either because it sat too long at room temperature or because the yeast was added too early. Fix: keep the flour-and-water dough yeast-free in the fridge, and only add the yeast the day you plan to steam.
- The buns are dense and heavy. Under-proofing is the usual culprit — the buns went into the steamer before the yeast had a chance to fill them with gas. Fix: proof until the dough in the bottle cap has risen to 1 to 1.5 times its original size, which takes about 40 minutes in a warm, humid setup.
- The bottoms stick and tear. Parchment that is too thin or a steamer floor that is not lined. Fix: use parchment squares or a cabbage leaf under each bun, and never place buns directly on a bare steamer floor.
- The skin has rough, dry patches. The shaped buns dried out while waiting to be steamed. Fix: keep every shaped bun covered with a clean towel or plastic wrap until it goes into the steamer, and work in small batches.
- The buns are yellow or gray instead of white. Old yeast or an overly long ferment. Fix: use fresh yeast, and keep the second-day bulk ferment short — the yeast is there to lift the dough, not to flavor it.
Variations
Whole wheat version. Swap 30% of the all-purpose flour for whole wheat and add an extra tablespoon of water. The buns will be slightly darker and nuttier, but the cold rest keeps them tender. Our whole wheat steamed buns go deeper into that blend if you want to explore it.
Pumpkin version. Replace 80 g of the water with mashed roasted pumpkin and cut the water to 130 g. The dough turns a soft gold and the crumb gets even softer. This is essentially how pumpkin steamed buns are made, and the cold rest works beautifully with the extra sugar in the squash.
Sweet version. Add 30 g of sugar and a tablespoon of milk powder to the flour, and consider a small amount of green cardamom in the dough for a warm, floral note. Steamed buns take spice surprisingly well.
Sesame or scallion rolls. Roll the dough into a rectangle, brush with oil, scatter with toasted sesame or chopped scallion and a pinch of salt, then roll up and cut into coils. The same dough and the same steaming method apply.
Lard-enriched version. Add 10 g of lard or neutral oil with the yeast. The crumb gets noticeably more tender and the skin a little shinier, which is a common commercial trick. Rendered pork skin is not the right fat here — use clean lard or a neutral oil.
Frequently Asked Questions
Can I use instant dry yeast instead of fresh? Yes. Use about 4 g (1 1/4 tsp) of instant dry yeast and skip the blooming water. The rise will be slightly slower, so expect proofing to take 50 to 60 minutes instead of 40. Do not use a whole packet — too much yeast makes the buns taste yeasty and the crumb coarse.
Why does my dough look shaggy and dry after the cold rest? That is normal for a stiff dough. It will look rough when it comes out of the fridge and smooth out within a few minutes of kneading. If it is genuinely crumbly and will not come together, add water a teaspoon at a time.
Can I skip the overnight rest and just make the buns the same day? You can, and the recipe notes a 3-hour minimum chill. The buns will still be good, but the skin will be slightly less glassy and the crumb a touch less fine. The overnight version is meaningfully better.
How do I know when the buns are fully proofed? Use the bottle-cap trick. Press a small ball of dough into a bottle cap, set it beside the buns, and watch it. When the dough in the cap has risen to 1 to 1.5 times its original height and the buns feel like a soft marshmallow when you press the side, they are ready.
Can I steam the buns in a regular pot without a bamboo steamer? Yes. Any wide pot with a rack and a lid works. Line the rack with parchment, keep the water below the rack level, and make sure the lid seals well enough to hold steam. A towel wrapped around the lid catches drips that would otherwise spot the buns.
How to Serve
Silky steamed buns are the quiet backbone of a northern Chinese table. They are the thing you tear open and use to mop up braised sauces, or the plain, soft counterpoint to a salty, oily dish. A few pairings we come back to again and again:
Serve them alongside yangzhou fried rice for a full, satisfying meal — the buns soak up the savory bits and the rice carries the vegetables.
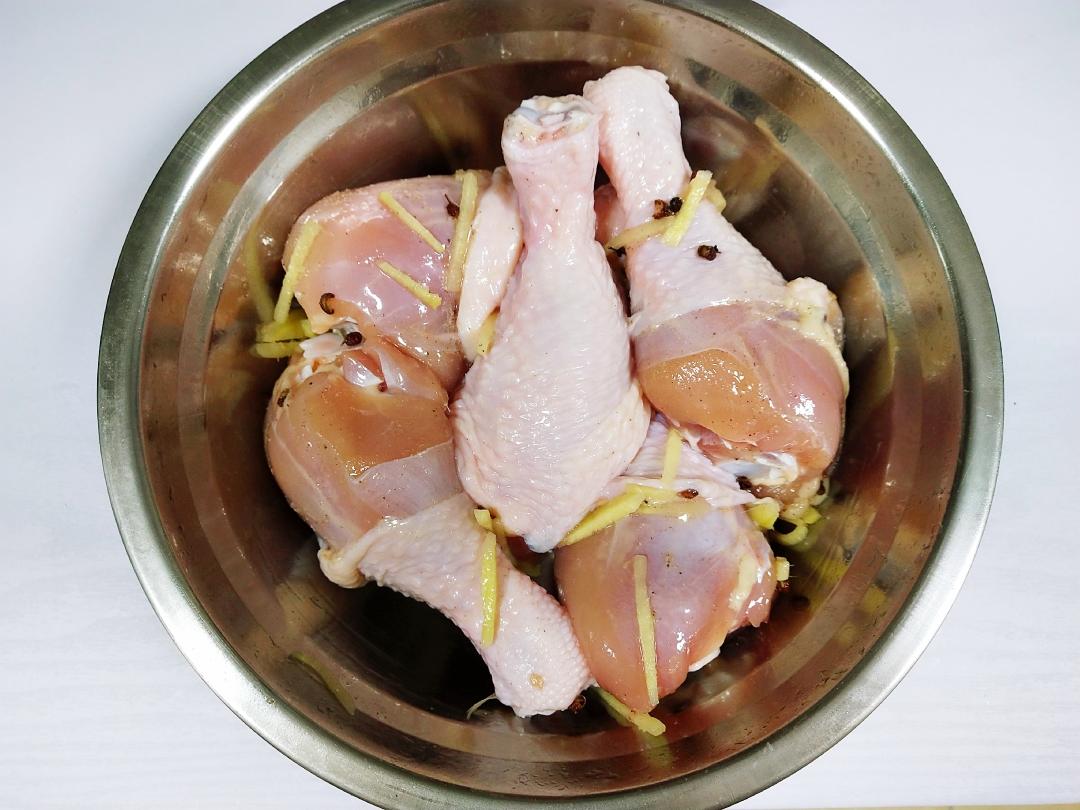
They are also lovely with tender steamed chicken drumsticks, which are cooked the same gentle way and share the same clean, savory flavor profile.
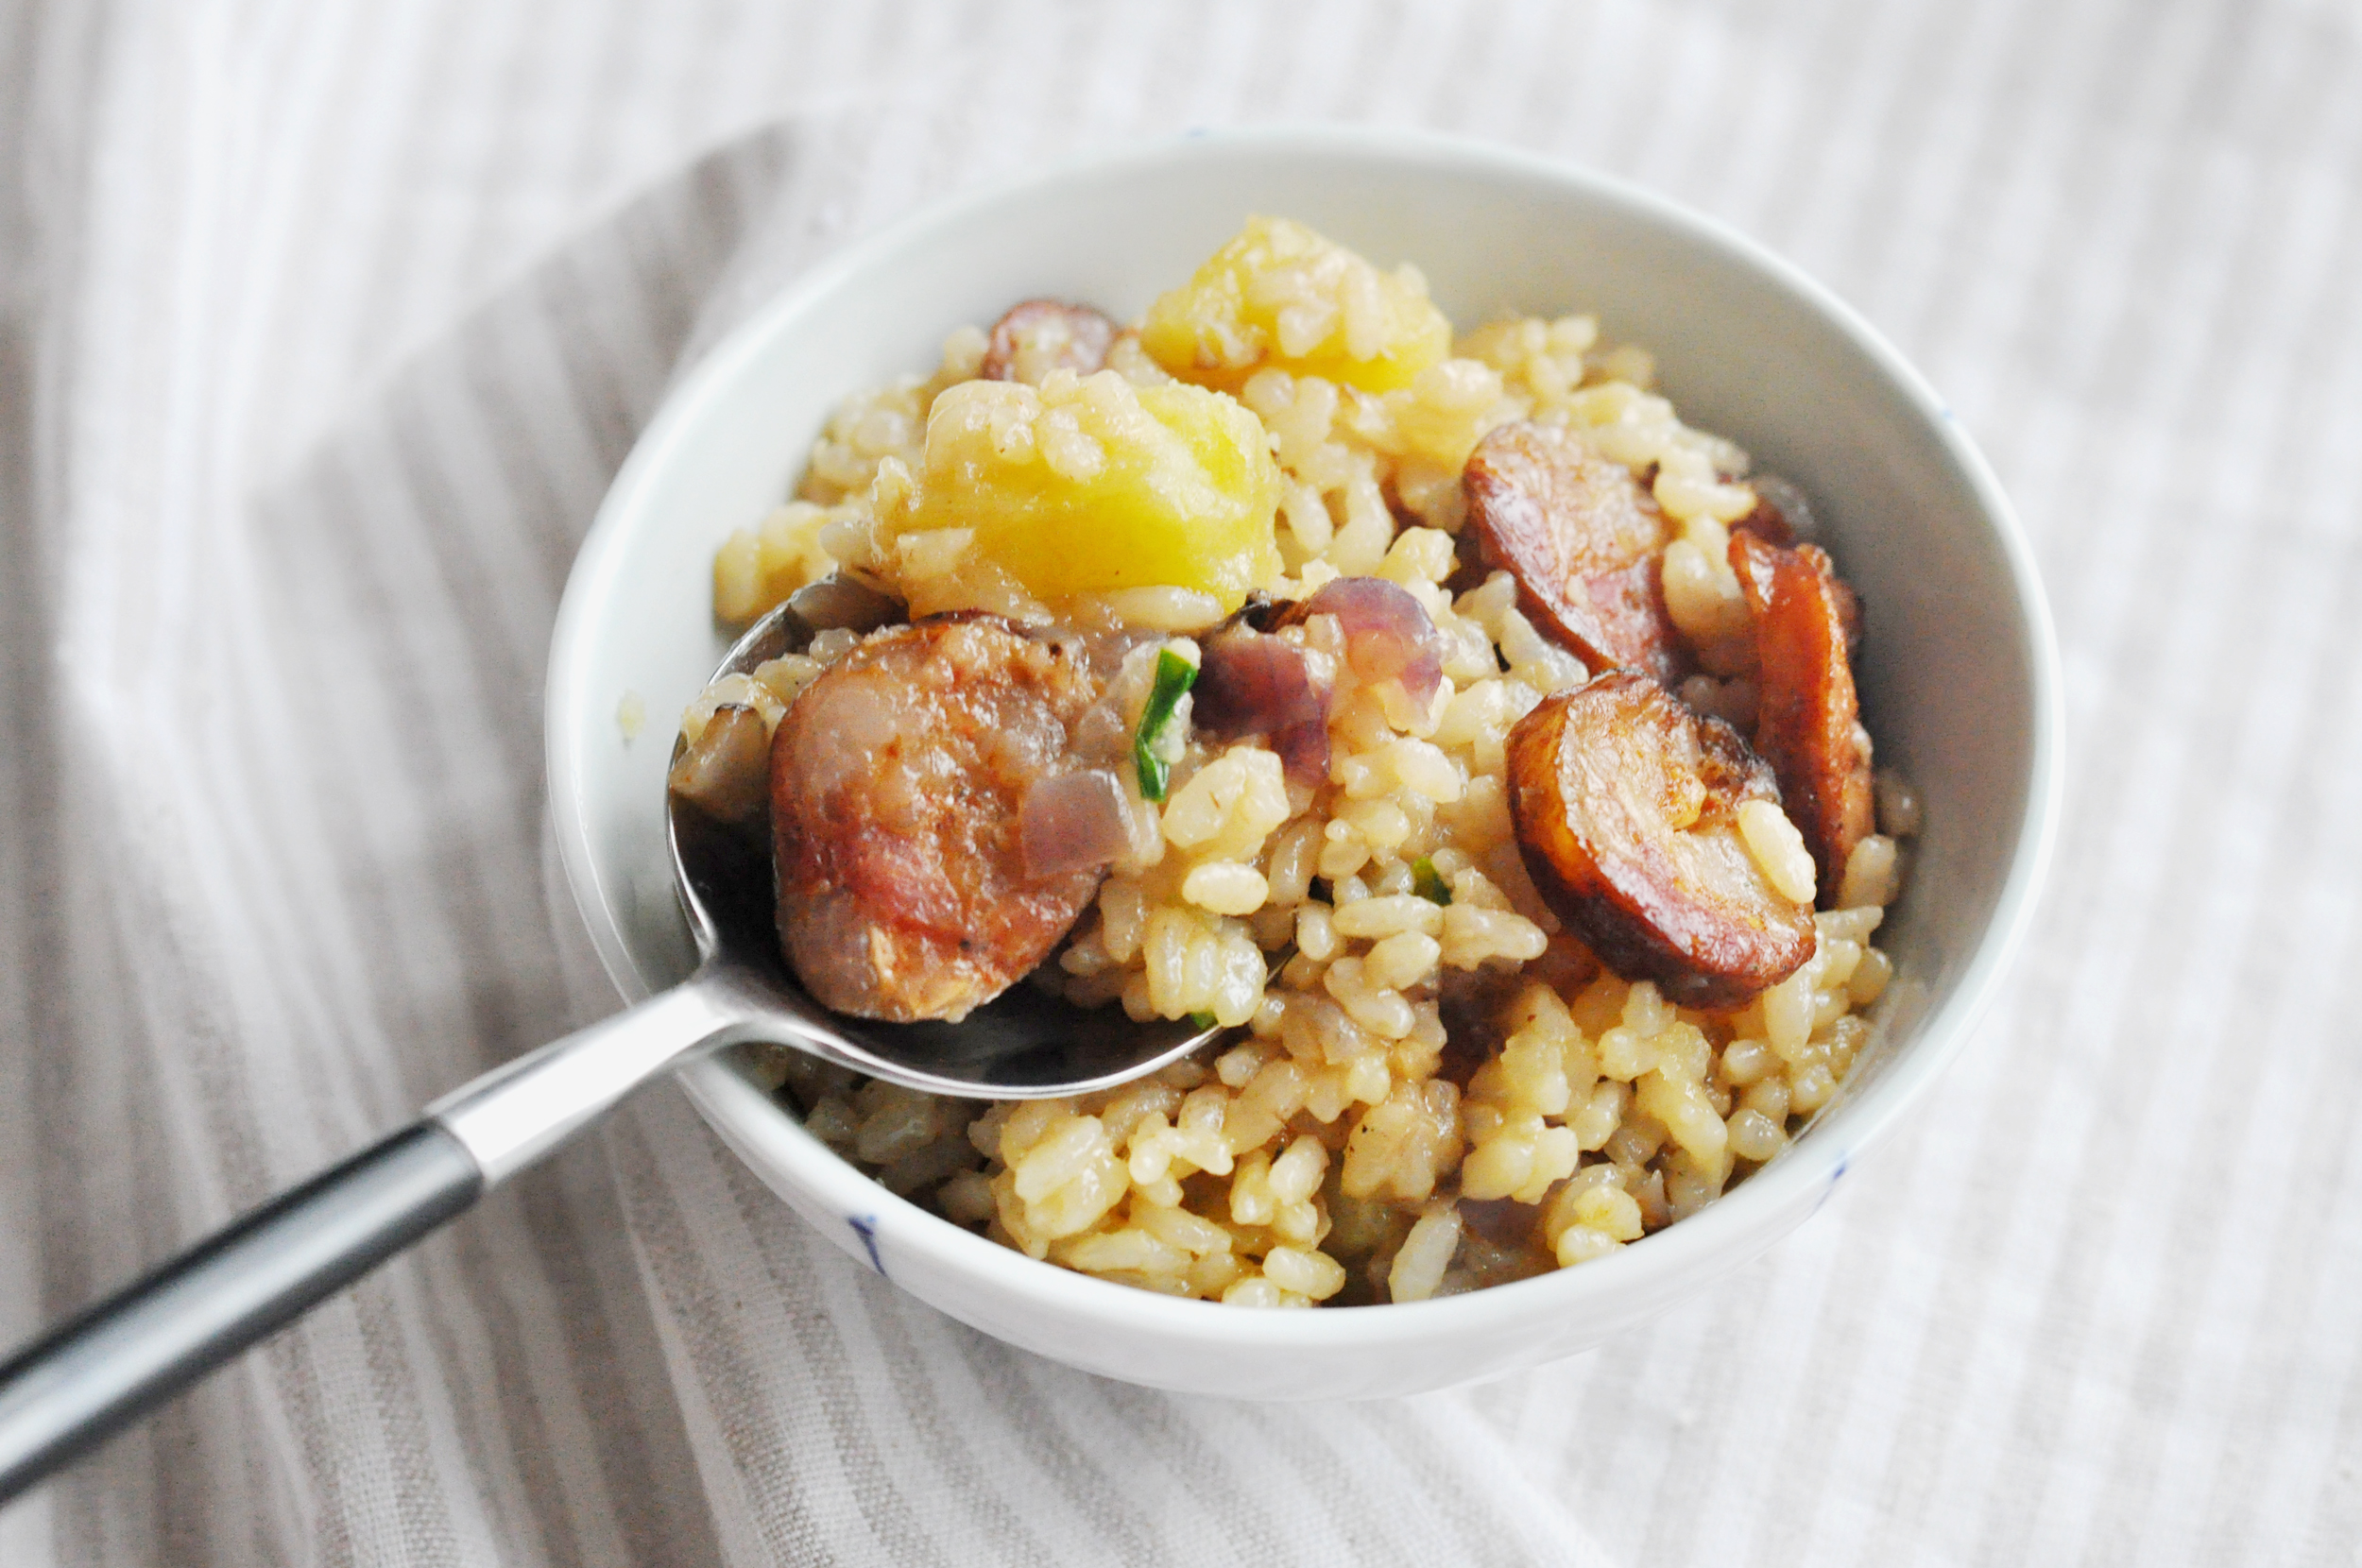
And for a one-pot dinner that needs nothing more than bread to complete it, Chinese sausage and potato rice cooker meal is a natural partner — tear a bun open and use it to scoop up the sausage fat and sweet soy.

Storage & Reheat
Steamed buns are at their absolute best within an hour of coming out of the steamer, but they store very well. Let any leftovers cool completely at room temperature — no more than 2 hours — then bag them.
Refrigerator: keep cooled buns in an airtight bag or container for up to 3 days. The cold will firm them up; that is normal.
Freezer: freeze fully cooled buns in a single layer, then transfer to a freezer bag. They keep for up to 2 months. Freeze them the day they are made for the best texture.
Reheating: the steamer is the only method that gives you back the original softness. Re-steam refrigerated buns for 5 to 6 minutes and frozen buns for 10 to 12 minutes, straight from frozen, with no thawing needed. A microwave works in a pinch — wrap the bun in a damp paper towel and heat for 20 to 30 seconds — but the texture will be a little more rubbery.
Food safety: cool leftovers within 2 hours of cooking, refrigerate promptly, and reheat until the center is steaming hot. Buns that smell sour, feel slimy, or show any mold should be discarded.
Allergen Notice
This recipe contains wheat (gluten). It is otherwise free of dairy, eggs, nuts, and soy, though some all-purpose flour blends are fortified with soy or barley malt — check your flour’s ingredient list if you are cooking for someone with a soy or gluten sensitivity. If you are serving these to anyone with a wheat allergy, this recipe is not suitable as written.
Nutrition Disclaimer
Nutrition information is calculated using an ingredient database and should be considered an estimate. In cases where multiple ingredient alternatives are given, the first listed is calculated for nutrition. Garnishes and optional ingredients are not included.
About the Author & Recipe Development
Lin has spent years cooking and writing about Chinese home food for Woks of Love, with a particular focus on the breads and buns of northern China. This recipe was developed to solve a specific, stubborn problem: why home-steamed mantou so rarely come out with the glossy skin you see in a good Chinese bakery. After testing dozens of batches, the answer turned out to be less about kneading and more about time — a cold rest for the flour and water, a late yeast addition, and a patient covered rest at the end. That is the method written here.
Every recipe on this site is tested in a home kitchen with standard equipment. If you make these buns and something does not look right, the Common Mistakes section above is the first place to check, and the comments are always open.
Authoritative References
For safe food handling and storage guidance, see the FDA Food Code, which sets the two-hour cooling window and refrigeration standards used in this recipe. For internal cooking temperatures and leftovers guidance, the USDA safe temperature chart is the reference we follow. For general food safety principles on yeast doughs and leftovers, the WHO food safety fact sheet is a useful overview.
Silky Steamed Buns (水光肌馒头): Glossy, Pillowy Steamed Buns

Equipment
- Wok
- Steamer basket
- Cutting Board
- Kitchen Scale
- Mixing Bowl
- Slotted Spoon
Ingredients
For the Dough
- 400 g all-purpose flour about 3 1/4 cups, sifted
- 190 g water about 3/4 cup plus 1 tbsp, room temperature
For the Second Mix
- 12 g fresh yeast about 2 tsp, crumbled
- 5 g water about 1 tsp, for blooming the yeast
Instructions
- I used Wudeli 8-star flour, which is well suited to mantou, and I sifted the flour once.

- Pour the prepared water into the flour, stir in one direction until it forms shaggy flakes, then knead with your hands into a ball.
- Once it forms a ball, there is no need to knead it smooth — seal it and put it in the fridge to chill for half an hour.
- After half an hour, take the dough out; a few casual kneads will smooth it out, no long kneading needed. Put it back in the fridge and take it out the next day when you want to make the buns. If you are in a hurry, chill it for 3 hours. This step lets the water and flour blend better.
- The next day, first prepare 12 grams of fresh yeast and add 5 grams of water to dissolve it.
- Flatten the dough out, pour in the fresh yeast, and slowly knead it in until evenly combined.
- Knead until the cut surface of the dough shows no air pockets.

- After kneading evenly, divide the dough into 100-gram pieces.
- Put them in water that is warm but not hot to proof for 40 minutes; a bottle cap makes it more intuitive to judge.
- Once they have proofed to 1–1.5 times their size, you can turn on the heat and steam them! Steam for 15 minutes, then let them sit covered for 3 minutes. Remember to take the dough out of the bottle cap. Do not steam the lid along with them!
- After the covered rest, pick them out and put them in a bowl. Super fluffy and delicious 😋
- Delicious 😋😋😋😋






Leave a Reply