When the dog days of summer hit, my family has a ritual older than my memory: a jar of sweet-sour pickled ginger appears in the fridge, and every meal starts with a slice or two. It is the pickle nobody mentions until it runs out, then everyone asks where it went. I learned the recipe from my father, who learned it in the restaurant kitchens where he cooked – a brine so simple it feels like cheating, and a vegetable so forgiving it almost refuses to fail.
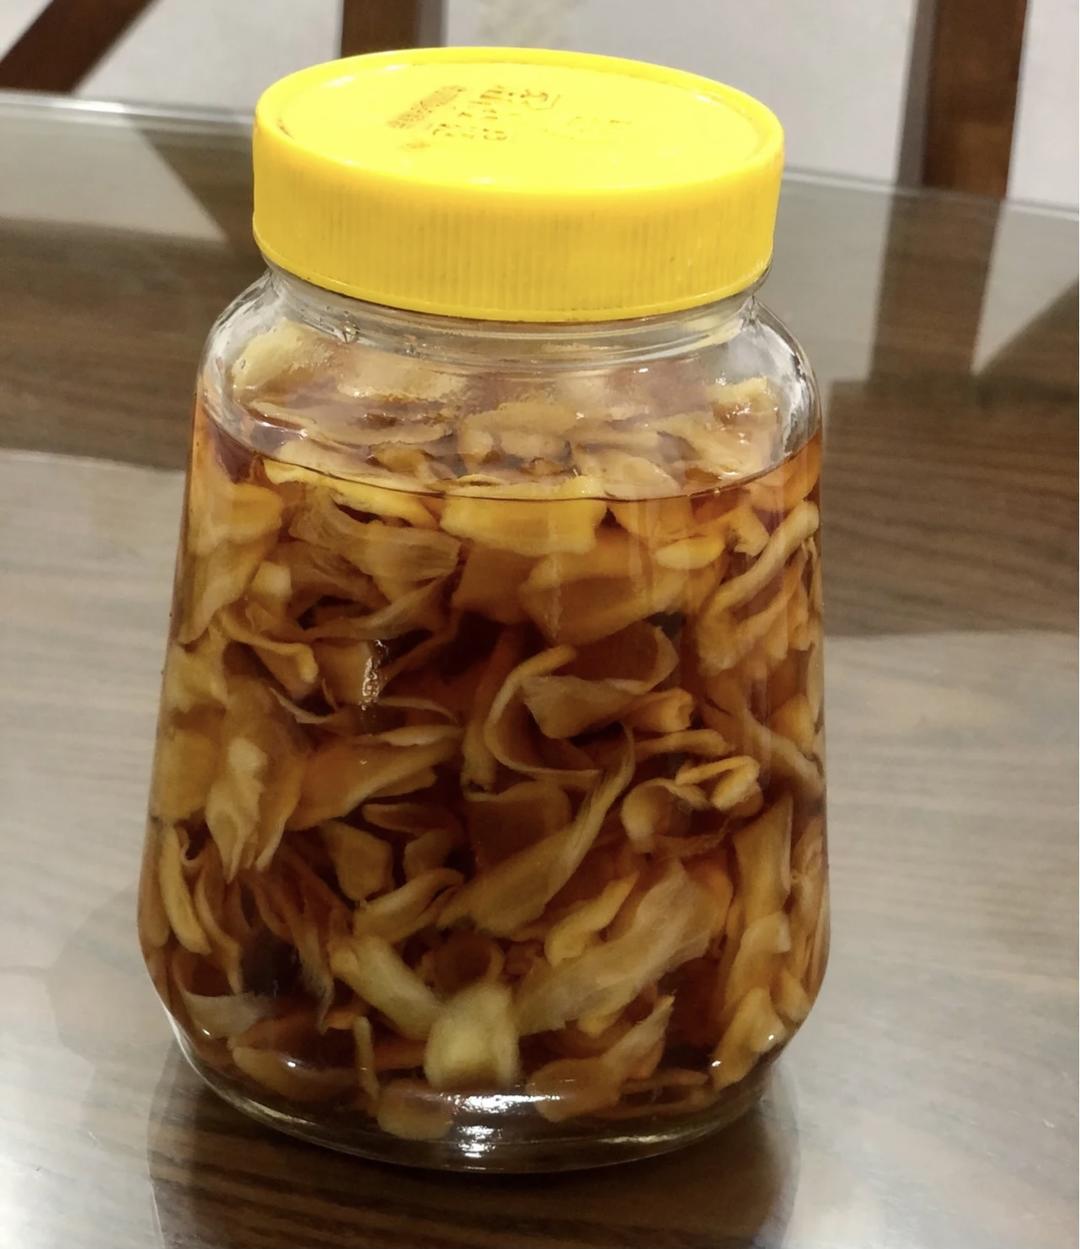
Tang cu pao jiang (糖醋泡姜) is sweet-sour pickled ginger – young ginger sliced thin, salted to pull out its bite, then steeped in a cooled brine of white rice vinegar and sugar. The original recipe comes from a Chinese home cook who makes it for the san fu tian (三伏天), the hottest stretch of the Chinese summer calendar, when tradition says ginger is at its best for cooling the body’s fire. Whether you follow the calendar or not, it is one of those recipes that rewards you all week for twenty minutes of work.
What Is Sweet & Sour Pickled Ginger (Tang Cu Pao Jiang)?
Tang cu pao jiang (糖醋泡姜) is a homestyle Chinese pickle: fresh young ginger (zai jiang / 仔姜) sliced paper-thin, salted briefly to soften and tame its sharpness, then submerged in a sweet-sour brine of white rice vinegar, sugar, and a spoon of soy sauce. It is eaten as an appetizer, a side, or a palate cleanser – and in the hot summer months, it is a small daily ritual in many Chinese homes.
The dish belongs to the wider family of pao cai (泡菜) – Chinese pickles steeped in vinegar or salt brines – but it is a gentle member of the family. Unlike the punchy, chili-loaded pao jiao of Sichuan, this one is mild, crisp, and quietly sweet, built on the young ginger’s own floral aroma. The Chinese tradition of eating ginger in the hottest season dates back centuries, and my father swears by it for summer digestion; I will not claim the science, only the habit.
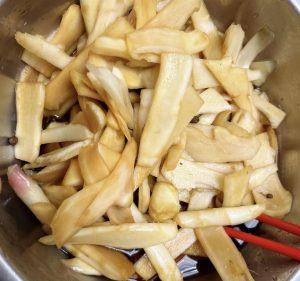
If you enjoy pickling vegetables at home, my pickled bamboo shoots with chili peppers is the spicier, crunchier sibling of this jar.
1Pickled Bamboo Shoots with Chili Peppers (Pao Jiao Sun)Crisp spring bamboo shoots pickled in a spicy, savory, and sour brine with wild chilies. A refreshing and authentic Sichuan-style cold appetizer.Check out this recipe

Why This Version Works
- Young ginger is the whole trick. Tender, thin-skinned, and only mildly spicy, young ginger pickles into a crisp, floral bite. Old ginger turns woody and aggressively hot – the original recipe warns about this before anything else.
- Salt first, brine second. A 20-minute salt massage pulls moisture and heat out of the slices, so the pickle is crisp rather than fiery – the same osmosis the sugar-soak uses in my guide to using ginger correctly.
- The brine is boiled, then fully cooled. Boiling melds the vinegar, sugar, and soy into one flavor; cooling it before pouring keeps the ginger crisp instead of cooking it.
- A spoon of soy rounds the edges. Just one spoonful of light soy in the brine adds a savory depth that makes the pickle taste intentional, not merely sweet-and-sour.
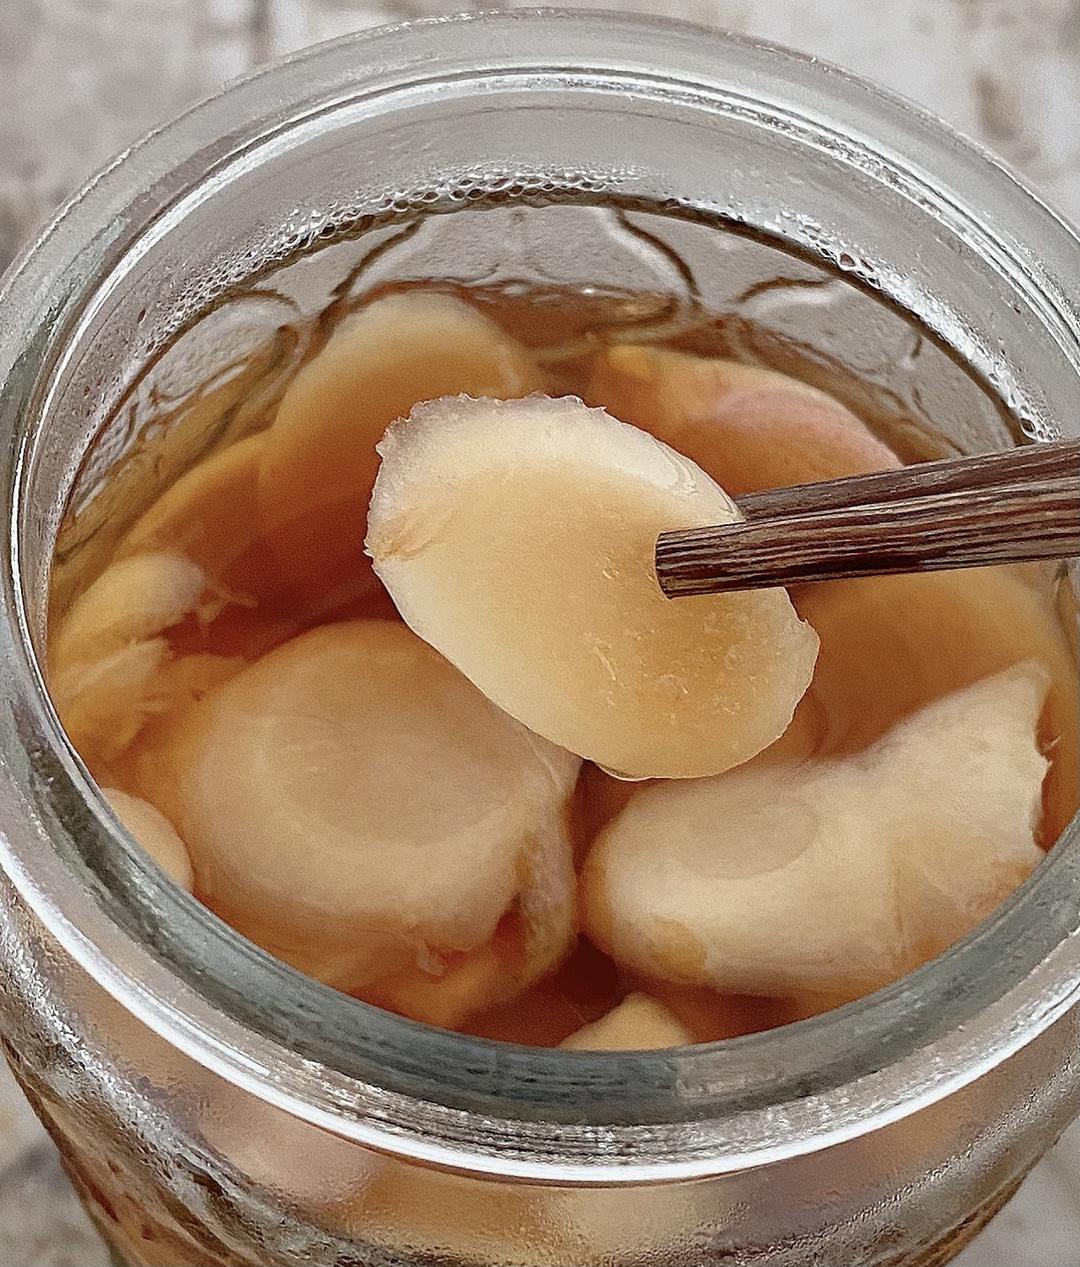
- Cold storage does the maturing. A few days in the fridge deepens the flavor; the ginger goes from sharp to mellow and the brine turns gently golden.
Equipment Needed
- A clean glass jar with a tight lid – sterilized, which the recipe insists on
- A sharp knife or mandoline for the thin slices
- A mixing bowl for the salting
- A small pot for the brine
Ingredients
- 1 kg (2.2 lb / about 2 jin) young ginger (zai jiang)
- 1 tbsp (15 g) salt
- 100 g (1/2 cup) sugar
- 200 ml (3/4 cup plus 2 tbsp) white rice vinegar
- 1 tbsp (15 ml) light soy sauce
Ingredient Notes
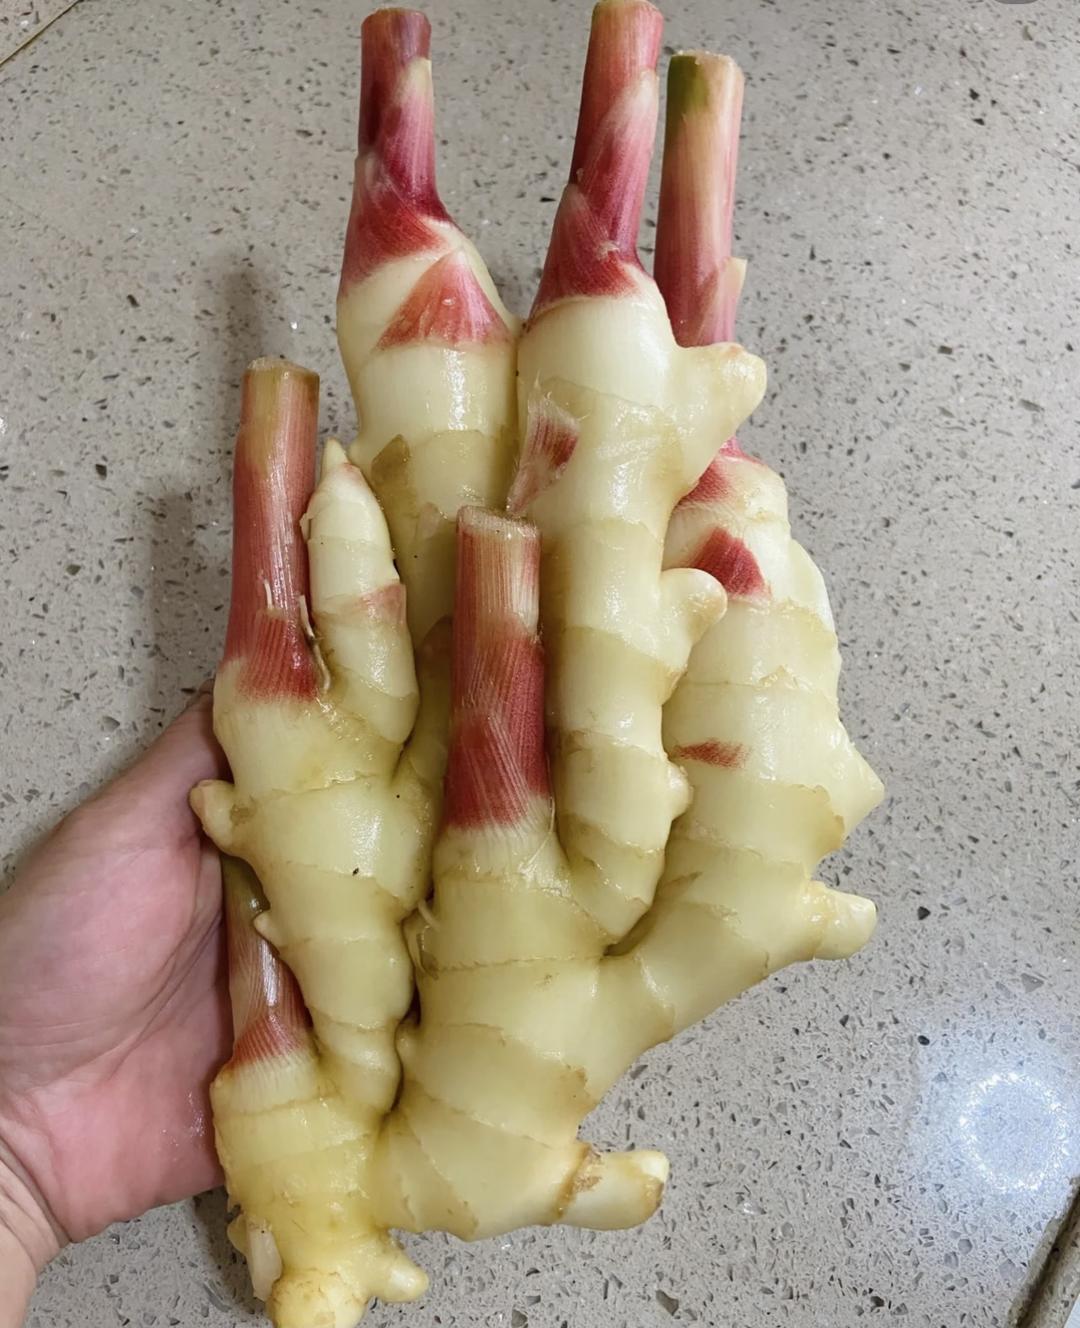
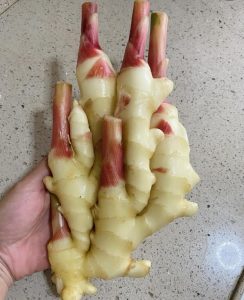
Young ginger (zai jiang / 仔姜): The pale, tender shoots of the ginger plant, sold in spring and summer at Asian grocers with pink-tipped stems. They are the only ginger for this pickle – the original is emphatic: “you must pick young ginger; it is fine-textured, mildly spicy, and fragrant, nothing like old ginger’s heat.” If you cannot find it, the pickle is better skipped than made with mature ginger.
White rice vinegar: Mild and clean, it lets the ginger’s own flavor lead. My guide to Chinese rice vinegar explains how it differs from the darker aged vinegars; for this recipe, white rice vinegar is correct, not Chinkiang black vinegar, which would muddy the pale brine.
Light soy sauce: A single spoonful. It is not traditional in every household’s version, but the original includes it, and the umami it adds is worth the slight color change. If you keep a bottle of light soy around, this is one of its quietest, best uses.
Prep & Mise en Place
Everything moves fast once the ginger is sliced, so prep in order: scrub the ginger clean, pick out any soft or bruised pieces (the original’s first warning – damaged ginger spoils a jar), and slice it paper-thin and even. A mandoline makes quick, uniform work of it, and the recipe says tools are welcome here.
While the salted ginger rests, boil the brine and set it aside to cool completely. Sterilize the jar – the original insists on a clean, dry, ideally sterilized container, because a single drop of water or a stray microbe is all it takes to turn a jar cloudy. Have the cooled brine and the jar ready before the ginger’s 20-minute salt rest ends.
Cooking Process
Step 1 – Buy Young Ginger, Not Old
The original recipe leads with the shopping note, and I will too: you must use young ginger (仔姜). It is tender, mildly spicy, and carries a distinct floral fragrance; old ginger is fiercely hot and woody and will ruin the pickle. Look for pale skin, pink tips, and stems that snap cleanly.
Step 2 – Sort and Clean
Whether you bought the ginger or dug it from the garden, pick through it first and discard any soft, bruised, or rotten pieces – one bad piece can spoil the whole jar. Wash the rest thoroughly, scrubbing the crevices where soil hides.
Step 3 – Slice Thin and Even
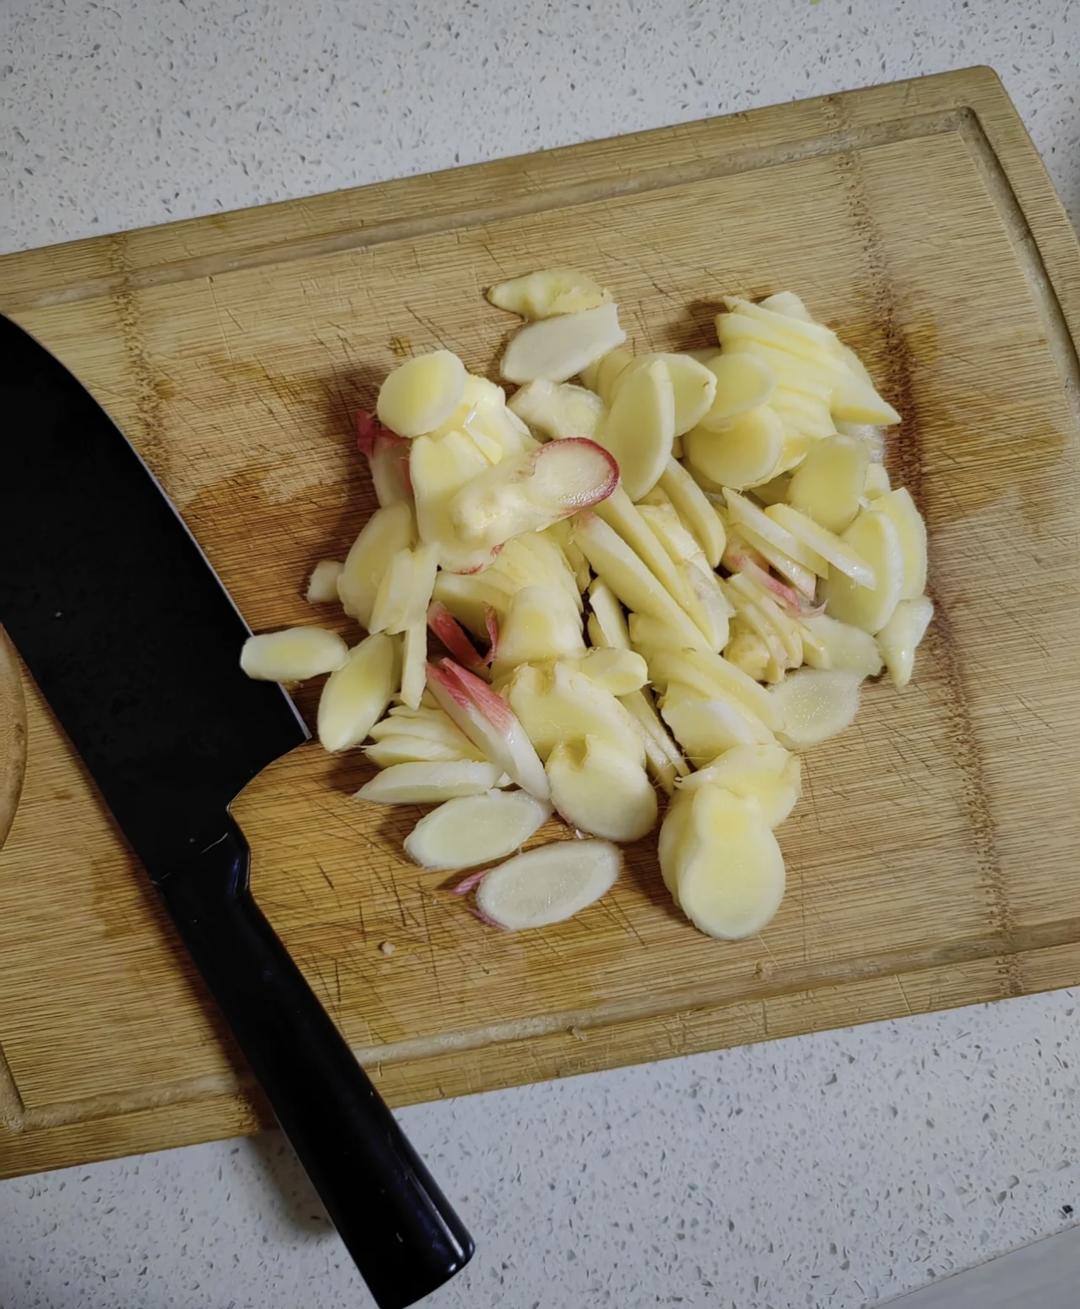
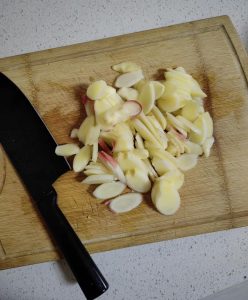
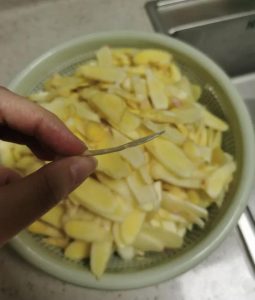
Cut the cleaned ginger into thin, uniform slices – about 1-2 mm (1/16 in). Uniform slices pickle at the same rate, so none turn out under-brined or over-soft. If slicing by hand feels tedious, the original says a mandoline or slicer is perfectly acceptable.
Step 4 – Salt, Massage, and Rest 20 Minutes
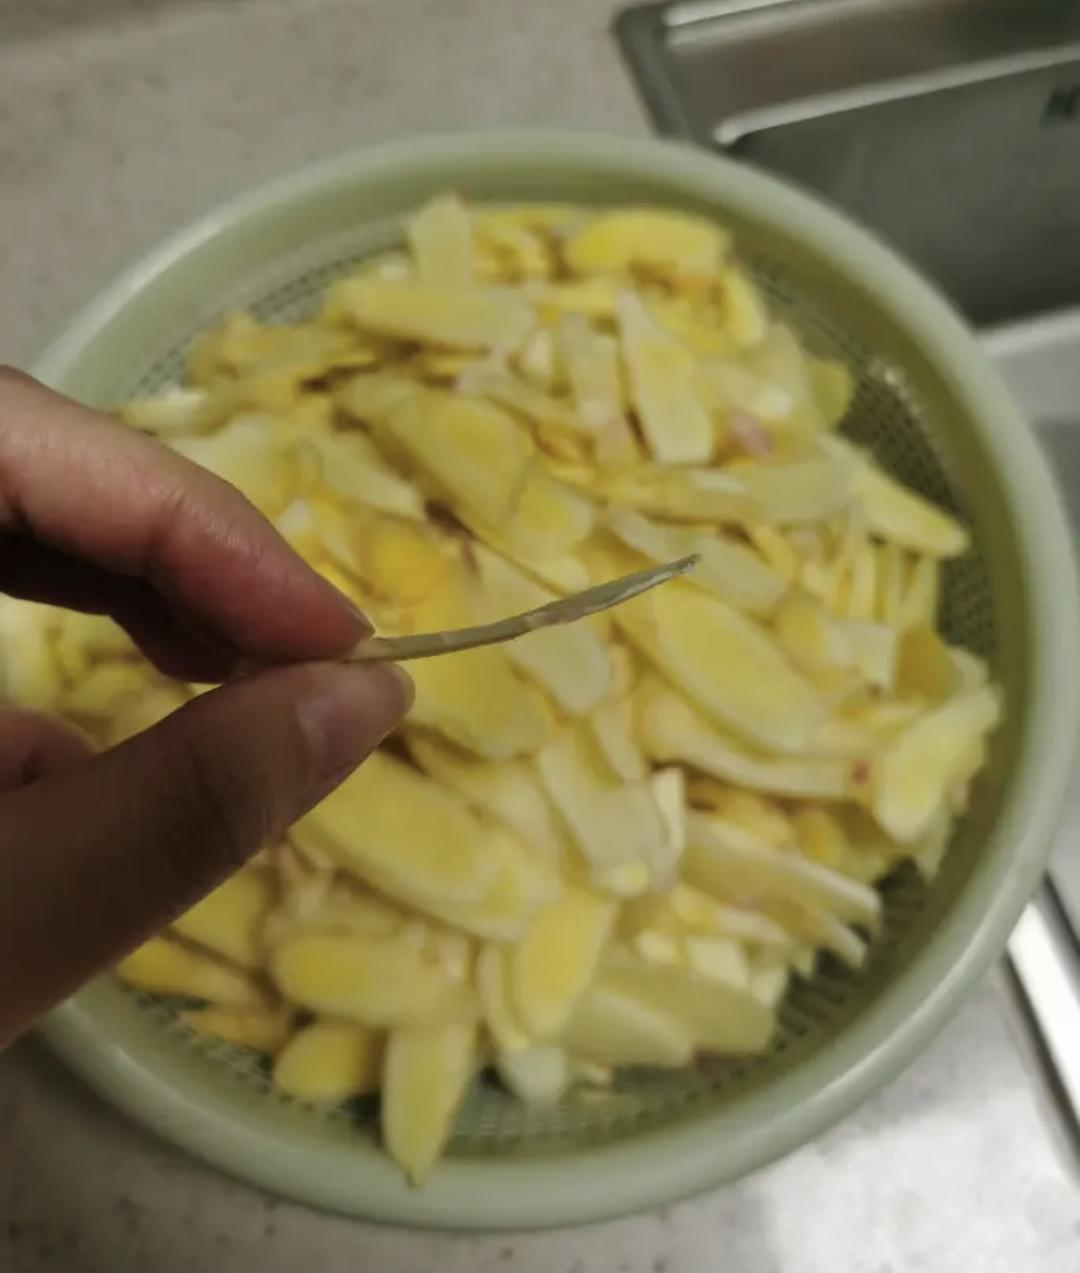
Put the slices in a bowl with the tablespoon of salt and massage them with your hands until evenly coated. Rest for about 20 minutes – the salt draws out moisture and heat from the ginger. Meanwhile, sterilize a clean, dry glass jar and let it air-dry completely.
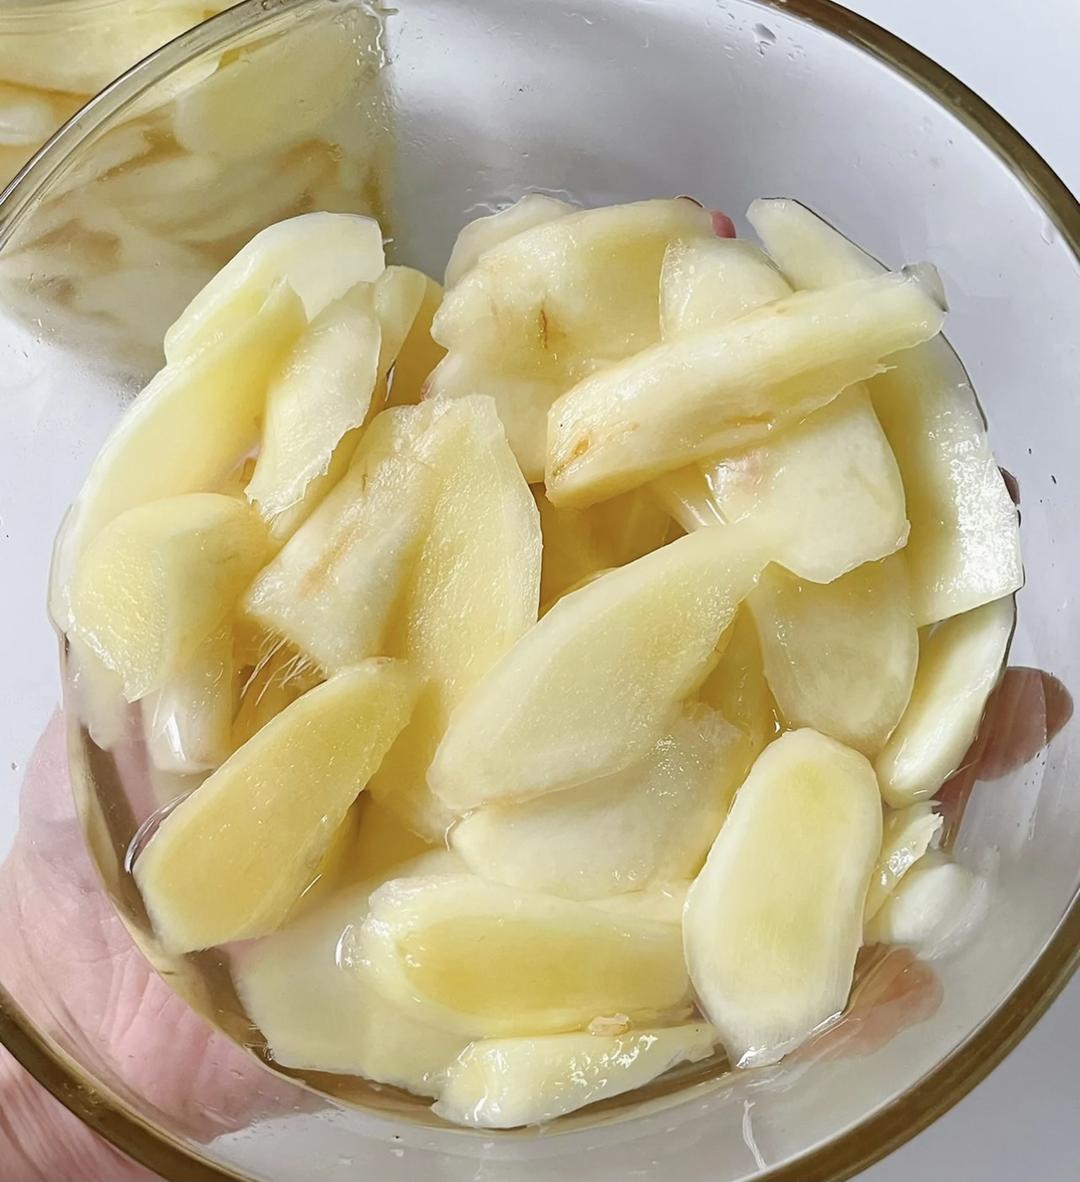
The salt rest is osmosis: salt dissolves in the moisture on the ginger’s surface, and the concentrated solution draws water out of the cells. That released liquid carries away some of the ginger’s heat and firms the cell walls, which is why salted ginger pickles crisp instead of soften.
Step 5 – Boil the Brine and Cool It Completely
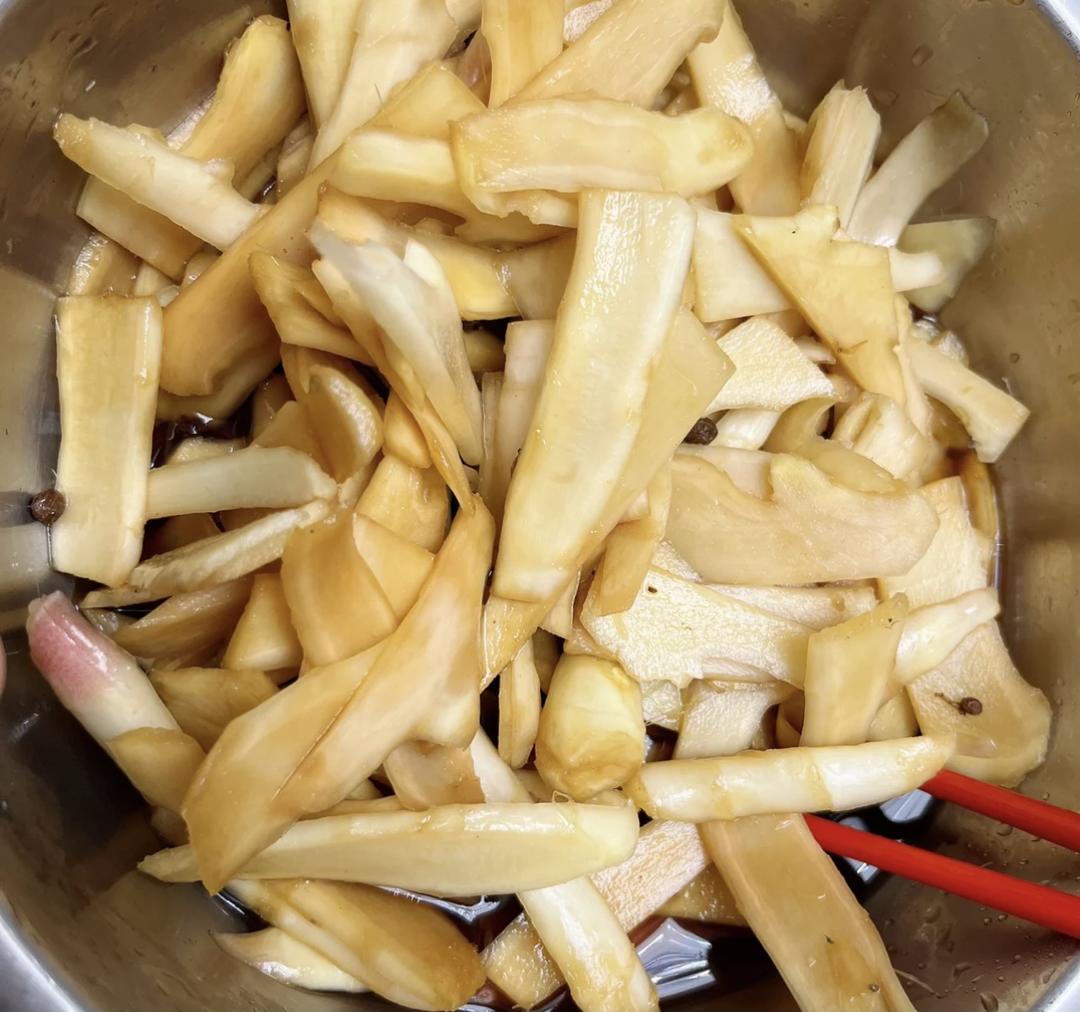
While the ginger rests, combine the white rice vinegar, sugar, and light soy in a small pot. Bring to a boil and let it bubble for a minute, stirring to dissolve the sugar, then take it off the heat and cool completely – the brine must be at room temperature before it touches the ginger, or it will cook the slices.
Step 6 – Jar, Brine, and Refrigerate
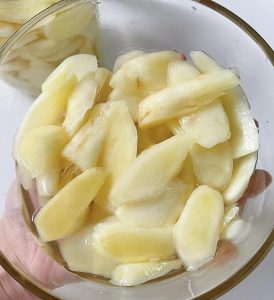
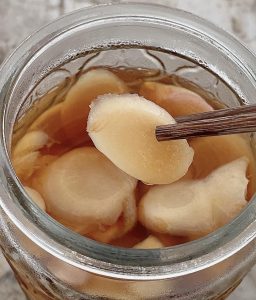
Pack the salted ginger slices into the sterilized jar and pour the cooled brine over them until they are fully submerged. Seal and refrigerate. In summer heat, the fridge is essential – the original is clear that cold storage keeps the flavor and texture at their best. Serve slices with a clean, dry pair of chopsticks each time, and the jar keeps for weeks.
Common Mistakes When Making Sweet & Sour Pickled Ginger
1. Fiery, woody pickle. Cause: using mature ginger. Fix: young ginger only – tender, pale-skinned, pink-tipped. This is the single most common failure and the easiest to avoid.
2. Soft, cooked-looking slices. Cause: pouring warm brine over the ginger. Fix: cool the brine completely before jarring; heat cooks the ginger and destroys the crisp texture.
3. A cloudy, spoiled jar. Cause: water or bacteria in the jar. Fix: sterilize the jar and let it dry completely, and always fish out slices with clean, dry chopsticks.
4. Unevenly pickled slices. Cause: inconsistent slicing thickness. Fix: thin, uniform slices (1-2 mm / 1/16 in) pickle at the same rate; use a mandoline if your knife work is uneven.
5. A bland, one-note brine. Cause: skipping the soy or skimping on the salt rest. Fix: keep the spoonful of light soy, and do not rush the 20-minute salt massage – it is what seasons the ginger from within.
6. The pickle tastes too sharp on day one. Cause: not waiting. Fix: give the jar 2-3 days in the fridge; the ginger mellows and the flavors marry. It is better on day three than day one, which I know from the jars my father always hid in the back of the fridge.
Variations
More or less sweet: Adjust the sugar between 80-120 g (about 1/2 to 2/3 cup) to taste. The original’s 100 g (1/2 cup) for 1 kg of ginger is a balanced starting point.
Add aromatics: A few slices of fresh chili, a star anise, or a strip of lemon zest in the jar infuse the brine. I have not tested all of these, so consider them experiments rather than guarantees.
Serving style: In our kitchen, sliced pickled ginger goes into hot and sour soup-style broths or alongside rice. It also pairs naturally with other pickled things: Sichuan pickled greens with pork ribs or pickled long bean fried rice.
Breakfast habit: A slice of pickled ginger beside congee or pickled mustard green noodle soup is a classic northern pairing – crisp against soft, sour against starchy.
Frequently Asked Questions
How long does it keep? Refrigerated and handled with clean, dry utensils, the jar keeps for 2-4 weeks. If the brine ever turns cloudy or smells off, discard it – trust your nose.
Can I use regular ginger? I would not. Mature ginger is too hot and fibrous to pickle well; the dish really needs young ginger. This is the honest answer, and the original recipe agrees.
Can I reuse the brine? You can refresh it once with a little fresh vinegar and sugar, but the flavor weakens. I have only done this once myself, so treat it as an experiment.
Why is the soy sauce in there? One spoon of light soy adds savory depth that balances the sweet-sour brine – a small, deliberate touch from the original cook that I kept.
Can I make a smaller batch? Yes – scale everything by weight, including the salt and brine. The 1 kg (2.2 lb) batch is the original’s, and it is generous.
How to Serve
Serve the pickled ginger as a side, an appetizer, or a palate cleanser between rich dishes. It shines beside any oily or heavy meal – a few slices cut through richness in a way nothing else does. In my house it appears next to Dongpo pork and spicy ginger pork knuckle, where the ginger theme makes the table feel intentional. For a summer spread, pair it with ground ginger-seasoned dishes and a pot of hot and sour soup – cool against hot, crisp against silky.
Storage & Reheat
This is a cold pickle – there is no reheating. Keep the jar refrigerated and always use clean, dry chopsticks; introducing water is the fastest way to shorten its life. The pickled ginger keeps 2-4 weeks refrigerated, and it needs no freezing (freezing would wreck the crisp texture). If you plan to keep it longer, my guide to storing Chinese sauces and pickles has the full hygiene routine.
Allergen Notice
This recipe contains soy (light soy sauce). It is free of gluten (verify your soy sauce), nuts, eggs, dairy, and shellfish.
Nutrition Disclaimer
Nutrition information is calculated using an ingredient database and should be considered an estimate. In cases where multiple ingredient alternatives are given, the first listed is calculated for nutrition. Garnishes and optional ingredients are not included.
About the Author & Recipe Development
I am Lin, a professional Chinese chef who spent a decade in high-volume restaurant kitchens before writing about Chinese cooking. I grew up watching my father make this pickle by feel – a handful of ginger, a splash of vinegar, never a recipe written down. This xiachufang home recipe is the closest thing I have found to his method on paper, down to the single spoon of soy and the insistence on young ginger. I have tested the jar twice as written, kept the 20-minute salt rest, and added only the honest notes: wait three days, use clean chopsticks, and do not try it with old ginger. I have not tested every variation in this article, and I would rather say so than pretend otherwise.
Authoritative References
USDA Food Safety and Inspection Service – Safe Temperature Chart for refrigeration and food-storage guidance.
Sweet & Sour Pickled Ginger (Tang Cu Pao Jiang): A Summer Staple

Equipment
- Clean glass jar with lid
- Sharp knife or mandoline
- Small Pot
Ingredients
For the Pickle
- 1 kg young ginger (zai jiang) 2.2 lb, about 2 jin
- 1 tbsp salt 15 g
- 100 g sugar 1/2 cup
- 200 ml white rice vinegar 3/4 cup plus 2 tbsp
- 1 tbsp light soy sauce 15 ml
Instructions
- Choose young ginger only – tender, pale-skinned, mildly spicy. Old ginger is too hot and woody.

- Pick out any soft or bruised pieces, then wash the ginger thoroughly.

- Slice the ginger into thin, uniform slices, about 1-2 mm (1/16 in) thick.

- Massage the slices with the salt and rest 20 minutes. Sterilize and dry a clean glass jar meanwhile.

- Boil the vinegar, sugar, and light soy for a minute, then cool completely – the brine must be room temperature.

- Pack the ginger in the jar, cover with the cooled brine, seal, and refrigerate. Serve with clean, dry chopsticks; keep 2-4 weeks.




Leave a Reply