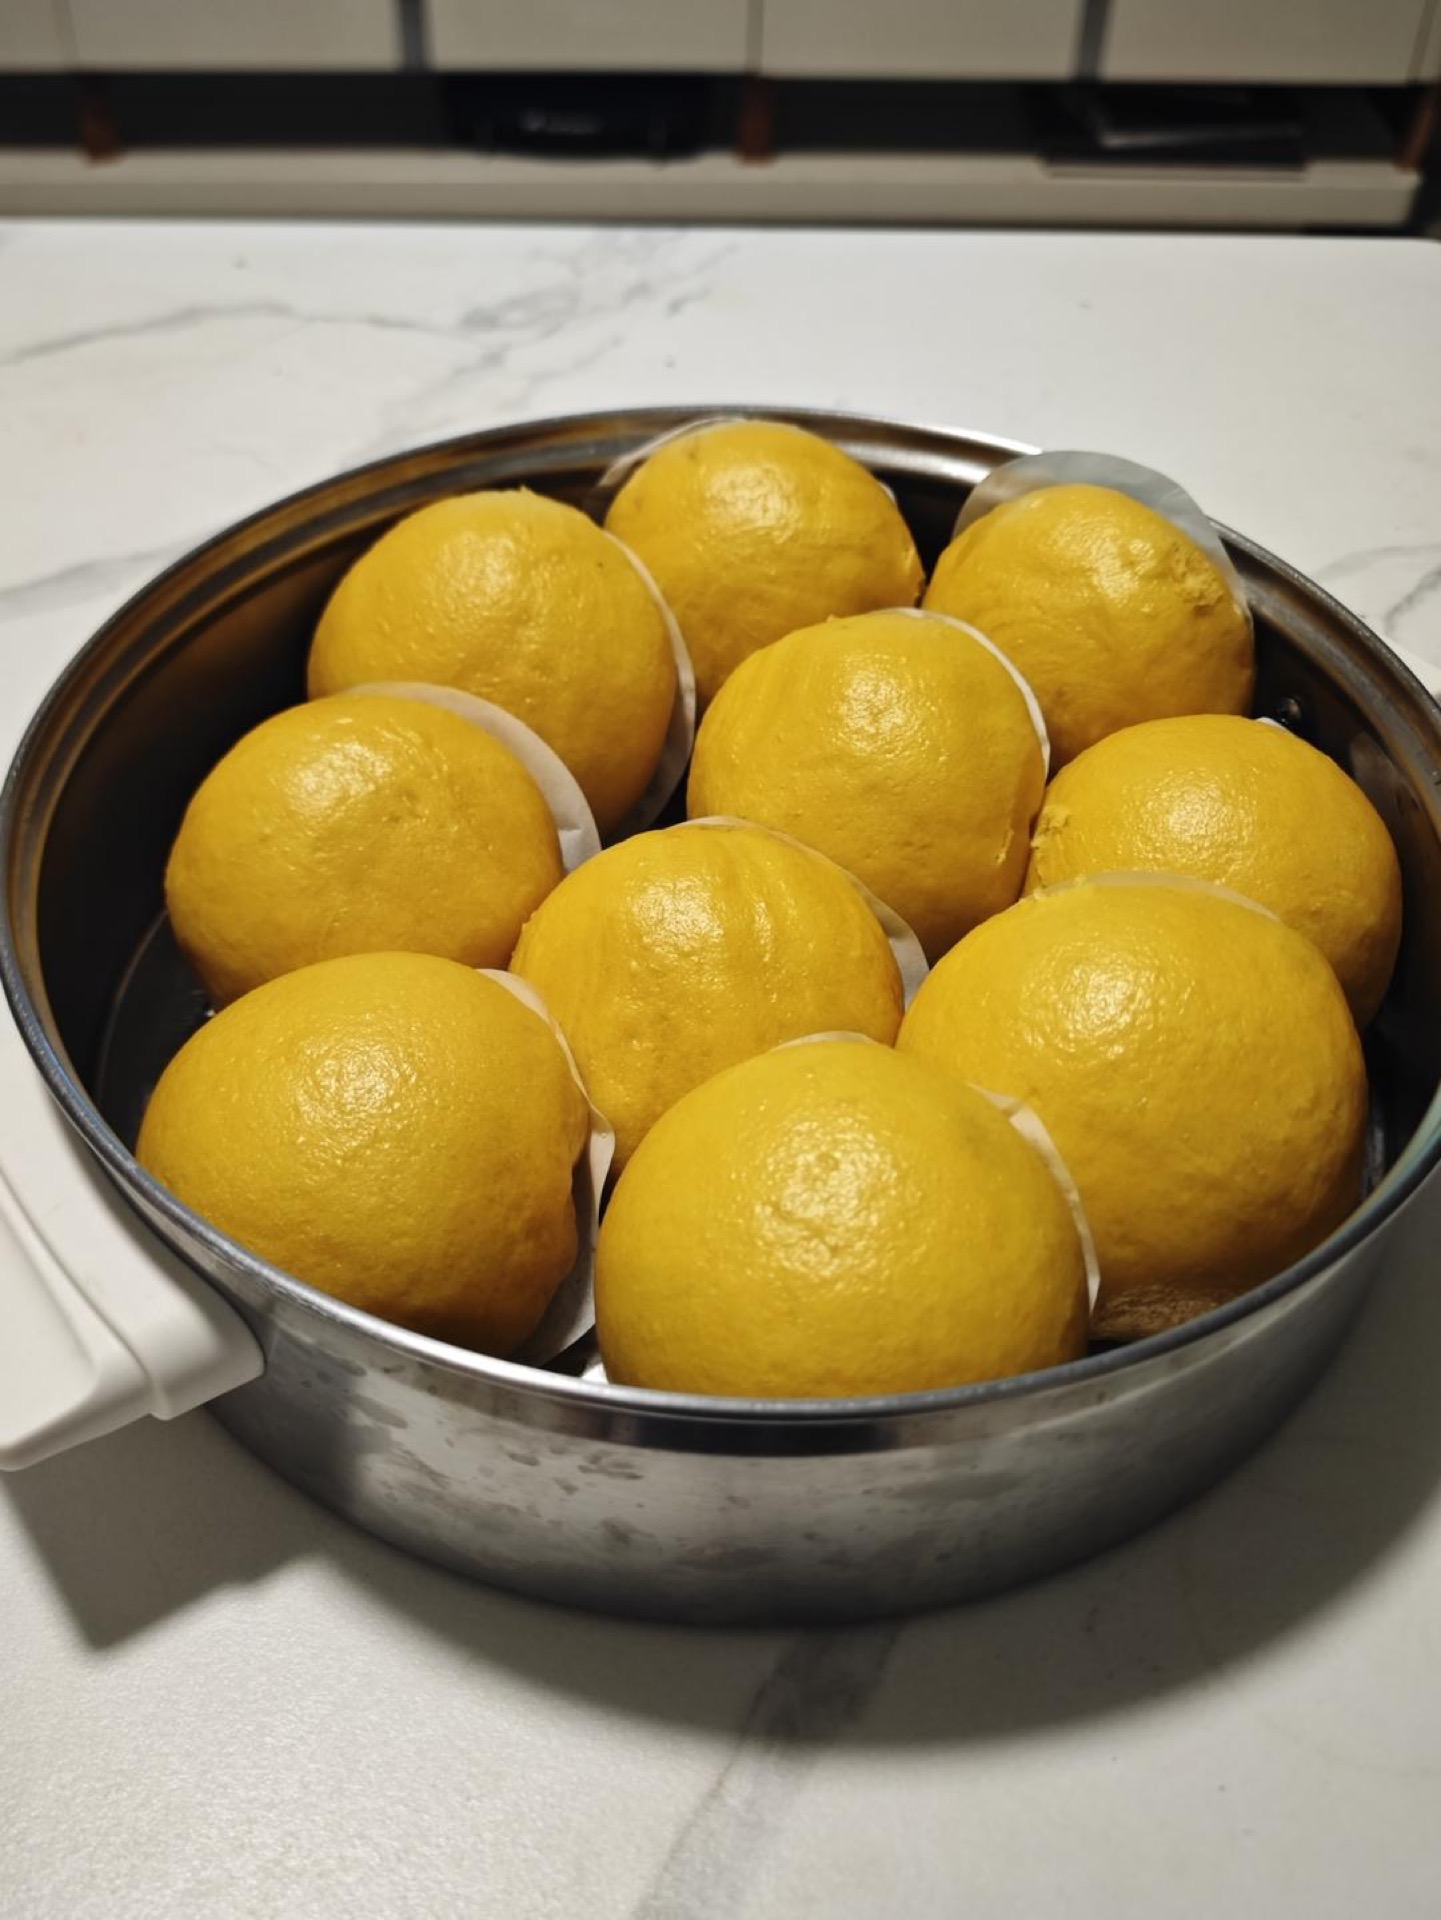
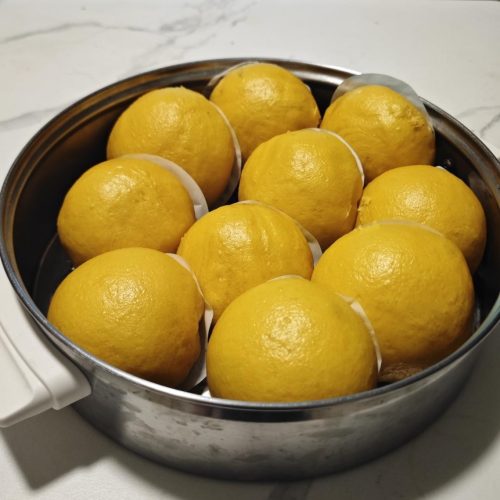
There is a particular kind of quiet satisfaction in pulling the lid off a steamer and finding ten smooth, golden domes where a sticky lump of dough used to be. These pumpkin butter steamed buns are that moment, and they were built for the cook who has never kneaded anything in their life. The formula is written in grams, the pumpkin is weighed after steaming rather than before, and the yeast goes in late so the dough cannot run away from you. What comes out is soft, faintly sweet, and unmistakably buttery — the kind of bun you eat warm with nothing on it at all.
If you have ever watched a batch of mantou collapse, wrinkle, or turn gummy, the culprit is almost always one of two things: too much water in the pumpkin, or dough that proofed before it was properly kneaded. Both are solved here by sequencing rather than skill. You will weigh the mash, knead the dough first, and only then work the yeast in — a technique home bakers in northern China call the post-yeast method, and it is the single biggest reason this recipe behaves.
What Is 奶香南瓜馒头?
Nan gua man tou is the pumpkin branch of the mantou family — the plain, un-filled steamed buns that anchor breakfast and dinner tables across northern China. Where a standard mantou is flour, water, and yeast, this version swaps most of the water for steamed pumpkin mash and adds a knob of butter, which is where the 奶香 (milky fragrance) in the name comes from. The pumpkin brings natural sweetness, a soft golden color, and enough moisture that the crumb stays tender for a day longer than a plain bun would.
The name is slightly misleading in a useful way. There is no milk in the dough at all. The dairy note comes entirely from butter, because as any pastry cook knows, milk and milk powder carry far less aromatic impact than butterfat does. Fifteen grams is enough to perfume an entire 800g batch without turning the buns rich or heavy.
Mantou are steamed, not baked, which means they never form a crust. That is exactly why the crumb stays so soft — and also why the dough needs to be kneaded smooth before it proofs, since there is no oven spring to hide a lumpy, uneven interior.
If you enjoy this style of soft, unfilled bun, our pumpkin steamed buns take the same idea in a slightly different direction, and the classic Shandong steamed buns show what a truly chewy, well-developed mantou dough looks like when it is kneaded by hand for far longer.
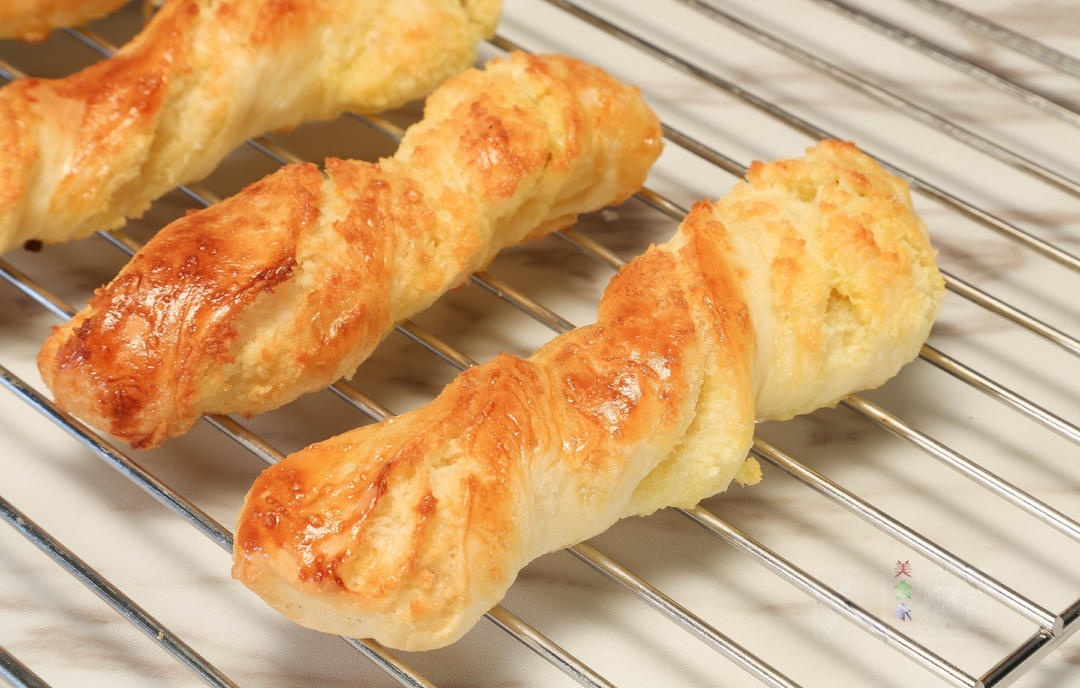
And if you like the idea of folding a vegetable mash into bread dough, our fluffy coconut bread strips use a similar enriched-dough logic with a completely different flavor.
1Coconut Bread Strips (Ye Rong Mian Bao)These soft, fluffy Chinese coconut bread strips are filled with a sweet buttery coconut filling and twisted for a beautiful bakery-style look. Perfect for breakfast or a tea-time snack.Check out this recipe
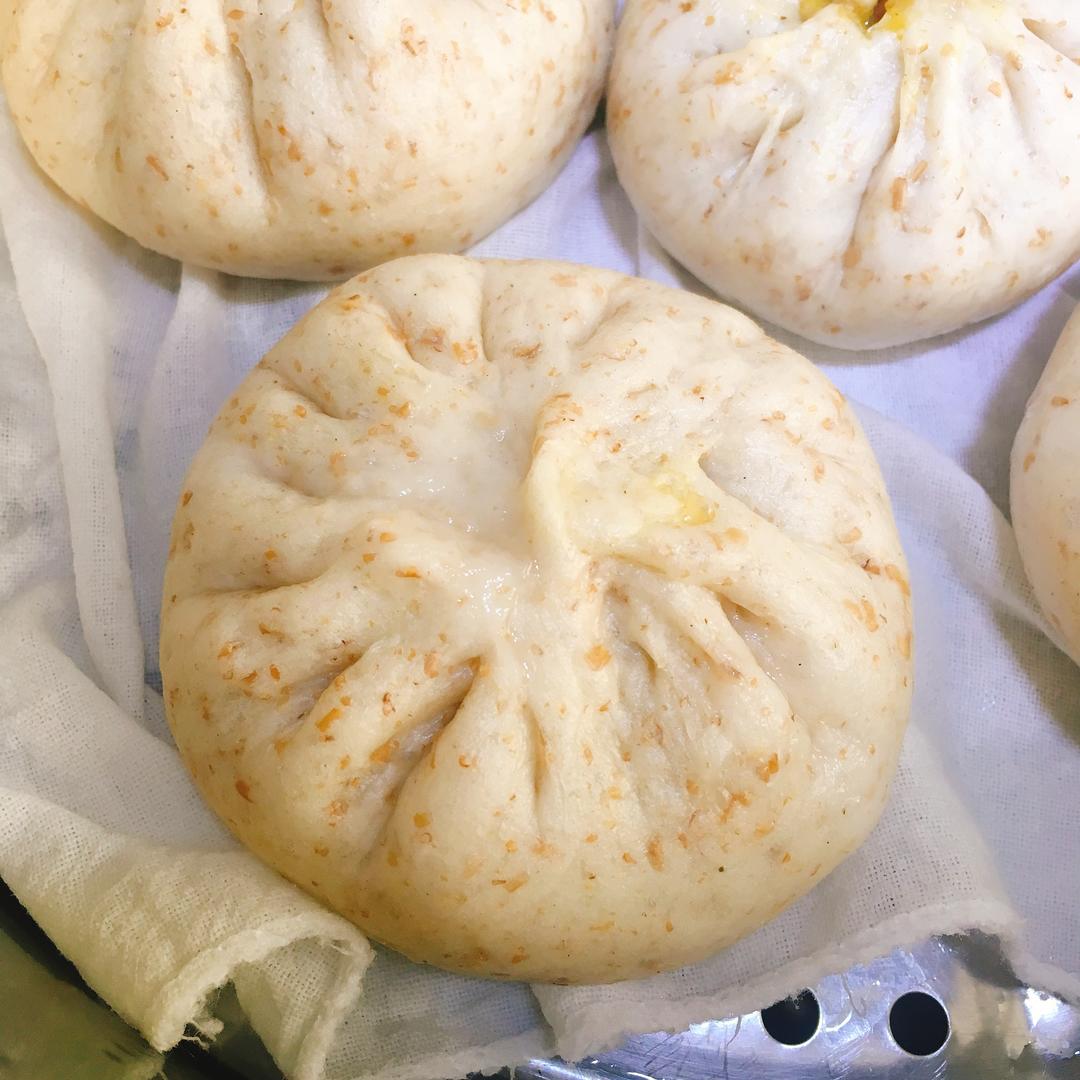
For a machine-assisted version of the same soft bun, our bread machine whole wheat buns let the appliance do the kneading.
2Quick Bread Machine Whole Wheat Buns (Quan Mai Bao Zi)Learn how to make authentic, fluffy whole wheat steamed buns (Quan Mai Bao Zi) using a bread machine for effortless kneading. A foolproof Chinese breakfast recipe perfect for sweet or savory fillings.Check out this recipe
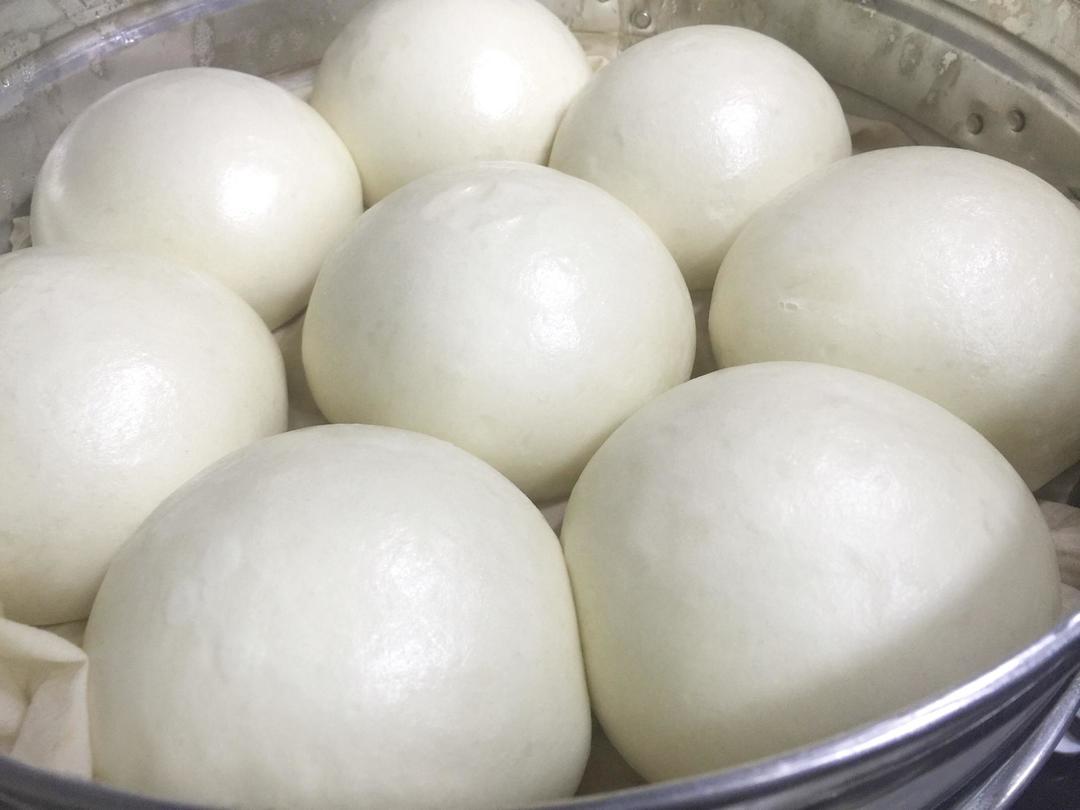
For the next cook from the same playbook, Shandong steamed buns is the recipe I point people to.
3Authentic Shandong Steamed Buns (Da Mantou)Learn the secrets to authentic, dense, and chewy Shandong Da Mantou. This recipe uses the traditional double-knead method and precise hand-shaping techniques for flawlessly smooth, wrinkle-free steamed buns.Check out this recipe
Why This Recipe Works
Three decisions do the heavy lifting here, and none of them require technique.
The pumpkin is weighed after steaming. This is the whole ballgame. A raw pumpkin might be 85% water or 92% water depending on variety, age, and how long it sat in the market. If you measure raw chunks, you are guessing. If you weigh the cooked mash, you are controlling. Two hundred ninety grams of mash to five hundred grams of flour produces a dough that comes together into a shaggy mass that looks slightly dry at first — and that apparent dryness is correct. It rests, hydrates, and turns supple.
The yeast goes in last. When yeast is mixed in at the start, the clock begins ticking the moment liquid meets flour. A slow beginner spends fifteen minutes kneading, and by the end the dough has already started to ferment, which makes it slack, gassy, and hard to shape. By kneading the flour, butter, and pumpkin first and working the yeast water in afterward, you get an unhurried window to develop gluten. The dough cannot over-proof before it is even shaped.
There is only one proof. Traditional mantou sometimes calls for a second rise after shaping. That extra step is where beginners lose buns to over-proofing — the dough goes past its peak, the gluten network weakens, and the steamed result collapses into a wrinkled disc. A single proof to doubled size is far more forgiving, and the crumb is still airy.
One more thing worth knowing: the butter is not decoration. Fat coats gluten strands and interferes with their bonding, which shortens them and keeps the crumb tender rather than bready. It also carries flavor compounds that milk simply cannot, which is why 15g of butter reads as more “milky” than 100ml of milk would.
Ingredients
Five ingredients, and one of them is water. That is the entire list. Because there are so few components, the quality and accuracy of each one matters more than it would in a long braise.
- 500g all-purpose flour (中筋面粉) — medium-gluten flour, the standard for mantou. Bread flour makes the buns tough and chewy; cake flour makes them collapse.
- 290g cooked pumpkin mash — weighed after steaming and cooling. Kabocha, butternut, and sugar pumpkin all work.
- 15g butter — softened. Salted or unsalted both fine; the dough has no other salt.
- 2-3g instant yeast — about ¾ teaspoon. Not more; a slow proof builds better flavor.
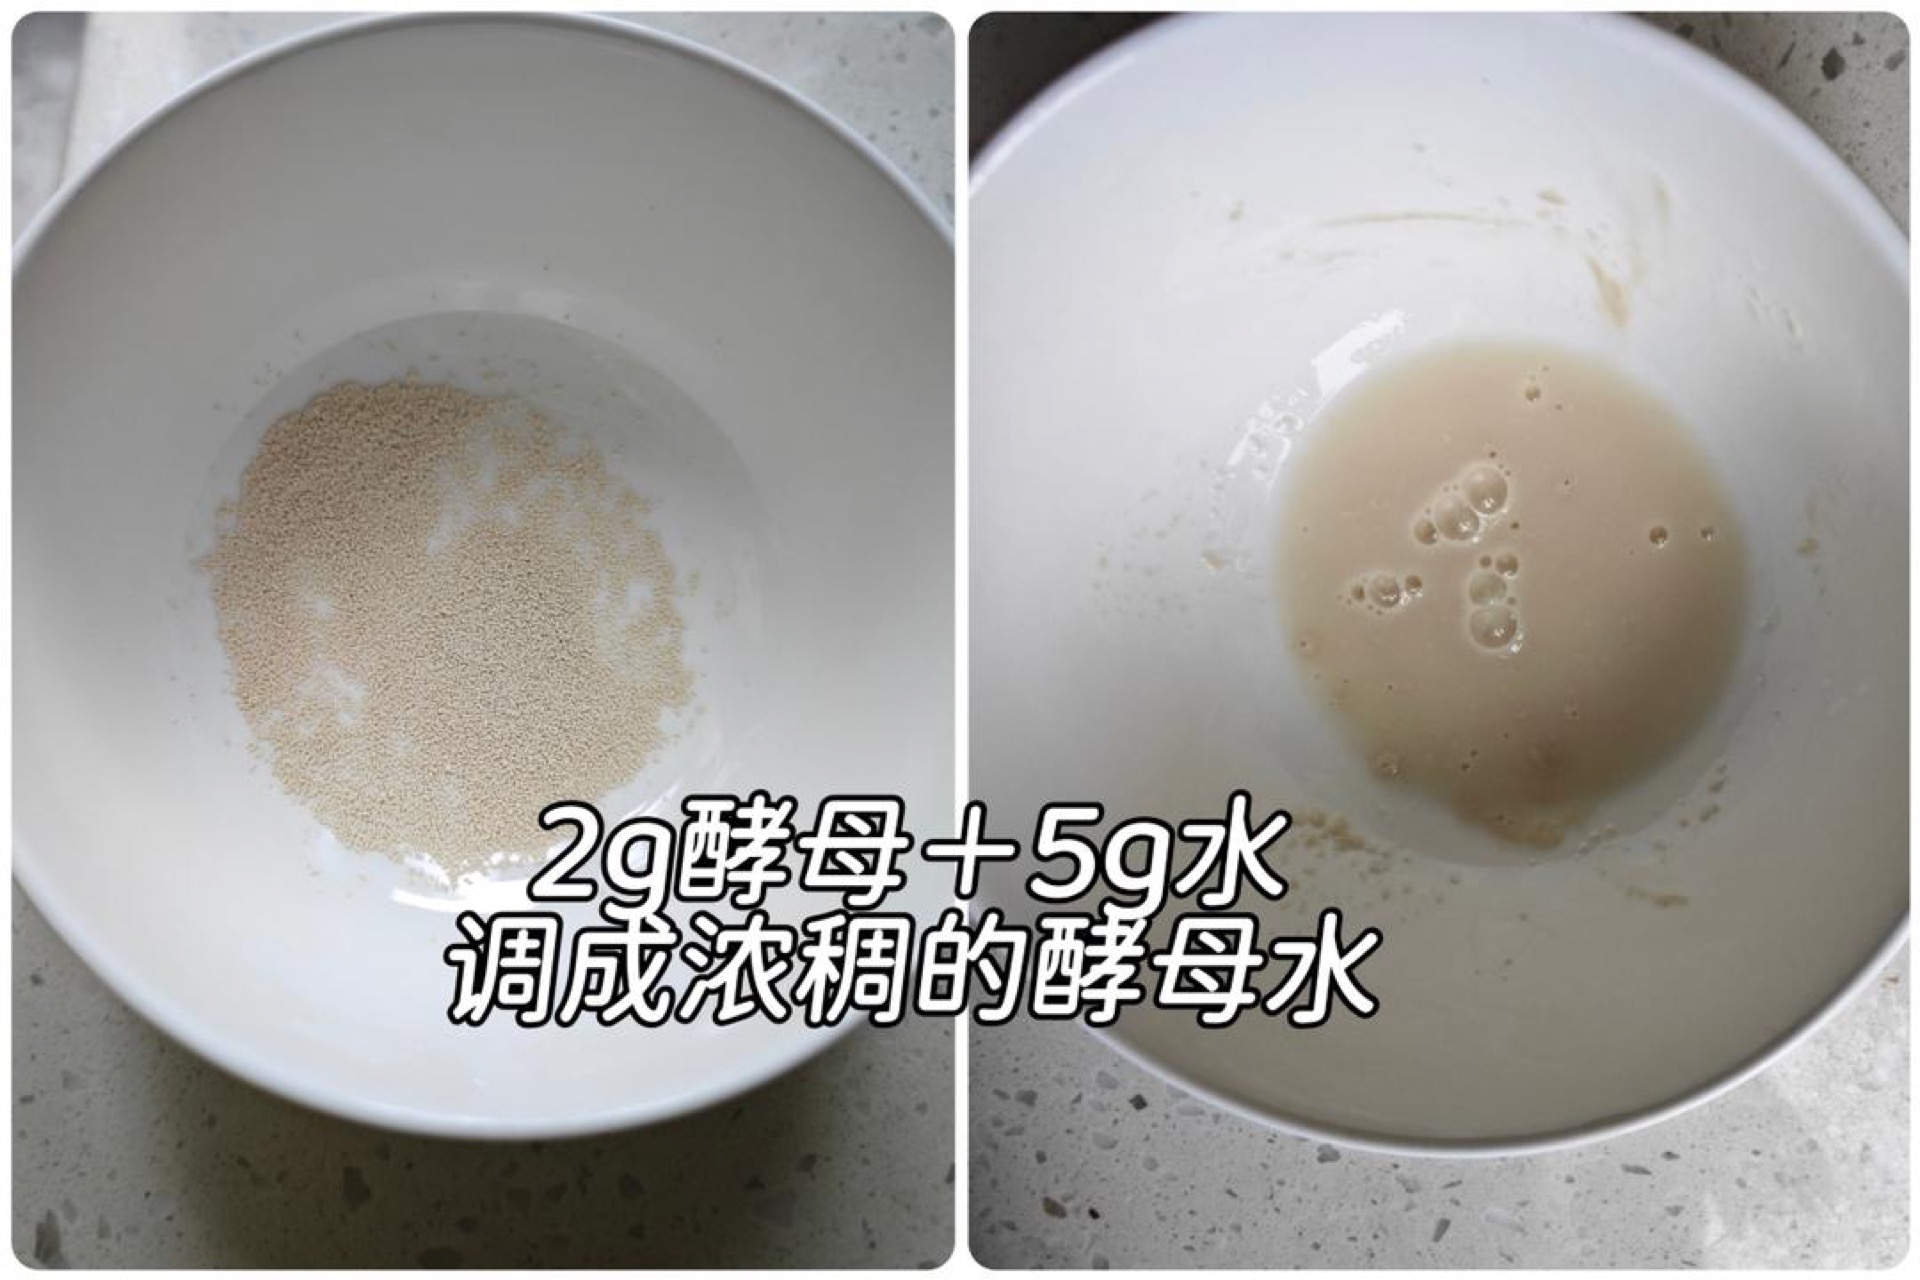
- 5g cool water — just to bloom the yeast into a paste so it distributes evenly.
Cooking Process
Step 1 — Steam the Pumpkin
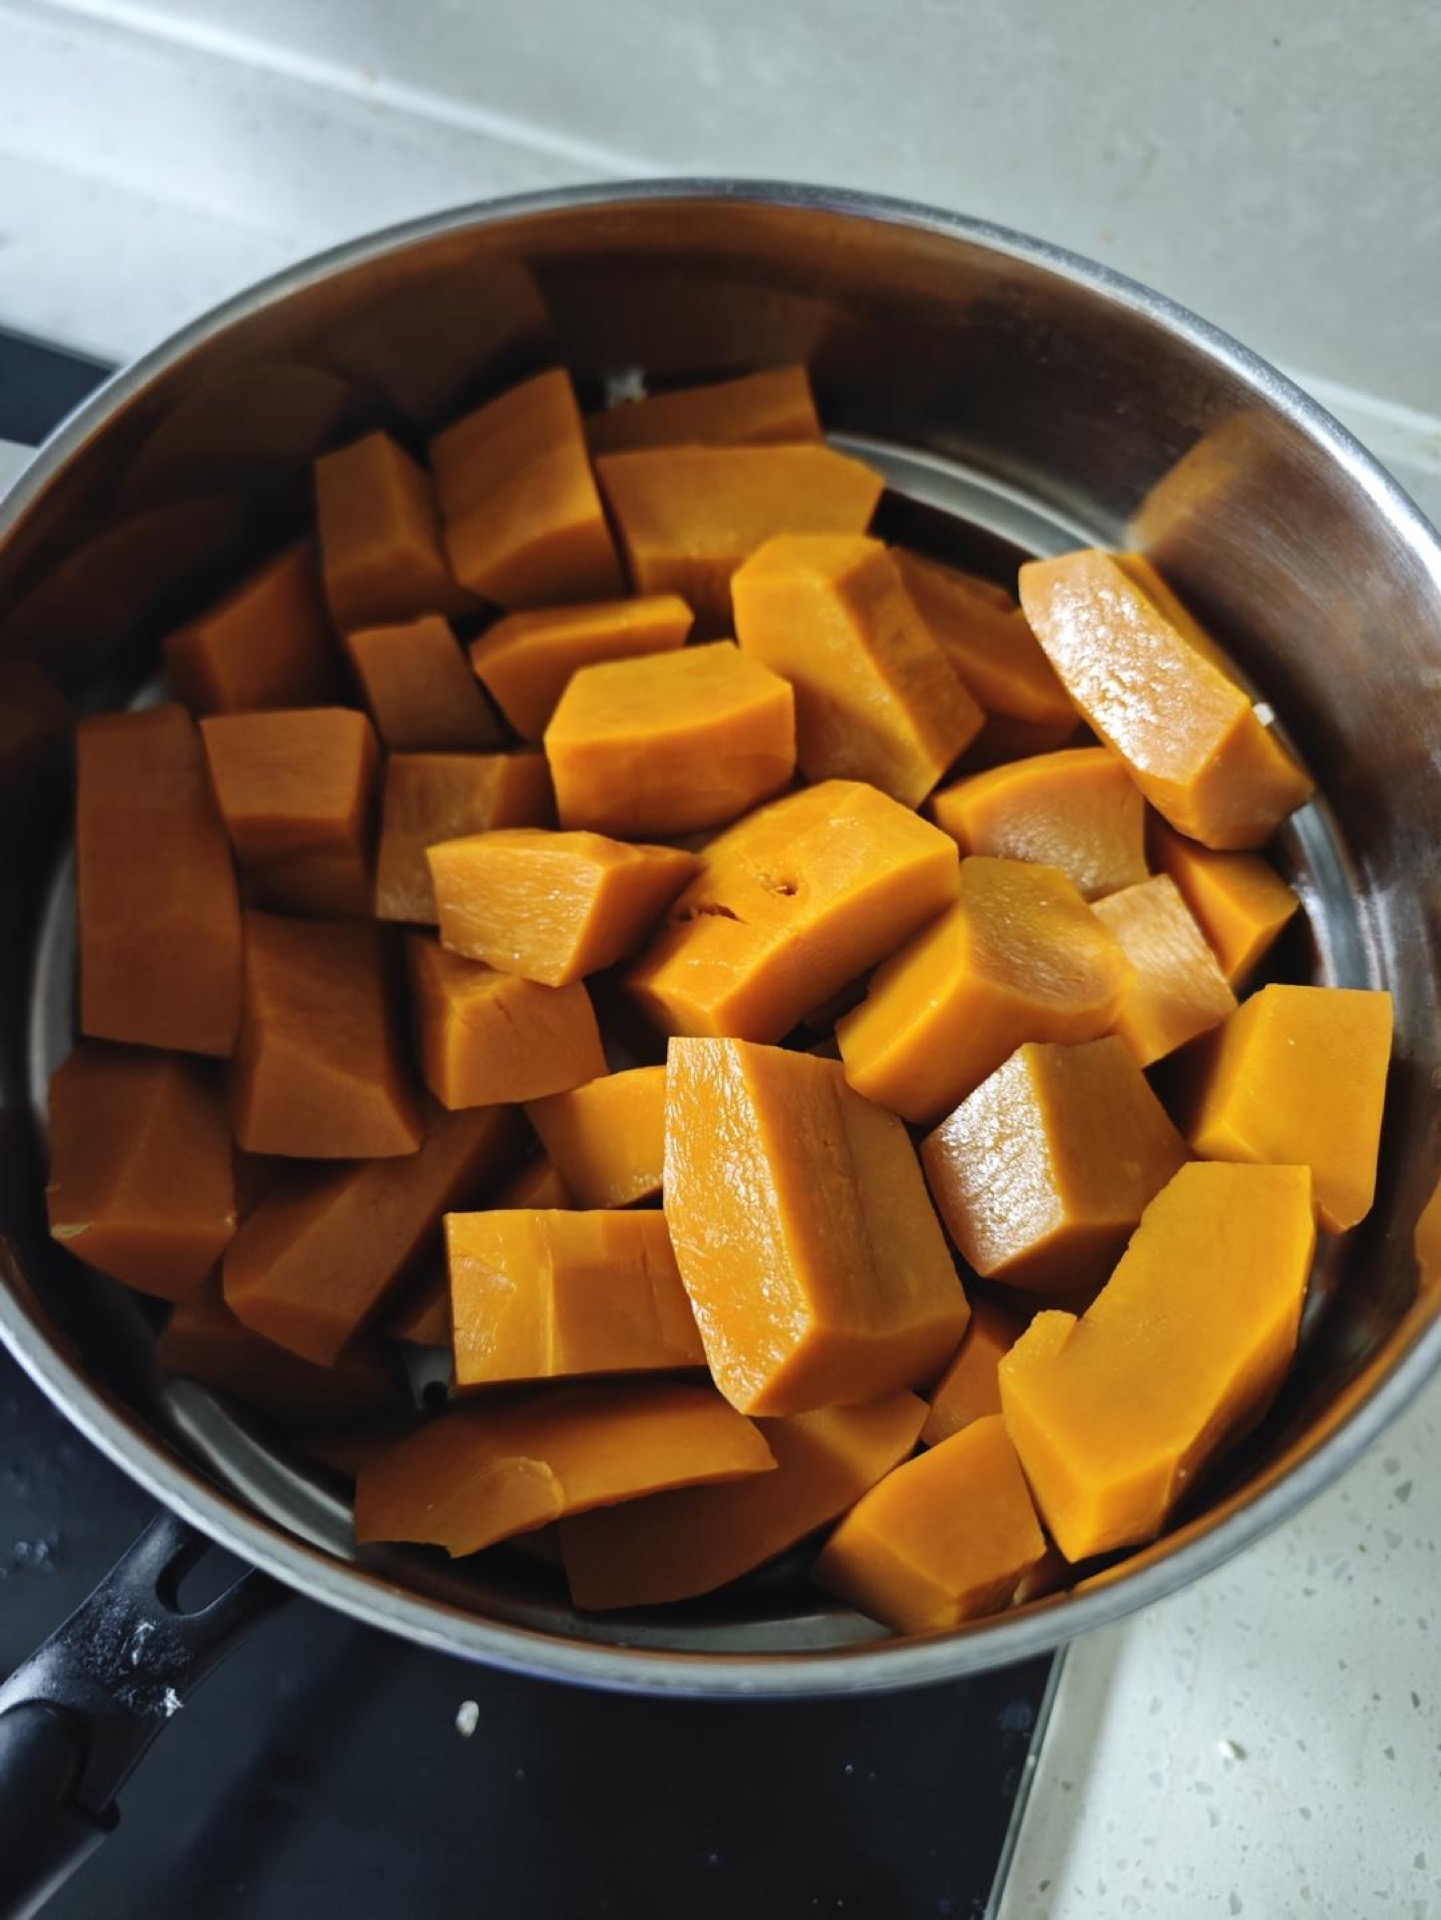
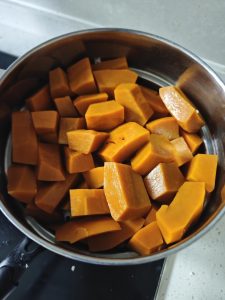
Peel, seed, and cut the raw pumpkin into chunks, then steam for 25 minutes; I have weighed it myself, and about 480g of peeled, seeded raw pumpkin steams down to roughly 290g of cooked pumpkin, which pairs exactly with 500g of flour. Raw pumpkin holds different amounts of water, but you must end up with exactly 290g of pumpkin mash, no more; if you steam less than that, reduce the flour proportionally. This is the key to not failing as a beginner.
Step 2 — Mash and Cool
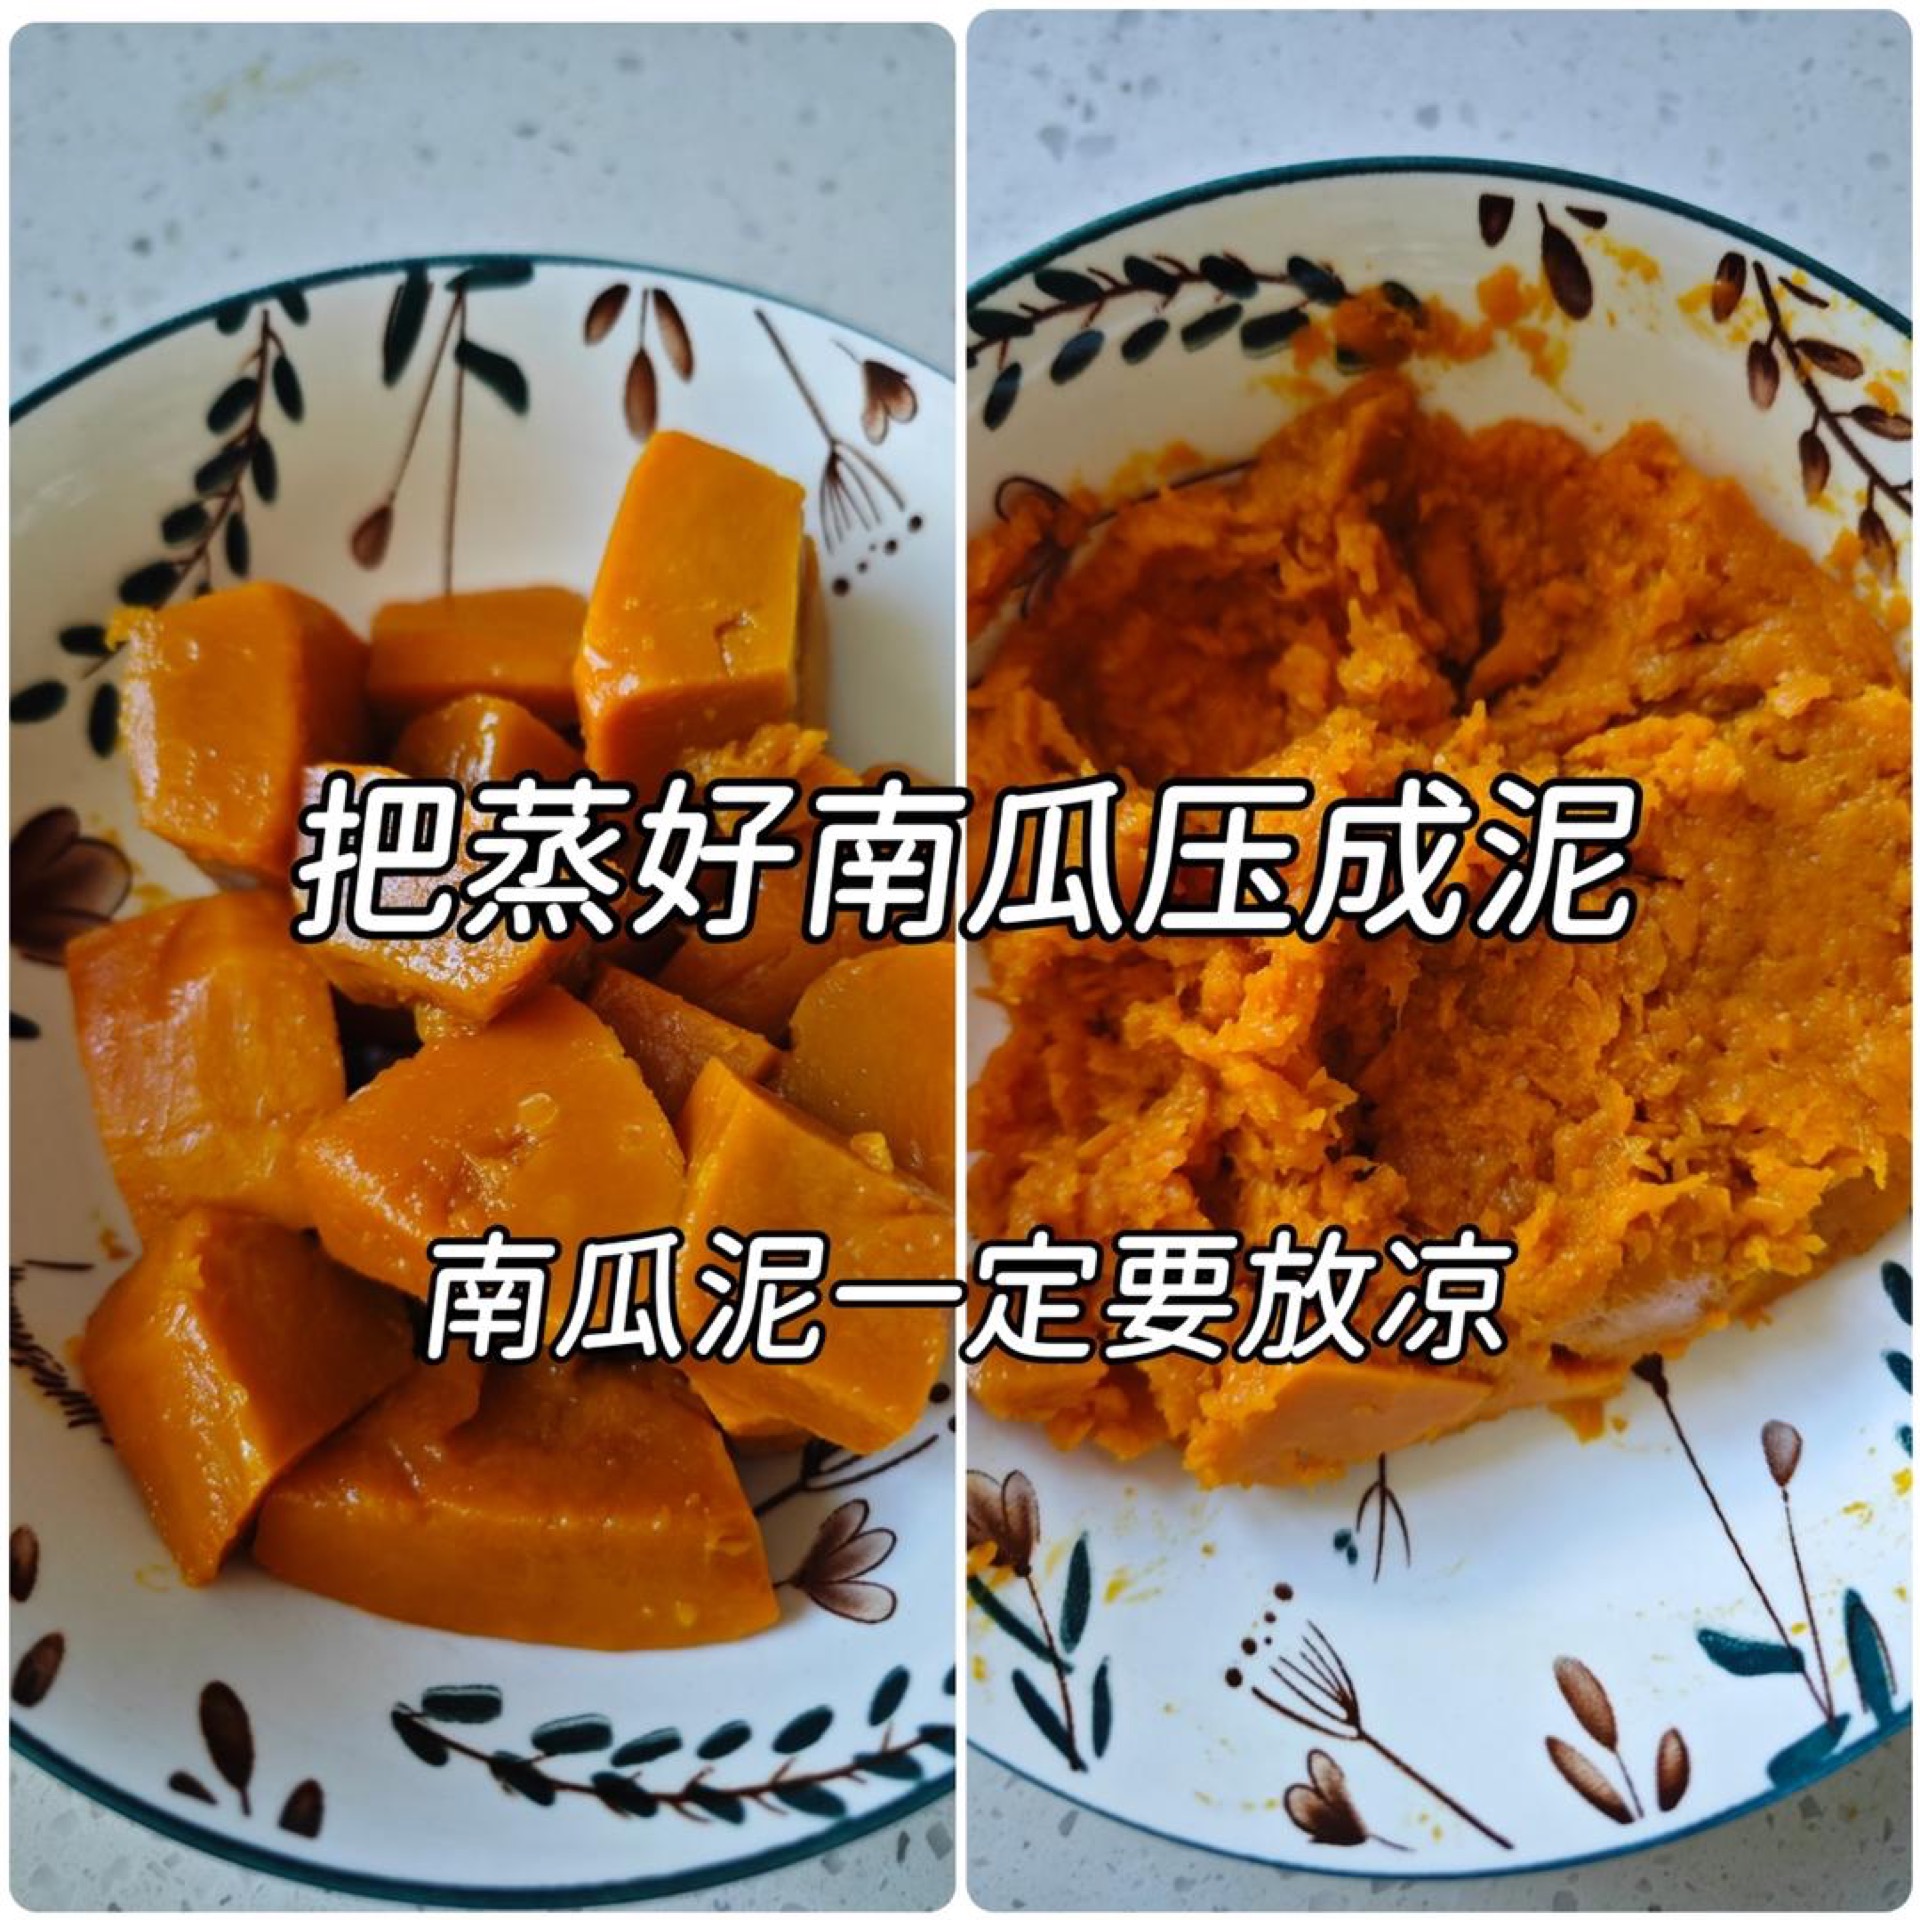
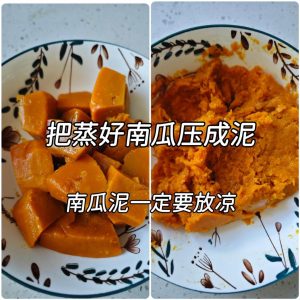
Once the pumpkin is steamed so a chopstick slides straight through, press it into a mash with a rice spoon or chopsticks and let it cool. Beginners must do this step, because beginners easily under-knead, and mashing it first makes it much easier to bring the dough together. The mashed pumpkin must be cooled, at least to room temperature, which is critical — if it is not cooled it will be extremely sticky.
Step 3 — Soften the Butter
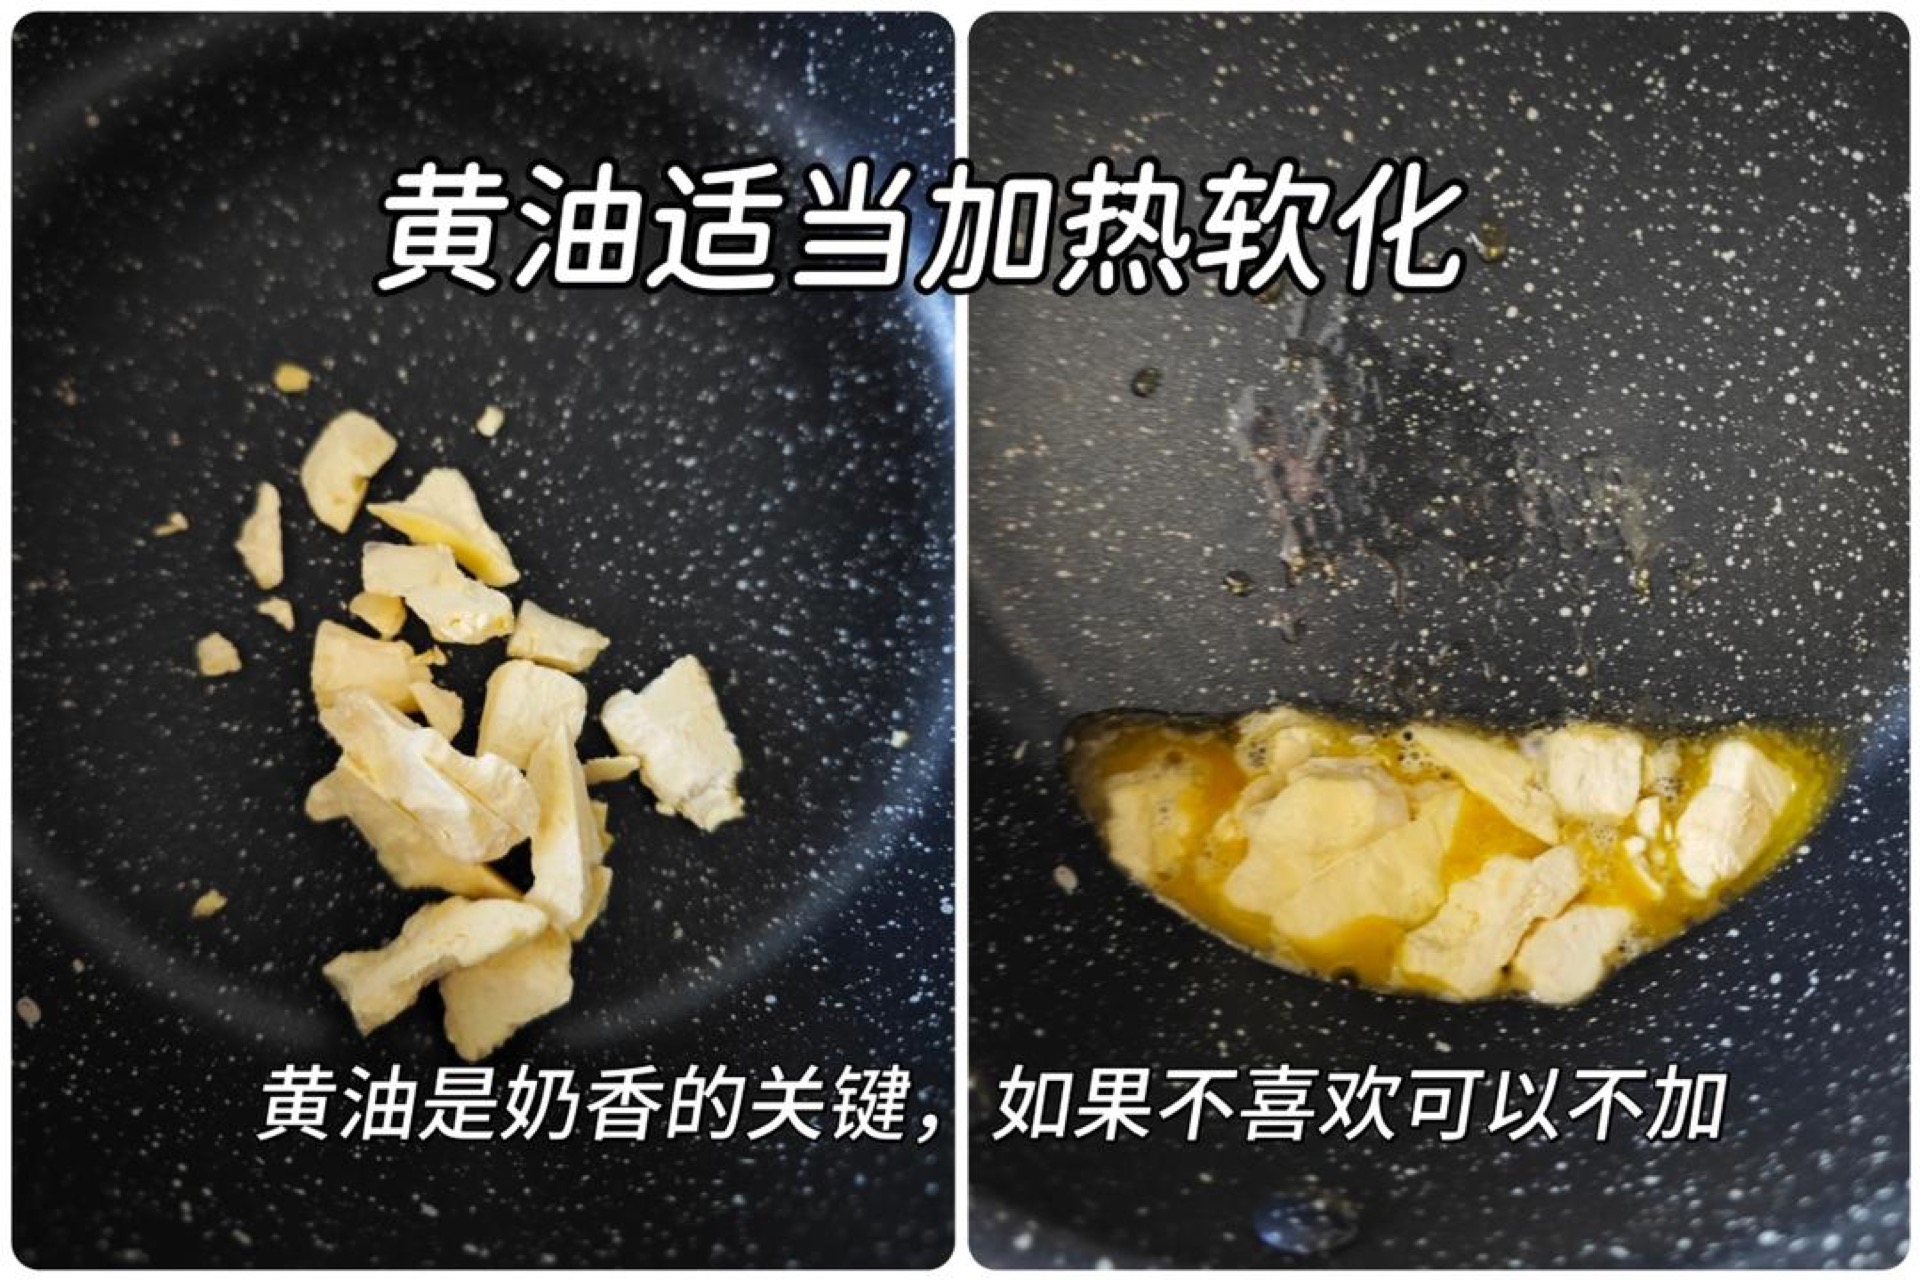
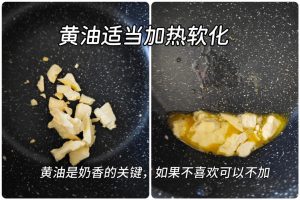
Soften 15g of butter appropriately; on a hot day leaving it at room temperature is enough, or you can warm it briefly in a pan. Many people think the milky fragrance comes from milk and milk powder, but in fact milk and milk powder do not bring enough of it — the source of that dairy aroma is mainly the butter. If you do not like the milky scent you can leave it out.
Step 4 — Mix the Base Ingredients
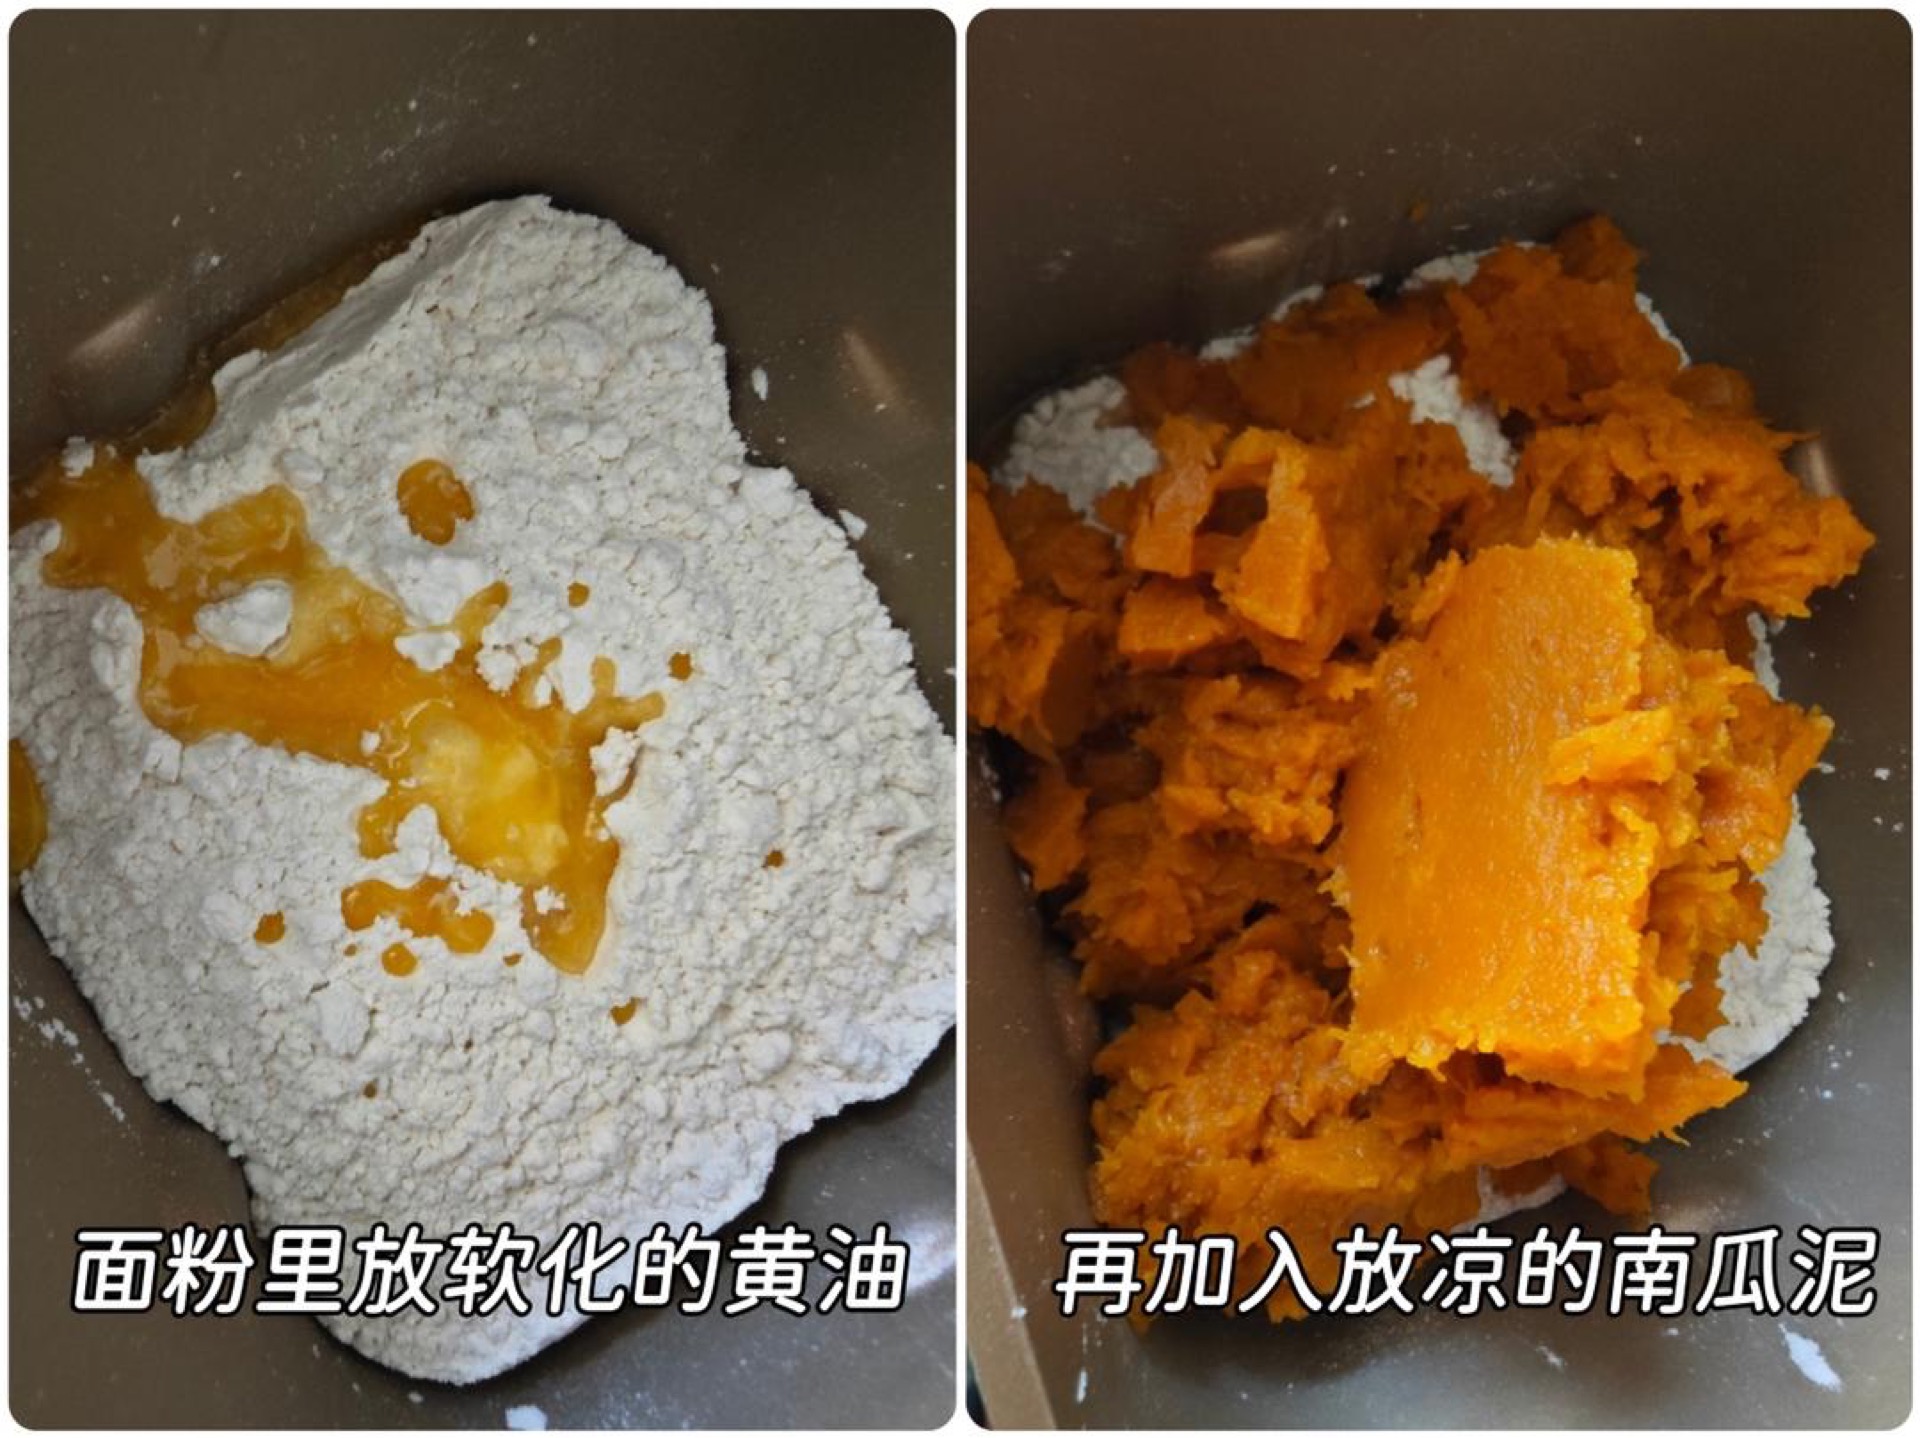
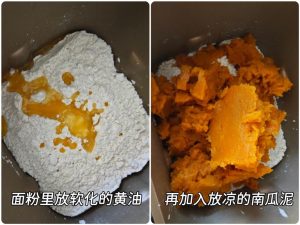
Combine 500g of flour, 15g of softened butter, and 290g of cooled pumpkin mash. Note: do not add the yeast yet, because this is aimed at beginners and uses the post-yeast method, so the dough is less likely to start fermenting early during kneading.
Step 5 — Start Kneading
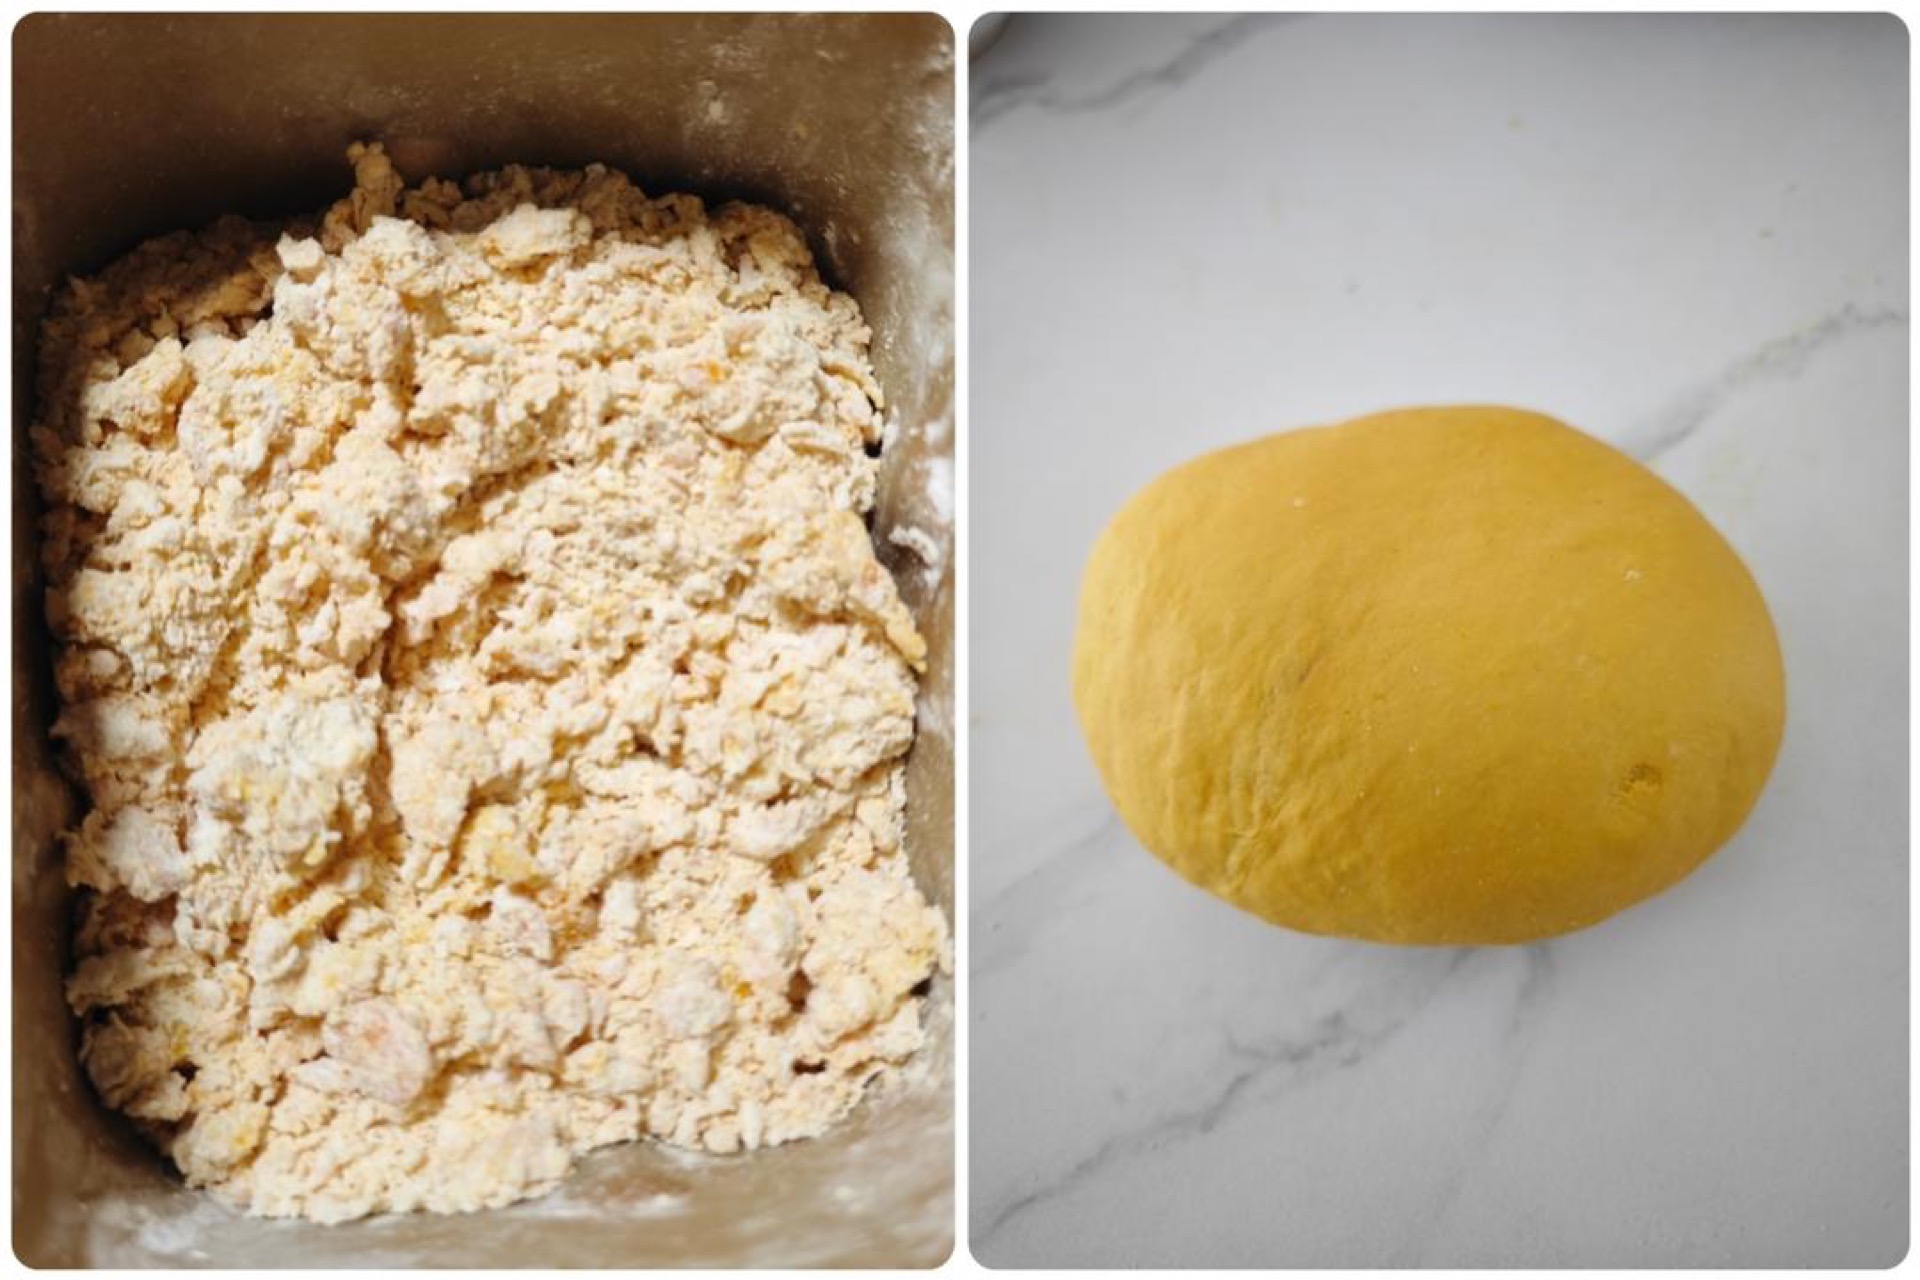
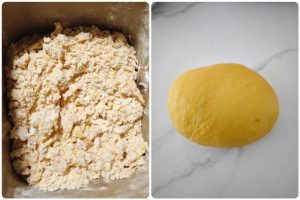
Begin kneading the dough. First mix all the ingredients into a shaggy mass like the one on the left; it looks a little dry, but that is actually just right. Then start bringing it into a ball — as long as it can come together, this ratio is correct, and after a short rest the firmness will be just right. If it truly will not come together, add a little water in small amounts; generally no water is needed. After it forms a ball, rest it 10 minutes and knead again; if you cannot get it smooth, rest another 10 minutes and knead again, until it is basically smooth.
Step 6 — Make the Yeast Water
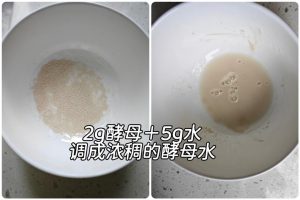
Mix 2-3g of yeast with 5g of cool water and set it aside.
Step 7 — Knead In the Yeast Water
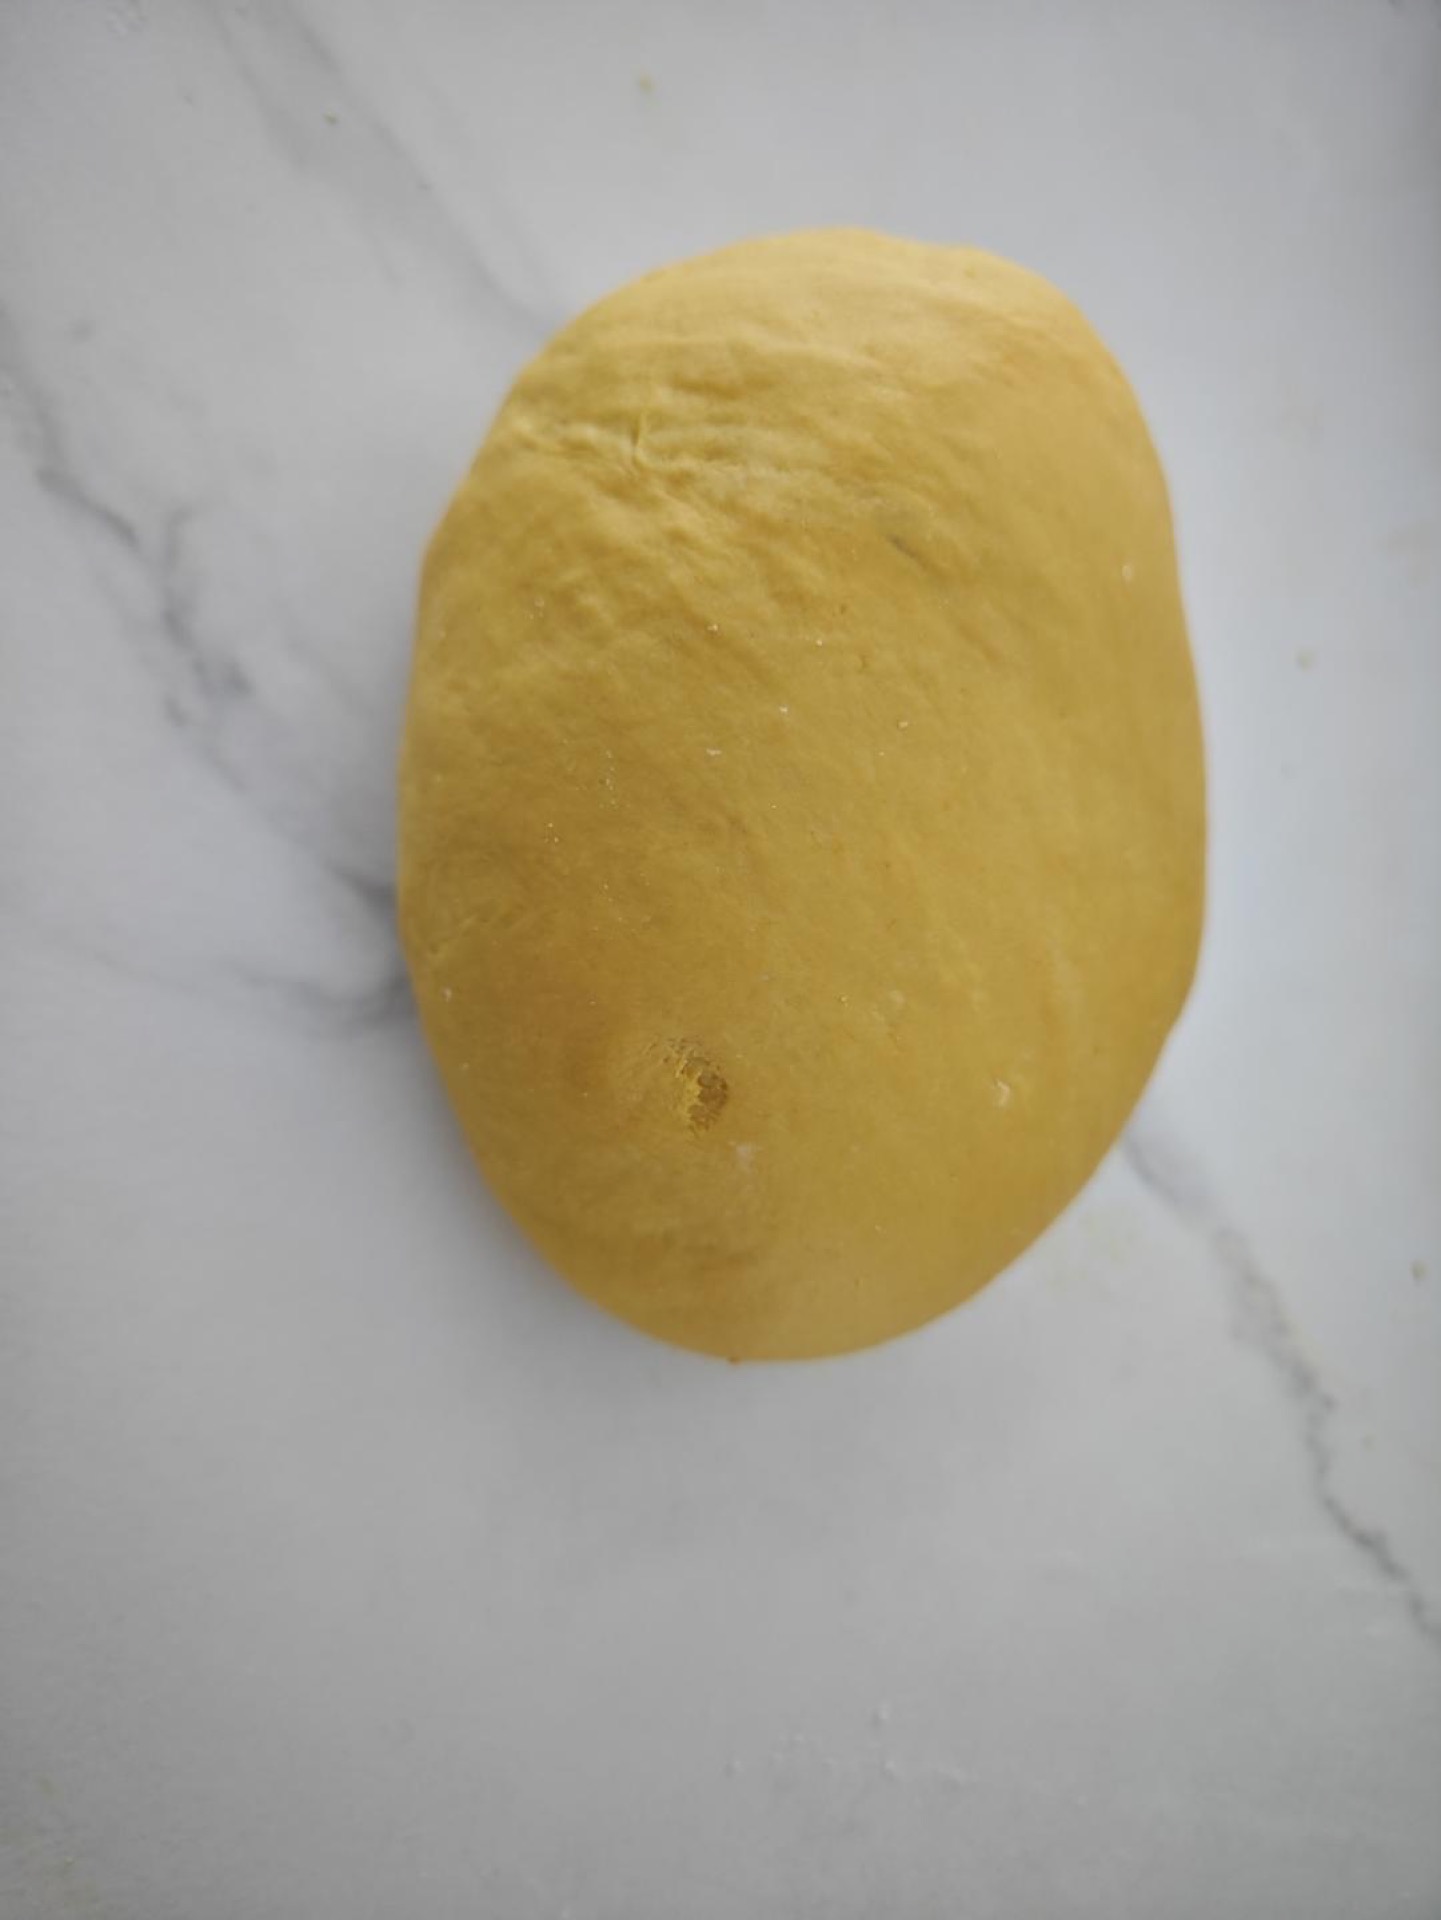
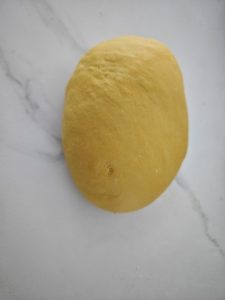
Knead the yeast water into the dough little by little. I forgot to photograph this step. You can first roll the dough out a bit thinner, then brush the yeast water over the surface and fold and knead it in.
Step 8 — Divide the Dough
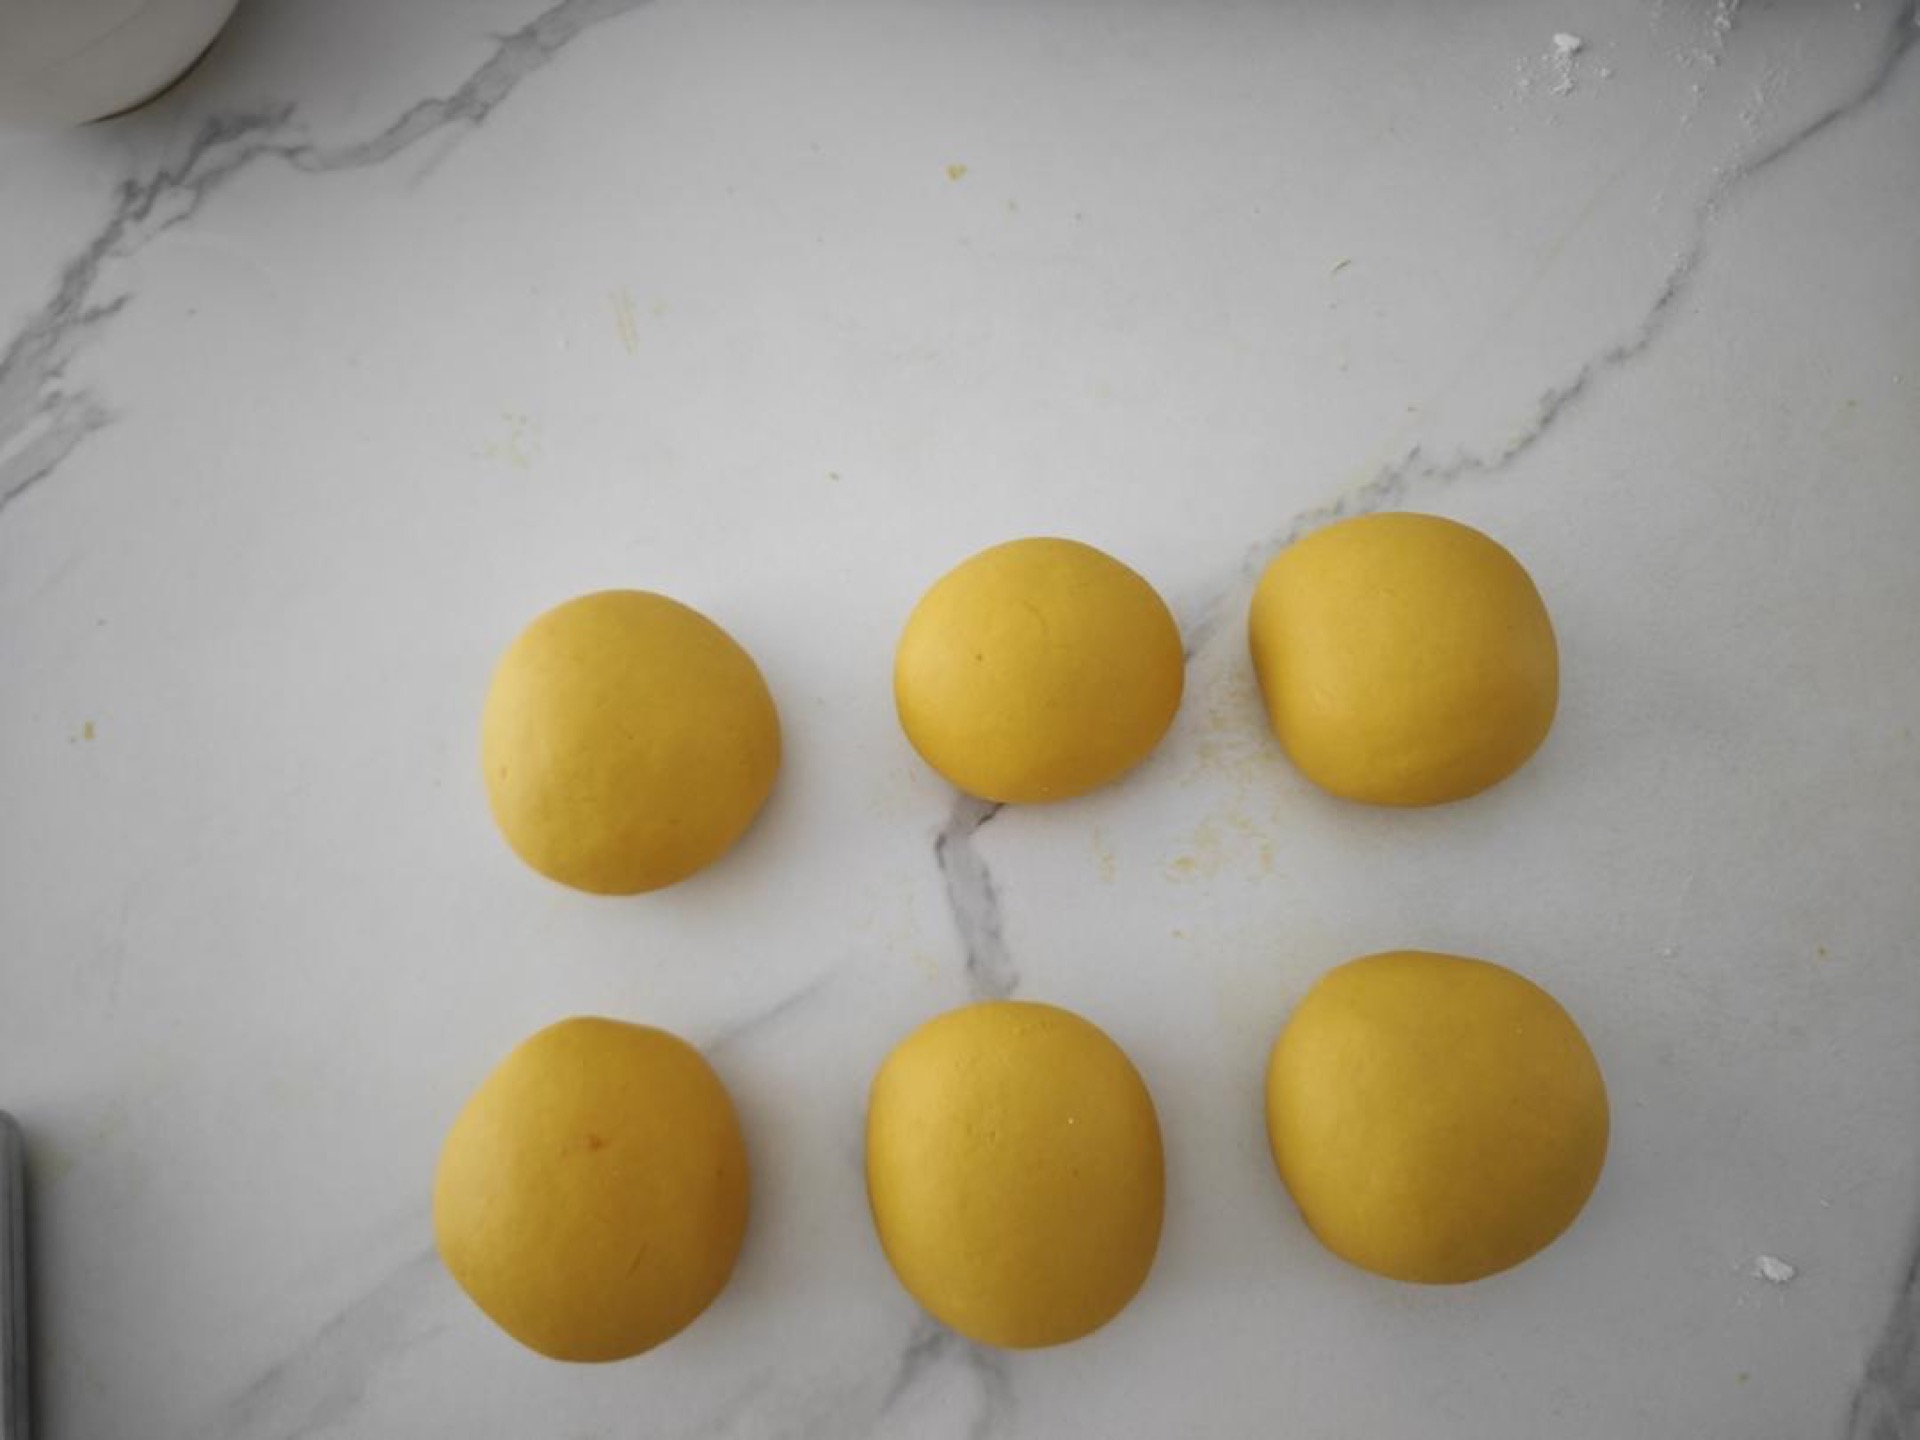
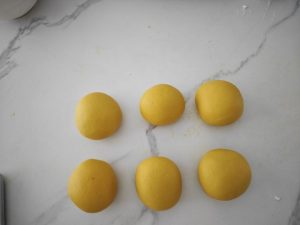
If you are a beginner and not very good at kneading, divide the dough into smaller pieces and knead those, since a smaller weight of dough is much easier to work. The dough weighs about 800g in total, which can be divided into 7-10 pieces. I usually make 80g buns, so I divide it straight into 10 pieces.
Step 9 — Shape Each Bun
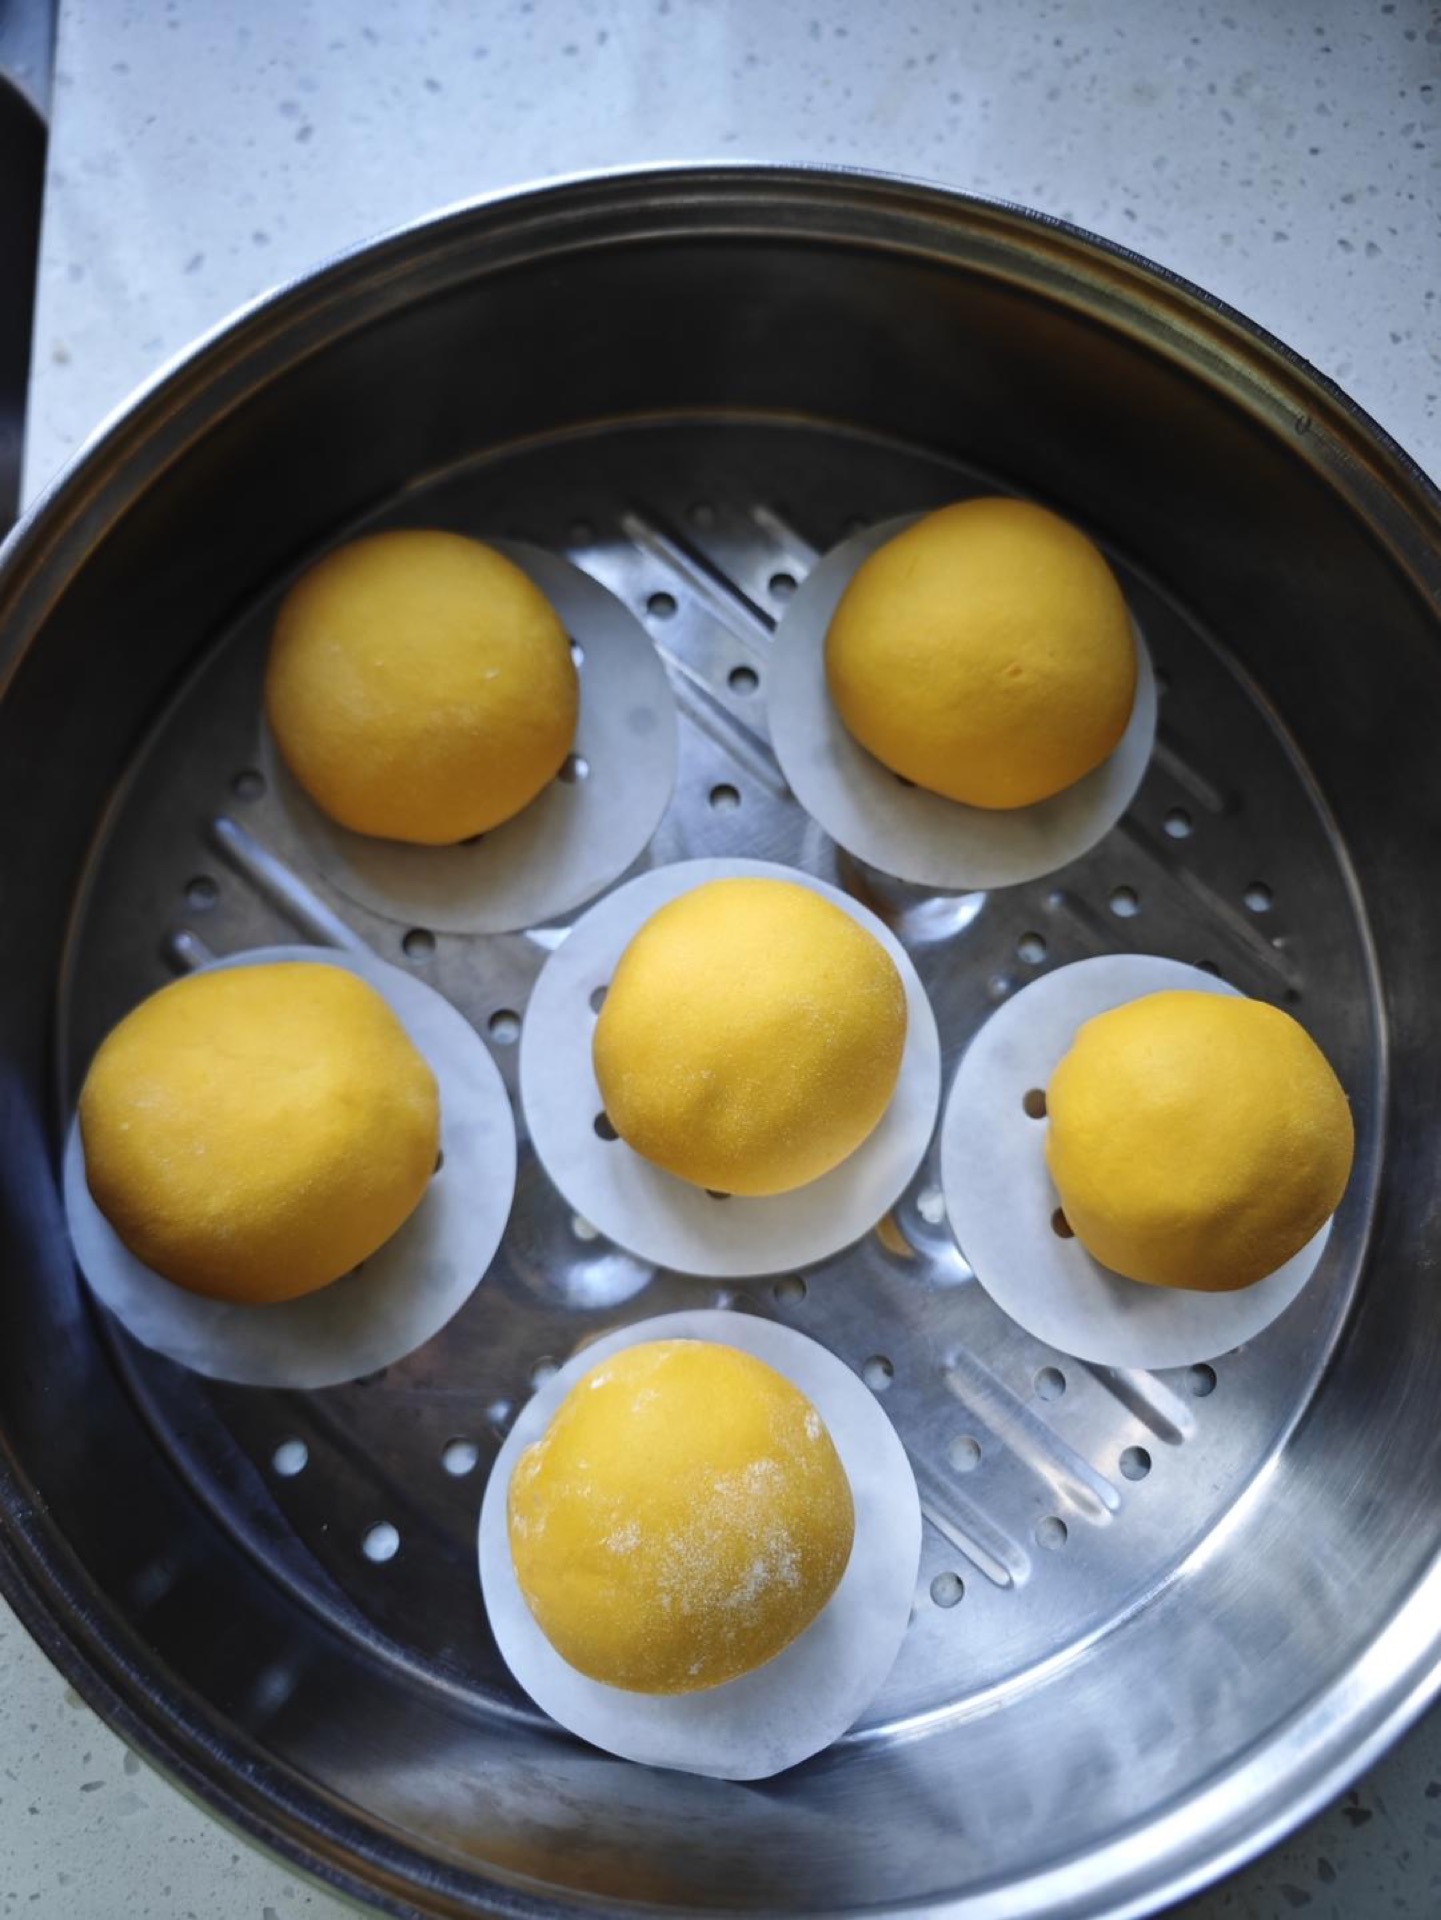
Knead each piece on its own for about a minute until basically smooth, then shape it into a smooth round ball.
Step 10 — Proof Until Doubled
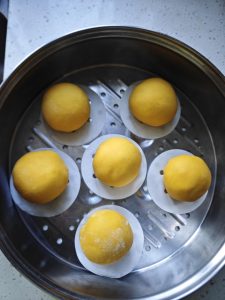
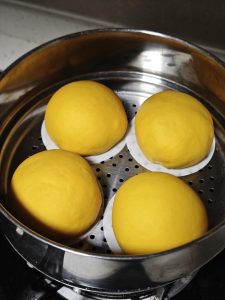
Put them somewhere warm to proof until doubled in size, and remember to cover with a lid. This formula suits beginners and needs only a single proof; adjust the proofing time according to the dough’s condition, and proof until it has clearly grown — I usually proof about 40 minutes at a room temperature of 30°C.
Step 11 — Steam and Rest
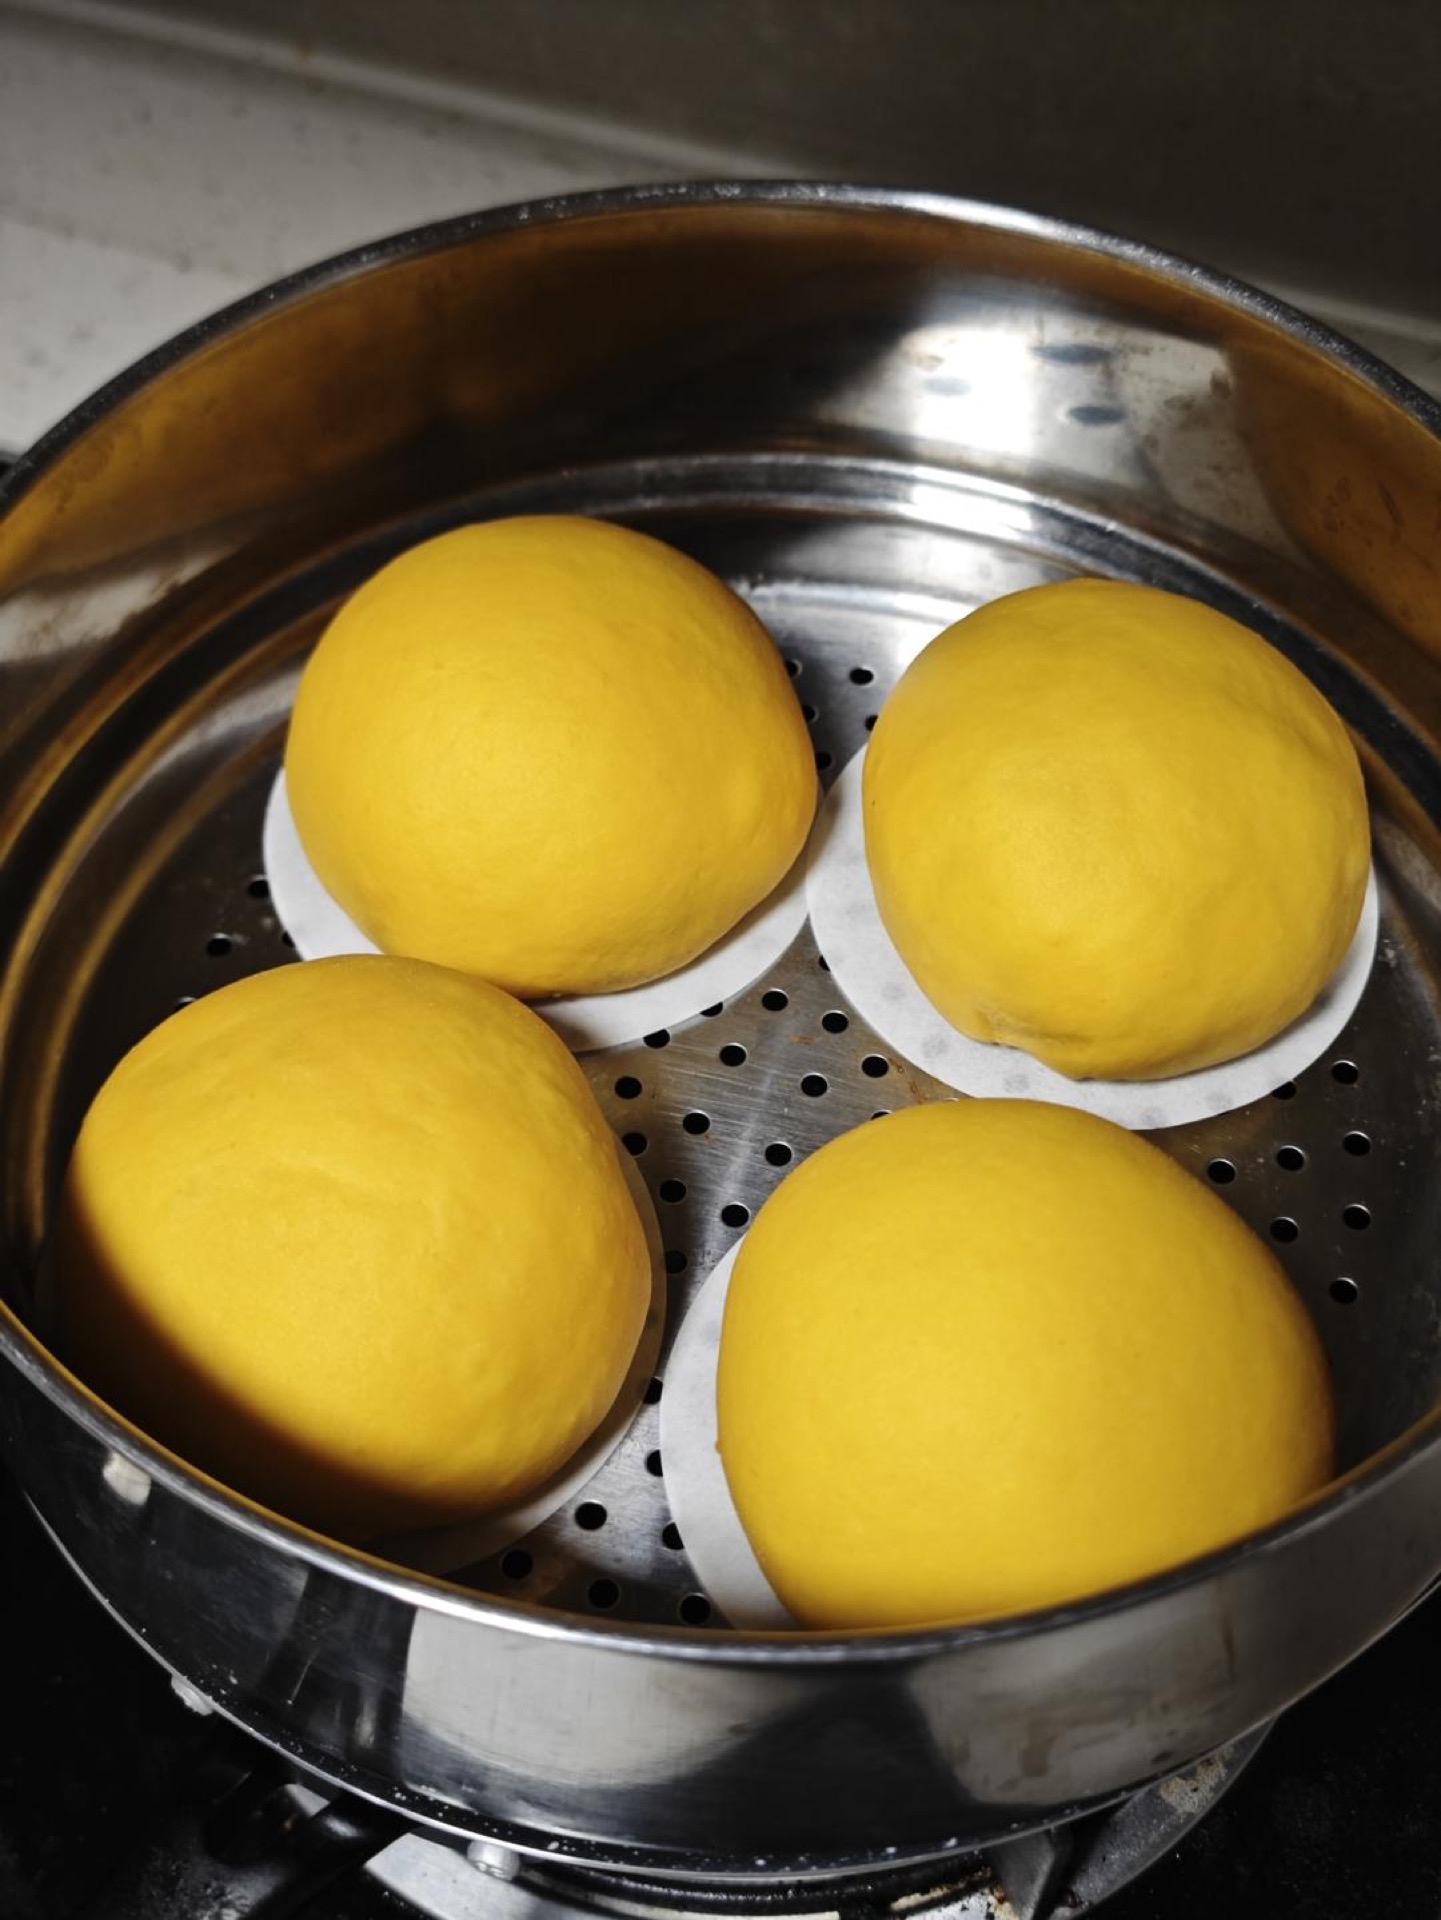
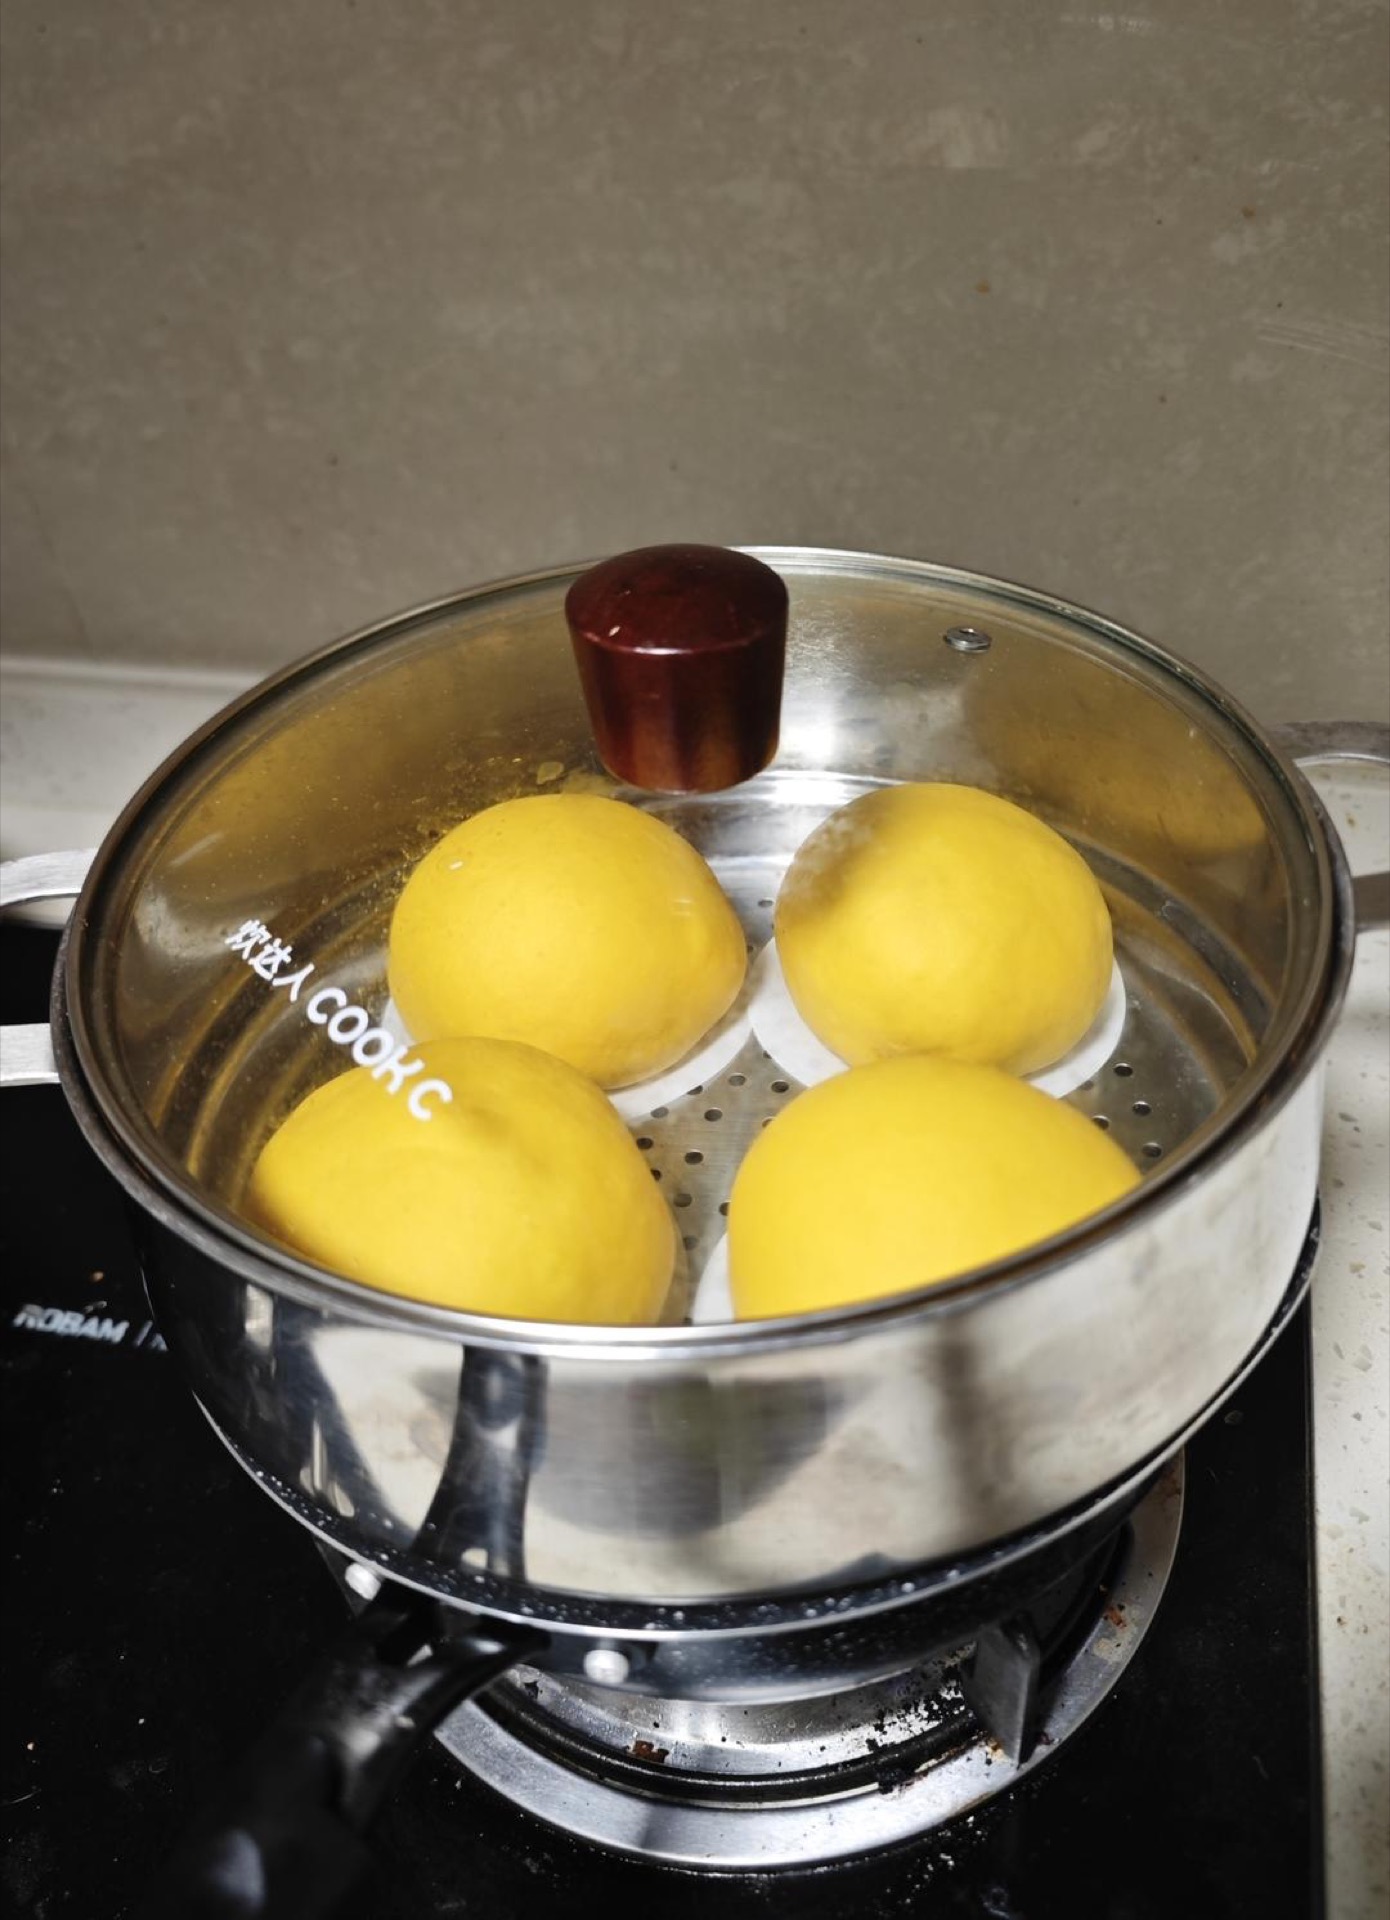
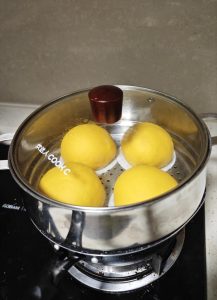
Steam over medium-low heat starting from cold water; after steam rises, turn to low heat and steam another 8 minutes, then turn off the heat and let them sit covered for 3 minutes.
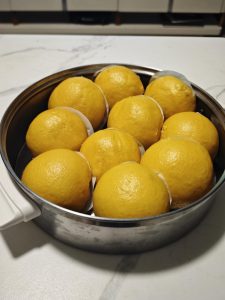
Step 12 — Show the Finished Buns
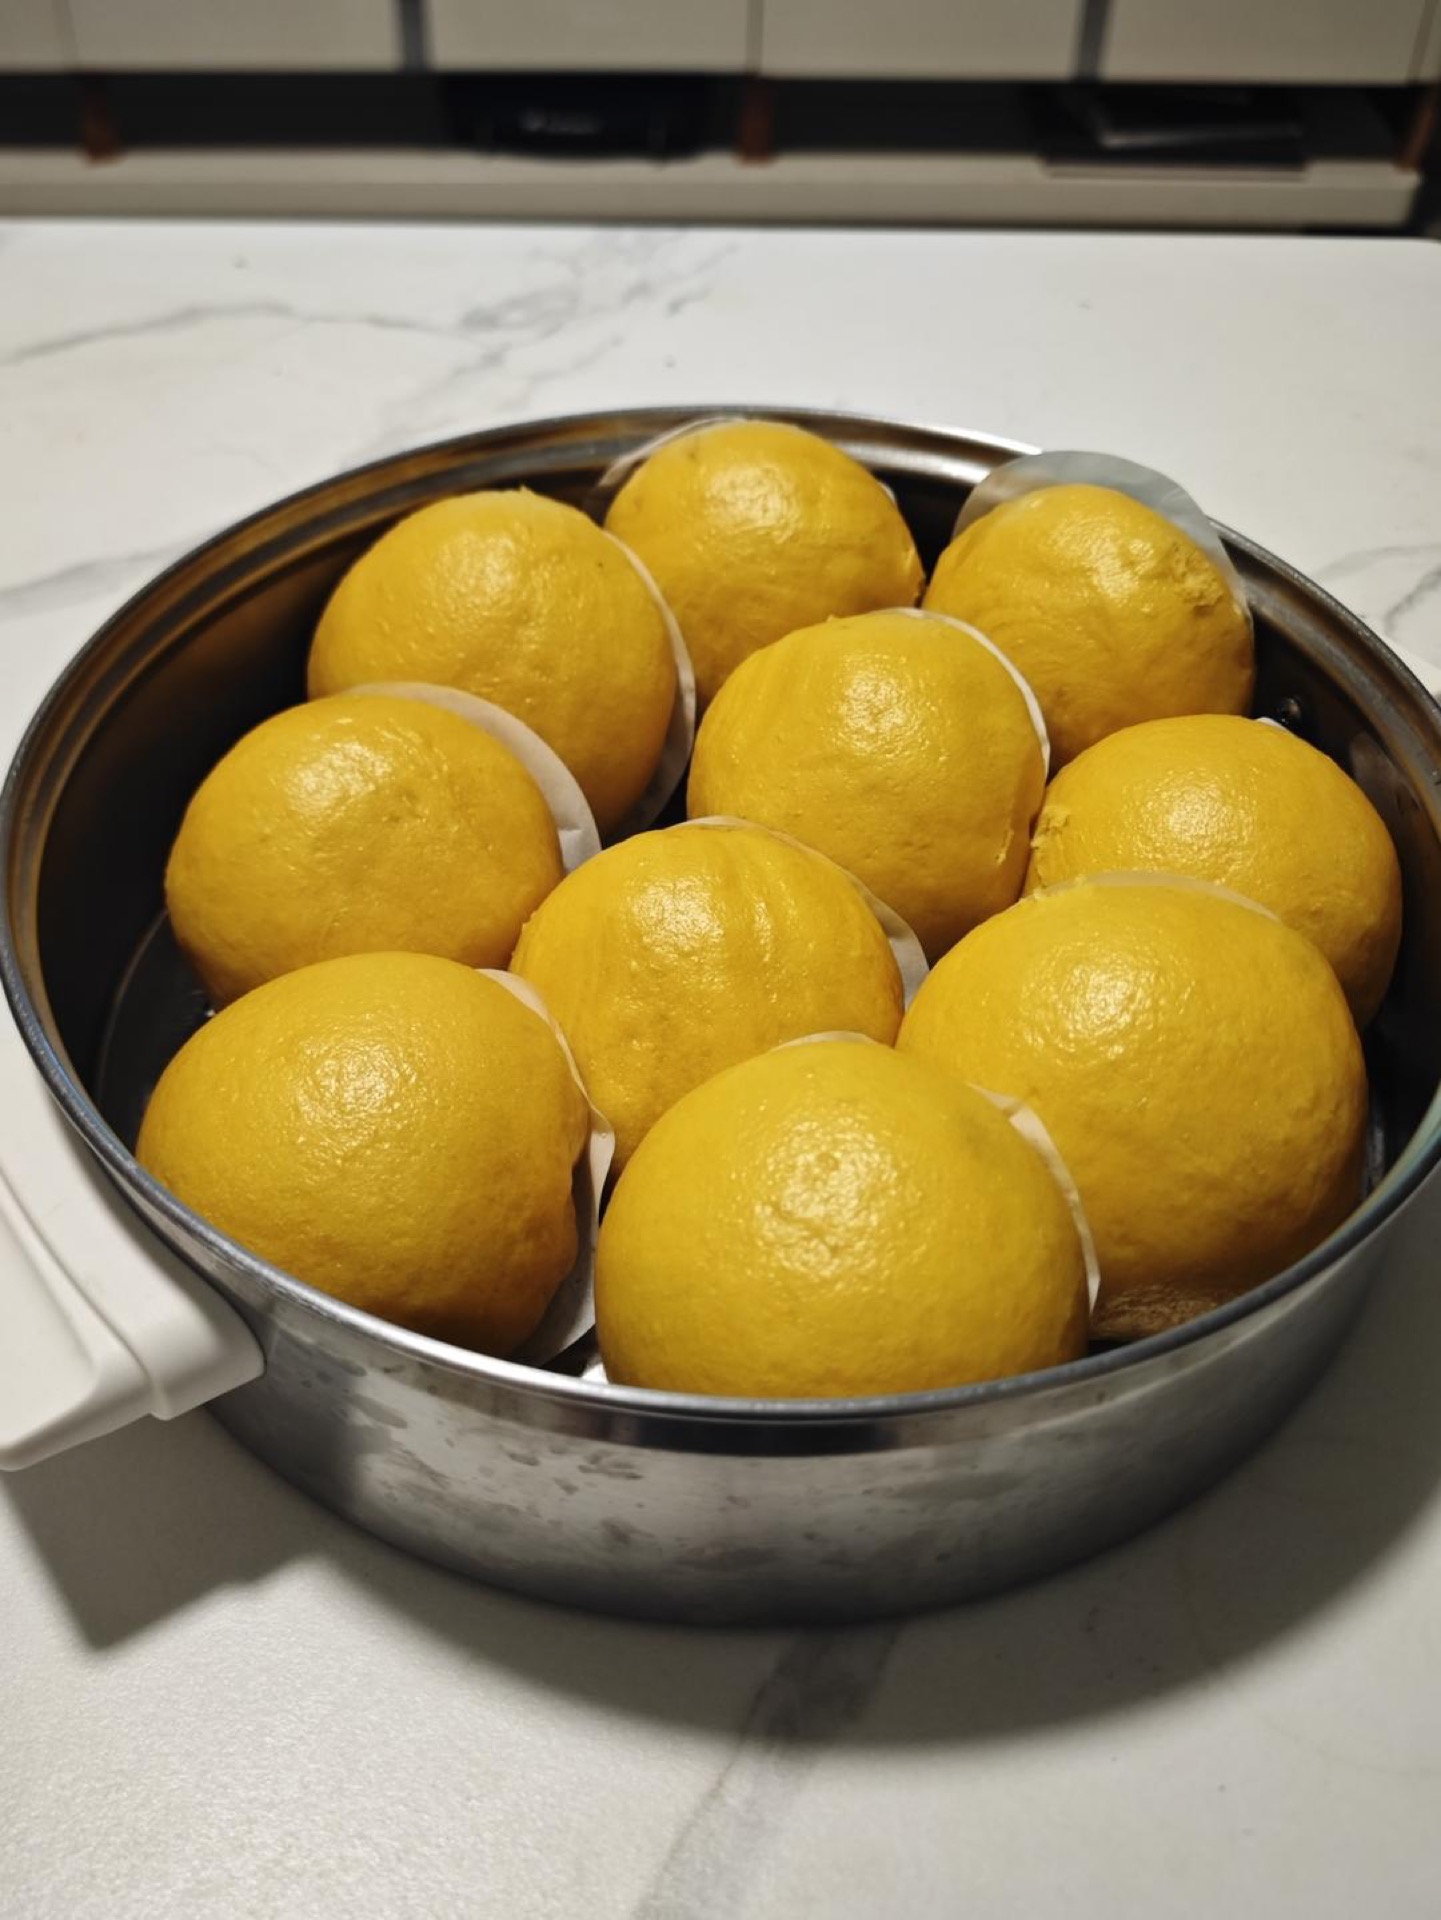
Show the finished buns.
Common Mistakes When Making Pumpkin Butter Steamed Buns
1. Measuring pumpkin by volume or by raw weight. A cup of pumpkin mash can weigh anywhere from 200g to 260g depending on how much water it holds. Cause: trusting a measuring cup. Fix: put the bowl on a scale, tare it, and spoon in mash until the display reads 290g.
2. Adding water because the dough looks dry. The shaggy stage genuinely looks too dry, and this is where most beginners ruin the batch by pouring in liquid. Cause: mistaking an under-hydrated appearance for an under-hydrated dough. Fix: knead it for two full minutes before judging. If it truly will not form a ball after that, add water one teaspoon at a time — but you almost certainly will not need to.
3. Using hot or warm pumpkin mash. Warm mash makes the dough sticky, slack, and impossible to shape neatly. Cause: impatience. Fix: spread the mash on a wide plate to cool faster, and wait until it is fully room temperature, roughly 20-25 minutes.
4. Mixing the yeast in at the beginning. The dough starts fermenting during kneading, turns gassy and slack, and shapes poorly. Cause: following a conventional bread method. Fix: hold the yeast water back and knead it in only after the dough is basically smooth.
5. Under-kneading because the dough feels smooth-ish. A dough that is “basically smooth” but still slightly lumpy will steam into a bun with a dense, uneven interior. Cause: stopping too early. Fix: rest the dough ten minutes, knead again, and repeat the rest-knead cycle once more if needed. Resting lets the flour hydrate and the gluten relax, so the second knead smooths it far faster than the first.
6. Proofing past doubled. Over-proofed dough collapses when the steamer lid comes off, leaving wrinkled, tough buns. Cause: leaving it “a bit longer to be safe.” Fix: check at 30 minutes, then every 5. The dough is ready when it has clearly grown and springs back slowly when poked — if it deflates when poked, it has gone too far.
7. Lifting the lid immediately after steaming. A sudden temperature drop shocks the buns and makes them shrink. Cause: eagerness. Fix: turn off the heat and let them sit covered for a full 3 minutes before opening.
How to Serve
These buns are at their best within twenty minutes of coming off the steamer, when the crumb is still steaming and springy. Tear one open and the interior should be pale gold, fine-grained, and slightly moist. They are traditionally eaten alongside savory dishes rather than as a sweet, so think of them as the bread on the table rather than dessert.
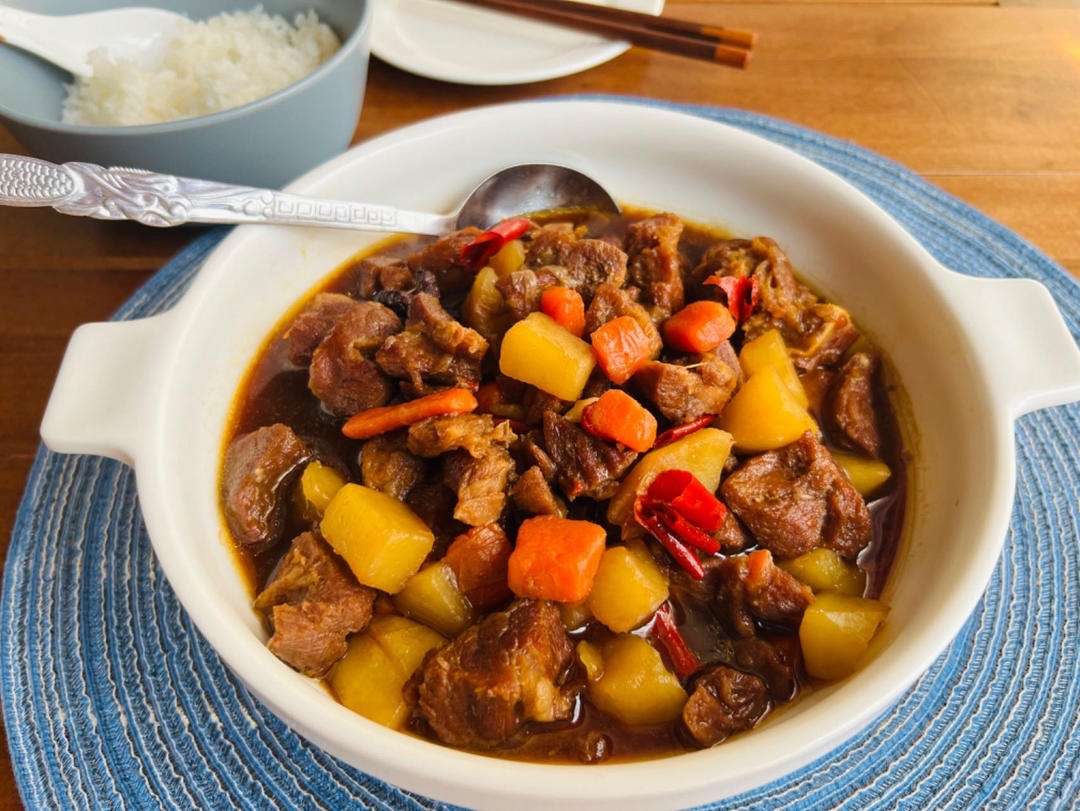
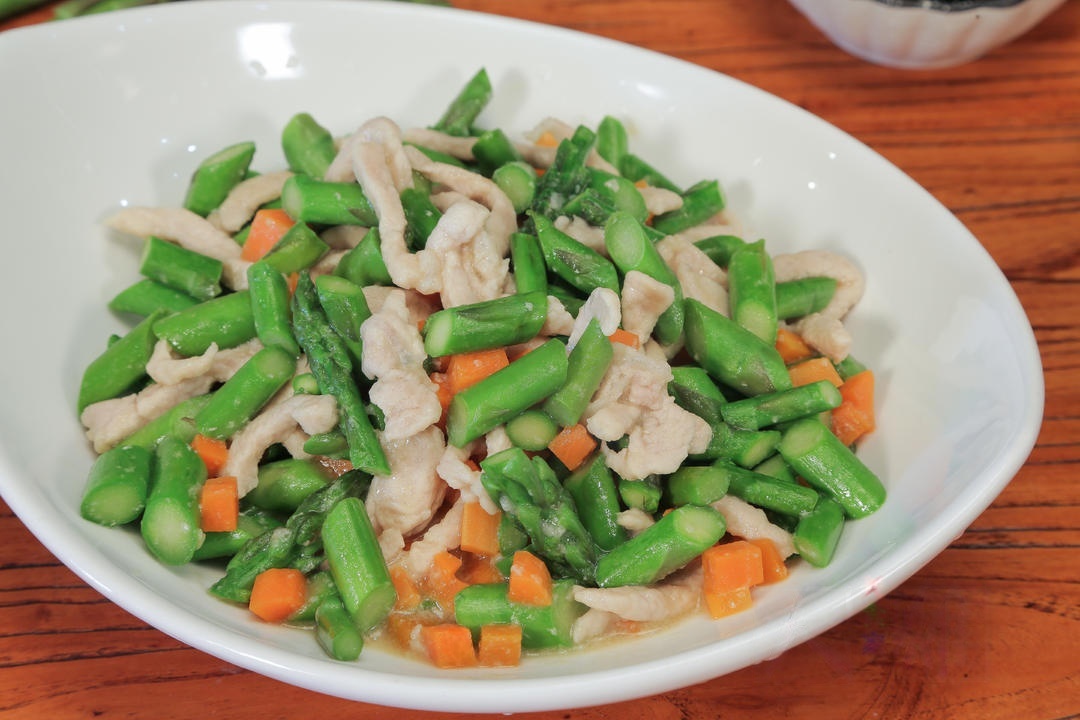
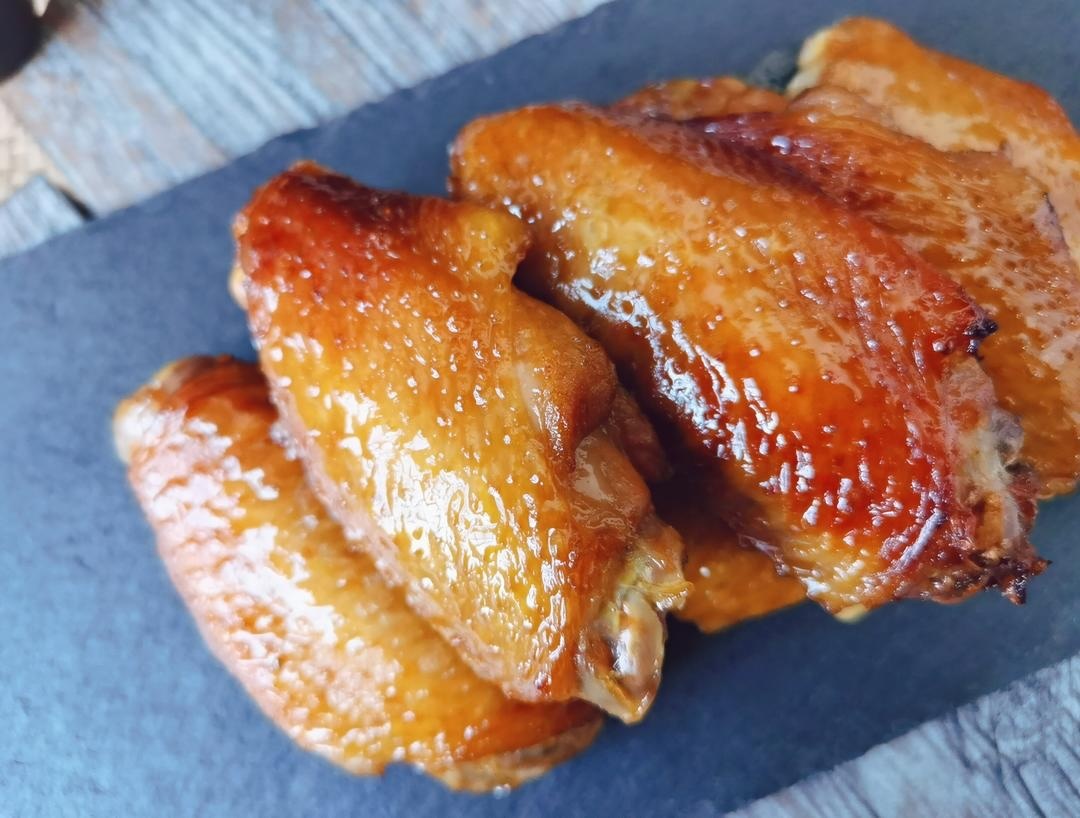
For a northern Chinese-style breakfast, serve them with a bowl of hot soy milk and a dish of pickled vegetables. For dinner, they are excellent mopped through the sauce of a slow braise — our braised beef brisket with potatoes is a natural partner, since the buns soak up the gravy without falling apart. If you want a faster weeknight plate, they pair nicely with asparagus and pork stir fry or a simple plate of air fryer chicken wings.
Slightly sweet, slightly savory, they also work as a snack on their own with a smear of butter and a drizzle of honey.
Storage & Reheat
Cool any leftover buns completely before storing them, uncovered, for about 20 minutes. Trapping them warm in a container creates condensation, which makes the surface soggy and shortens their shelf life.
Refrigerator: Store in an airtight container or zip-top bag for up to 3 days. The crumb will firm up in the cold — this is normal and reverses on reheating.
Freezer: Wrap each bun individually in plastic wrap, then bag them together. They keep for up to 2 months. Freeze them the day they are made for the best texture.
Reheating: The steamer is always best. Re-steam from cold for 6-8 minutes for refrigerated buns or 10-12 minutes for frozen ones, until steaming hot throughout. A microwave works in a pinch — wrap the bun in a damp paper towel and heat for 30-40 seconds — but the texture will be slightly more rubbery. Avoid the oven, which dries them into crackers.
Food safety note: leftover buns should be reheated to at least 165°F (74°C) internally before eating, and any buns left at room temperature for more than 2 hours should be discarded.
Allergen Notice
This recipe contains wheat (gluten) from the all-purpose flour and milk from the butter. If you need a dairy-free version, substitute an equal weight of neutral oil or coconut oil for the butter, though the milky aroma will be reduced. If you need a gluten-free version, note that this recipe has not been tested with gluten-free flour blends, which behave very differently in steamed doughs and typically require additional binders such as xanthan gum. Always check the labels on your specific flour and butter brands if you are cooking for someone with a severe allergy.
Nutrition Disclaimer
Nutrition information is calculated using an ingredient database and should be considered an estimate. In cases where multiple ingredient alternatives are given, the first listed is calculated for nutrition. Garnishes and optional ingredients are not included.
About the Author & Recipe Development
Lin grew up in a household where the steamer came out every weekend, and mantou were judged by how they felt when you pressed one with a fingertip — springy and light, never dense. This recipe came out of watching friends try to make pumpkin buns for the first time and end up with sticky dough and wrinkled, collapsed results. The fix turned out to be less about technique and more about sequencing: weigh the mash after cooking, knead before the yeast goes in, and proof only once. Every measurement here was tested repeatedly to make the process forgiving for someone who has never kneaded a dough in their life.
If you make these buns, the one thing worth doing is weighing the pumpkin. Everything else in the recipe follows from that number.
Authoritative References
For safe handling and reheating temperatures, see the FDA guidance on refrigerator thermometers and cold food storage, which covers the 2-hour rule for perishable leftovers. For internal cooking and reheating temperatures, the USDA safe temperature chart is the standard reference. For background on how fat interferes with gluten development in enriched doughs, see this explainer on bread dough and gluten structure. On the role of steam in setting the crumb of Chinese buns, Harold McGee’s On Food and Cooking remains the most thorough general source.
Pumpkin Butter Steamed Buns (奶香南瓜馒头): Fluffy Golden Buns with

Equipment
- Steamer
- Wok
- Cutting Board
- Mixing Bowl
- Kitchen Scale
Ingredients
For the Dough
- 500 g all-purpose flour medium gluten (中筋面粉)
- 290 g cooked pumpkin mash peeled, seeded, steamed and cooled
- 15 g butter softened
For the Yeast Water
- 2 g instant yeast about 2-3g
- 5 g cool water for blooming the yeast
Instructions
- Peel, seed, and cut the raw pumpkin into chunks, then steam for 25 minutes; I have weighed it myself, and about 480g of peeled, seeded raw pumpkin steams down to roughly 290g of cooked pumpkin, which pairs exactly with 500g of flour. Raw pumpkin holds different amounts of water, but you must end up with exactly 290g of pumpkin mash, no more; if you steam less than that, reduce the flour proportionally. This is the key to not failing as a beginner.

- Once the pumpkin is steamed so a chopstick slides straight through, press it into a mash with a rice spoon or chopsticks and let it cool. Beginners must do this step, because beginners easily under-knead, and mashing it first makes it much easier to bring the dough together. The mashed pumpkin must be cooled, at least to room temperature, which is critical — if it is not cooled it will be extremely sticky.

- Soften 15g of butter appropriately; on a hot day leaving it at room temperature is enough, or you can warm it briefly in a pan. Many people think the milky fragrance comes from milk and milk powder, but in fact milk and milk powder do not bring enough of it — the source of that dairy aroma is mainly the butter. If you do not like the milky scent you can leave it out.

- Combine 500g of flour, 15g of softened butter, and 290g of cooled pumpkin mash. Note: do not add the yeast yet, because this is aimed at beginners and uses the post-yeast method, so the dough is less likely to start fermenting early during kneading.

- Begin kneading the dough. First mix all the ingredients into a shaggy mass like the one on the left; it looks a little dry, but that is actually just right. Then start bringing it into a ball — as long as it can come together, this ratio is correct, and after a short rest the firmness will be just right. If it truly will not come together, add a little water in small amounts; generally no water is needed. After it forms a ball, rest it 10 minutes and knead again; if you cannot get it smooth, rest another 10 minutes and knead again, until it is basically smooth.
- Mix 2-3g of yeast with 5g of cool water and set it aside.
- Knead the yeast water into the dough little by little. I forgot to photograph this step. You can first roll the dough out a bit thinner, then brush the yeast water over the surface and fold and knead it in.
- If you are a beginner and not very good at kneading, divide the dough into smaller pieces and knead those, since a smaller weight of dough is much easier to work. The dough weighs about 800g in total, which can be divided into 7-10 pieces. I usually make 80g buns, so I divide it straight into 10 pieces.
- Knead each piece on its own for about a minute until basically smooth, then shape it into a smooth round ball.
- Put them somewhere warm to proof until doubled in size, and remember to cover with a lid. This formula suits beginners and needs only a single proof; adjust the proofing time according to the dough’s condition, and proof until it has clearly grown — I usually proof about 40 minutes at a room temperature of 30°C.
- Steam over medium-low heat starting from cold water; after steam rises, turn to low heat and steam another 8 minutes, then turn off the heat and let them sit covered for 3 minutes.

- Show the finished buns.


Leave a Reply