Pastrami-style chicken breast is what happens when you take the pepper-salt cure and the overnight press of a classic deli pastrami and point them at a humble boneless chicken breast. It is not smoked, not brined in pink salt, and not complicated. It is two ingredients, a night in the refrigerator, a slow low oven, and one more night of chilling under pressure.
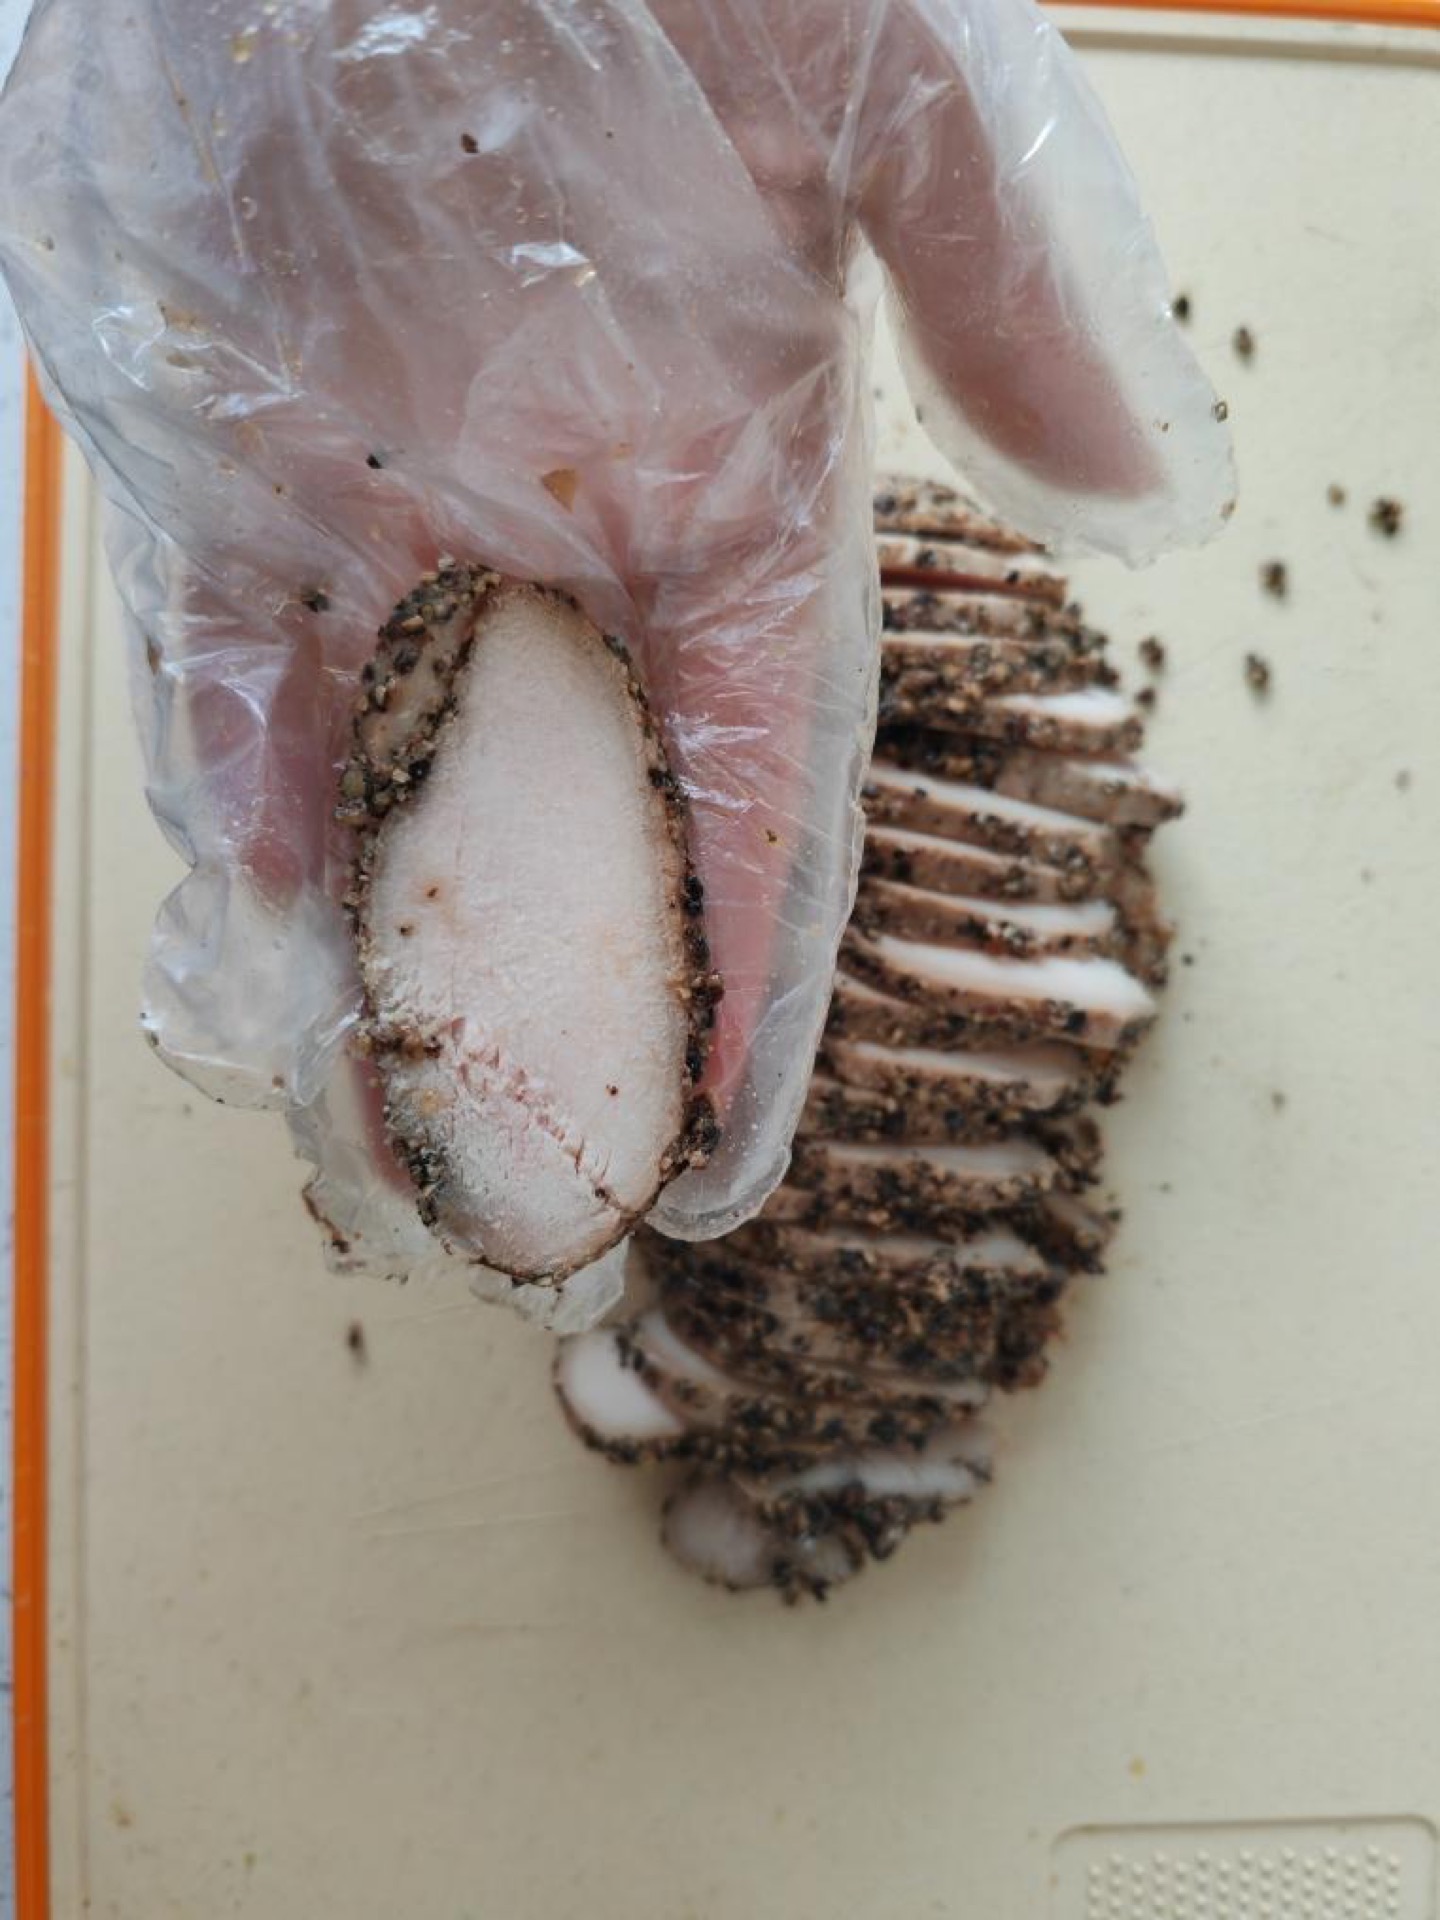
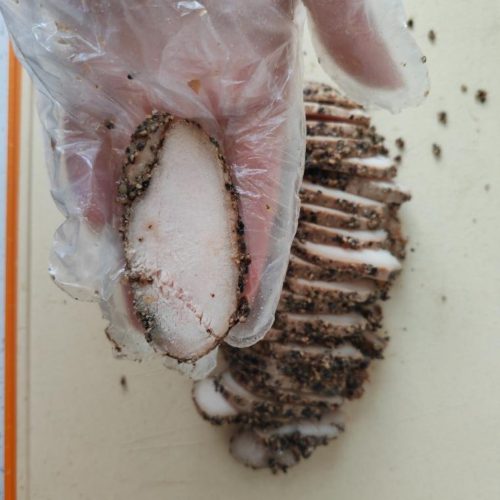
The payoff is a chicken breast that slices like deli meat. Thin, rosy-edged coins that hold their shape, taste seasoned all the way through instead of just on the surface, and stay juicy because the cure and the slow bake did the work before the knife ever touched them. Serve it cold on a sandwich, warm over rice, or straight off the board with mustard.
If you have ever pulled a chicken breast out of the oven and watched it turn to sawdust, this is the recipe that fixes it. The salt cure changes the protein structure so the meat holds water, the low oven keeps it gentle, and the overnight press gives you the tight, sliceable texture that makes pastrami-style chicken worth the wait.
What Is Pastrami-Style Chicken Breast?
Pastrami-style chicken breast is a cured, pepper-crusted chicken breast that is seared, baked slowly at low heat, then pressed and chilled overnight before slicing. It takes the flavor logic of pastrami — a heavy coat of cracked black pepper over a salted cure — and applies it to lean poultry instead of beef brisket.
The Chinese name 帕斯雀鸡肉 is simply a transliteration of “pastrami chicken,” and the technique spread through home kitchens as a lighter, faster alternative to cured beef. There is no smoker involved and no curing salt. The “pastrami” here is a flavor and texture reference, not a claim of traditional deli method.
What makes it different from ordinary roast chicken breast is the two-stage rest. The first rest is the 24-hour cure, which seasons the meat to the center. The second is the overnight press after baking, which compresses the fibers while the meat is cold so the slices stay intact.
Why the press matters: as cooked chicken cools, its protein network tightens and squeezes out water. Wrapping the breast tightly while it chills forces the loosened fibers back together, so the meat sets into a firm loaf that slices cleanly instead of crumbling.
If you enjoy the deep roasted flavor of our Chinese roast chicken, you will recognize the same principle here: seasoning first, gentle heat second, and patience at the end.
1Authentic Chinese Roast Chicken (Kao Ji in the Oven)A foolproof method for making incredibly flavorful and juicy Chinese roast chicken. Brined overnight in a spiced soy marinade and roasted over root vegetables for the ultimate homestyle feast.Check out this recipe
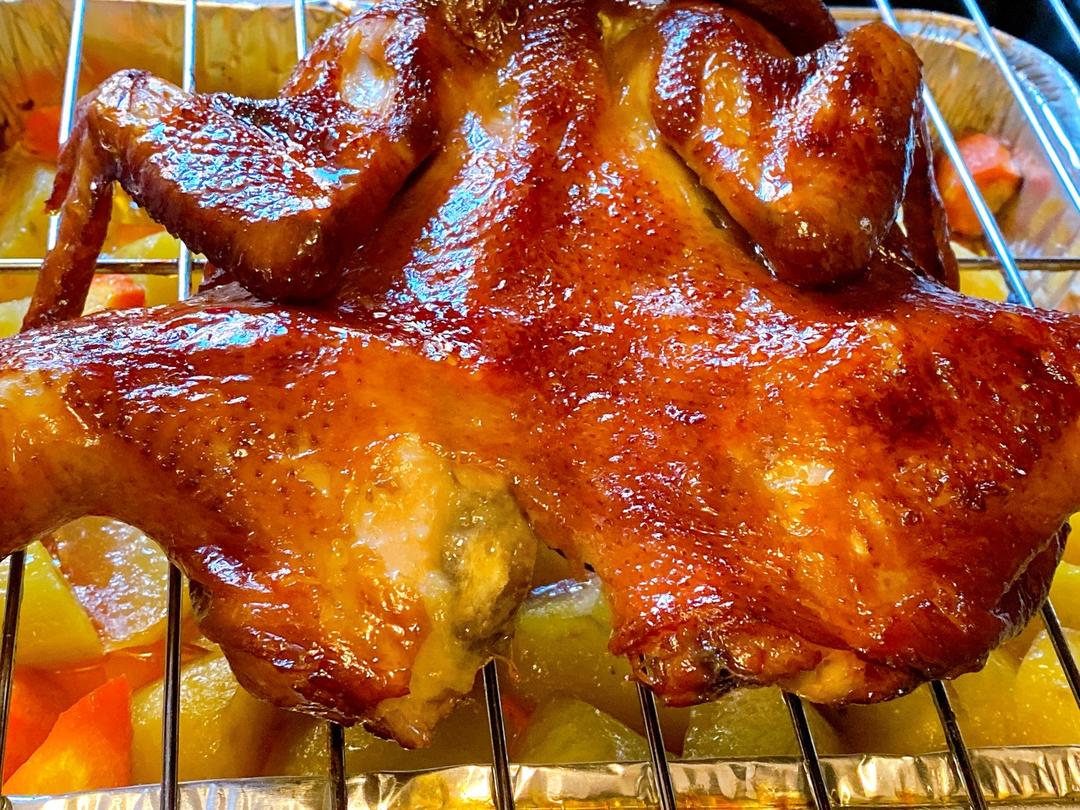
For a sweeter, stickier take on roasted poultry, our honey roasted chicken wings use a glaze instead of a cure and come out glossy and caramelized.
2Honey Roasted Chicken Wings (Mizhi Kao Jichi)These Honey Roasted Chicken Wings are marinated in a savory cumin-soy blend and roasted over a bed of potatoes. Sticky, sweet, and incredibly easy to make.Check out this recipe

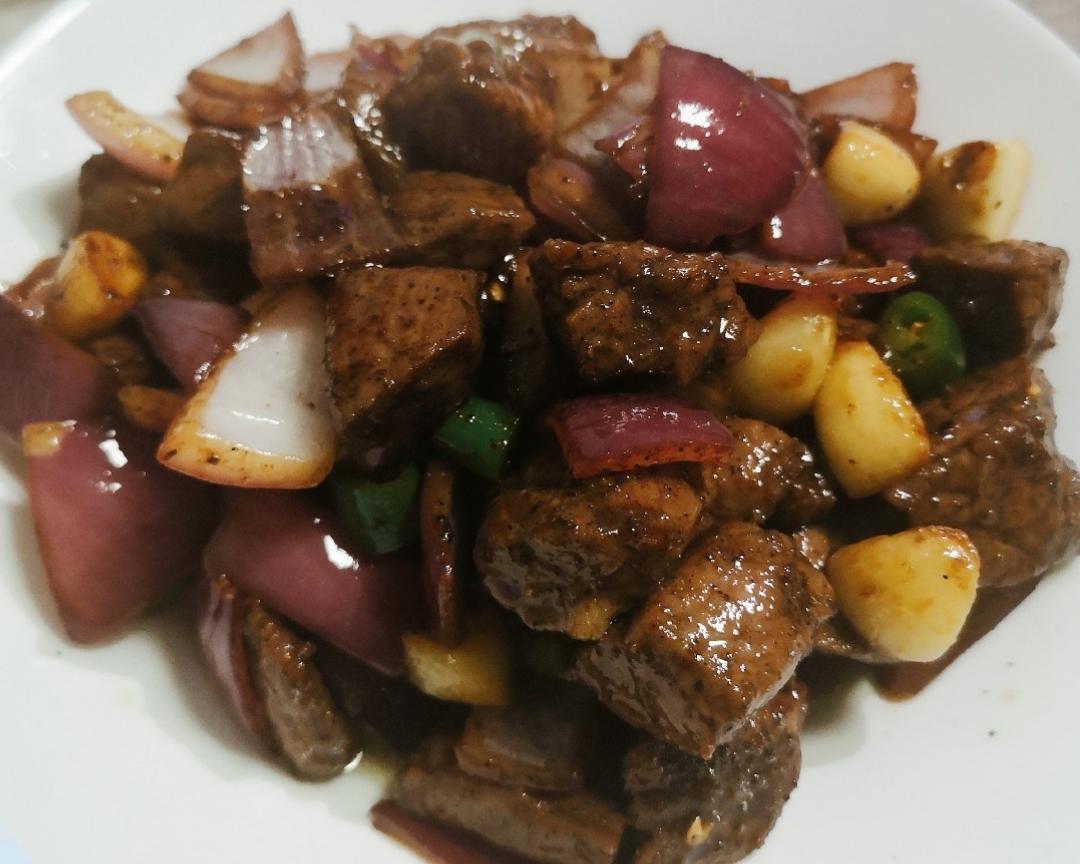
And if you love a bold pepper crust on meat, our black pepper beef cubes push the same spice in a fast stir-fry direction.
3Black Pepper Beef Cubes (Hei Hu Jiao Niu Rou Li)Tender cubes of beef tenderloin seared in butter and coated in a savory, aromatic black pepper sauce. A restaurant-quality dish ready in 30 minutes.Check out this recipe
Ingredient Notes
Three ingredients carry this entire recipe, so each one earns its place.
Chicken breast. Use boneless, skinless breasts around 8 ounces each. Thickness matters more than weight: a breast that is 1 inch thick at its thickest point bakes in about 60 minutes, while a 1½-inch breast may need the full 80. If your breasts are uneven, place them between two sheets of plastic wrap and gently flatten the thick end with a rolling pin until the whole piece is roughly even.
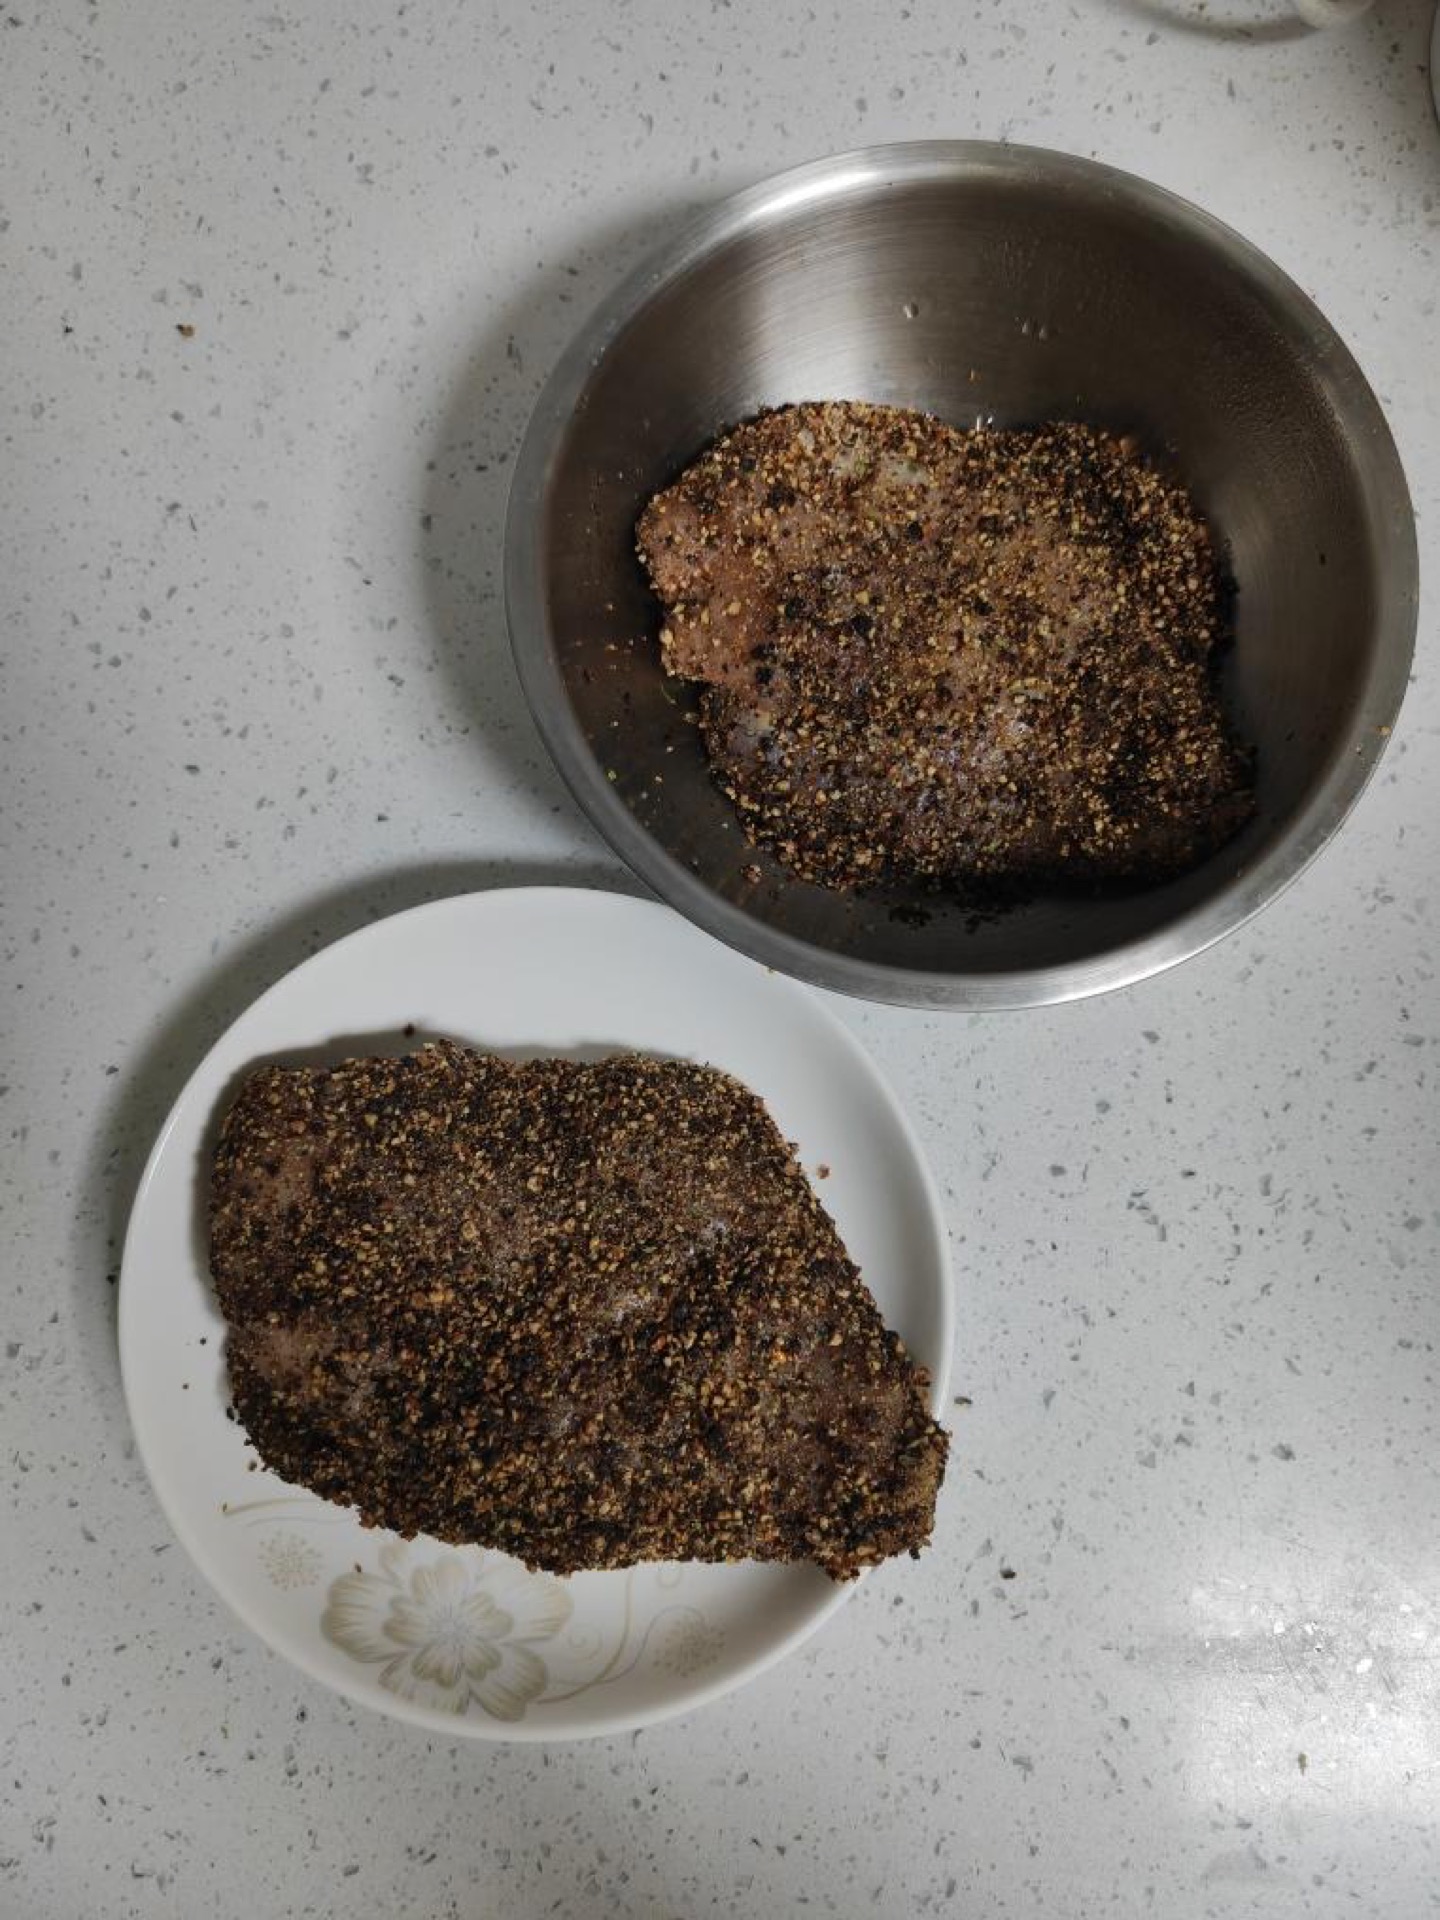
Black pepper. Coarsely cracked, not finely ground. Pre-ground pepper from a jar tastes flat and disappears into the cure. Crack whole peppercorns in a mortar, with the back of a heavy pan, or in a spice grinder pulsed two or three times. You want visible shards that cling to the meat and form a crust.
Sea salt. Fine sea salt or kosher salt both work. Avoid flaky finishing salt, which measures unpredictably by volume. If you can, weigh the salt: about 12 grams for 1 pound of chicken. Too much salt is the single most common way this recipe goes wrong.
Oil. Corn oil or olive oil, just enough to film the pan. The sear is only one minute per side, so the oil is there to prevent sticking and to start the crust, not to deep-fry.
Nothing else is required. No sugar, no curing salt, no liquid smoke. If you want a more complex crust you can add a teaspoon of crushed coriander seed or a pinch of garlic powder to the cure, but the plain version is the one that tastes most like the dish it is named after.
Ingredients
Here is everything you need for four servings. The full measured list with US and metric amounts sits in the recipe card at the bottom of this page.
- 2 boneless, skinless chicken breasts (about 1 lb / 450 g total)
- 1 tbsp coarsely cracked black pepper, plus extra for coating
- 2 tsp fine sea salt or kosher salt (about 12 g)
- 1 tbsp corn oil or olive oil, for searing
- Aluminum foil and plastic wrap, for wrapping and pressing
That is it. If your pantry has salt and a pepper grinder, you are already most of the way there.
Equipment Needed
You do not need a deli slicer or a smoker, but a few pieces of equipment make the process smoother.
- A wok or heavy skillet. A carbon steel wok or a cast-iron pan gives the best one-minute sear. If you are shopping for one, this guide to the pan for stir fry covers what to look for.
- Aluminum foil. Heavy-duty foil holds up better when you wrap the seared breasts and bake them.
- Plastic wrap. For the overnight press. You want it tight enough to compress the meat.
- A rimmed baking sheet. To catch any drips if a foil packet leaks.
- A sharp slicing knife. A long, thin blade makes clean coins. A serrated knife tears the meat.
- A cutting board and a slotted spoon. For draining the juices and transferring the chicken.
An instant-read thermometer is not strictly required, but it removes all guesswork about doneness. If you do not own one, the foil packet and the low oven are forgiving enough that the chicken will not dry out easily.
Why This Recipe Works
Four things are happening at once, and each one solves a specific problem with chicken breast.
The salt cure seasons to the center. Salt dissolves into the surface moisture, then travels inward over 24 hours. By the time you cook, the meat is seasoned throughout rather than just on the outside, which is why a thin slice tastes complete on its own.
The cure also holds water. Salt partially unfolds the muscle proteins and lets them bind more water, so the cooked breast stays moist even though it is lean. This is the same reason brined poultry tastes juicier.
The low oven cooks gently. At 120°C (250°F), the breast comes up to temperature slowly, so the outer layers do not overcook before the center is done. Wrapping in foil traps steam and keeps the surface from drying.
The overnight press sets the texture. Chilling under tension compresses the fibers into a firm, uniform block. That is what lets you cut translucent slices instead of ragged chunks.
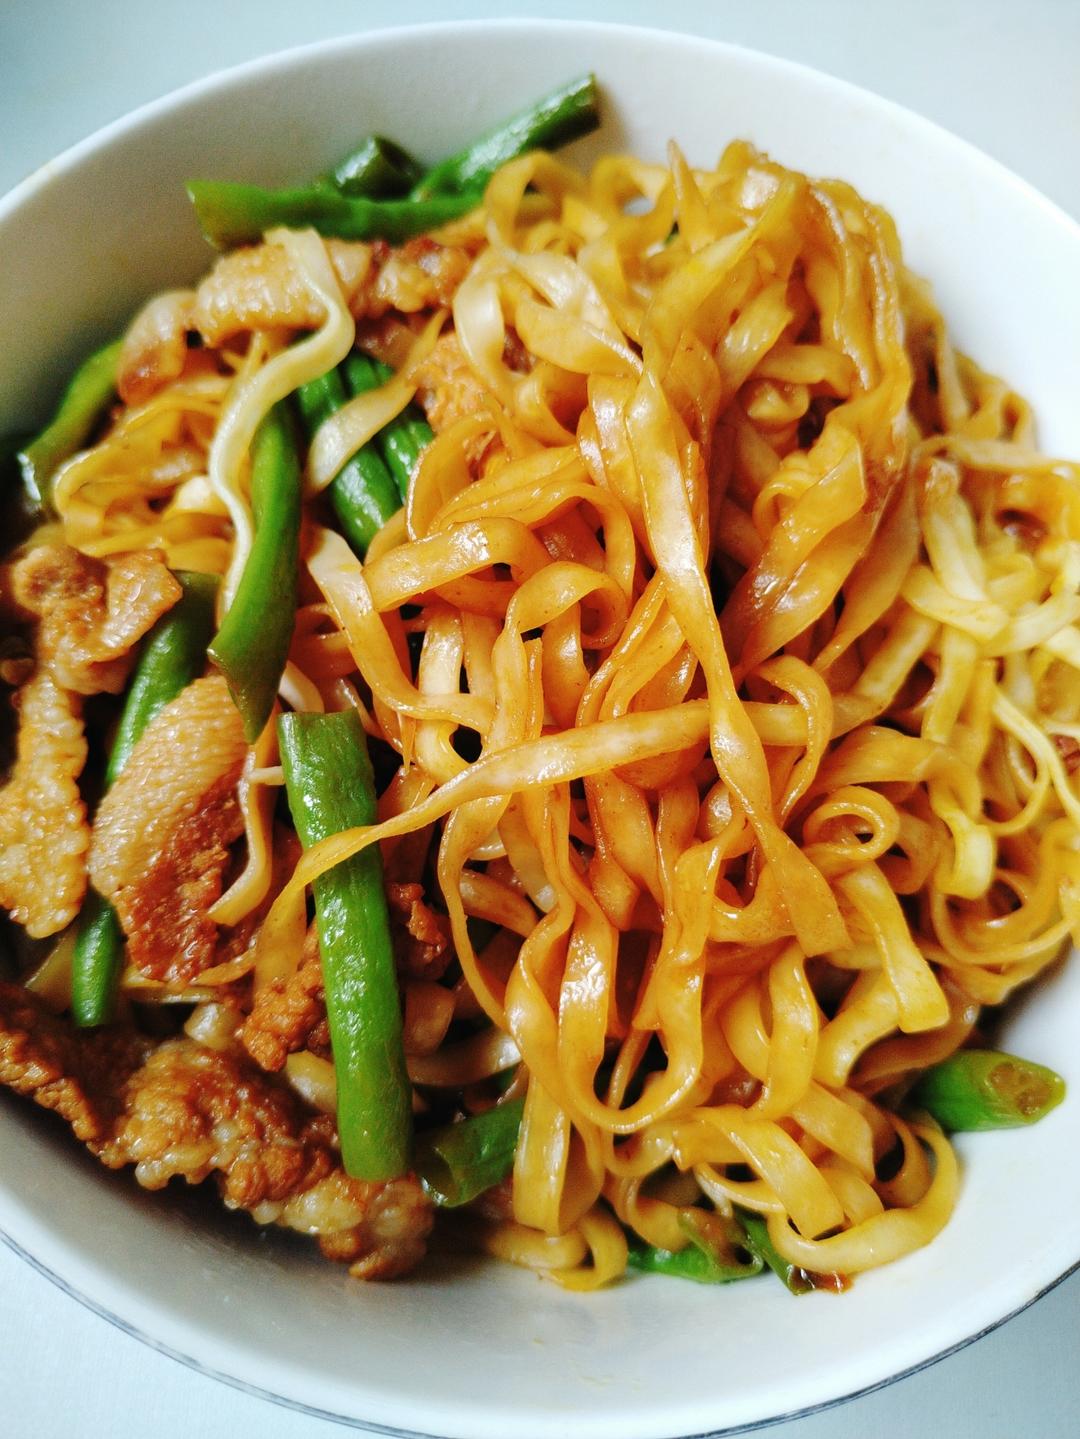
If you want to see the same gentle-cook idea applied to a different protein, our Henan steamed noodles use steam and slow heat to keep pork tender in much the same spirit.
Prep & Mise en Place
This is a two-day recipe, but the active time is short. Here is how to organize it.
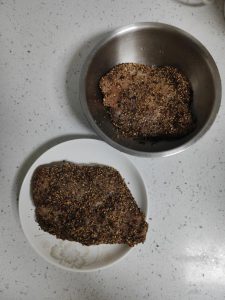
Day one, five minutes. Pat the chicken breasts completely dry with paper towels. Moisture on the surface dilutes the cure and prevents the pepper from sticking. Crack the peppercorns and measure the salt. Rub the mixture over every surface of the chicken, pressing it in with your fingers. Place the breasts in a zip-top bag or a covered dish and refrigerate for 24 hours.
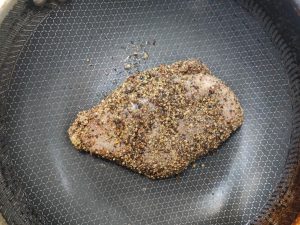
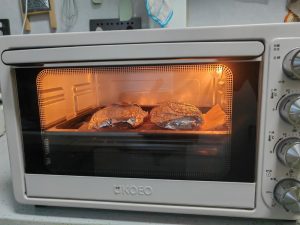
Day two, fifteen minutes active. Take the chicken out of the refrigerator and let it sit at room temperature for 15 minutes while the oven preheats to 120°C (250°F). Heat the oil in the wok over low heat. Sear each breast for 1 minute per side, just until the pepper smells toasted. Wrap each one in foil with the seam facing up, set them on a rimmed baking sheet, and bake for 60 to 80 minutes.
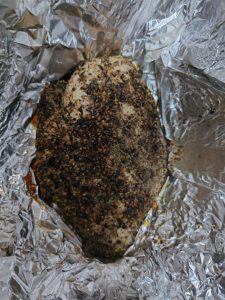
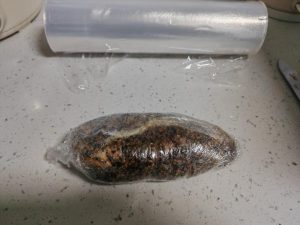
Day two, evening, five minutes. Open the foil, drain the collected juices, and let the chicken cool until you can handle it. Wrap each breast tightly in plastic wrap, twisting the ends like a candy wrapper to apply pressure. Refrigerate overnight.
Day three, five minutes. Unwrap, slice thin, and serve. Any slices you are not eating immediately get portioned and frozen.
One note on the cure: put the bagged chicken on a plate or in a shallow container. Even a well-sealed bag can weep a little salty liquid, and you do not want that on a refrigerator shelf.
Cooking Process
Step 1 — Cure the Chicken
Rub the cracked black pepper and sea salt all over the chicken breasts, then refrigerate them for 24 hours.
Step 2 — Sear Both Sides
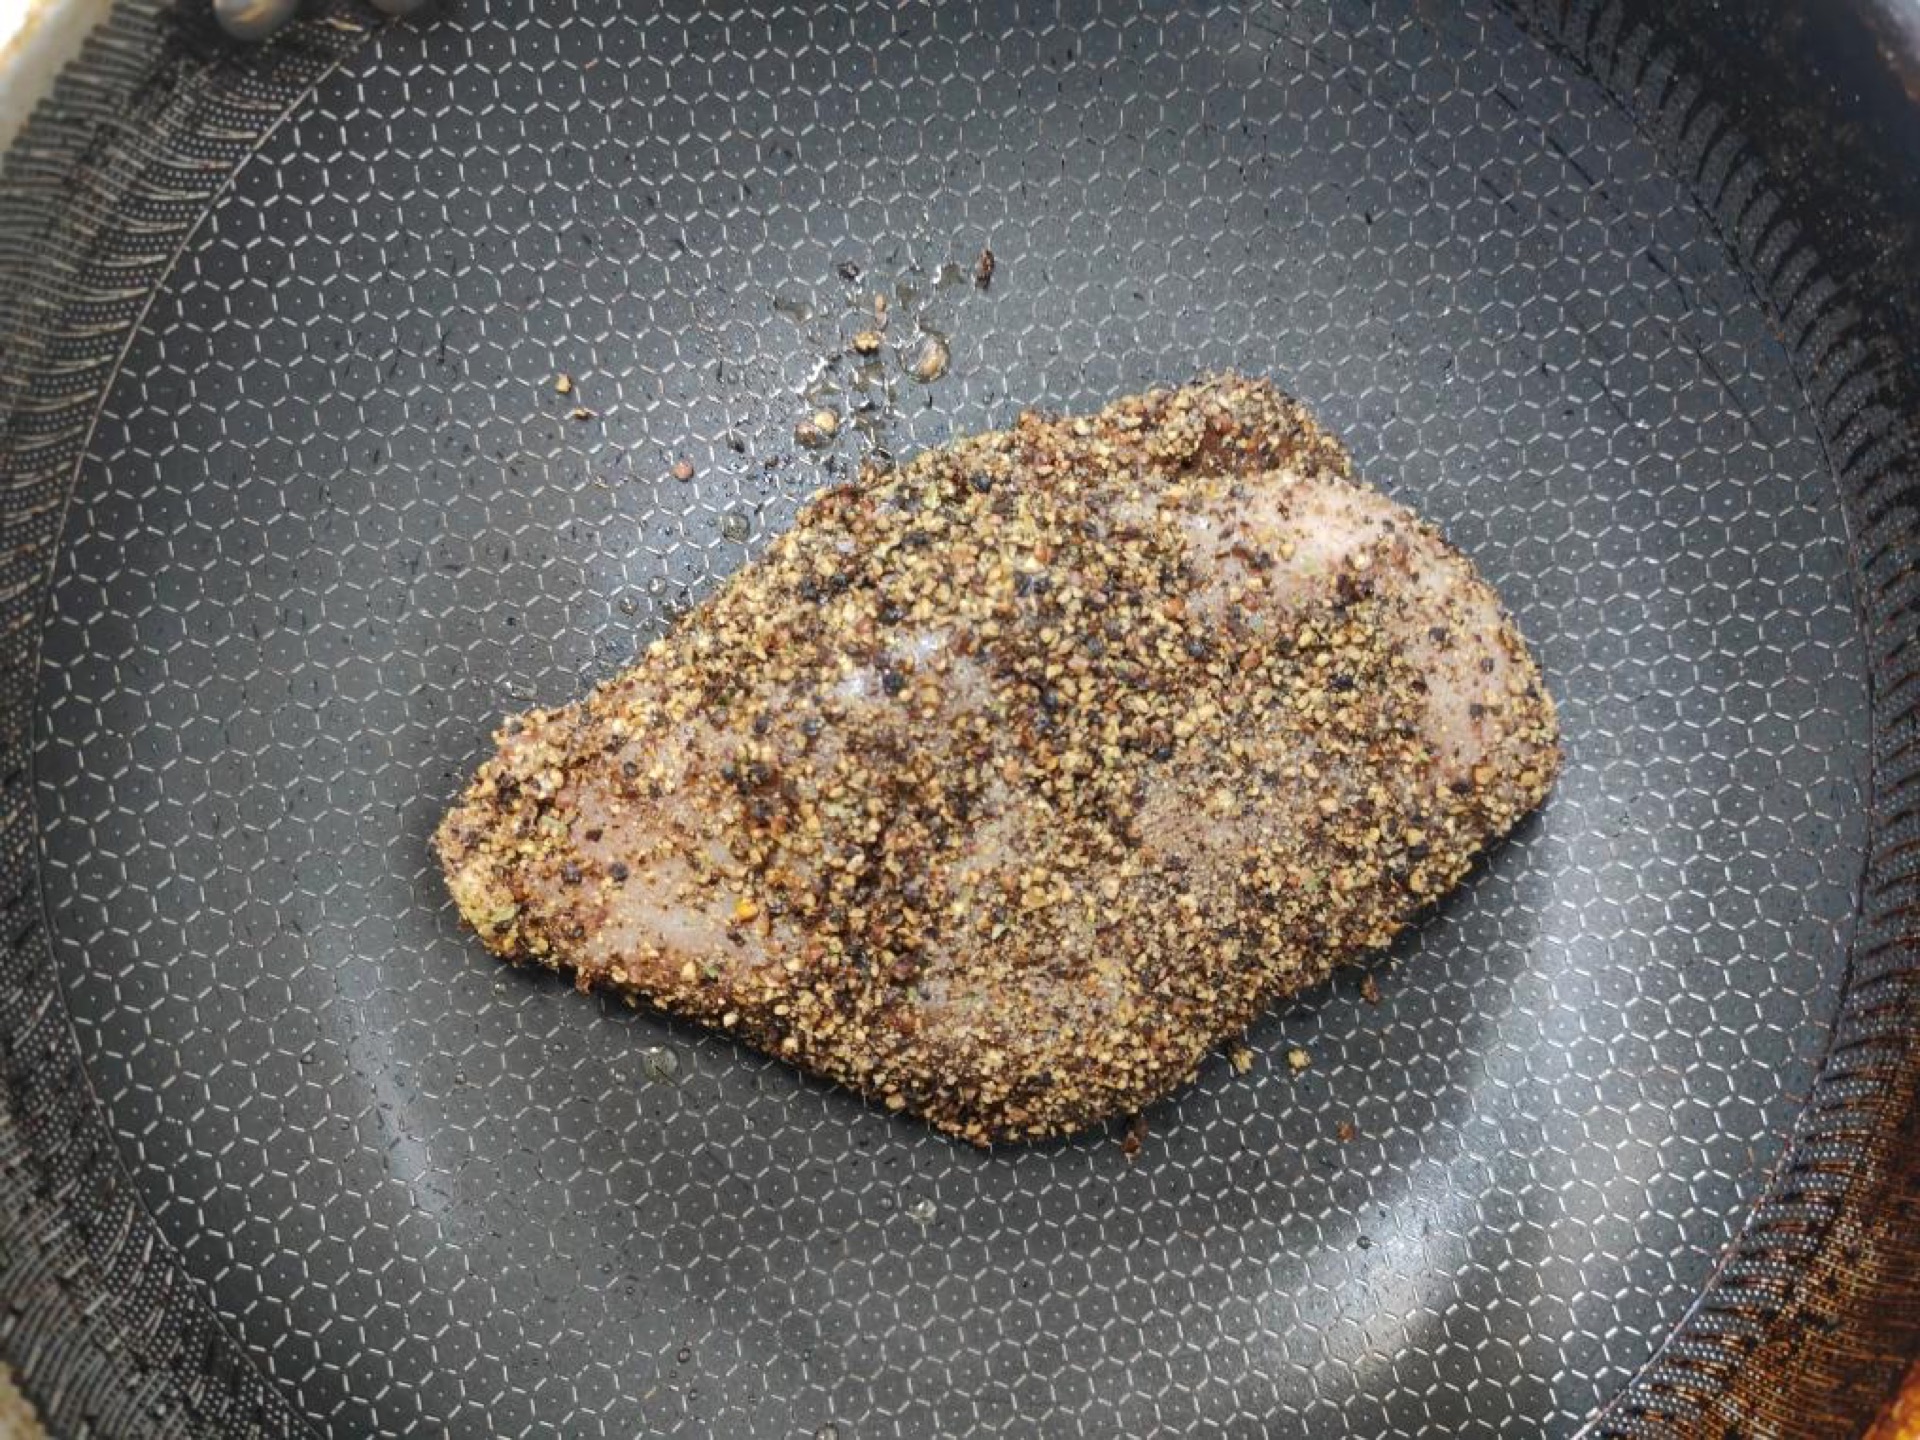
Pour a little corn oil or olive oil into a wok and sear the chicken breasts over low heat for 1 minute per side.
Step 3 — Wrap in Foil
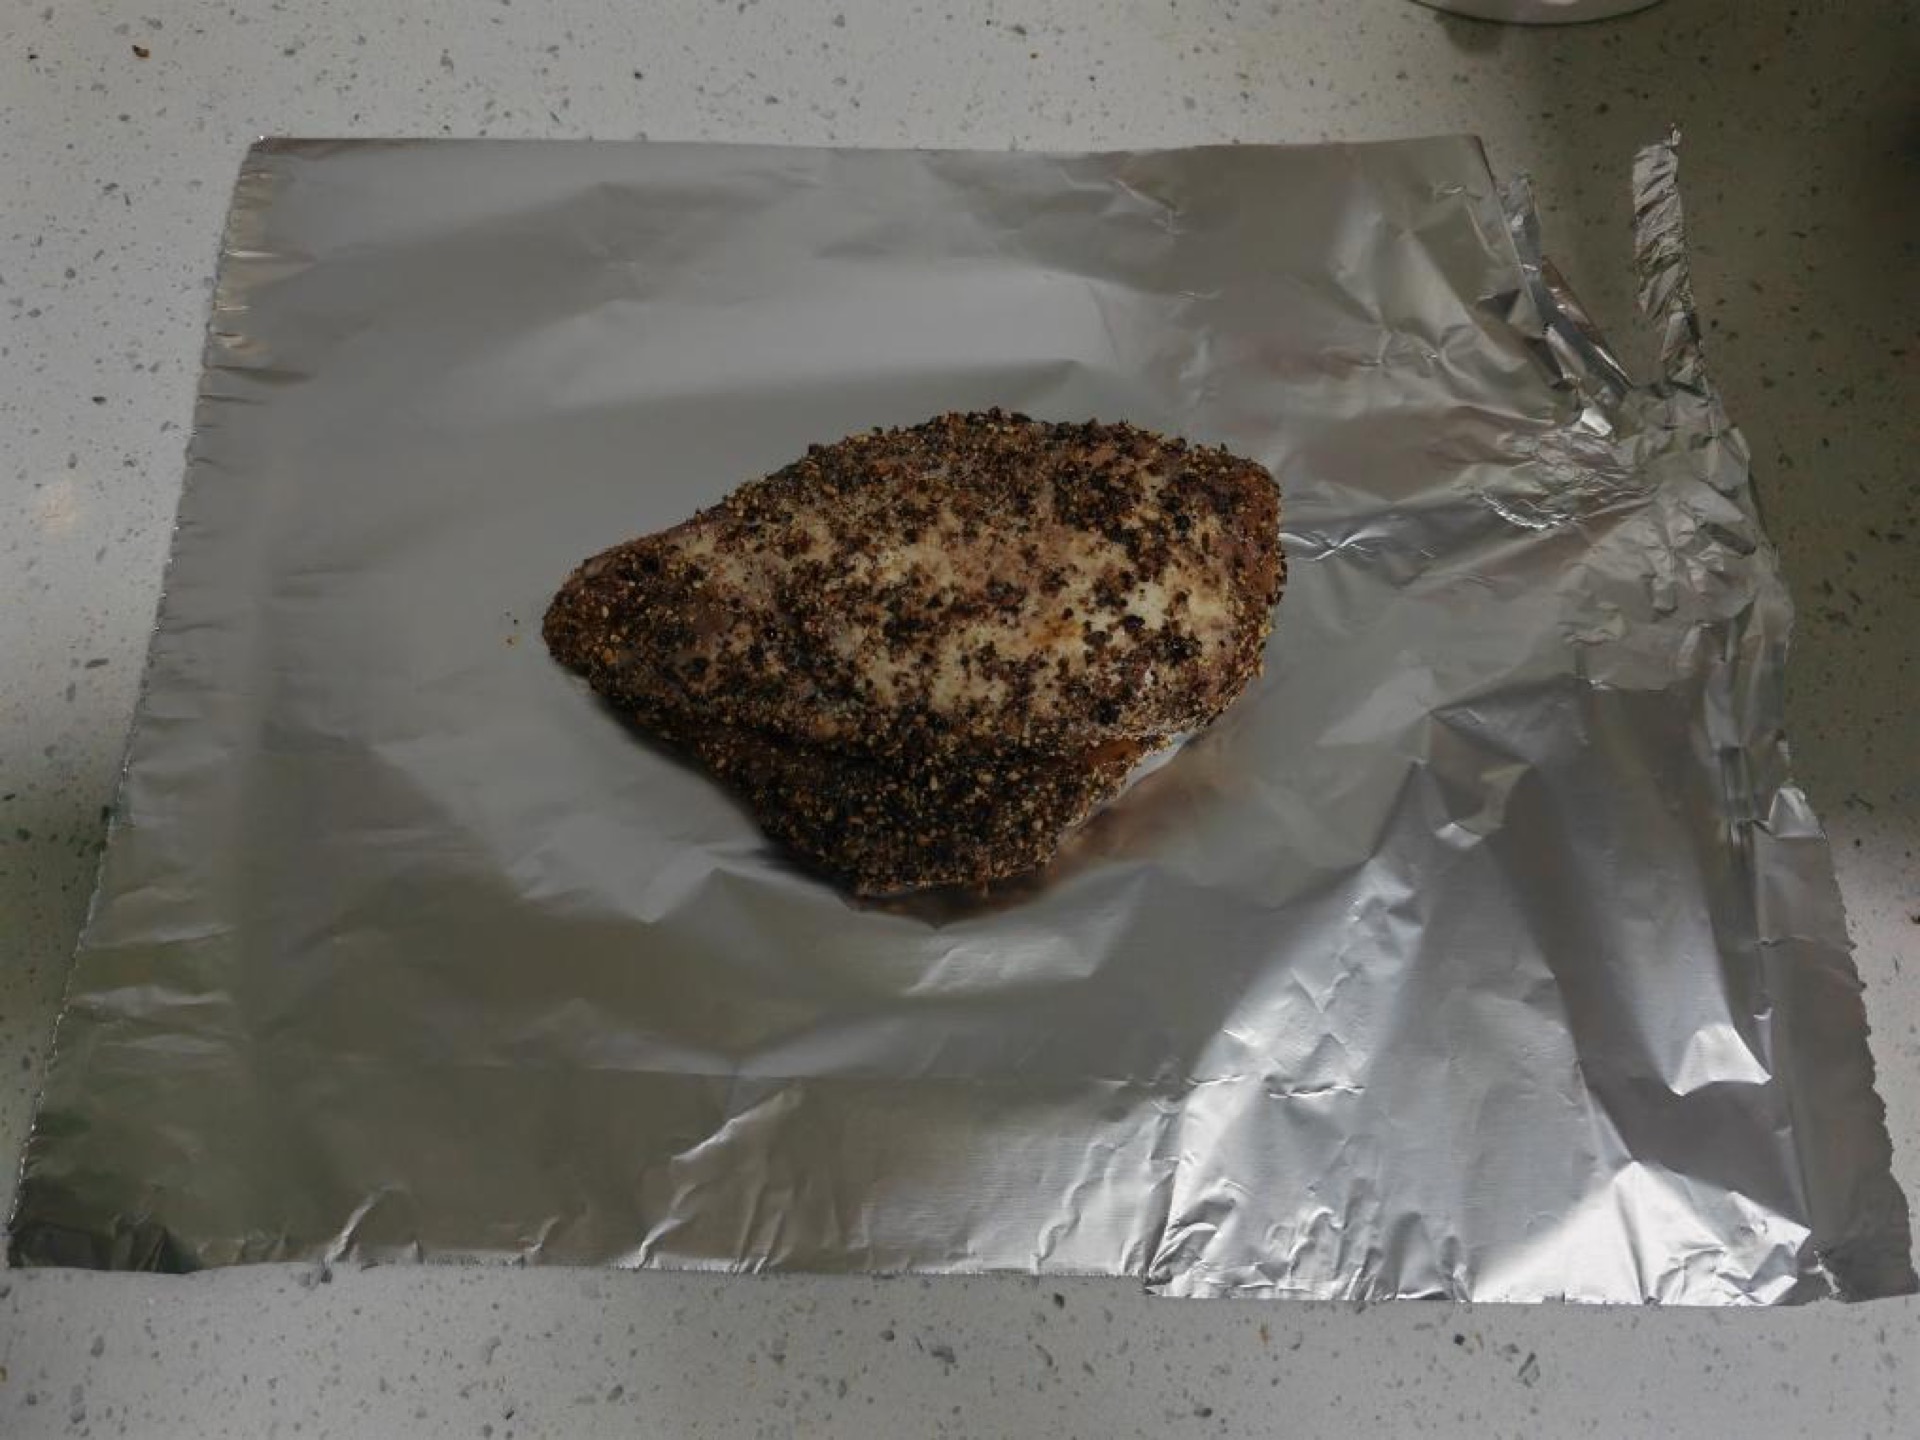
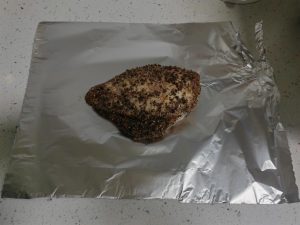
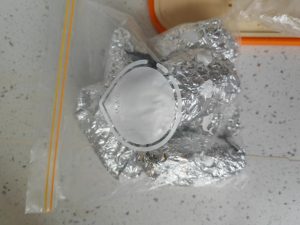
Wrap each seared chicken breast tightly in aluminum foil.
Step 4 — Seal Facing Up
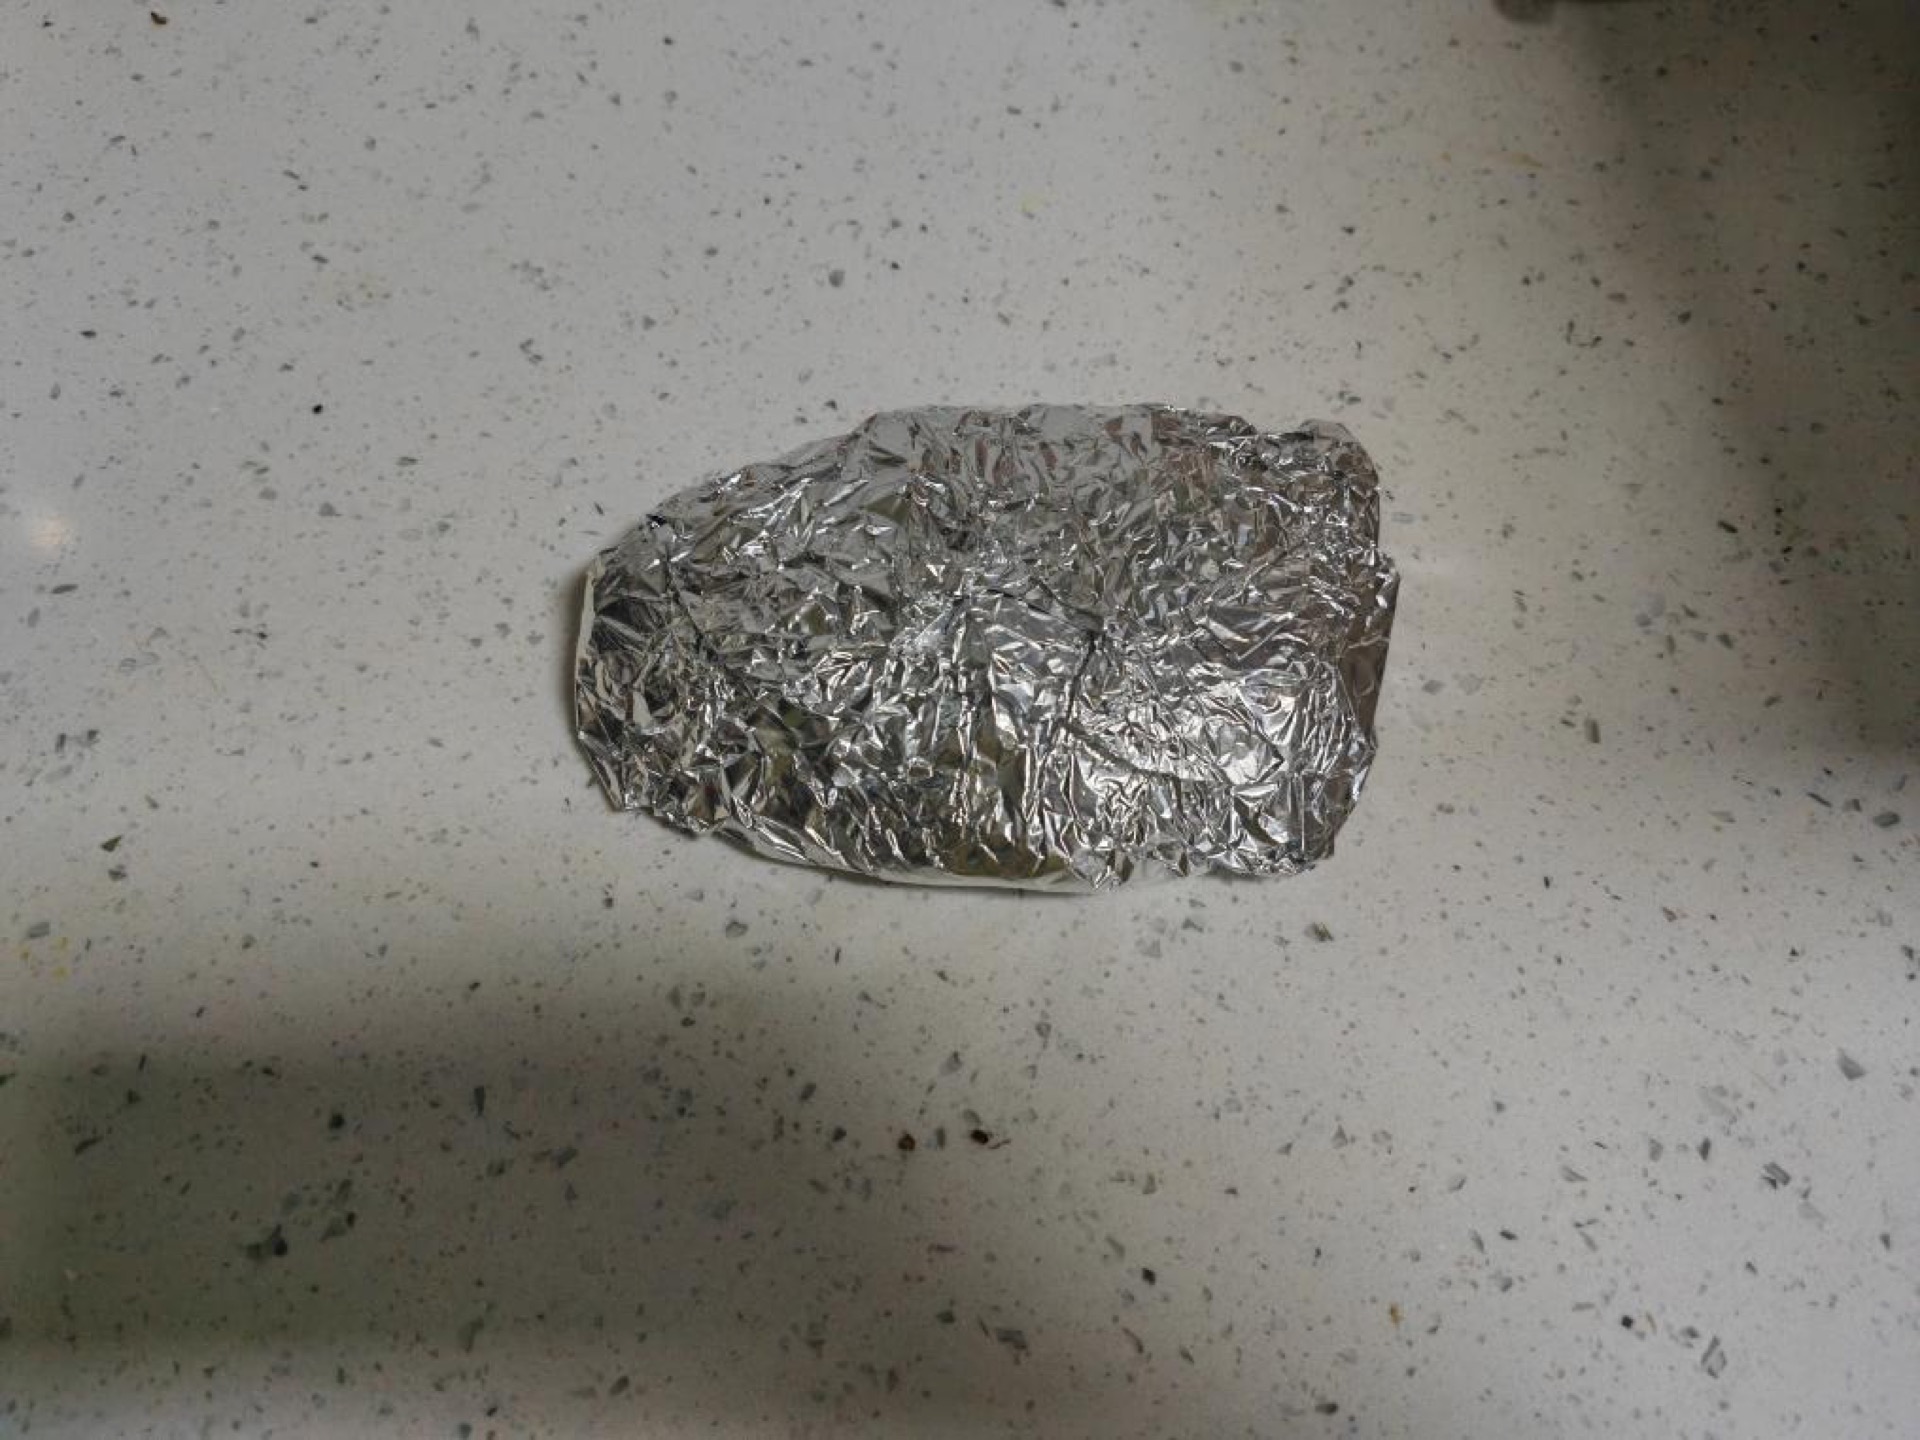
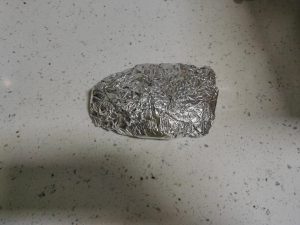
Keep the sealed edge facing up so the juices do not leak out.
Step 5 — Bake Low and Slow
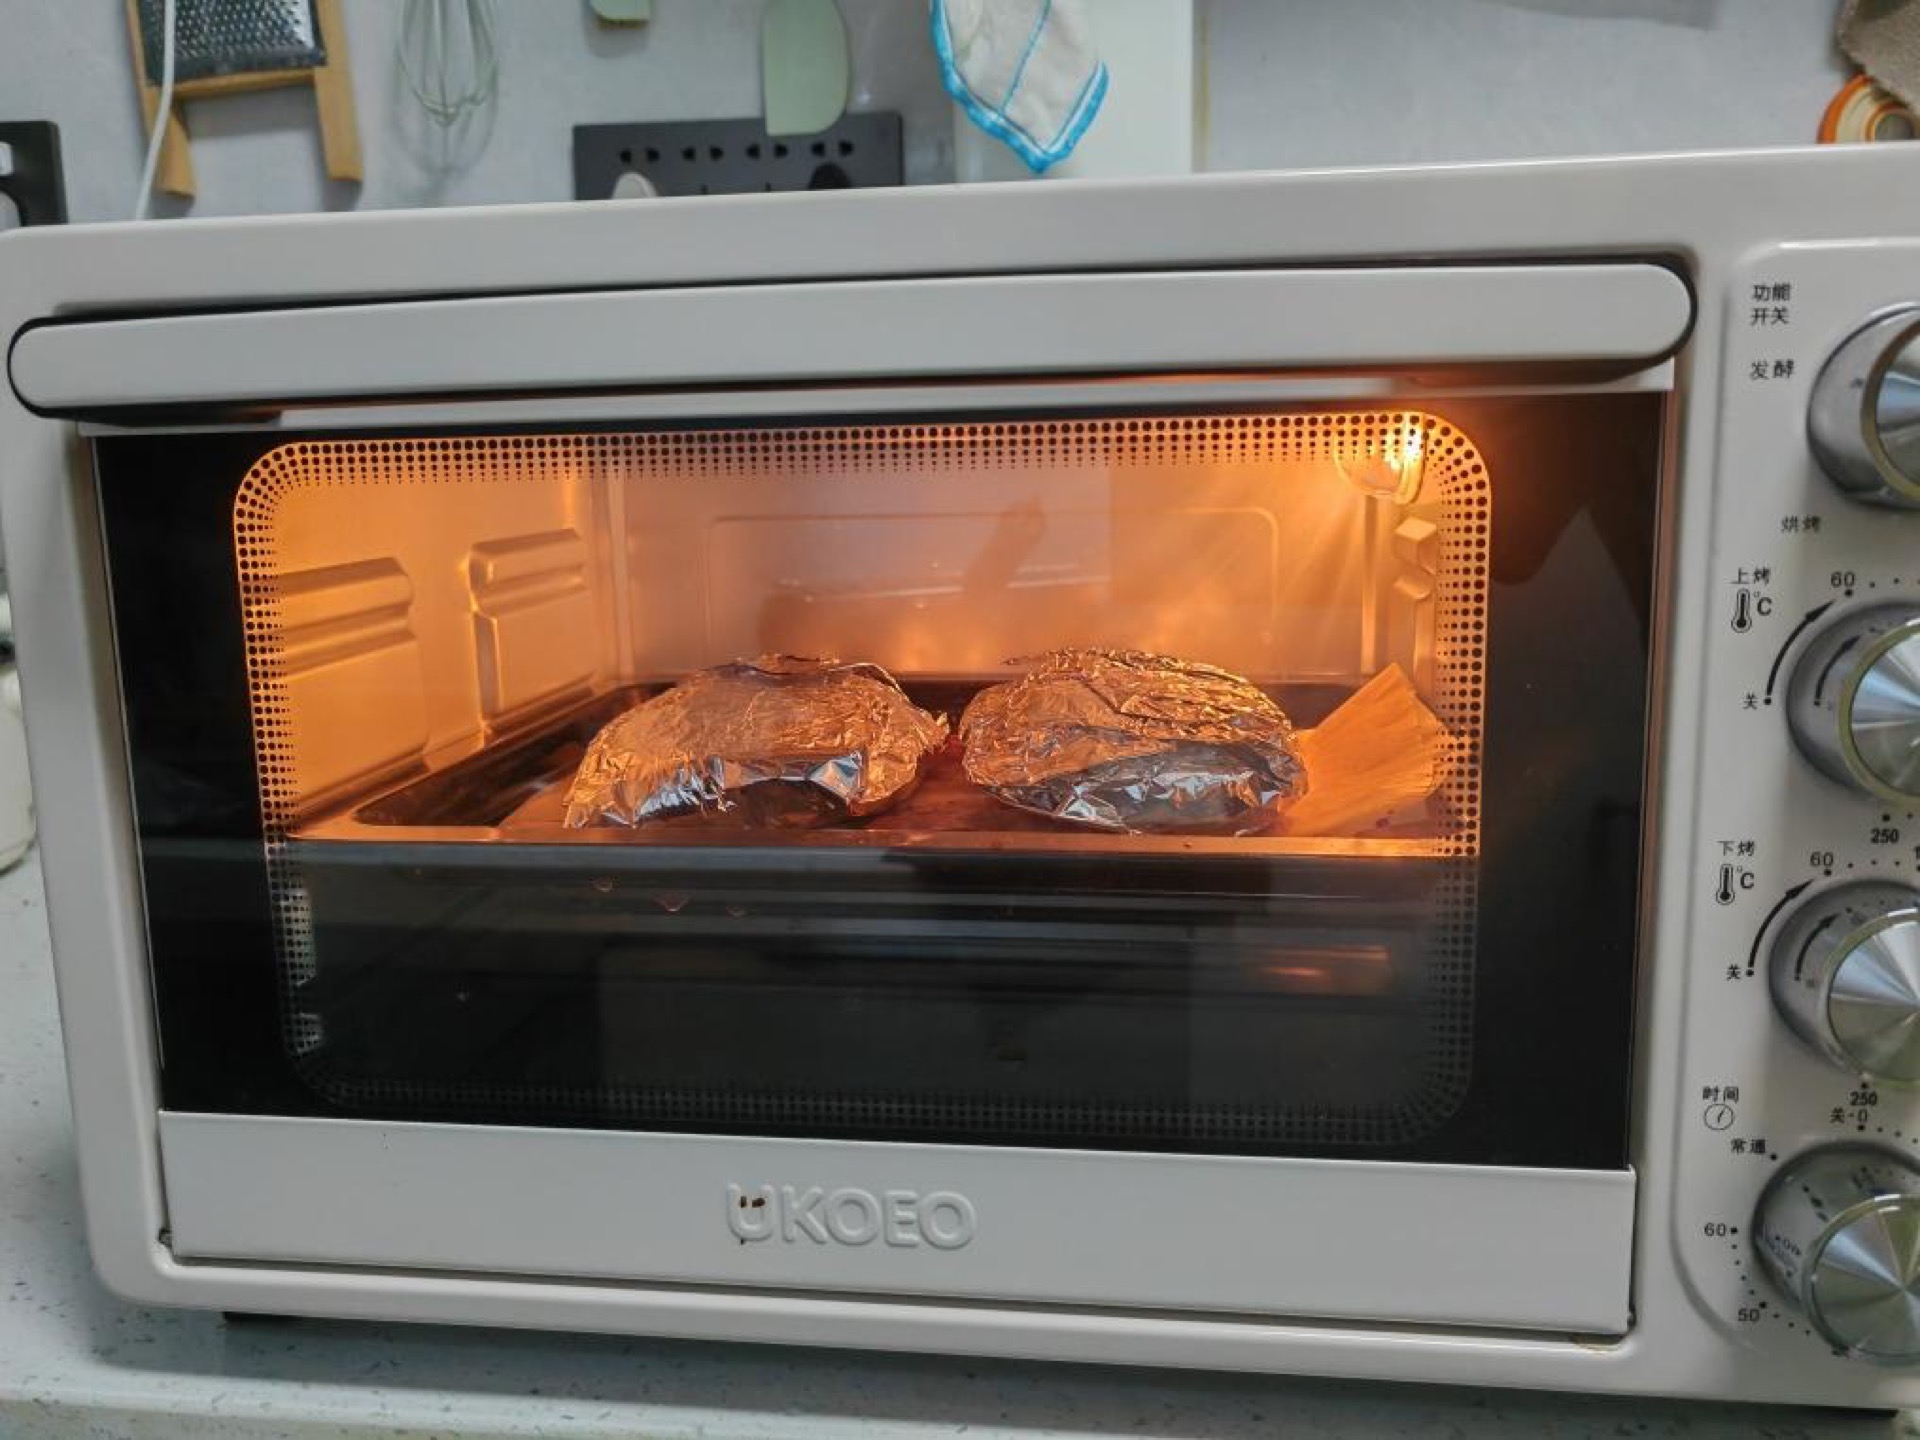
Bake in an oven at 120°C (250°F) for 60 to 80 minutes, depending on the thickness of the chicken breast.
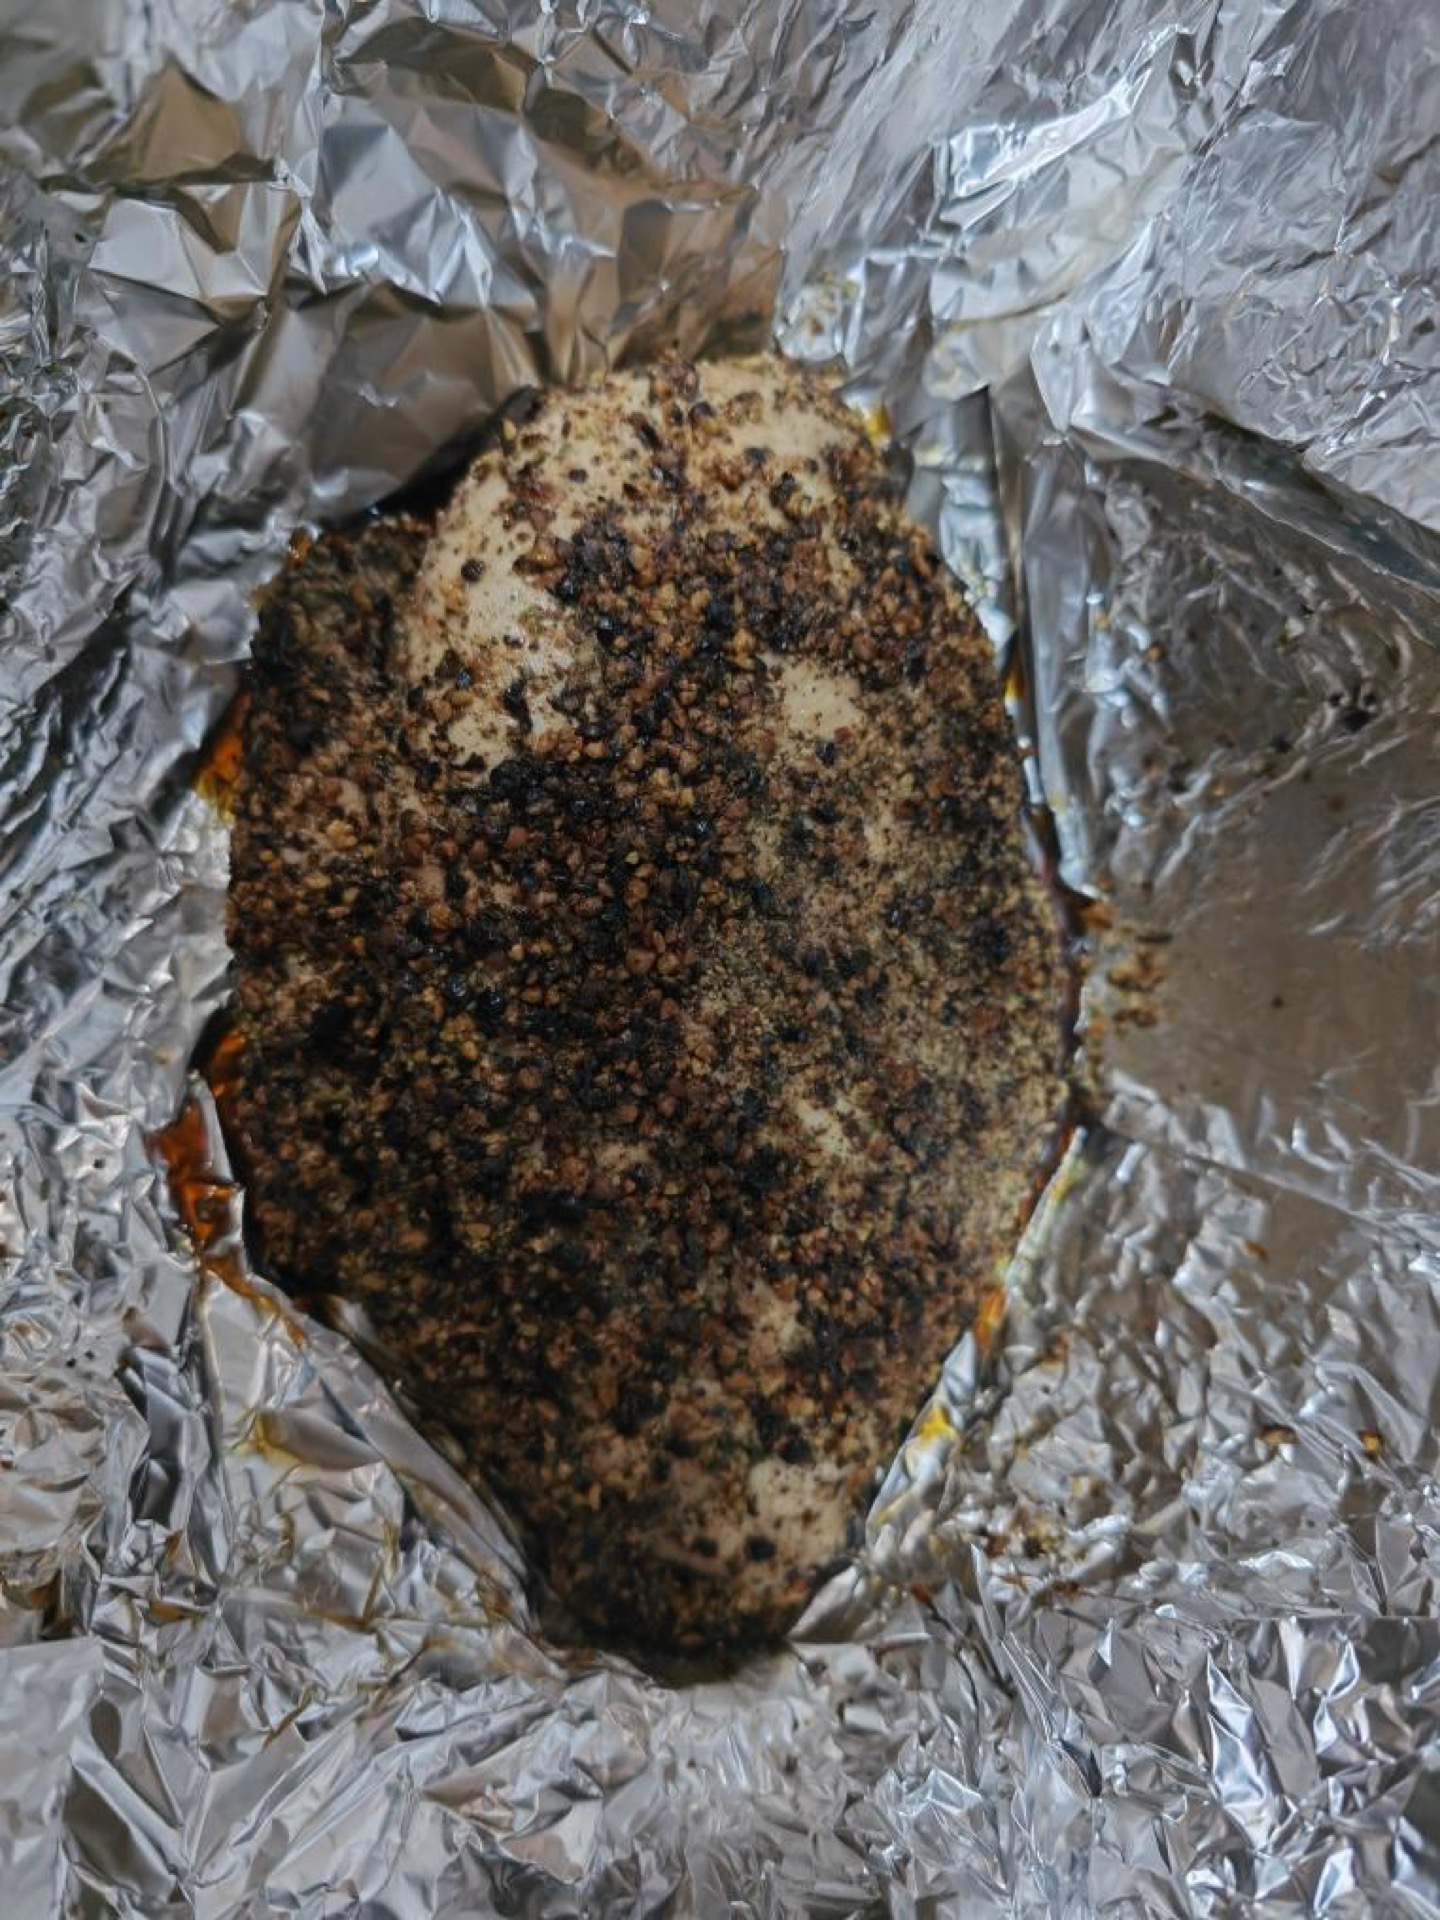
Step 6 — Open and Drain
Once baked, open the foil and pour off the excess juices.
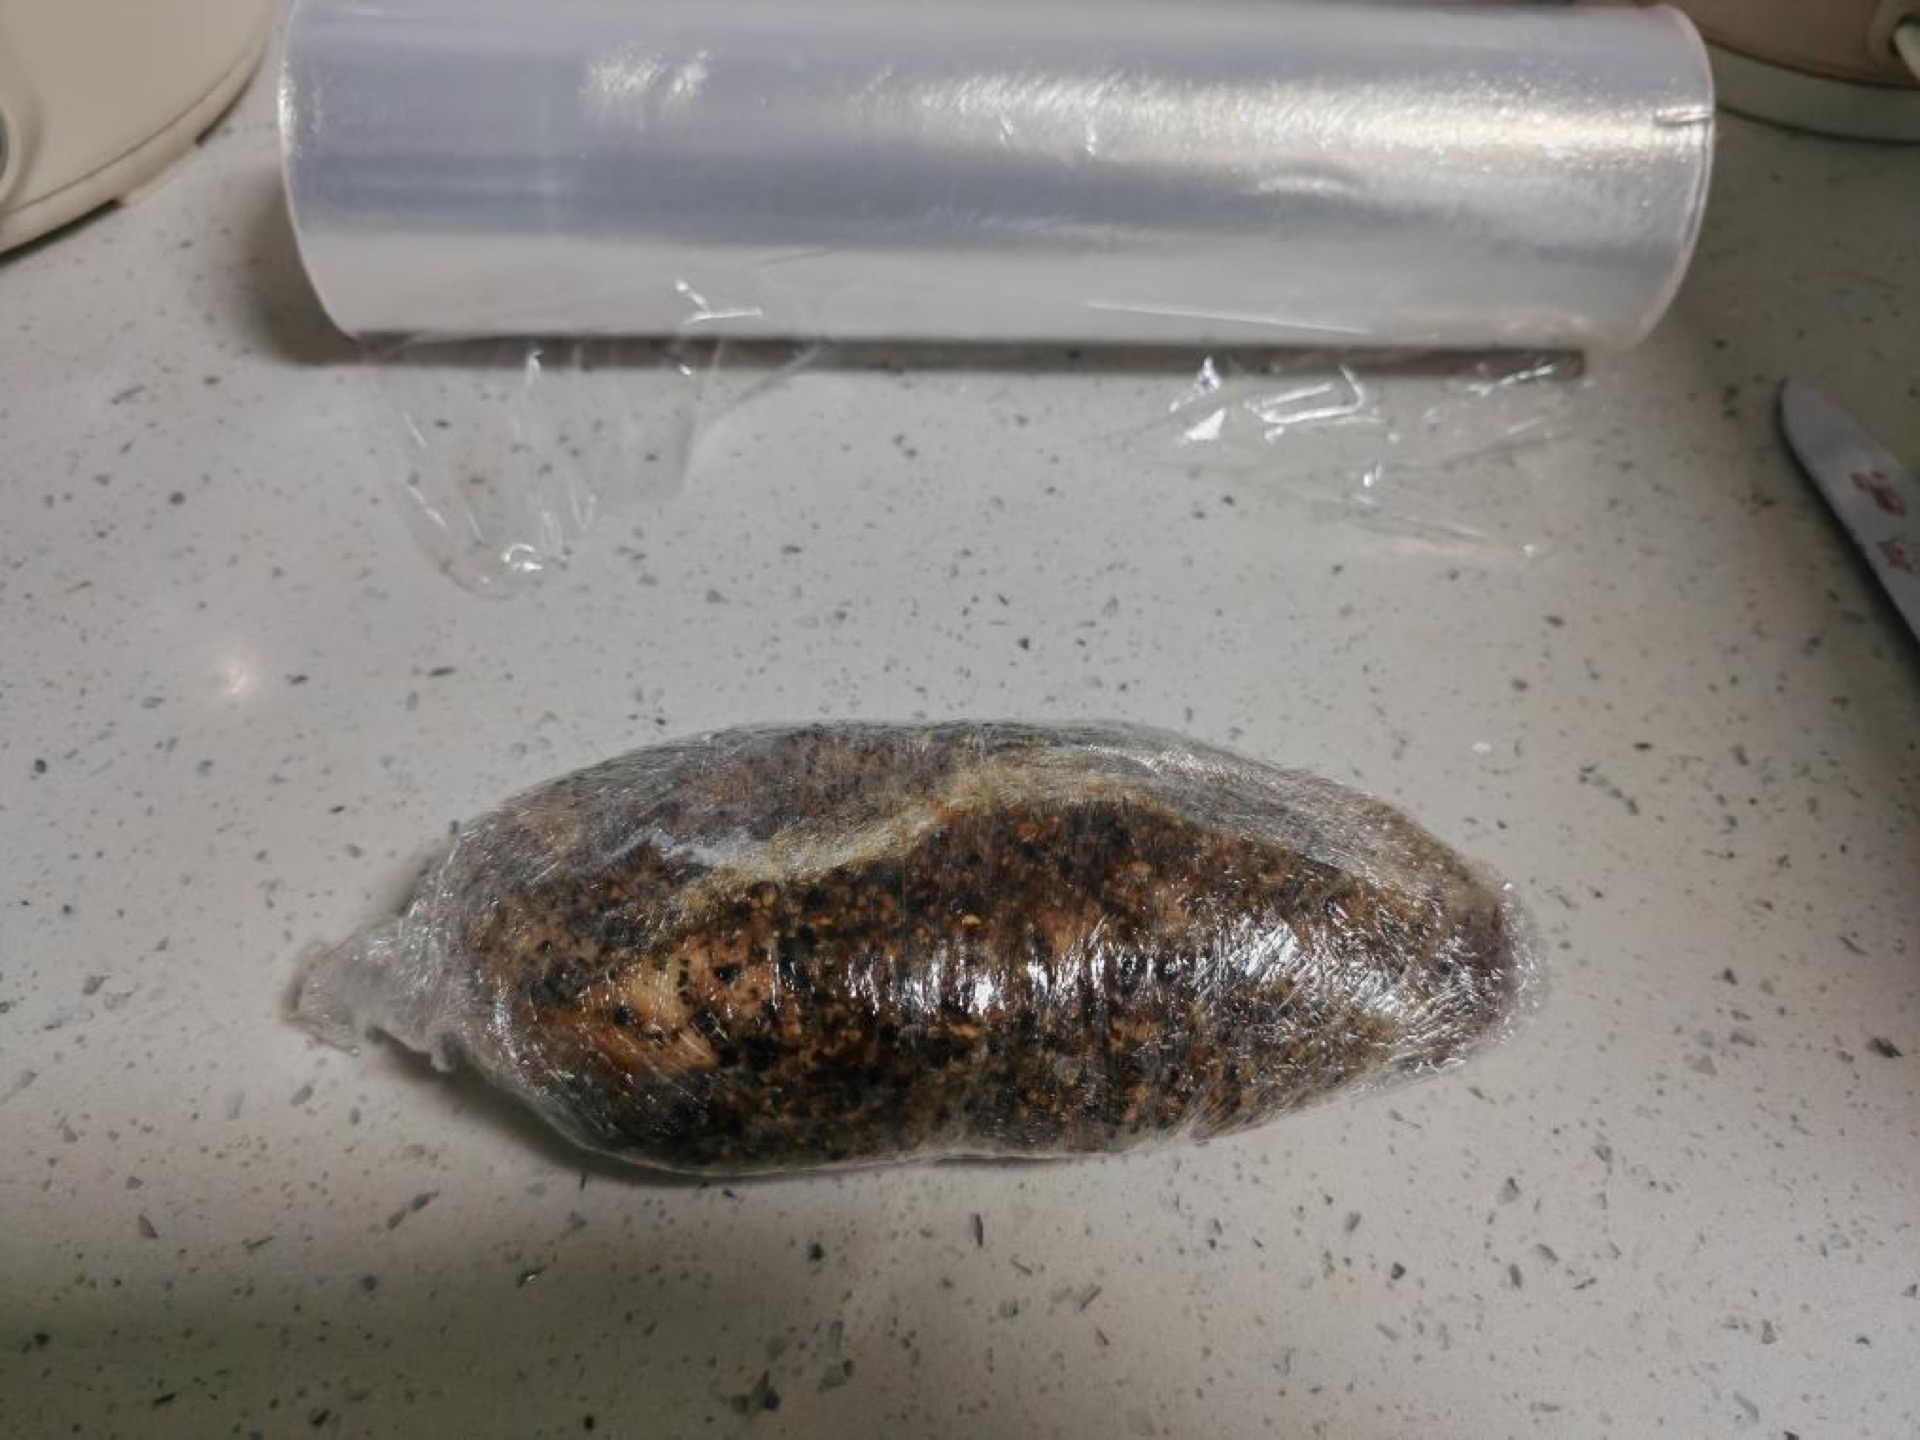
Step 7 — Press and Chill Overnight
Roll each chicken breast tightly in plastic wrap to make the meat firmer, then refrigerate overnight.
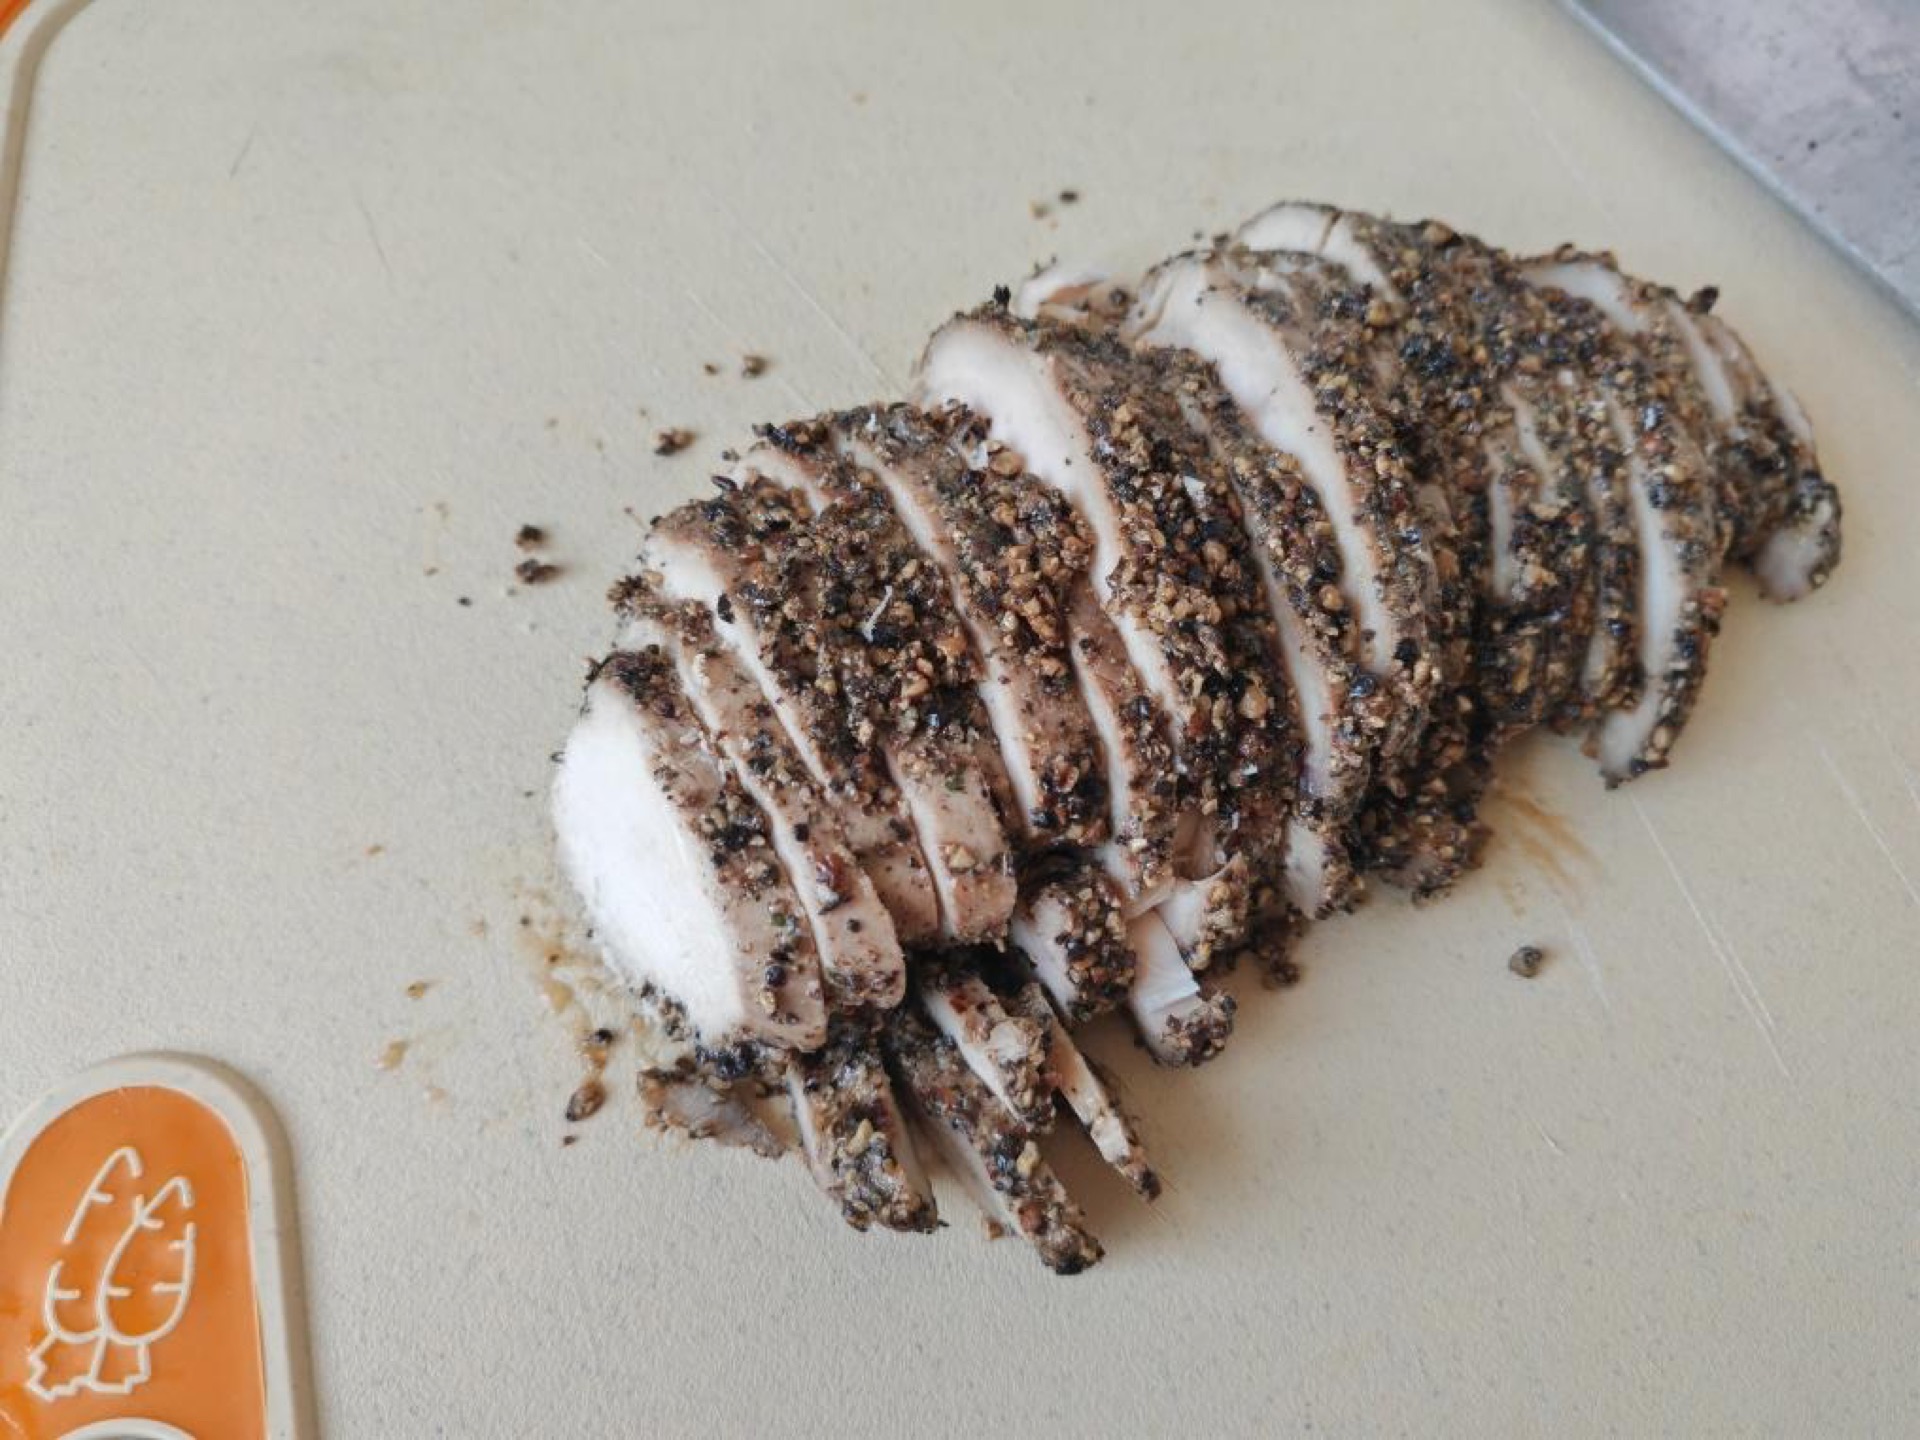
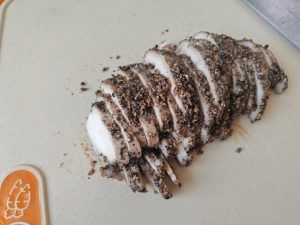
Step 8 — Slice and Serve
Slice the chilled chicken breast and serve.
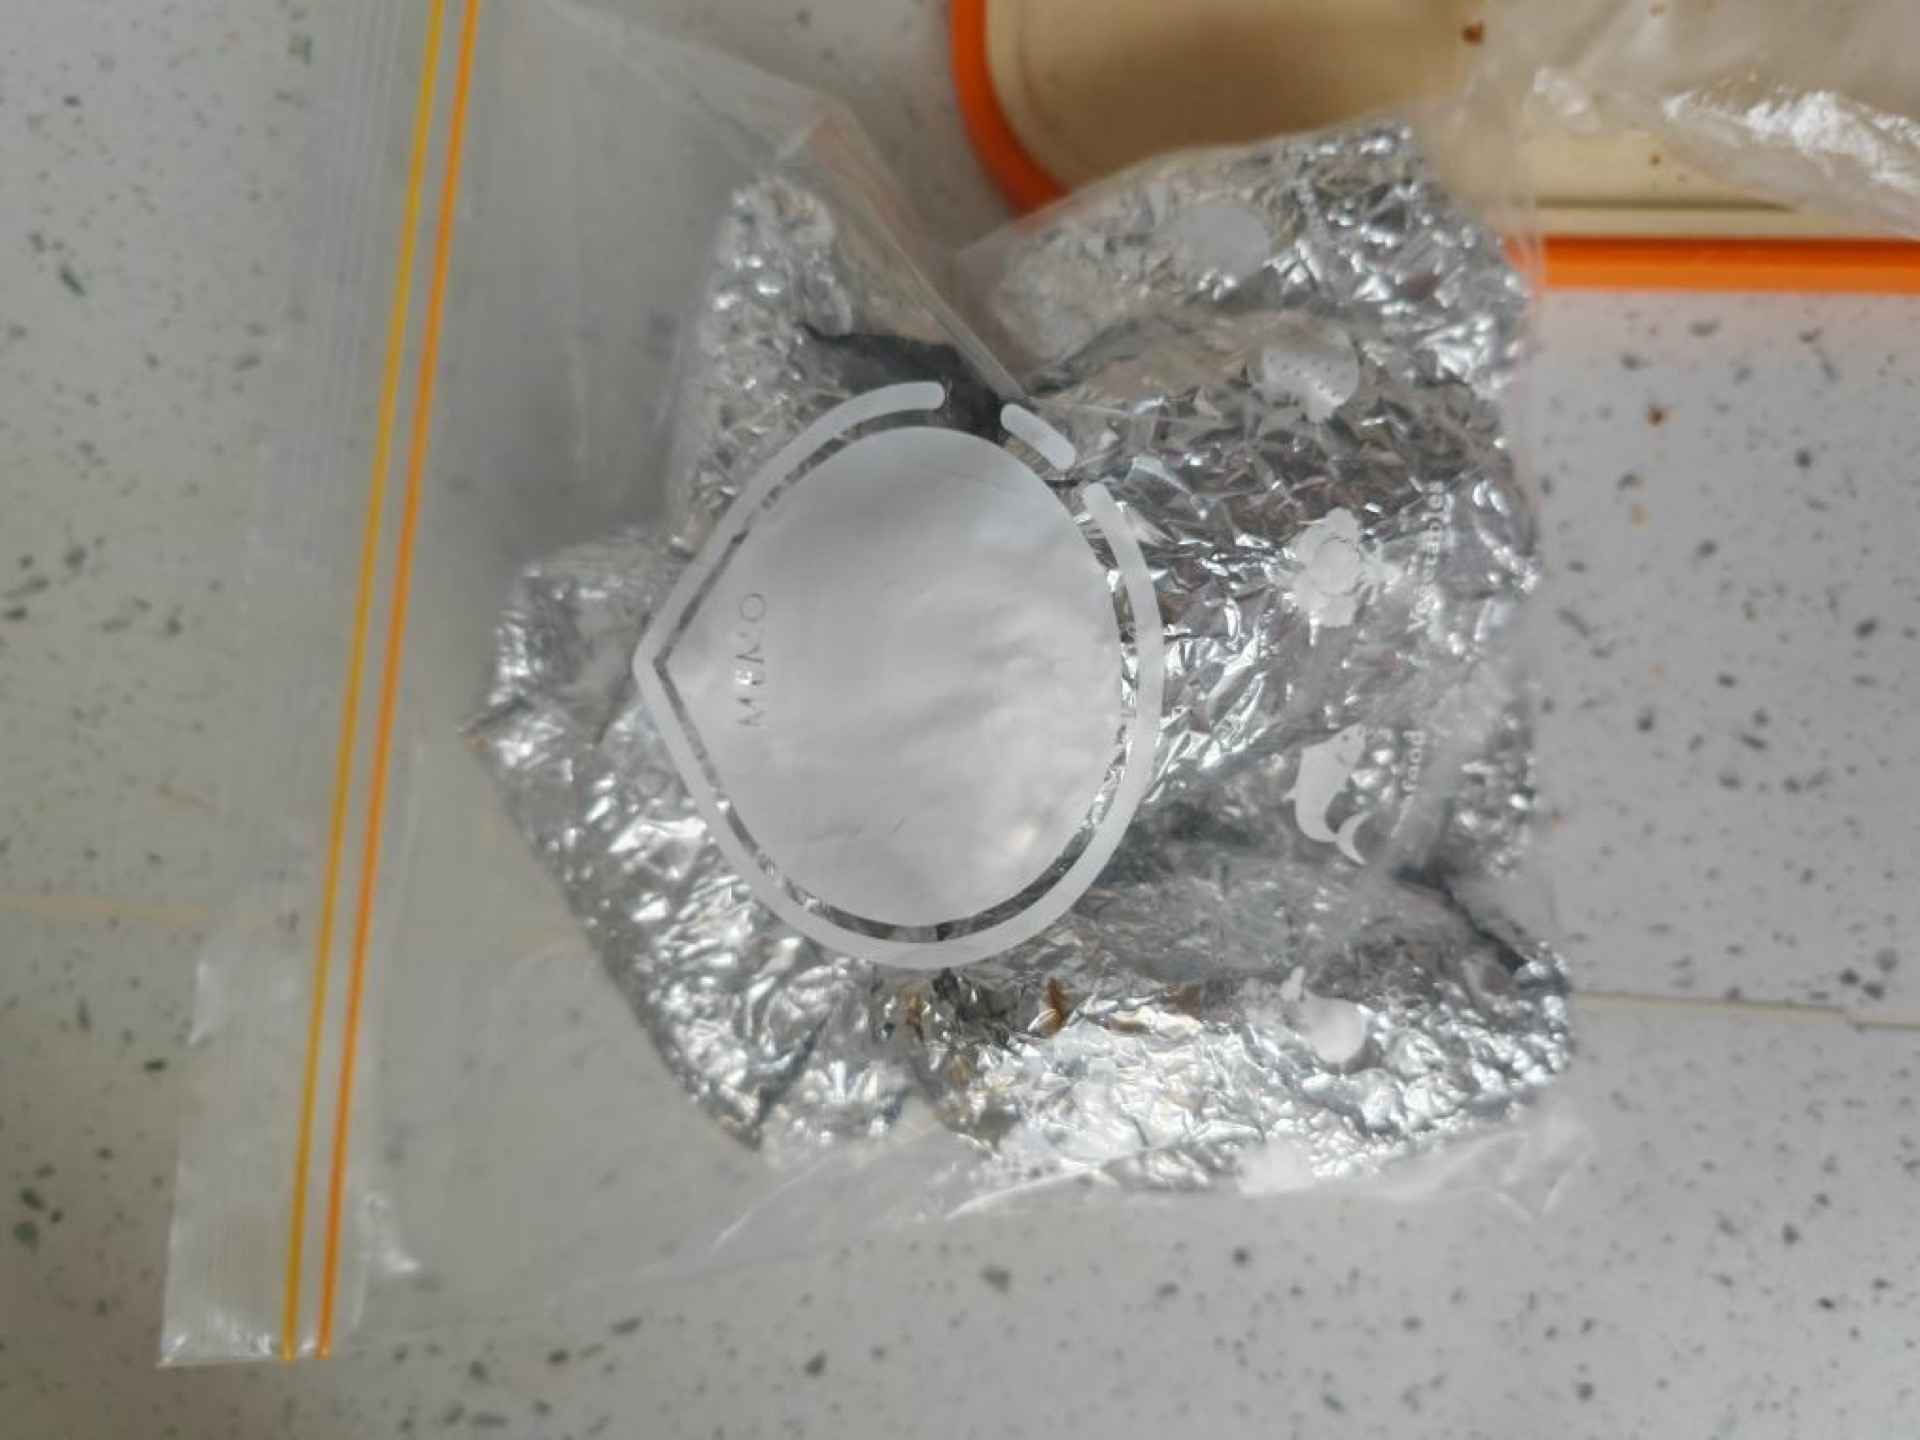
Step 9 — Portion and Freeze
Portion the slices, wrap them in foil, and freeze; thaw in the refrigerator the night before you want to eat.
Common Mistakes When Making Pastrami-Style Chicken Breast
These are the errors that show up most often, and how to avoid each one.
- Using too much salt. The cure is only 2 teaspoons for a pound of chicken, and it is easy to overdo by eye. Over-salted chicken tastes cured in the wrong way and cannot be fixed after baking. Weigh the salt, or measure level teaspoons, and remember that fine salt packs more tightly than kosher salt.
- Skipping the full 24 hours. A two-hour cure seasons only the surface. The salt needs a full day at refrigerator temperature to reach the center of the breast. If you shorten it, the slices taste bland in the middle even though the crust is peppery.
- Searing over high heat. The goal is a toasted pepper crust, not a browned steak. High heat burns the pepper and cooks the outer layer before the oven ever gets involved. Keep the flame low and stick to one minute per side.
- Wrapping with the seam facing down. Juices pool at the bottom of the foil packet during baking. If the seam is on the underside, they leak onto the baking sheet and the chicken steams dry. Always set the packet seam-side up.
- Guessing the bake time instead of checking thickness. A thin breast is done in 60 minutes and a thick one needs 80. Cutting the time short leaves the center undercooked, and running it long turns the meat chalky. Measure the thickest point before it goes in.
- Slicing while the chicken is warm. Warm meat shreds under the knife because the fibers have not set. The overnight chill in plastic wrap is what makes clean slices possible, so do not rush it.
Variations
The base recipe is deliberately plain, which makes it a good canvas.
Peppery and smoky. Add a teaspoon of smoked paprika and a pinch of garlic powder to the cure. The result leans closer to a smoked deli flavor without any actual smoking.
Coriander and black pepper. Classic pastrami spice blends usually include coriander seed. Crush a teaspoon with the peppercorns for a more aromatic crust.
Spicy version. Work a teaspoon of chili flakes or a spoonful of spicy yellow soybean paste into the cure for a fermented, savory heat that pairs beautifully with cold sliced chicken.
Herb-crusted. Press chopped rosemary or thyme into the pepper coating before searing. The herbs toast during the sear and perfume the crust.
Faster weeknight version. Cure for 12 hours instead of 24, skip the sear, and bake at 150°C (300°F) for 35 to 40 minutes. The texture is less deli-like, but the flavor is still excellent on a busy night.
Frequently Asked Questions
Can I use chicken thighs instead of breast? Yes, but the timing changes. Boneless thighs are thinner and fattier, so check them at 50 minutes. The press works the same way, though the slices will be a little softer.
Do I need curing salt or pink salt? No. This recipe is a simple salt-and-pepper cure, not a nitrate cure. The chicken will not have the pink color of commercial pastrami, but it also will not need any specialty ingredients.
Why is my chicken still pink in the middle? A faint pink tint near the bone or in the center of a cured breast is normal and comes from the salt cure, not from undercooking. Confirm doneness with a thermometer: 165°F (74°C) is the target.
Can I skip the overnight press? You can, but the texture changes completely. Without the press, the chicken slices into soft, irregular pieces rather than firm coins. If you are short on time, chill it for at least 4 hours.
How thin should I slice it? As thin as your knife allows, ideally ⅛ inch or less. Thinner slices taste more delicate and are easier to layer on a sandwich. A very sharp, long blade makes this much easier.
How to Serve
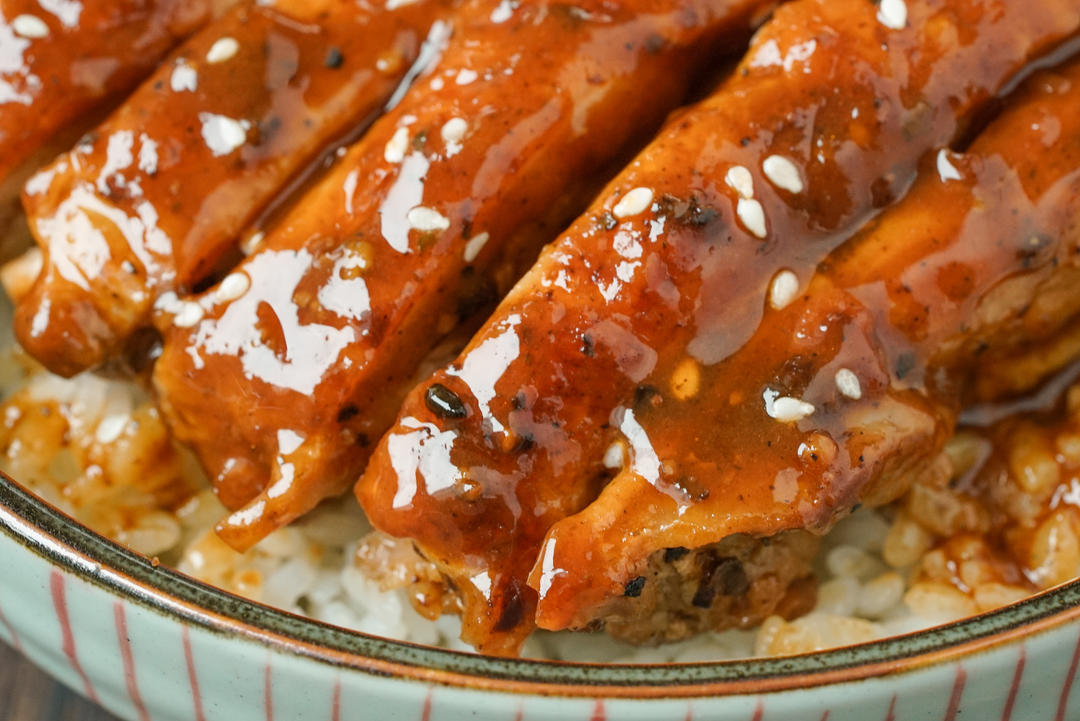
Cold sliced pastrami-style chicken is the classic way to eat it, layered on rye or sourdough with mustard and a few pickles. It also works warm: fold the slices into a bowl of black pepper chicken rice bowls for a double-pepper hit, or fan it over a plate of Henan steamed noodles with a spoonful of the pan juices drizzled on top.
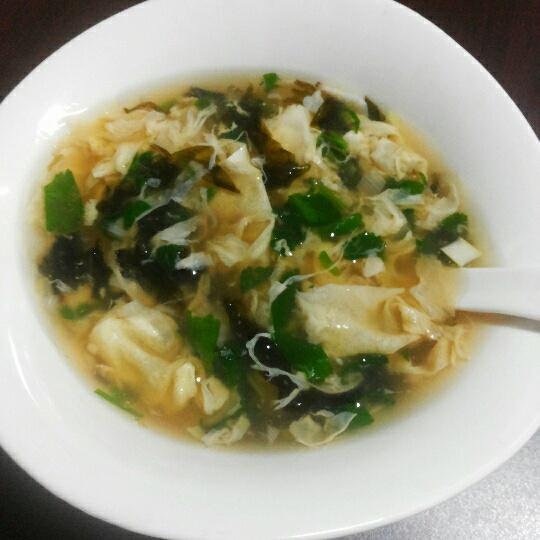
For a lighter meal, serve the slices over greens with a sharp vinaigrette, or alongside a bowl of silky seaweed egg drop soup for a simple Chinese-style supper. A little universal scallion oil brushed on warm slices adds a fragrant finish that works surprisingly well with the pepper crust.
Storage & Reheat
Keep the finished slices in an airtight container in the refrigerator for up to 4 days. Wrap them tightly or they will dry out and pick up other flavors from the fridge.
For longer storage, portion the slices and wrap each portion in foil, then place the packets in a freezer bag. They keep for up to 3 months. Thaw a portion in the refrigerator the night before you plan to eat it, which is exactly how the last step of the recipe is designed to work.
Reheat gently if you prefer warm chicken. A quick pass in a covered skillet over low heat, or 20 seconds in the microwave, is enough. High heat will dry the slices out and undo the work of the cure.
Allergen Notice
The core recipe contains only chicken, black pepper, sea salt, and a small amount of corn or olive oil, none of which are common allergens. If you add a variation ingredient, check its label: soybean paste contains soy and wheat, and some spice blends include mustard or celery seed. Cook in a clean pan if you are preparing this for someone with a severe allergy.
Nutrition Disclaimer
Nutrition information is calculated using an ingredient database and should be considered an estimate. In cases where multiple ingredient alternatives are given, the first listed is calculated for nutrition. Garnishes and optional ingredients are not included.
About the Author & Recipe Development
Lin is the cook, writer, and photographer behind Woks of Love, a site devoted to the everyday home cooking of China and the Chinese diaspora. Every recipe here is tested in a home kitchen with equipment most people already own, then written so that a first-time cook and a seasoned one can both follow it.
This pastrami-style chicken breast came out of a simple question: how do you get deli-style sliced chicken at home without a smoker, a slicer, or a shopping trip for specialty curing salts? The answer turned out to be time rather than equipment. A long cure, a low oven, and an overnight press do all the work, and the ingredient list stays at three items.
If you make it, the timing is the part worth paying attention to. Measure the thickness of your chicken, set a timer for the low end of the range, and check it before you pull it out. Then let it chill the full night. The slices are worth the wait.
Authoritative References
For safe handling and cooking temperatures for poultry, see the USDA safe minimum internal temperature chart, which lists 165°F (74°C) for all poultry. Refrigeration and cold-storage guidance comes from the FDA refrigerator and food safety guidance, which recommends holding cold food at or below 40°F (4°C).
Pastrami-Style Chicken Breast (帕斯雀鸡肉): Tender, Peppery,

Equipment
- Wok
- Cutting Board
- Slotted Spoon
Ingredients
For the Cure
- 2 pieces chicken breast boneless, skinless, about 1 lb total
- 1 tbsp black pepper coarsely cracked, plus more for coating
- 2 tsp sea salt fine, or kosher salt
For Sealing and Serving
- 1 tbsp corn oil or olive oil, for searing
- 2 sheets aluminum foil for wrapping and storing
Instructions
- Rub the cracked black pepper and sea salt all over the chicken breasts, then refrigerate them for 24 hours.

- Pour a little corn oil or olive oil into a wok and sear the chicken breasts over low heat for 1 minute per side.

- Wrap each seared chicken breast tightly in aluminum foil.
- Keep the sealed edge facing up so the juices do not leak out.
- Bake in an oven at 120°C (250°F) for 60 to 80 minutes, depending on the thickness of the chicken breast.
- Once baked, open the foil and pour off the excess juices.
- Roll each chicken breast tightly in plastic wrap to make the meat firmer, then refrigerate overnight.
- Slice the chilled chicken breast and serve.
- Portion the slices, wrap them in foil, and freeze; thaw in the refrigerator the night before you want to eat.





Leave a Reply