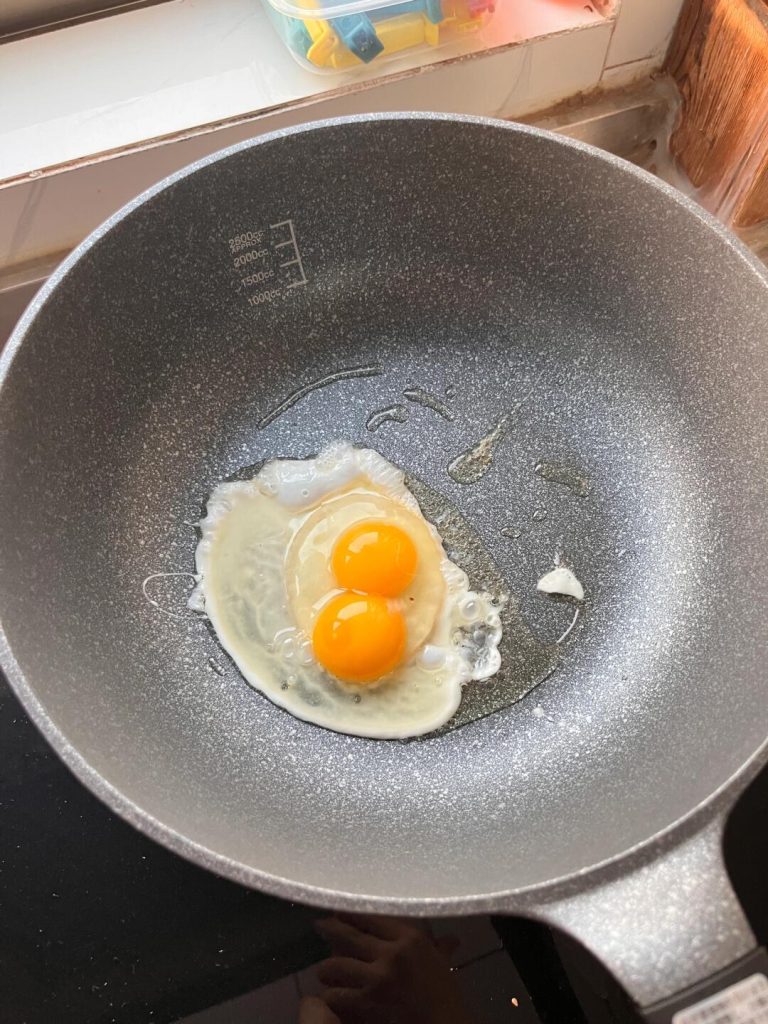
1. The “Soggy Mess” Frustration
We’ve all been there: you’re excited to whip up a quick dinner, but instead of a vibrant, crisp meal, you end up with gray, limp meat and a pool of liquid at the bottom of the pan. Most home cooks blame their recipe, but the culprit is often a thin, cheap “nonstick” pan that can’t hold heat. When your equipment fails, your dinner becomes a boiled, flavorless disappointment rather than a true stir fry.
2. The Direct Solution
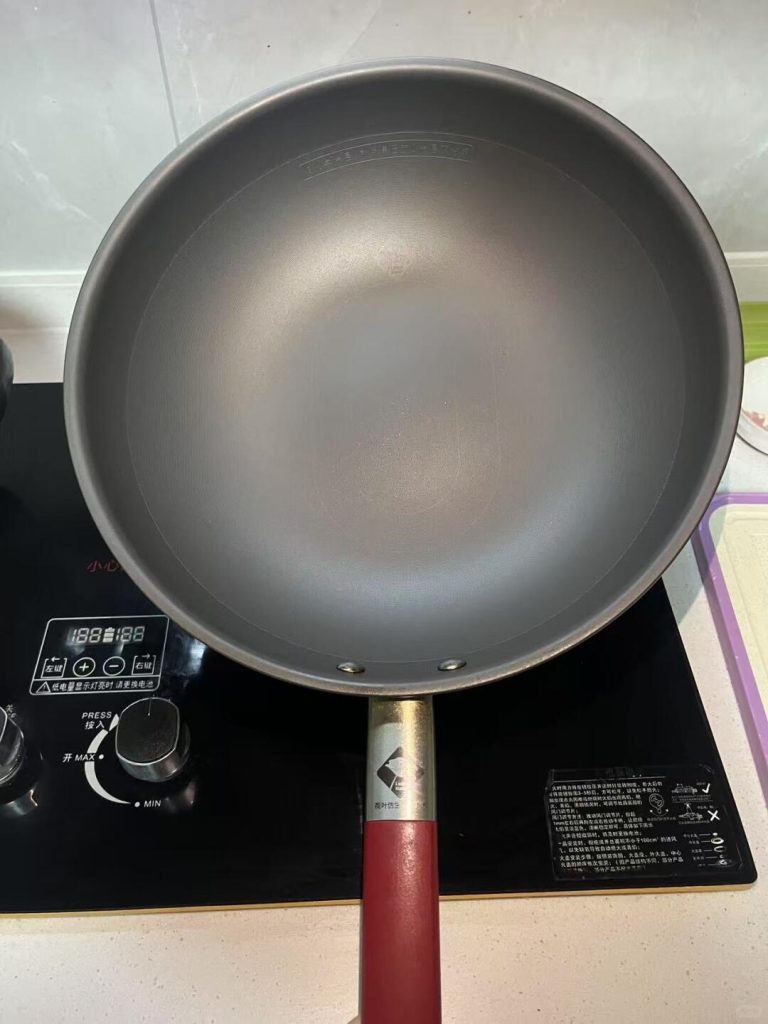
The best nonstick pan for stir fry is a heavy-gauge, hard-anodized aluminum skillet or a flat-bottomed nonstick wok. You need a pan with a thick base to retain heat and a high-quality, PFOA-free coating that can withstand the constant movement of high-heat cooking.
3. Why Heat and Surface Matter
Successful stir-frying relies on “thermal mass”—the ability of the pan to stay hot even when cold ingredients are added. In a thin pan, the temperature plunges instantly, causing moisture to leak out of the food. A heavy-gauge nonstick pan acts as a heat reservoir, allowing that moisture to evaporate immediately as steam, which is the secret to fixing soggy vegetables in your stir fry.
4. The Real Kitchen Insight
In a restaurant kitchen, we use high-BTU burners that would melt most home equipment, but in my experience, a high-quality nonstick pan is actually the superior choice for a standard home stove. What most beginners don’t realize is that “authentic” carbon steel woks often fail on electric or induction tops because they don’t have enough contact with the heat source. Using a professional-grade nonstick skillet isn’t cheating; it’s a smart way to get consistent, reliable results without the maintenance of seasoning a wok.
5. Essential Pan Features
When selecting your “ingredient” (the pan), look for these specific traits:
- Hard-Anodized Aluminum: This is harder than stainless steel and offers the best heat conductivity for home burners.
- Flat Bottom: Essential for maximum surface contact, especially on electric or glass cooktops.
- Weight: If it feels like a toy, it will cook like one. You want some heft to ensure it doesn’t lose heat.
- High-Smoke Point Tolerance: While you shouldn’t use “max” heat on nonstick, it must handle medium-high consistently.
6. Prep Strategy for Nonstick Success
Before you turn on the stove, your preparation determines the outcome:
- Pat it Dry: Moisture is the enemy of the sear. Use paper towels to dry your meat and vegetables thoroughly.
- Slice for Speed: Learn how to slice meat across the grain so it stays tender and cooks in seconds.
- The Order Matters: Always have your aromatics, protein, and sauce ready to go, as nonstick pans should not sit empty on a hot burner for more than a few seconds.
7. Step-by-Step Cooking Logic
- Warm-up: Heat the pan over medium-high for about 1 minute.
- The Oil Test: Use a high-quality oil for stir-frying and look for it to shimmer.
- Aromatics: Toss in ginger and garlic; you should hear a gentle, consistent sizzle, not a frantic popping.
- The Sear: Add your protein in a single layer and leave it alone for 30 seconds to develop a crust.
- The Finish: Add vegetables and sauce. The sauce should bubble and thicken immediately upon contact with the pan.
8. 5 Common Mistakes + Fixes
| Mistake | Why It Happens | The Fix |
| Overcrowding the pan | The pan temperature drops, leading to steaming instead of frying. | Cook in smaller batches if your pan isn’t large enough. |
| Using metal utensils | Scratches the nonstick coating, making food stick and shortening pan life. | Stick to silicone, heat-resistant plastic, or wood. |
| Using cooking sprays | Chemicals in aerosol sprays build up a sticky film that ruins the nonstick surface. | Use a small amount of liquid oil like canola or peanut oil. |
| Washing in the dishwasher | Harsh detergents and high heat warp the metal and degrade the coating. | Hand wash with a soft sponge and mild soap. |
| Preheating empty for too long | Damages the bond of the nonstick coating. | Add your oil as soon as the pan begins to feel warm. |
9. Pro Tips for Better Flavor
Many home cooks struggle with why their pan is not hot enough to get that restaurant sear. To fix this, let the pan recover its heat for 30 seconds between batches of meat. Also, when deciding between a flat pan vs wok for your home stove, remember that a wide, heavy skillet often outperforms a wok on electric burners because more of the pan touches the heat.
10. Variation Swaps
- For the Health-Conscious: You can reduce oil significantly in a high-quality nonstick pan compared to carbon steel.
- Ceramic Swaps: Ceramic-coated pans are a great PFOA-free alternative, though they tend to lose their nonstick “slickness” faster than traditional PTFE.
11. Mini Recipe: The Nonstick Test
Try this classic Chinese tomato and egg stir-fry to see how well your pan releases delicate ingredients.
- Ingredients: 3 eggs (beaten), 2 tomatoes (wedged), 1 tsp sugar, salt, and scallions.
- Process: Scramble the eggs in 1 tbsp of oil over medium-high heat. They should slide around easily. Remove them while still soft. Sauté tomatoes until they release their juices, add sugar/salt, then fold the eggs back in.
12. Internal Linking
If you find your results are still lackluster, it might be time to evaluate the best rice for your fried rice or explore the essential Chinese sauces to boost your flavor profile. Understanding the science of day-old rice can also prevent your nonstick surface from getting “gunked up” by excess starch.
13. FAQ
Q: Can I use high heat on a nonstick pan? A: You should avoid “maximum” heat settings, but a good hard-anodized pan handles medium-high beautifully for short stir-fries.
Q: How long should a good nonstick pan last? A: With hand-washing and silicone tools, a quality pan should last 2–5 years.
Q: Why does my stir fry still taste bland? A: It’s likely a lack of aromatics or not letting the meat sear long enough to develop the Maillard reaction.
Q: Is a nonstick wok better than a nonstick skillet? A: On a gas stove, a wok is great for tossing. On electric or induction, a heavy skillet usually provides better heat transfer.
Q: How do I remove burnt-on oil? A: Soak the pan in warm, soapy water and use a baking soda paste with a soft cloth. Never use steel wool.





Leave a Reply