Baking a 100% whole wheat loaf is where most home bakers quietly give up. The dough feels like sand, the loaf comes out dense as a brick, and the crumb tastes like cardboard with ambition. The culprit is almost always the same: whole wheat flour has no gluten strength to spare, and without a fermentation head start, the bran shreds whatever structure you manage to build.
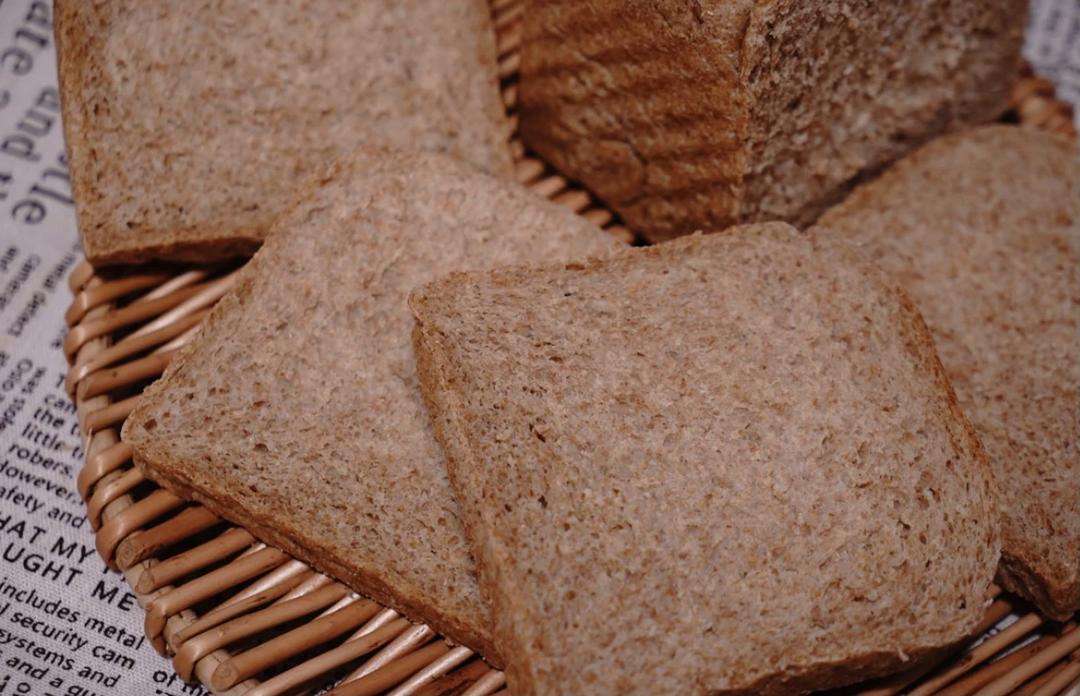
This recipe from a Chinese home baker solves it the old-school way: an overnight poolish (波兰种) ferments most of the flour before the main dough even exists, giving the bran time to soften and the gluten time to develop. The result is a 0-sugar, 0-fat toast with a genuinely soft, 70% hydration crumb you can tear with your fingers. It will never be as airy as a milk bread, but it does not need to be – it just needs to be bread you actually want to eat.
What Is Sugar-Free Whole Wheat Toast (Quan Mai Tu Si)?
Quan mai tu si (全麦吐司) is a Chinese-style sandwich loaf made with 100% whole wheat flour – no white flour blending, no sugar, and in this version, no fat. The original recipe is built around a poolish (波兰种, bolan zhong): a wet preferment of flour, water, and a pinch of yeast that ferments overnight, then joins the main dough the next morning.
In Chinese home-baking circles, 0-sugar 0-fat whole wheat loaves are a wellness staple – the kind of bread people eat for breakfast with eggs or toast them for a clean snack. Because there is no sugar or fat to tenderize the dough, the poolish does the work: its overnight fermentation softens the sharp bran, develops extensible gluten, and adds the complex, slightly sour aroma that makes whole wheat bread taste intentional rather than punishing.
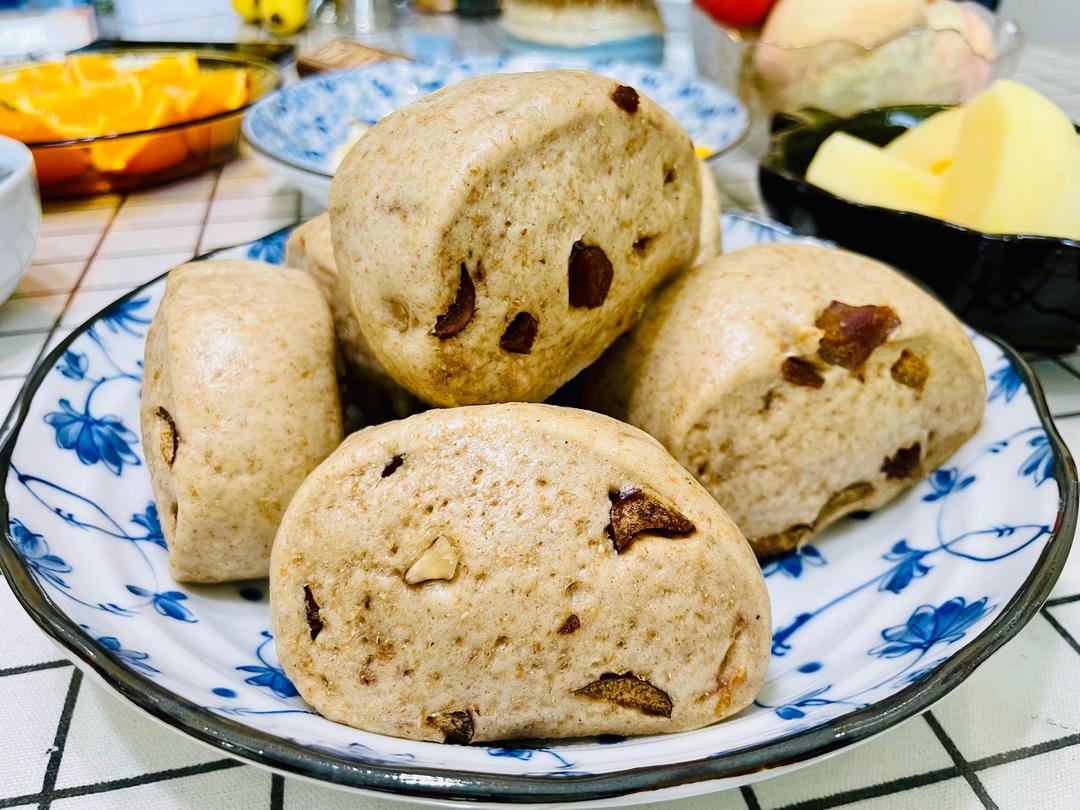
If you love the 100% whole wheat flavor but want a quicker, steamed option, my healthy whole wheat steamed buns (quan mai mantou) are the same grain, half the timeline – and they freeze beautifully.
1Healthy Whole Wheat Steamed Buns (Mantou)Learn how to make healthy, fluffy Whole Wheat Steamed Buns (Mantou) with this easy 45-minute recipe. Expert tips for a smooth surface and no collapsing.Check out this recipe
Why This Recipe Works
- The overnight poolish pre-softens the bran. Whole wheat bran is sharp and thirsty; a long cold ferment hydrates and softens it, so it stops shredding the gluten network and starts contributing flavor.
- No oil, no late-oil method – and that is the point. Fat would mask the wheat’s flavor and change the crumb; kneading everything at once keeps the method simple and the loaf lean.
- 70% hydration carries the texture. The dough is wet enough to build steam in the oven, giving a moist crumb without a single gram of added fat.
- Watch the dough, not the clock. The original baker’s rule – judge by state, not time – is baked into the steps: 1.5x on the first proof, a poke test, and a patient second proof.
- Realistic expectations built in. This is a modest, craggy loaf, not a pillow-soft white bread – which is exactly why it works.
Equipment Needed
- A stand mixer with a dough hook (or strong arms and 15 minutes of patience)
- A 450 g (9 x 4 x 4 in / 23 x 10 x 10 cm) loaf pan
- Plastic wrap or a shower cap for covering the dough
- A kitchen thermometer (instant-read) for the dough and the baked loaf
- A digital scale – whole wheat baking at 70% hydration does not forgive eyeballing
Ingredients
- For the poolish:
- 100 g (3.5 oz) whole wheat flour
- 100 g (3.5 oz) water
- 1 g (1/4 tsp) instant dry yeast
- For the main dough:
- 200 g (7 oz) whole wheat flour
- 3 g (1/2 tsp) salt
- 30 g (2 tbsp) egg liquid (about half a large egg, whisked)
- 2 g (3/4 tsp) instant dry yeast
- 90 g (6 tbsp) water
Ingredient Notes
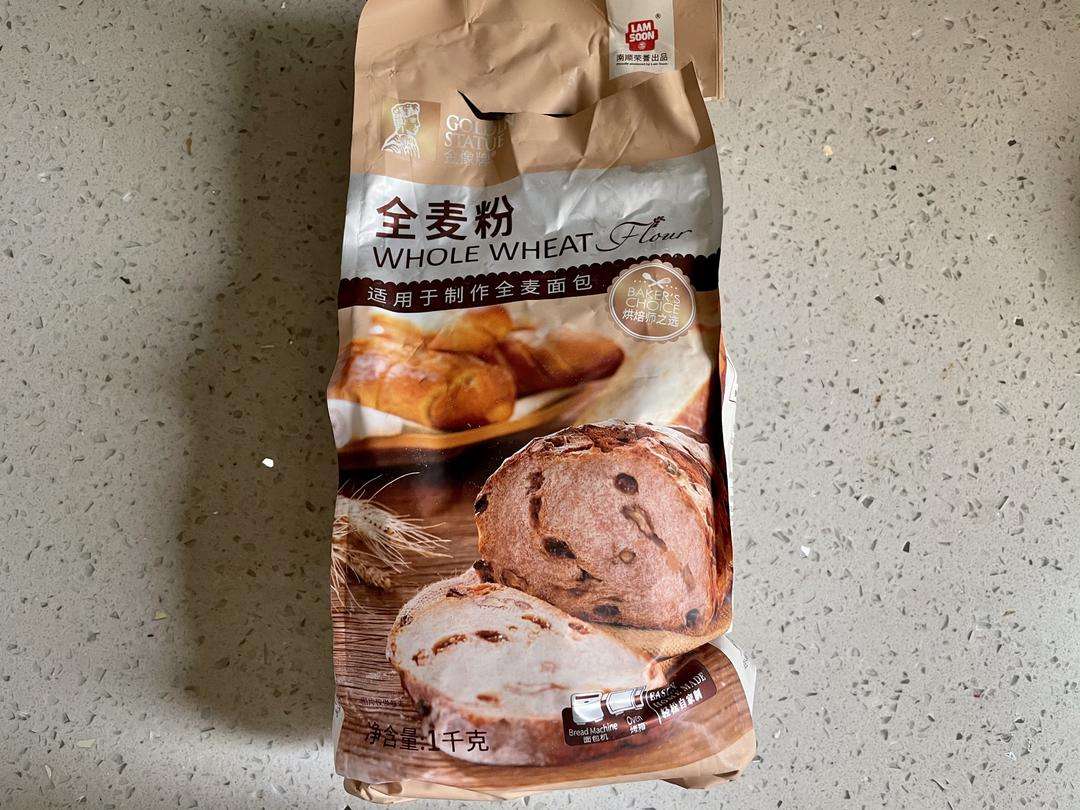
Whole wheat flour: The original uses a Chinese brand (Gold Elephant / 金像) known for fine milling. Any decent bread-grade whole wheat flour works; the finer the bran, the taller the loaf. Stone-ground flour will give a denser, more rustic result – still good, just shorter.
Instant dry yeast: Use instant (rapid-rise) yeast so it can go straight into the dry ingredients. Active dry yeast works too – dissolve it in a little of the recipe’s water first. The poolish uses only 1 g (1/4 tsp), which is deliberate: a slow, cool ferment is what builds flavor.
Egg liquid: Half a whisked large egg (about 30 g / 2 tablespoons) adds structure and a touch of richness without adding fat to the recipe’s claims. If you need it egg-free, replace with 30 g (2 tbsp) water, but expect a slightly tighter crumb.
Salt: Whole wheat doughs need salt for both flavor and gluten strength – do not skip it, even in a “healthy” loaf. Fine sea salt dissolves faster than coarse kosher salt.
Prep & Mise en Place
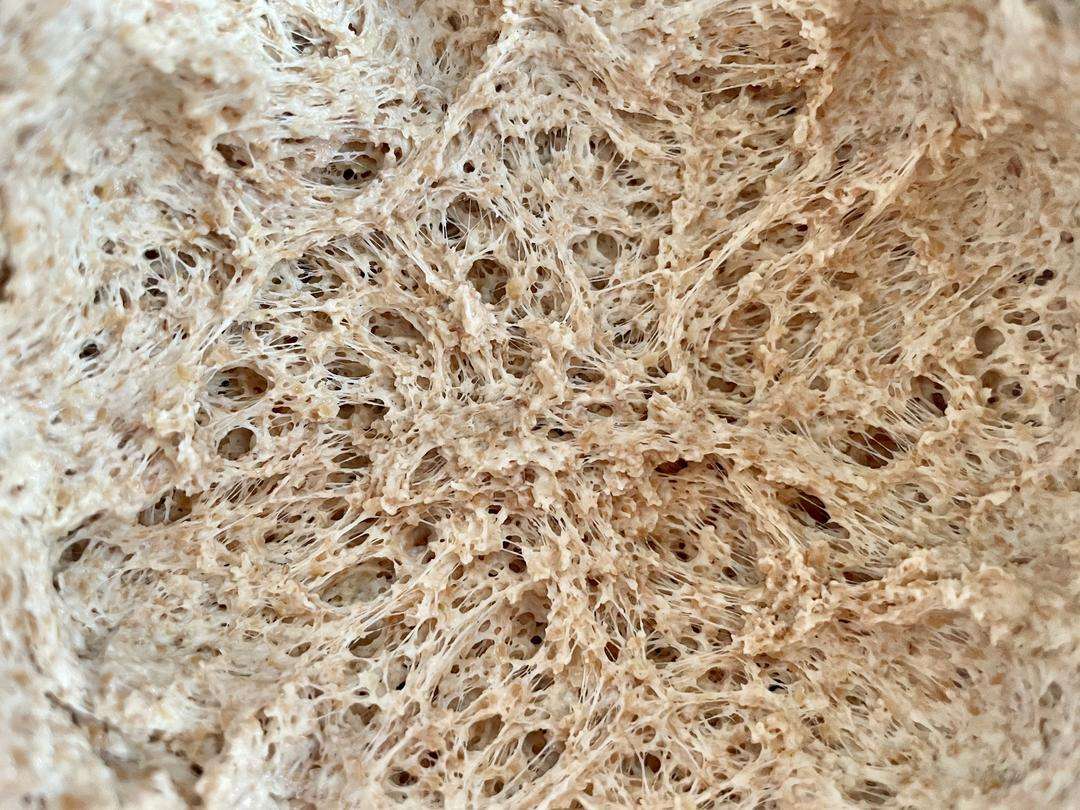
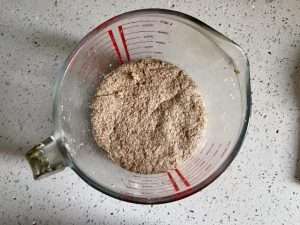
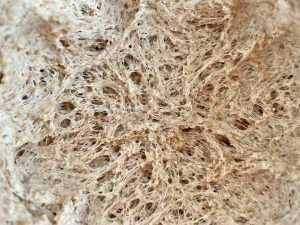
The entire timeline hinges on the poolish, so make it the night before you plan to bake: mix 100 g whole wheat flour, 100 g water, and 1 g yeast in a bowl until no dry flour remains – it will look like a thick, shaggy batter. Cover and leave at cool room temperature overnight (8-12 hours). The next morning it should be bubbling with a clear honeycomb structure underneath the surface.
Before you start the main dough, weigh everything and have the egg whisked. The dough is sticky at 70% hydration – a bench scraper and lightly oiled hands make handling far easier. Expect a 3.5-4 hour window from mixing to the oven on bake day.
Cooking Process
Step 1 – Know Your Target: A Modest, Craggy Loaf
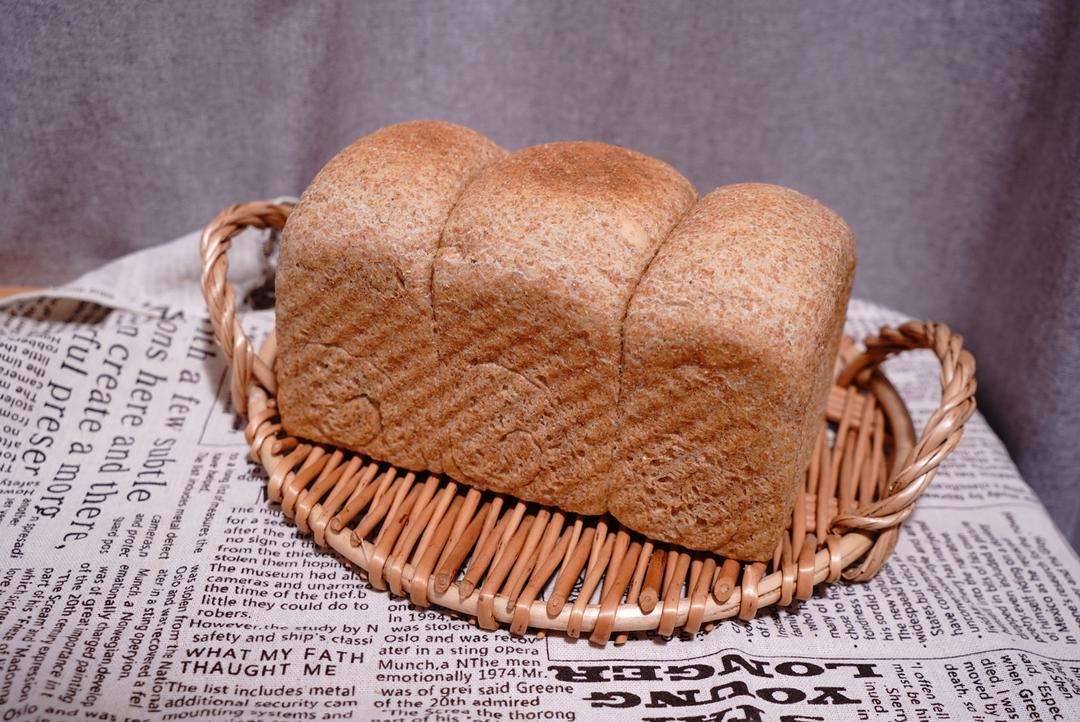
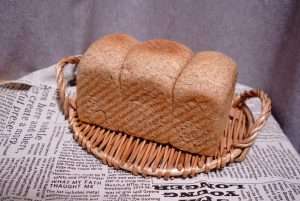
Set expectations before you start: this is a low, sturdy whole wheat loaf, not a towering white sandwich bread. The original baker’s own photo shows the honest result – a golden crust with a slightly flat top, full of visible bran. That is success.
Step 2 – Make the Poolish the Night Before
In a bowl, mix 100 g (3.5 oz) whole wheat flour, 100 g (3.5 oz) water, and 1 g (1/4 tsp) instant yeast until no dry flour remains. Cover with plastic wrap and leave at cool room temperature overnight, 8-12 hours.
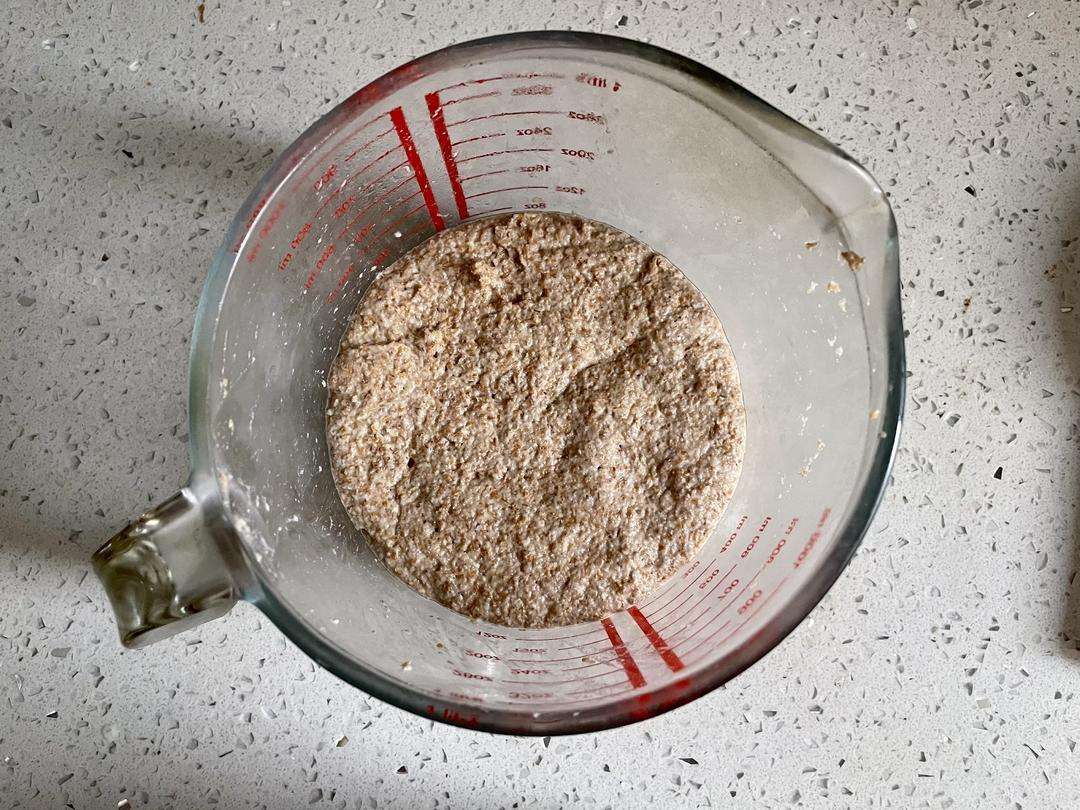
This is a preferment, not a sponge – the yeast is working slowly through the night, producing organic acids and carbon dioxide that soften the bran and strengthen the gluten. It is the same fermentation principle behind a no-knead dough, applied to a dough you will still knead.
Step 3 – Check the Poolish for Honeycomb Structure
The next morning, pull the poolish apart – it should be airy and honeycombed inside, with a distinctly fermented, slightly sour aroma. If it looks flat and lifeless, your kitchen was too cold or the yeast was old; give it another 2-3 hours at a warmer spot before proceeding.
Step 4 – Mix Poolish With the Main Dough
Add the poolish, 200 g (7 oz) whole wheat flour, 3 g (1/2 tsp) salt, 30 g (2 tbsp) egg liquid, 2 g (3/4 tsp) yeast, and 90 g (6 tbsp) water to a mixer bowl. Because there is no fat, there is no late-oil stage – knead everything together at once on medium-low speed for 8-10 minutes, scraping the bowl down once or twice, until the dough is smooth and elastic despite the visible bran.
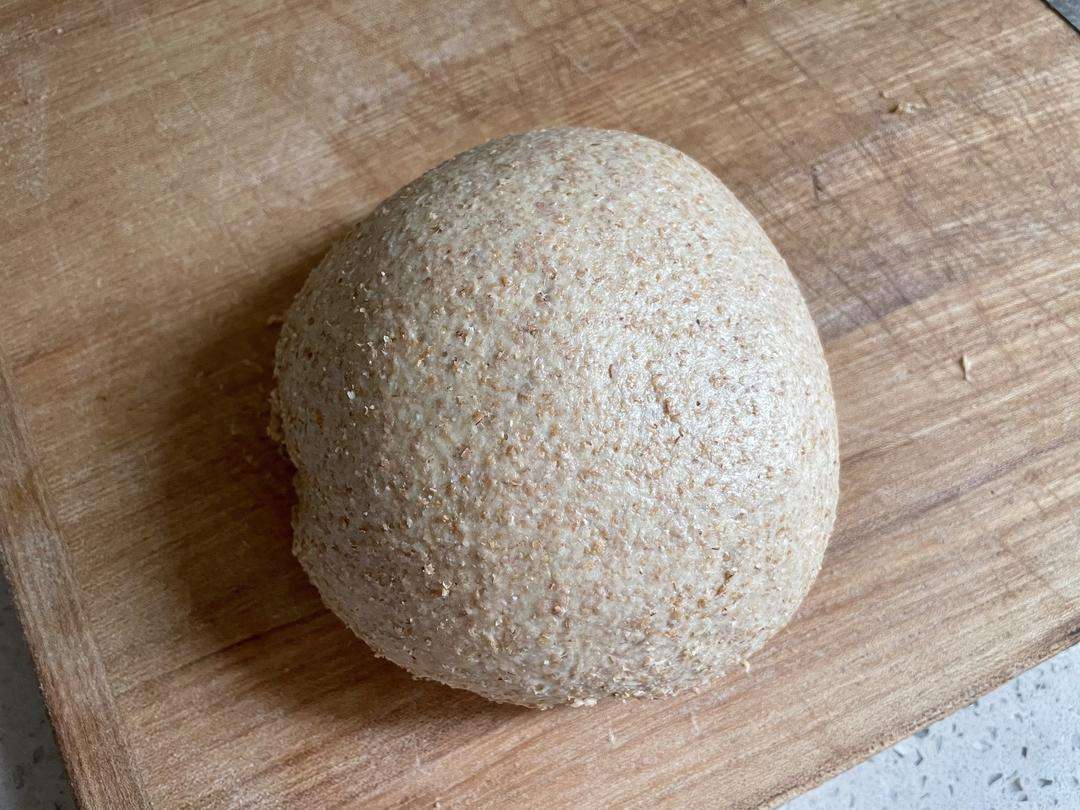
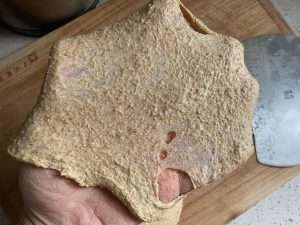
Step 5 – Windowpane Test
Pinch off a small piece of dough and stretch it gently. A proper whole wheat windowpane is a thin, translucent sheet with visible bran specks – the membrane may tear at the edges, but the hole edges should be round, not jagged. This is the signal that the gluten is strong enough to hold a loaf.
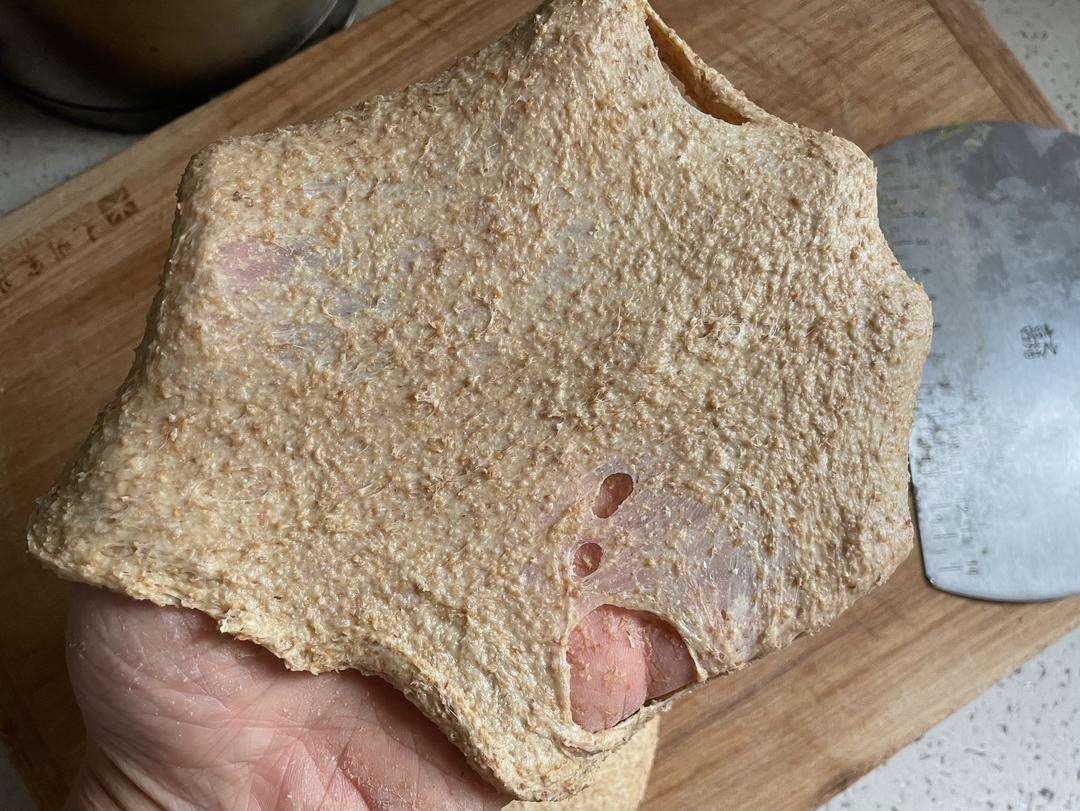
Step 6 – The Bowl-Cover Stretch Test
If you want extra confidence, stretch the dough wide enough to cover a small bowl. Whole wheat will never be as strong as white flour dough, so accept the bran-flecked, slightly fragile membrane as the finish line.
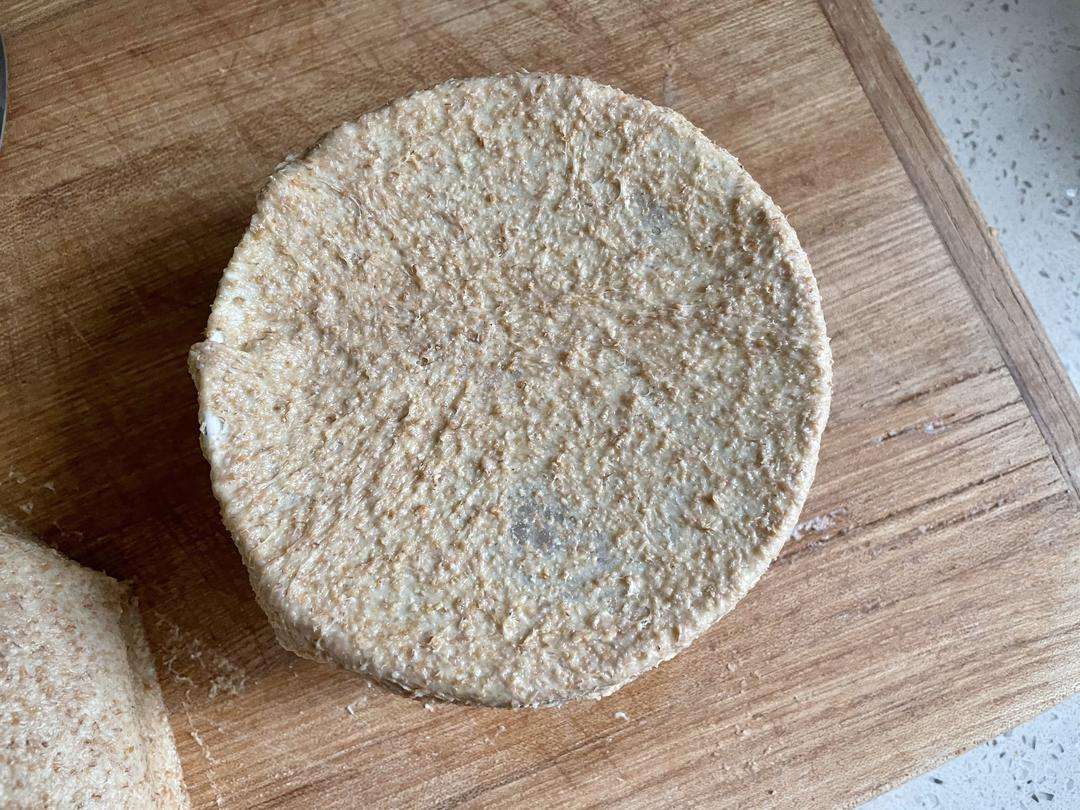
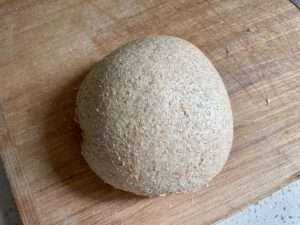
Step 7 – Round the Dough and Begin the First Proof
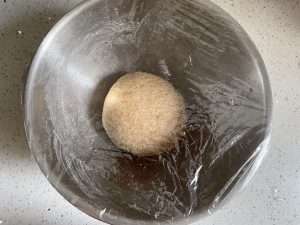
Shape the dough into a taut ball, place it in a lightly oiled bowl, and cover with plastic wrap. Let it proof at room temperature – the original baker’s kitchen sat at 21°C (70°F), and that is a fine benchmark.
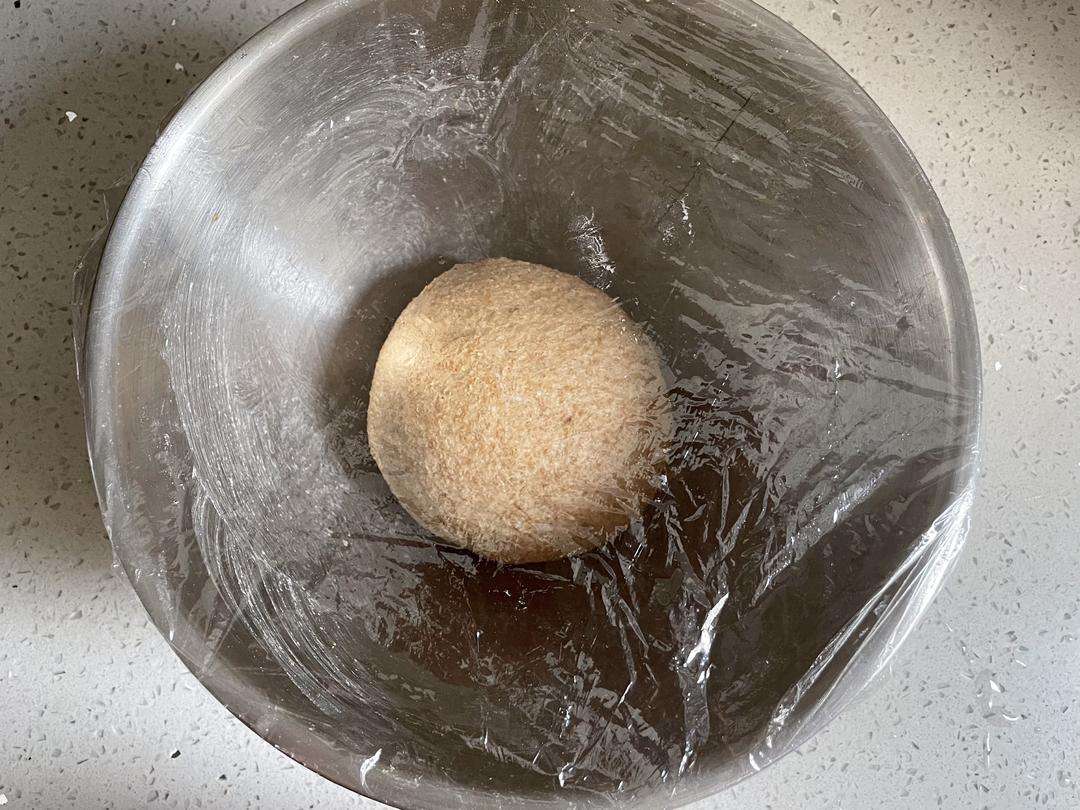
Step 8 – First Proof: 1 Hour to 1.5x
Proof for about 1 hour at 21°C (70°F), until the dough has grown to about 1.5 times its original size. The reliable test: press a floured fingertip into the dough – if the indentation holds without springing back, the proof is done. Remember the baker’s rule: judge by state, not by the clock.
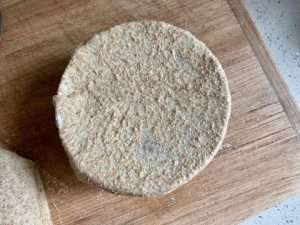
Step 9 – Divide Into Three and Rest 5 Minutes
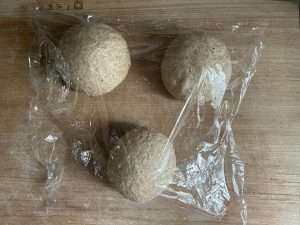
Turn the dough out, gently deflate it, and divide it into three equal pieces. Round each piece into a smooth ball, cover with plastic wrap, and let them rest for 5 minutes. The rest relaxes the gluten so the first roll does not fight you.
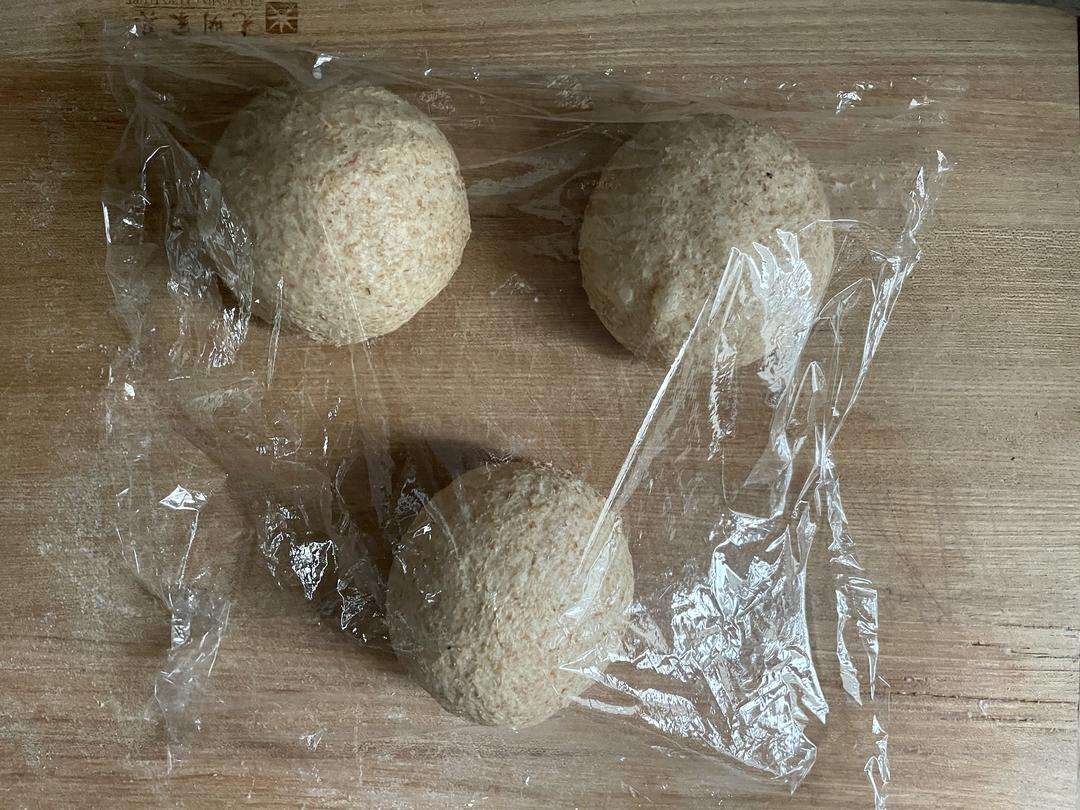
Step 10 – First Roll and a 5-Minute Rest
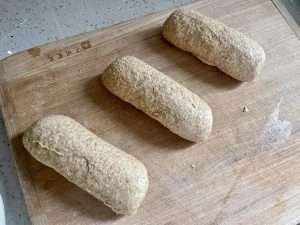
Roll each piece into a log with a rolling pin, pressing out the gas pockets, then let the logs rest under wrap for another 5 minutes. This double-rest rhythm is what keeps a sticky 70% hydration dough manageable.
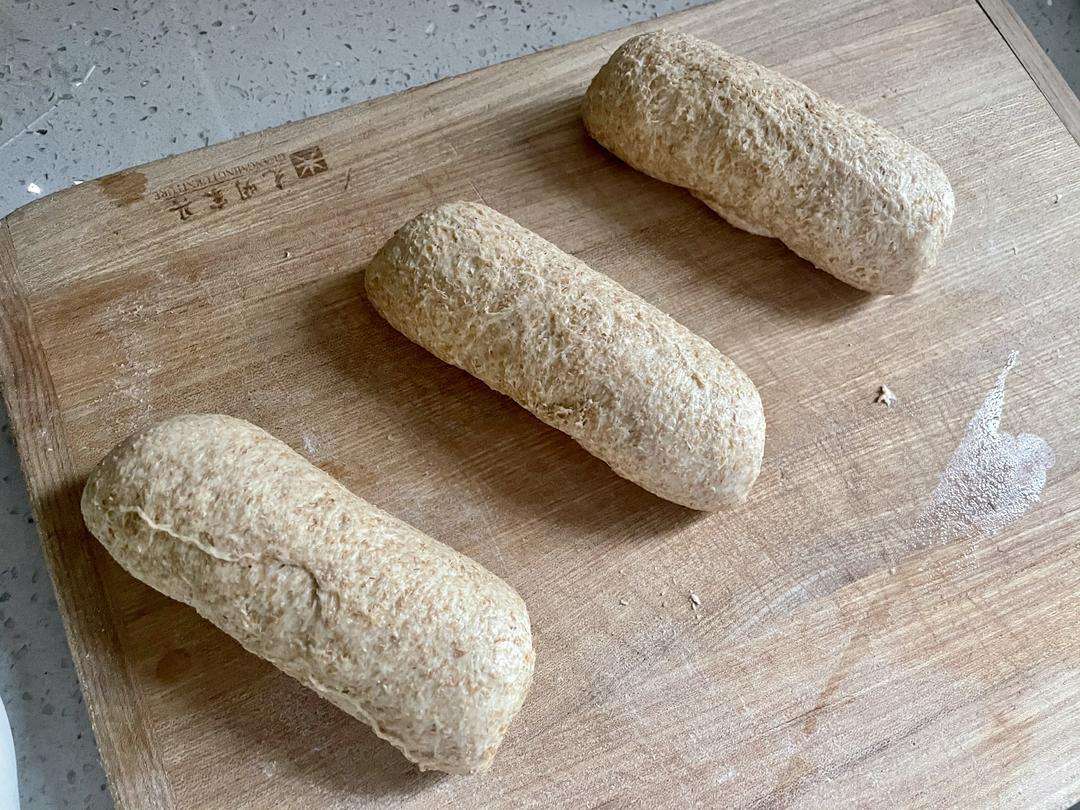
Step 11 – Second Roll Into the Pan
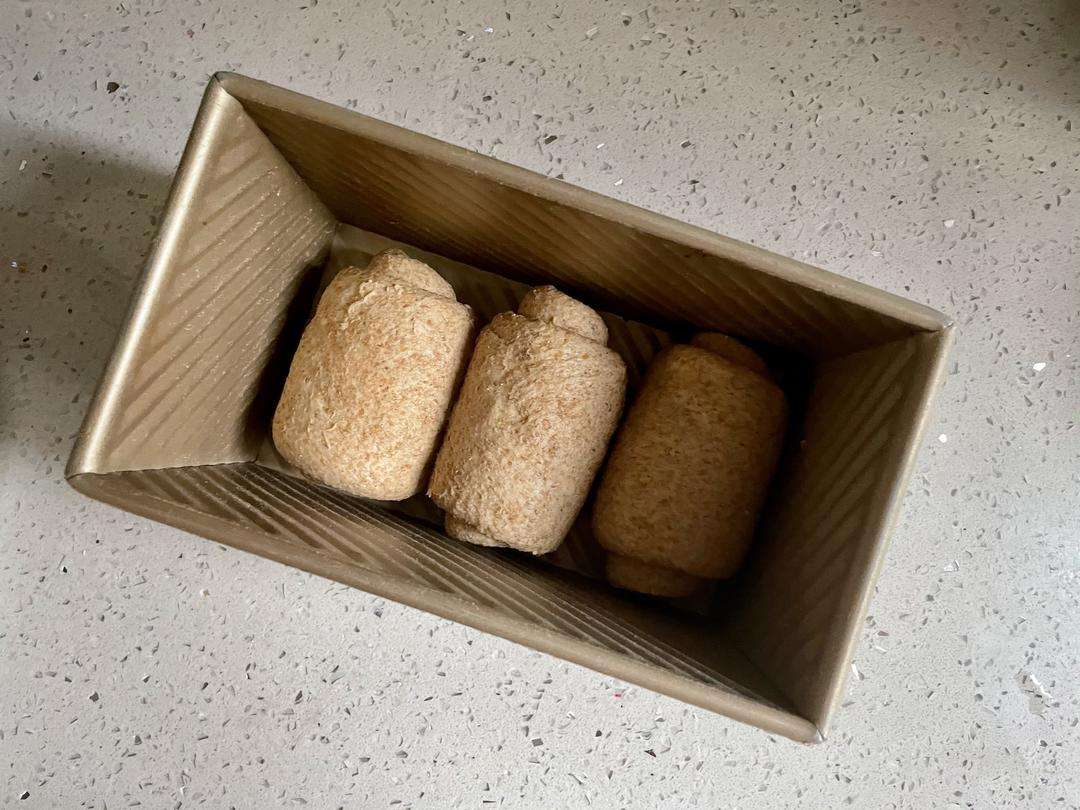
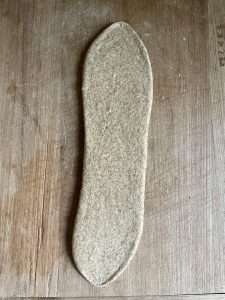
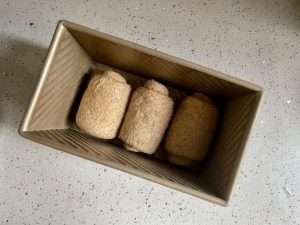
Roll each log out again and roll it up tightly, tucking the seam underneath. Perfection is not required – the original baker’s rolls are famously casual, and the loaf bakes fine. Place the three rolls seam-side down in a 450 g (9 x 4 x 4 in) loaf pan.
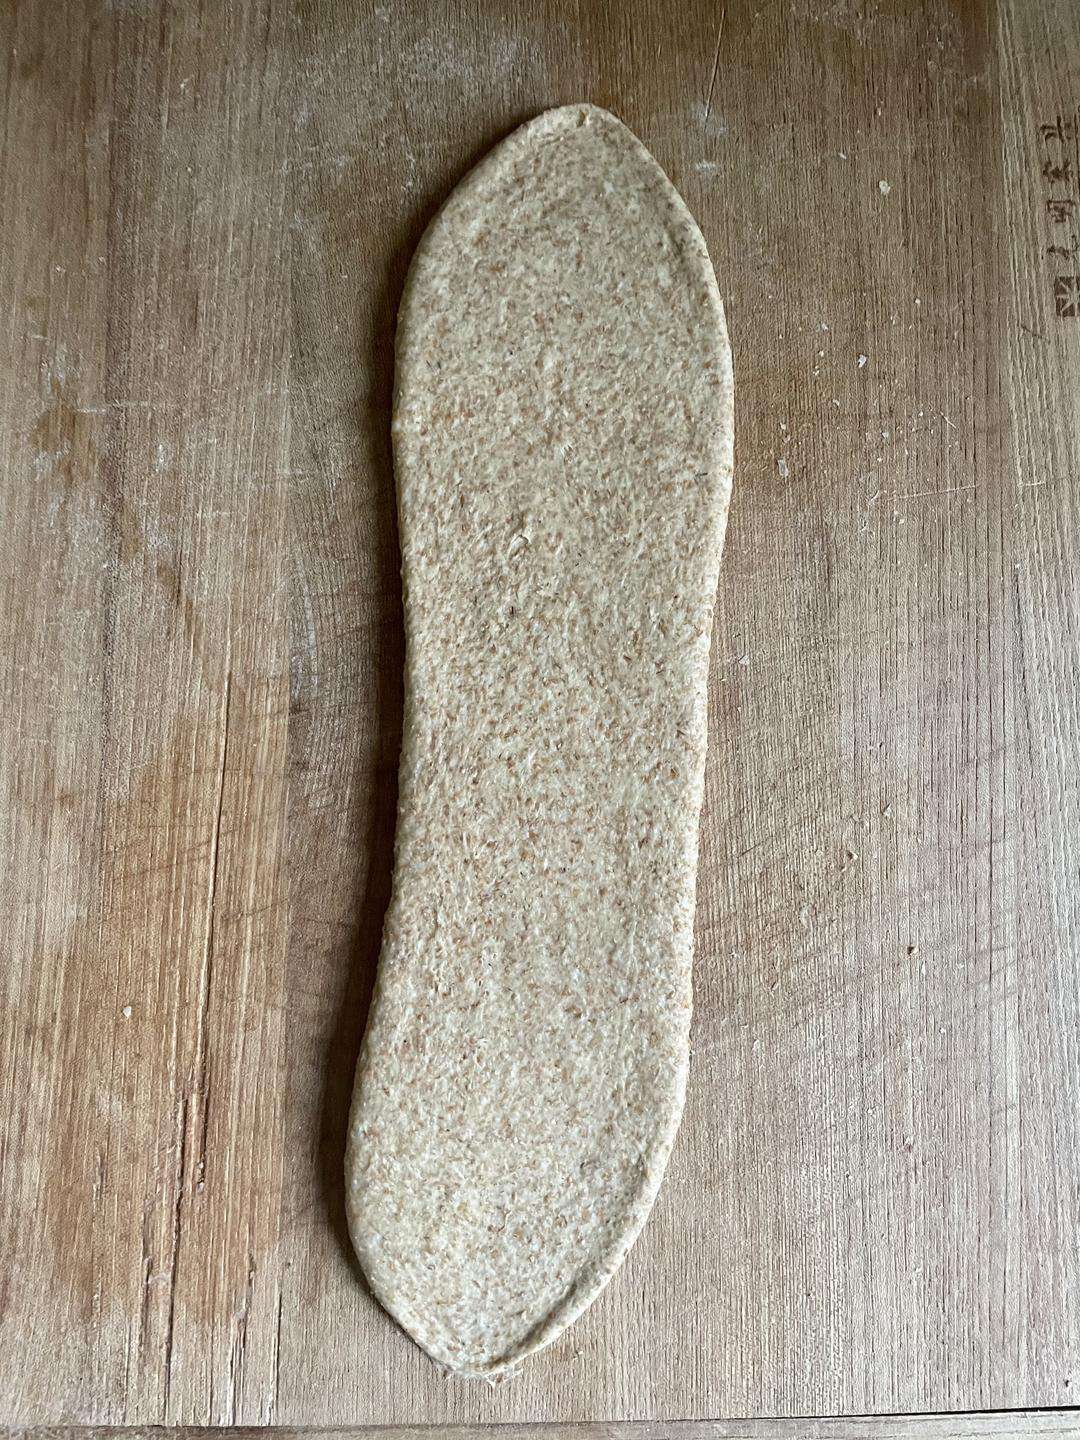
Step 12 – Load the Pan for the Second Proof
Cover the pan with plastic wrap and set it somewhere warm and draft-free. The sugar-free dough ferments slowly, so plan for a long second proof – this is the step that tests your patience more than your skill.
Step 13 – Second Proof: Patience at 30°C
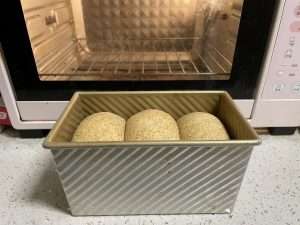
Proof at 30-38°C (86-100°F) for 90-120 minutes. The original baker notes that even the oven’s proofing setting at 30°C (86°F) is cooler than the ideal 38°C (100°F), and a sugar-free dough is slower still. Bake when the dough has risen to roughly 80-90% of the pan’s rim; it will finish rising in the oven.
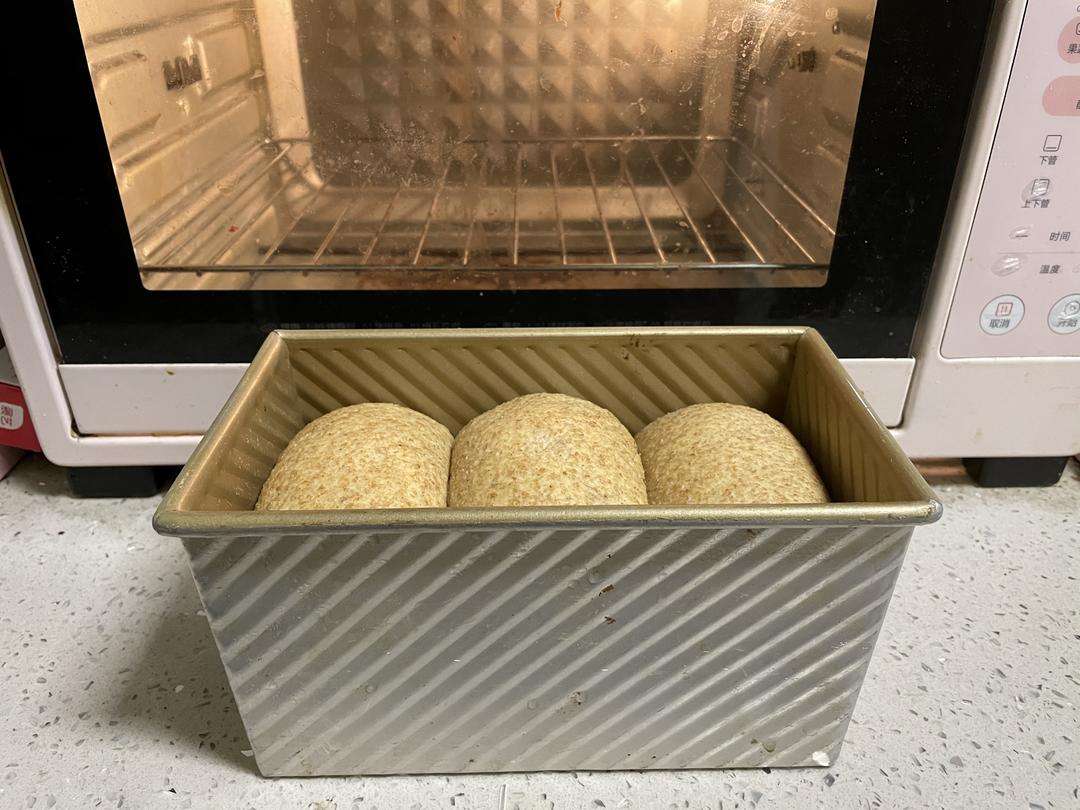
A lean dough with no sugar has less food for the yeast, so its final proof is genuinely slower – that is chemistry, not a flaw. Under-proofed whole wheat bakes dense and gummy; an extra 20 minutes of patience at this stage is worth more than any kneading trick.
Step 14 – Bake and Check the Rise
Preheat the oven to 180°C (350°F). Bake the loaf for 35-40 minutes, until the crust is deeply golden and the internal temperature reads 93°C (200°F) on an instant-read thermometer. The original baker’s loaf rose only modestly – a slightly flat top is normal and fine. Cool in the pan for 10 minutes, then turn out onto a rack.
Step 15 – Inspect the Crumb: 70% Hydration
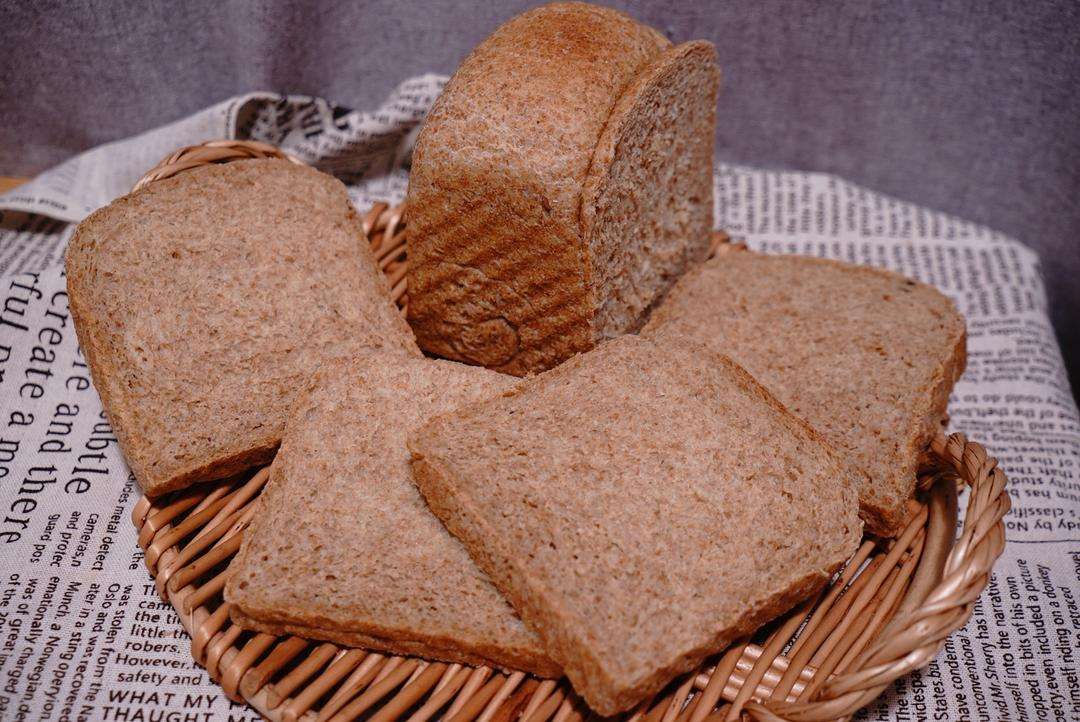
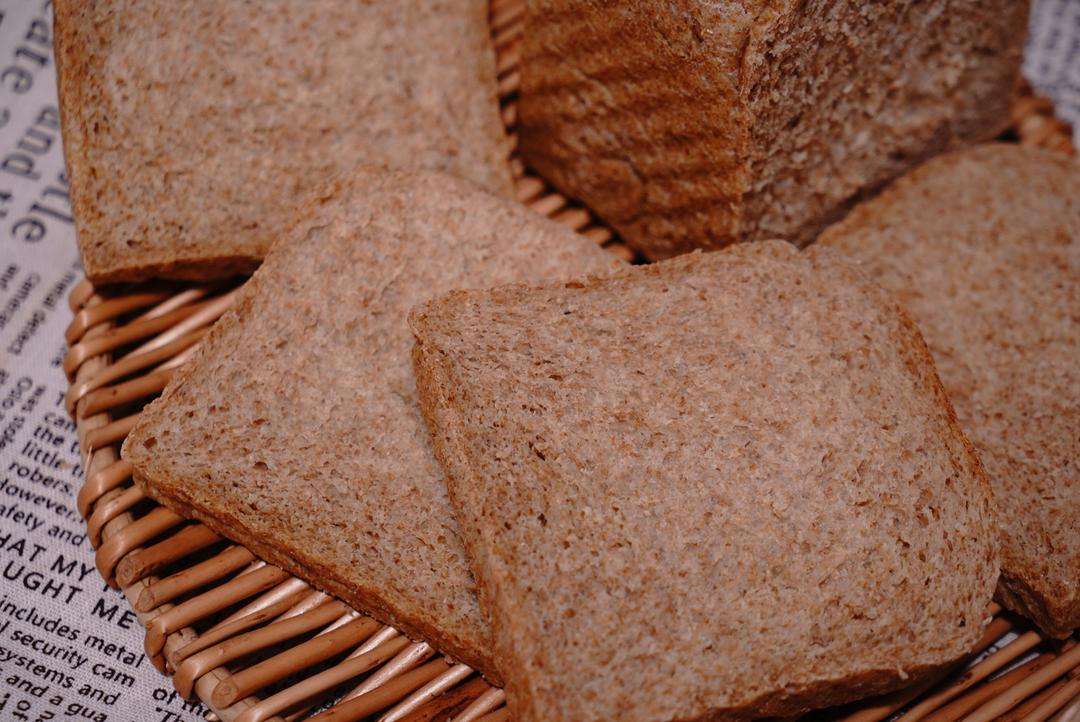
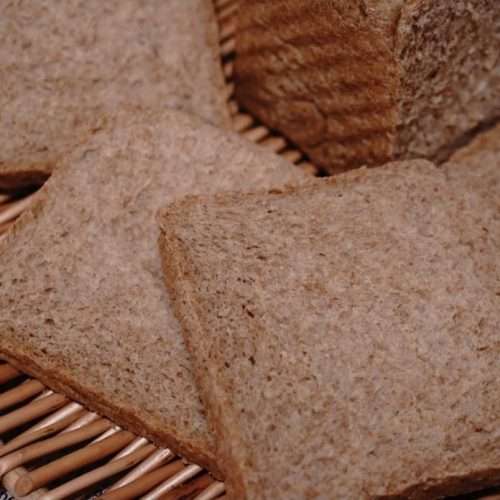
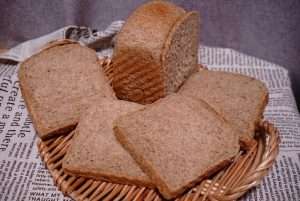
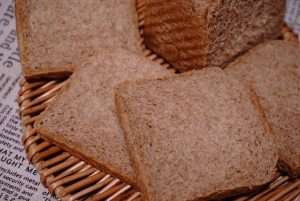
Slice the cooled loaf and look at the crumb: open, moist, and studded with visible wheat bran. At 70% hydration the bread should tear softly rather than crumble – the moisture does the tenderizing that fat would in a regular loaf. It should not feel scratchy or dry in the mouth; if it does, the bake ran long or the dough over-proofed.
Step 16 – The Bottom-Deposit Lesson
The original baker’s honest confession: in a rush, they set the loaf over a pot of boiling water to hurry the final proof, and the steam made the bottom wet and dense. The lesson is worth keeping – do not shortcut the second proof with steam. A slow, dry, warm proof gives an even crumb; desperation steam gives a soggy base.
Common Mistakes When Making Whole Wheat Toast
1. A brick instead of a loaf. Cause: under-proofing, or a gluten network that never developed. Fix: knead until the windowpane shows round tear edges, then proof by state, not by clock – 1.5x on the first proof and 80-90% of the pan on the second.
2. Gummy, dense crumb. Cause: baking before the dough was ready, or slicing while still hot. Fix: cool completely before slicing – hot bread compresses under the knife. If the crumb is gummy despite full cooling, proof longer next time.
3. Soggy bottom. Cause: rushing the final proof with steam or water, exactly as the original baker’s mistake shows. Fix: proof slowly and dry, and if you bake in a humid kitchen, add 5 minutes to the bake time.
4. Dough that will not hold shape. Cause: skipping the two rests between rolls. Fix: 5 minutes of rest after rounding and 5 after the first roll relax the gluten – skipping them makes the sticky 70% dough fight back.
5. Scorched crust, raw center. Cause: oven too hot, or the thermometer was never used. Fix: bake at 180°C (350°F) and trust the internal temperature – 93°C (200°F) – over the color of the crust.
6. Flat, uninspired loaf. Cause: expecting white-bread height from a 0-sugar 0-fat whole wheat dough. Fix: set the expectation at the start – a craggy, modest, bran-flecked loaf is the correct and delicious outcome here.
Variations
Add seeds: Fold 30 g (2 tbsp) of toasted sunflower, flax, or sesame seeds into the dough at the mix stage. Seeds add texture and healthy fats without changing the lean character of the loaf.
Spice it up: A teaspoon of cinnamon or a pinch of cardamom in the main dough complements the wheat’s nutty flavor beautifully, still with zero sugar.
Higher hydration: Experienced bakers can push the water to 75-78% for an even softer crumb, but the dough becomes seriously sticky – only attempt if the 70% version feels comfortable.
Two-stage flavor boost: If you love this poolish method, the same technique drives my cloud soft milk bread rolls, and no-knead ciabatta shows how far a long ferment can take a lean dough.
Frequently Asked Questions
Can I make the poolish with bread flour or a whole wheat-white blend? You can, but it changes the recipe’s character. A 50/50 blend rises taller and softer; a 100% white poolish with whole wheat main dough is a different, lighter loaf. The 100% whole wheat poolish is what gives this bread its honest, bran-forward flavor.
Can I skip the egg? Yes – replace 30 g (2 tbsp) of egg with water. The crumb will be slightly tighter and the loaf a touch shorter, but it stays edible and egg-free.
How long does this bread keep? Wrapped in foil or a bread bag at room temperature, 3-4 days. It toasts beautifully after day one – this is a bread built for toast, like my butter sugar toast in spirit if not in sweetness. Freeze slices for up to 3 months.
Why is my whole wheat dough so sticky? 70% hydration is genuinely sticky, and whole wheat’s bran holds water unevenly. Use a bench scraper, lightly oiled hands, and do not add flour to “fix” it – extra flour guarantees a dry loaf.
Is this bread really sugar-free and fat-free? Yes – the recipe contains no added sugar and no added fat; the only egg is a binder. The modest rise is the honest trade-off, which is why the recipe manages expectations from the first step.
How to Serve
This toast is at its best warm from the toaster, with a soft-boiled egg or a smear of almond butter. It also makes a fine base for an open-faced breakfast – the bran-forward crumb stands up to toppings without going soggy. Pair it with a bowl of pork floss toast if you want the sweet-savory contrast, or keep a loaf of coconut bread strips for the days you want the soft, pillowy opposite. For a pure whole wheat breakfast, serve slices alongside my bread-machine whole wheat buns – same grain, three different shapes, one wholesome table. And if you are craving the soft, enriched side of toast, milk cream cheese bread is the indulgent weekend alternative.
Storage & Reheat
Store the loaf wrapped in foil or in a paper bread bag at room temperature for 3-4 days; do not refrigerate, which accelerates staling. For longer storage, slice and freeze in a zip-top bag for up to 3 months, and toast slices straight from frozen. Always cool the baked loaf fully before wrapping, or trapped steam will soften the crust and invite mold.
Allergen Notice
This recipe contains gluten (whole wheat flour) and egg (egg liquid). It is free of dairy, soy, nuts, and shellfish. If using a commercial whole wheat flour, check the label for possible cross-contact if you have other allergies.
Nutrition Disclaimer
Nutrition information is calculated using an ingredient database and should be considered an estimate. In cases where multiple ingredient alternatives are given, the first listed is calculated for nutrition. Garnishes and optional ingredients are not included.
About the Author & Recipe Development
I am Lin, a professional Chinese chef who spent a decade in high-volume restaurant kitchens before writing about Chinese cooking. This recipe comes from a meticulous home baker on the Chinese site xiachufang who documented every stage with photos – including the mistakes, which is why I trust it. I tested the loaf against my own baking instincts: the 21°C (70°F) first proof, the two rests before shaping, and the honest truth that a sugar-free whole wheat loaf rises modestly. The poolish is the piece of the original I would defend to anyone – it is the difference between wheat bread you tolerate and wheat bread you crave.
Authoritative References
USDA Food Safety and Inspection Service – Safe Temperature Chart for egg handling and baked-good storage guidance.
0-Sugar Whole Wheat Toast With Poolish (Quan Mai Tu Si)

Equipment
- Stand Mixer with Dough Hook
- 450 g loaf pan
- Instant Read Thermometer
Ingredients
For the Poolish (make the night before)
- 100 g whole wheat flour 3.5 oz
- 100 g water 3.5 oz
- 1 g instant dry yeast 1/4 tsp
For the Main Dough
- 200 g whole wheat flour 7 oz
- 3 g salt 1/2 tsp
- 30 g egg liquid, whisked 2 tbsp, about half a large egg
- 2 g instant dry yeast 3/4 tsp
- 90 g water 6 tbsp
Instructions
- Know your target: this is a modest, craggy loaf, not a towering white bread. The original baker’s own photo shows the honest result – golden crust, slightly flat top, visible bran.

- The night before: mix 100 g whole wheat flour, 100 g water, and 1 g yeast until no dry flour remains. Cover and ferment at cool room temperature 8-12 hours.
- Check the poolish – it should be honeycombed and fragrant. If flat, give it 2-3 more hours somewhere warm.
- Mix the poolish with 200 g whole wheat flour, 3 g salt, 30 g egg liquid, 2 g yeast, and 90 g water. No fat means no late-oil stage – knead all at once for 8-10 minutes until smooth and elastic.
- Stretch a small piece of dough thin – the windowpane should show round tear edges, not jagged ones.
- For extra confidence, stretch the dough wide enough to cover a small bowl. Whole wheat will always be more fragile than white flour dough – that is the finish line.
- Round the dough into a taut ball, cover, and proof at about 21°C (70°F) for 1 hour until 1.5x.
- Test the proof: a floured fingertip pressed into the dough should leave an indentation that holds. Judge by state, not by the clock.
- Divide into three equal pieces, round each, cover, and rest 5 minutes.
- Roll each piece into a log, then rest 5 more minutes before the second roll.
- Roll each log out and roll it up tightly, seam-side down, into a 450 g loaf pan. Casual rolls are fine.

- Cover the pan and start the second proof somewhere warm and draft-free – sugar-free dough ferments slowly.
- Second proof at 30-38°C (86-100°F) for 90-120 minutes until the dough reaches 80-90% of the pan rim. Do not rush this with steam – it makes a soggy bottom.
- Bake at 180°C (350°F) for 35-40 minutes until golden and the internal temperature reads 93°C (200°F). Cool in the pan 10 minutes, then on a rack.

- Slice and inspect the crumb: open, moist, bran-flecked. At 70% hydration it should tear softly, not crumble.
- The original baker’s lesson: do not hurry the final proof over boiling water – the steam made the bottom dense and wet. Proof slowly and dry for an even crumb.









Leave a Reply