The loaf I make when the toaster is the busiest appliance in the house is this one – a super soft milk bread, and this home cook’s version is the basic white loaf that needs no starter. A home cook wrote it in thirty steps with the promise in the title: super soft, aging slowly, no leaven needed. I made it as written, and it is the loaf that stays soft past the second day.
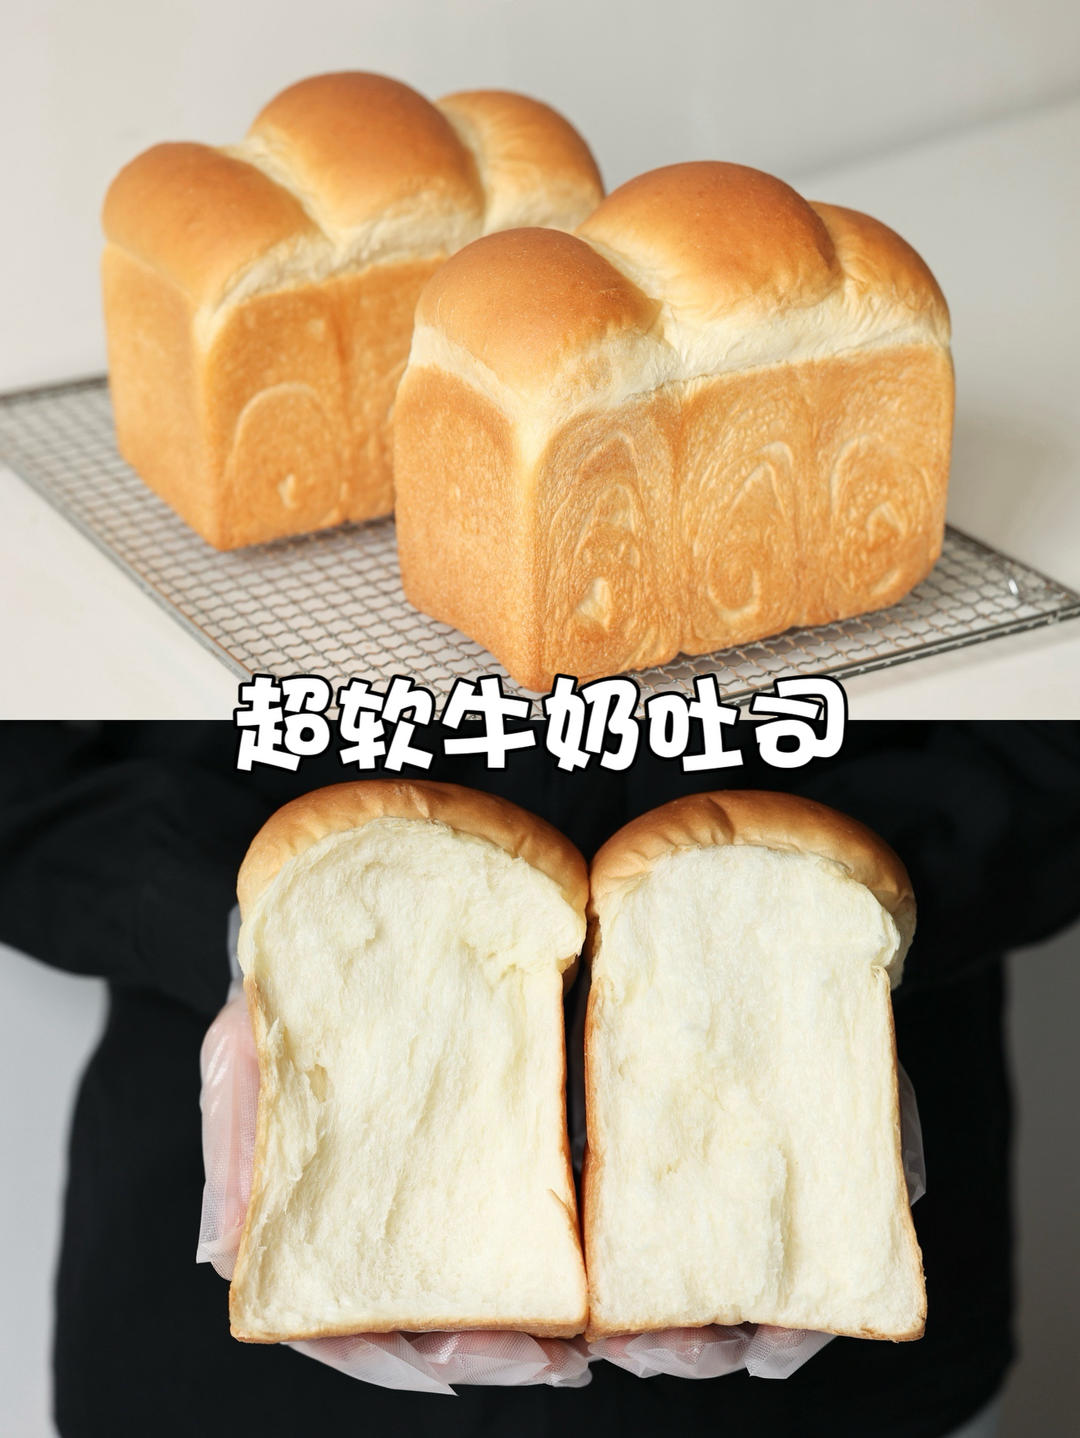
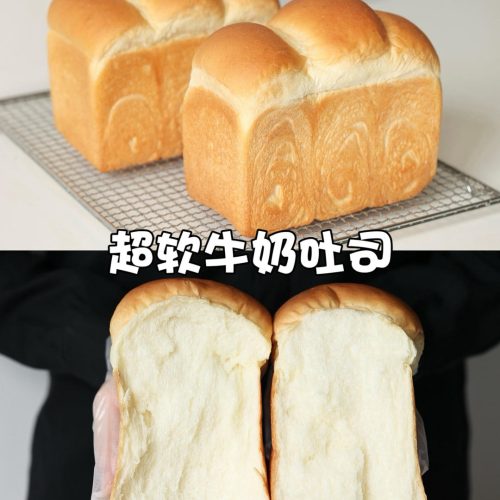
Chao ruan niu nai tu si (超软牛奶吐司) is the super soft milk bread – a straight-dough white loaf of flour, milk, egg, and butter, baked into the velvety-crumb toast for breakfast and sandwiches. The original is a 30-step recipe with the no-starter dough and the freezer storage as its craft.
What Is This Super Soft Milk Bread?
This is a straight-dough sandwich loaf: high-protein flour, milk, egg, sugar, yeast, and butter, mixed to a full gluten window, shaped into loaves, and baked into a tall, velvety-crumb toast. The recipe’s point is that you do not need a starter or a poolish – the straight dough still bakes soft and ages slowly, staying tender for days. It is the basic white loaf done properly.
The method is the windowpane and the timing. The dough mixes to a thin, smooth membrane – the gluten fully developed – ferments to double, rests through two shapings, and proof-then-bakes into the tall loaf. The recipe’s storage note is the honest one: freeze slices, never refrigerate them – cold turns toast hard fast.
For the enriched-roll sibling of the same pantry, my cloud-soft milk bread rolls use a sponge method for extra tenderness.
1Cloud-Soft Milk Bread Rolls (The Sponge Dough Method)Incredibly soft, cloud-like Japanese-style milk bread rolls made using the traditional Zhongzhong (sponge dough) method. These stay soft for days!Check out this recipe
Why This Version Works
- The full gluten window. The thin, smooth membrane – the crumb’s velvet.
- No starter needed. The straight dough still stays soft and ages slowly.
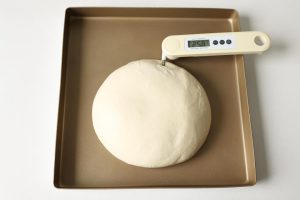
- The 24-26°C dough temperature. The controlled rise that builds flavor without overheating.
- The double rest. Each shaping gets its relaxation – no torn gluten.
- The freezer, not the fridge. Slices freeze soft; cold storage hardens them.
Equipment Needed
- A stand mixer (or hands and patience)
- Two 450 g loaf pans
- A digital thermometer (helpful)
- A cooling rack
Ingredients
- 500 g (4 cups) high-protein bread flour
- 15 g (2 tbsp) milk powder
- 355 g (1.5 cups) milk
- 55 g (1/4 cup) whole egg
- 50 g (1/4 cup) fine sugar
- 15 g fresh yeast (or 5 g / 1.5 tsp instant dry yeast)
- 5 g (1 tsp) salt
- 50 g (3.5 tbsp) butter, softened
Ingredient Notes
Bread flour: High-protein for the strong gluten network – the tall, velvet crumb. My cloud-soft milk bread rolls use the same flour.
Milk and egg: The richness and the softness – the recipe’s straight-dough secret.
Yeast: Fresh or instant – the recipe gives both. My soft pumpkin steamed cake is the no-yeast sweet side.
Prep & Mise en Place
Weigh the flour, milk, and egg; soften the butter; grease the loaf pans.
The sequence: mix to a rough dough, add salt and butter, mix to the full window; ferment to double; divide, rest, shape twice; proof to 9/10 full; bake.
Cooking Process
Step 1 – The image opens at full size when tapped
The image opens at full size when tapped. The flour shown is a premium domestic high-protein brand – fine texture, strong absorption, and tolerant of mixing. (Any high-protein bread flour works.)
Step 2 – Add all ingredients except the salt and butter to the stand
Add all ingredients except the salt and butter to the stand mixer. Because flour absorption varies, reserve 20 g of the milk and add it later depending on the dough.
Step 3 – Mix 30 seconds on speed 2, 30 seconds on speed 3, then 5 min
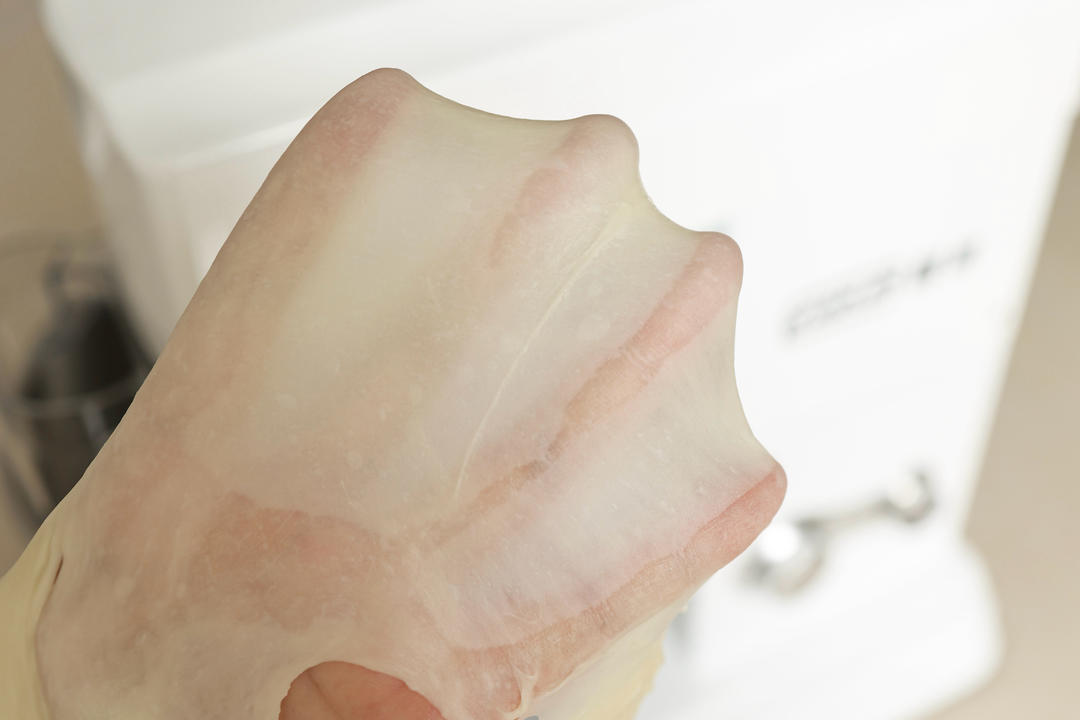
Mix 30 seconds on speed 2, 30 seconds on speed 3, then 5 minutes on speed 6 – until the dough is about 80% developed, pulling a thick, toothed membrane.
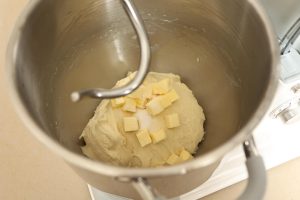
Step 4 – Add the salt and butter
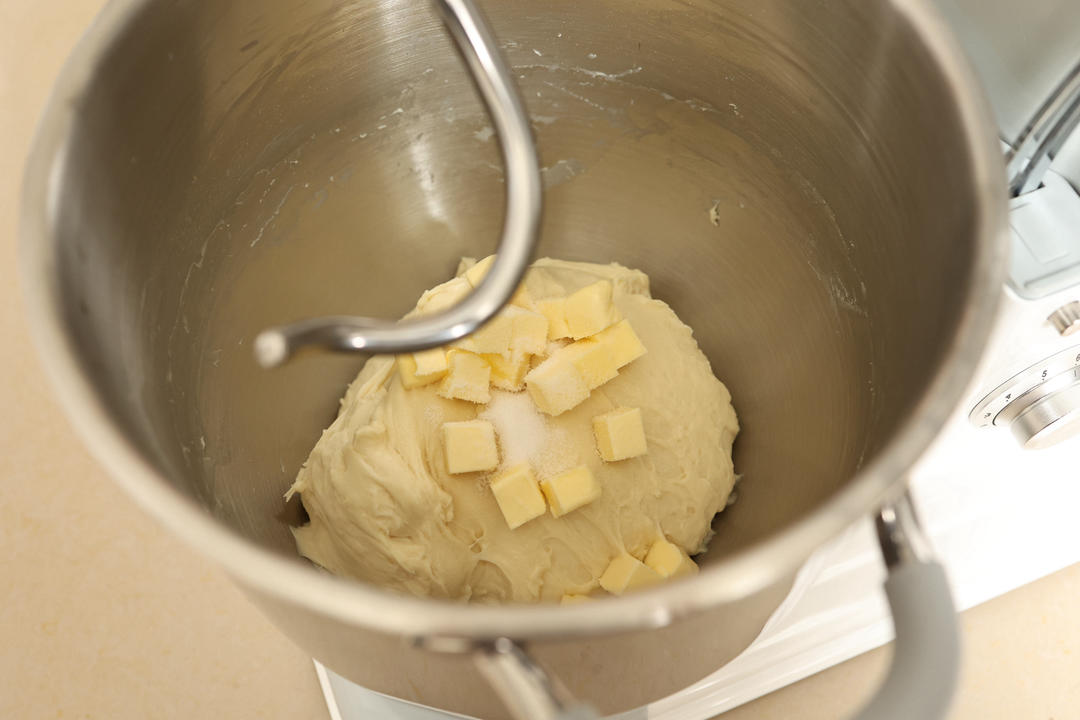
Add the salt and butter.
Step 5 – Mix 1 minute on speed 4, 1 minute on speed 5, then 1-2 minut
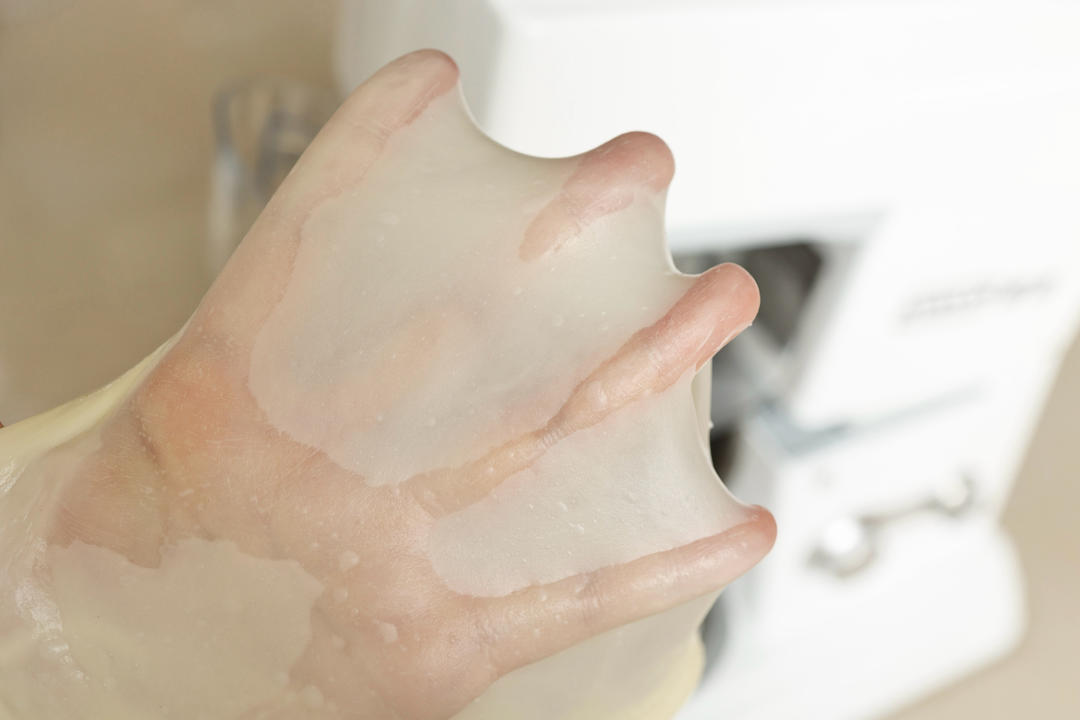
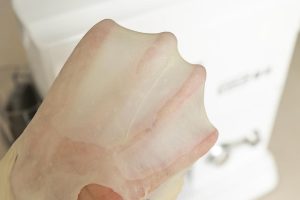
Mix 1 minute on speed 4, 1 minute on speed 5, then 1-2 minutes on speed 6 – until fully developed (100%), pulling a thin, smooth membrane.
Step 6 – Turn out, round, and hold the dough temperature at 24-26°C
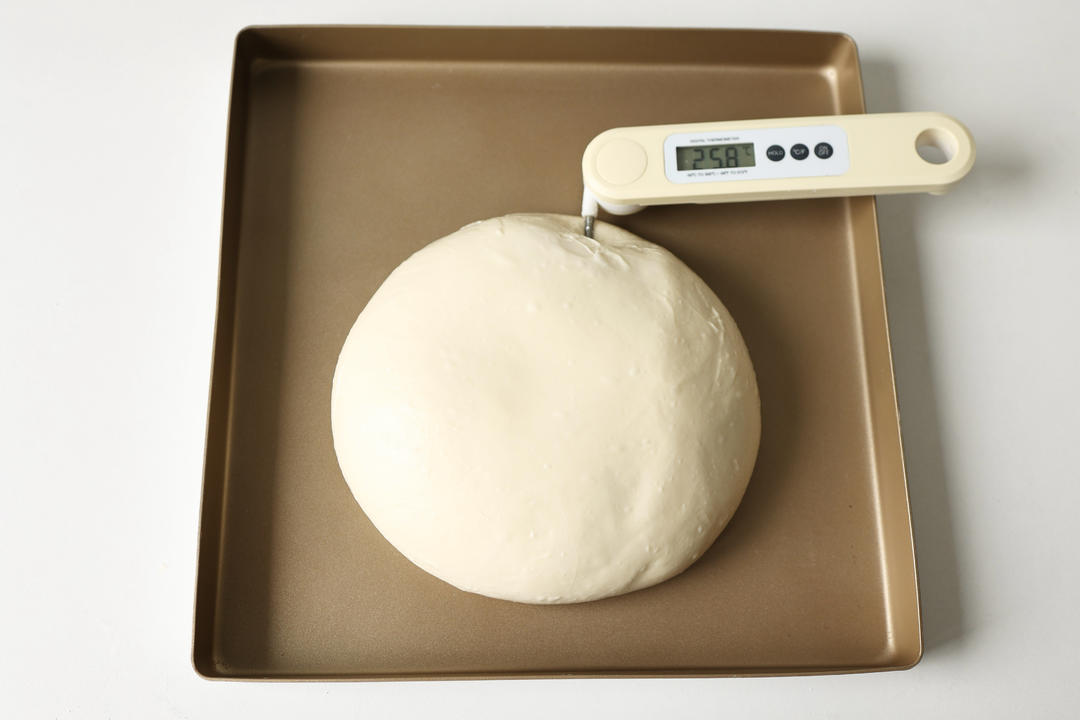
Turn out, round, and hold the dough temperature at 24-26°C.
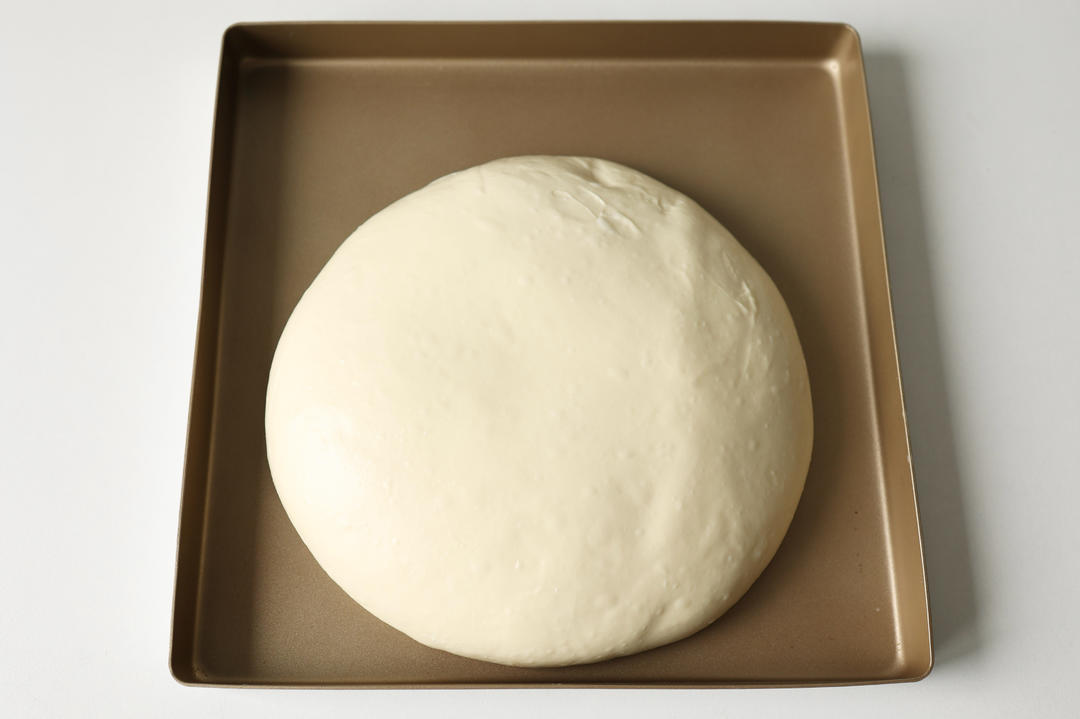
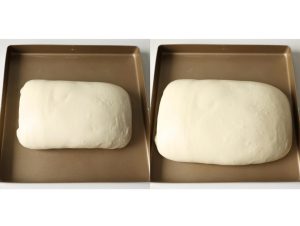
Step 7 – Ferment at 26-28°C until doubled
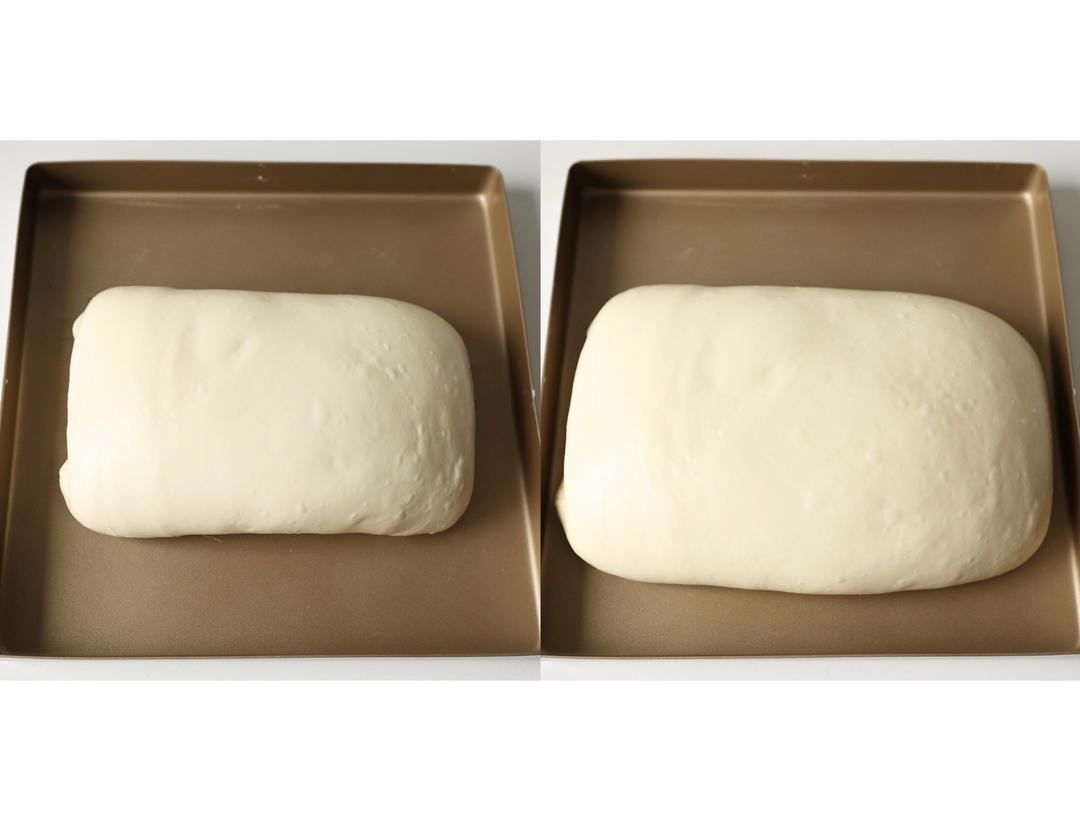
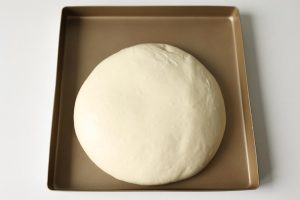
Ferment at 26-28°C until doubled. (Air-conditioned room in summer; proofing box or oven in winter.)
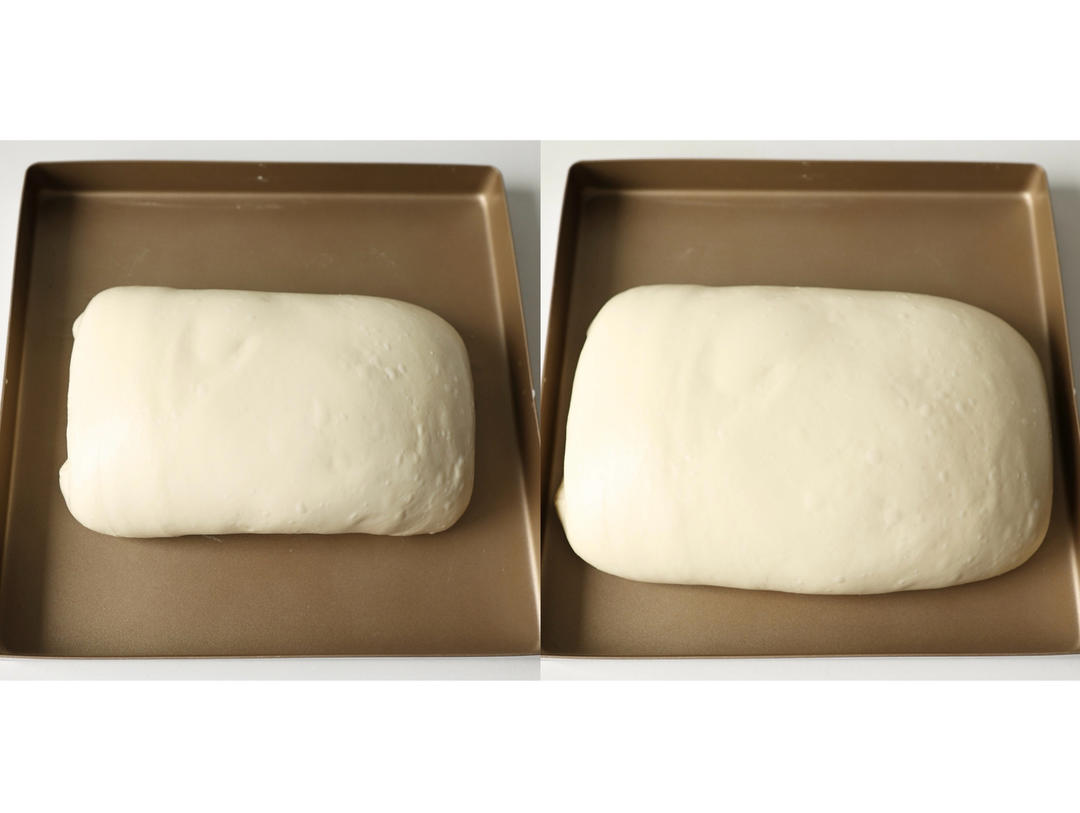
Step 8 – The windowpane was a bit thin here, so fearing weak support
The windowpane was a bit thin here, so fearing weak support I folded once halfway through fermentation (about 30 minutes) to strengthen the gluten, then fermented another 20-30 minutes.
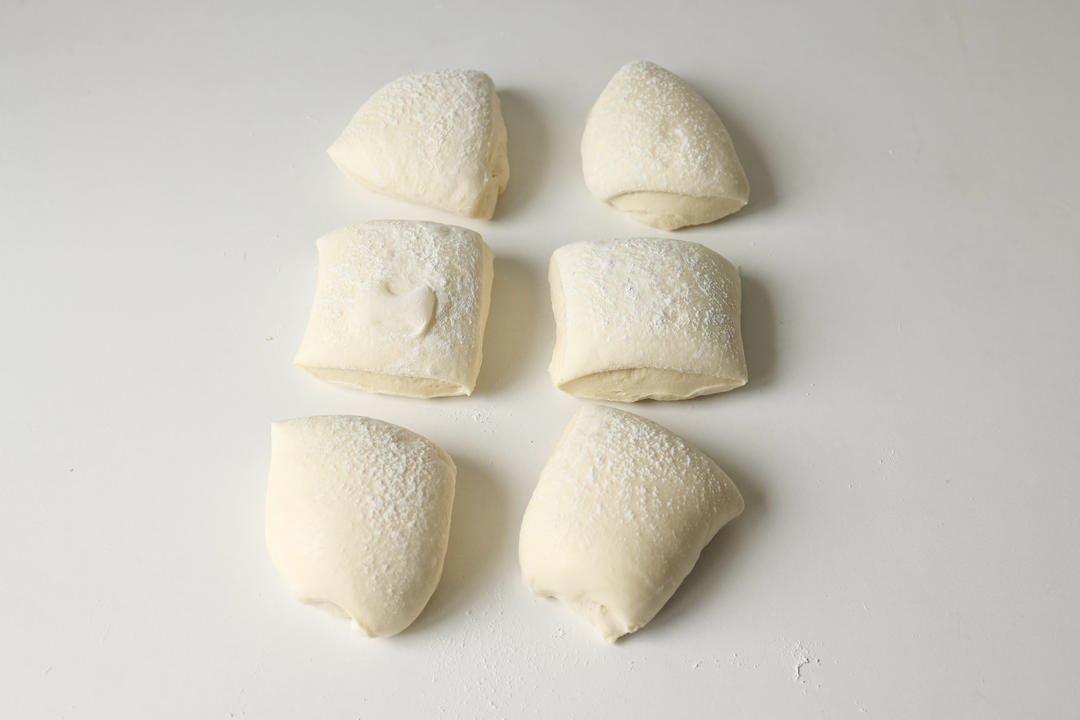
Step 9 – Move to the bench and divide into six equal pieces, about 17
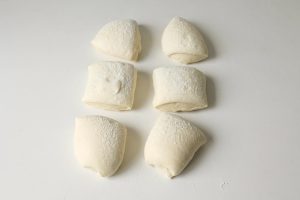
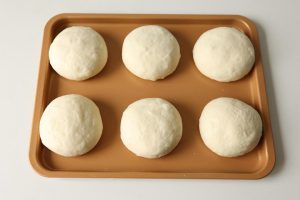
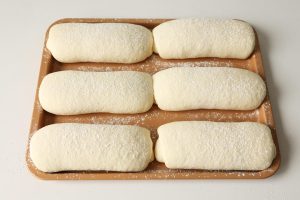
Move to the bench and divide into six equal pieces, about 174 g each.
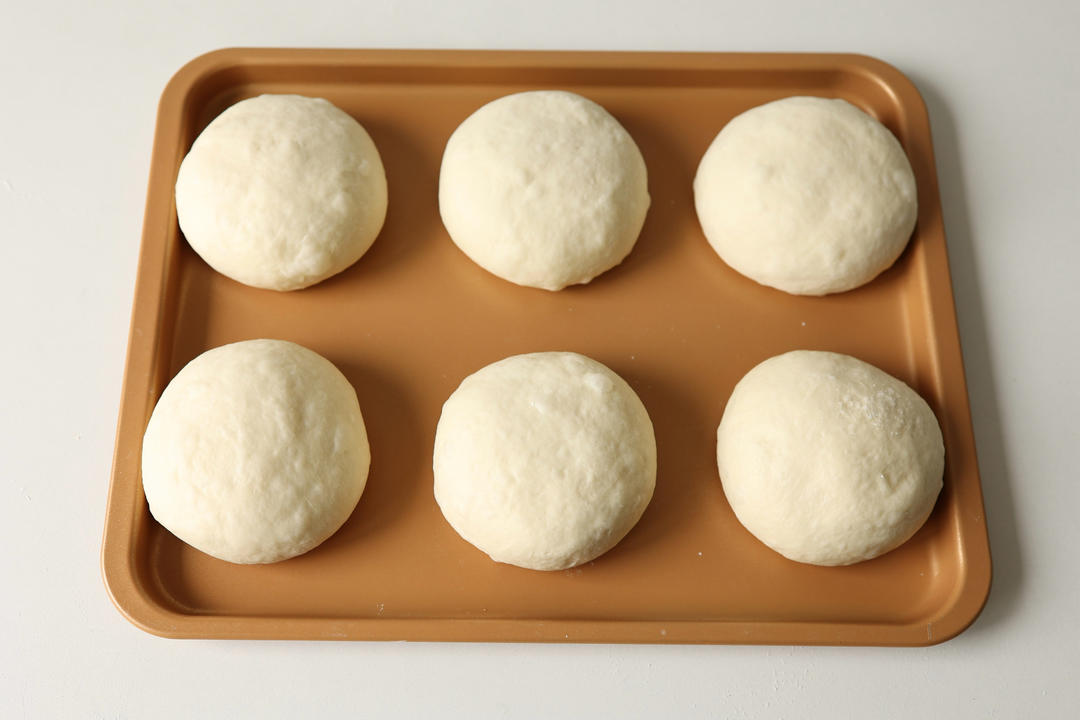
Step 10 – Press out the gas, round, and rest sealed 20-30 minutes at 2
Press out the gas, round, and rest sealed 20-30 minutes at 26-28°C.
Step 11 – After resting, dust with flour to prevent sticking
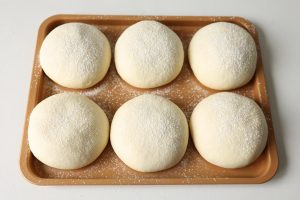
After resting, dust with flour to prevent sticking.
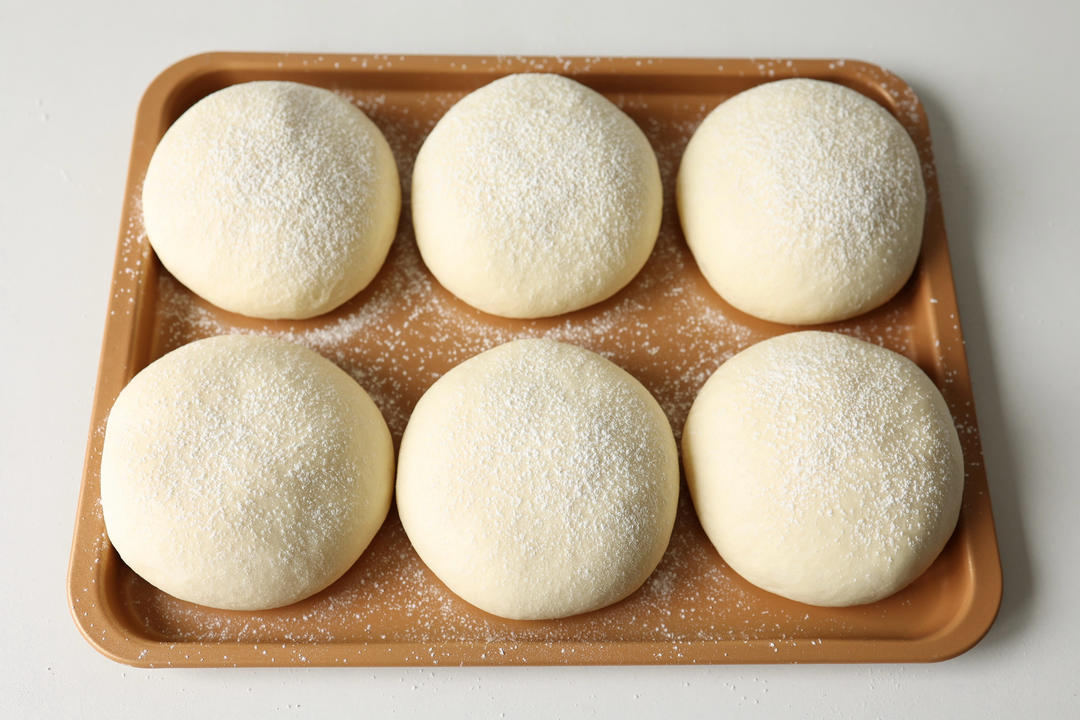
Step 12 – Roll each piece out about 25 cm long and 14 cm wide
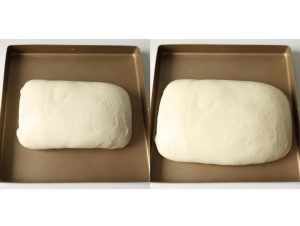
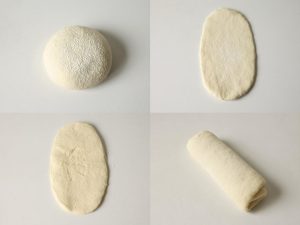
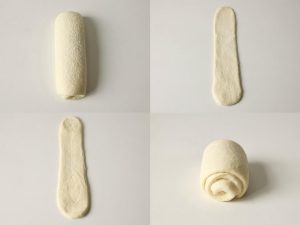
Roll each piece out about 25 cm long and 14 cm wide. Flip, then fold from top to bottom in three folds.
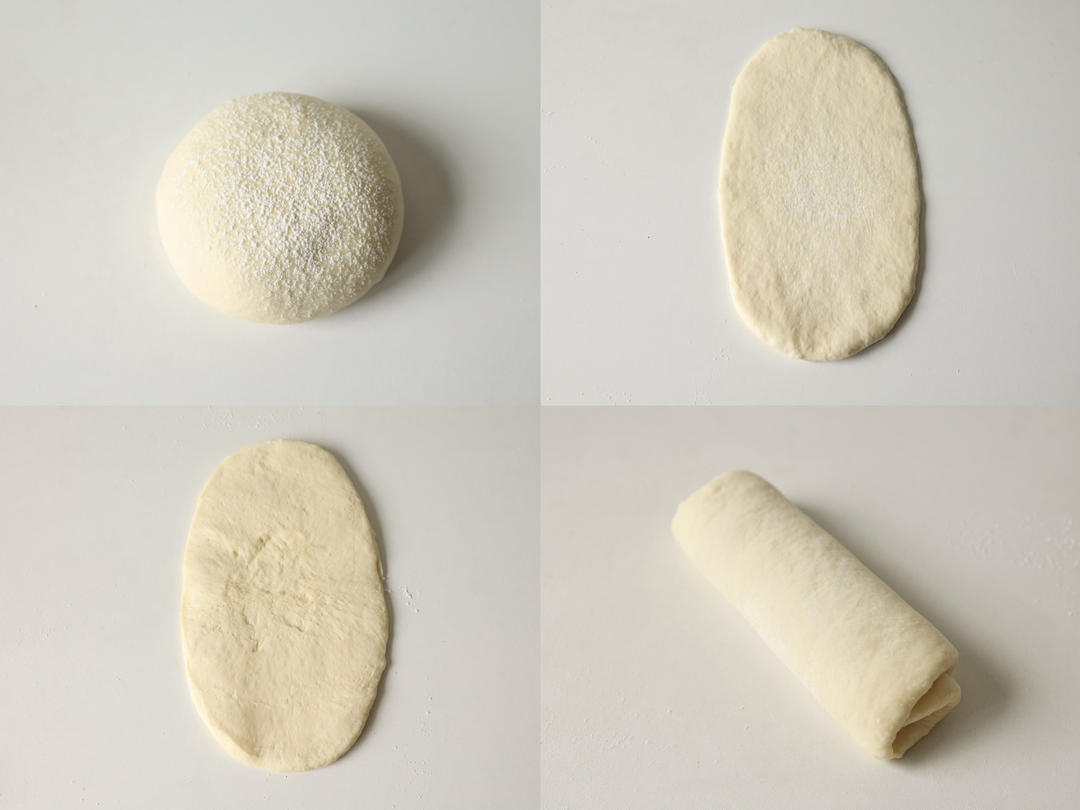
Step 13 – Rest sealed about 20 minutes at 26-28°C
Rest sealed about 20 minutes at 26-28°C.
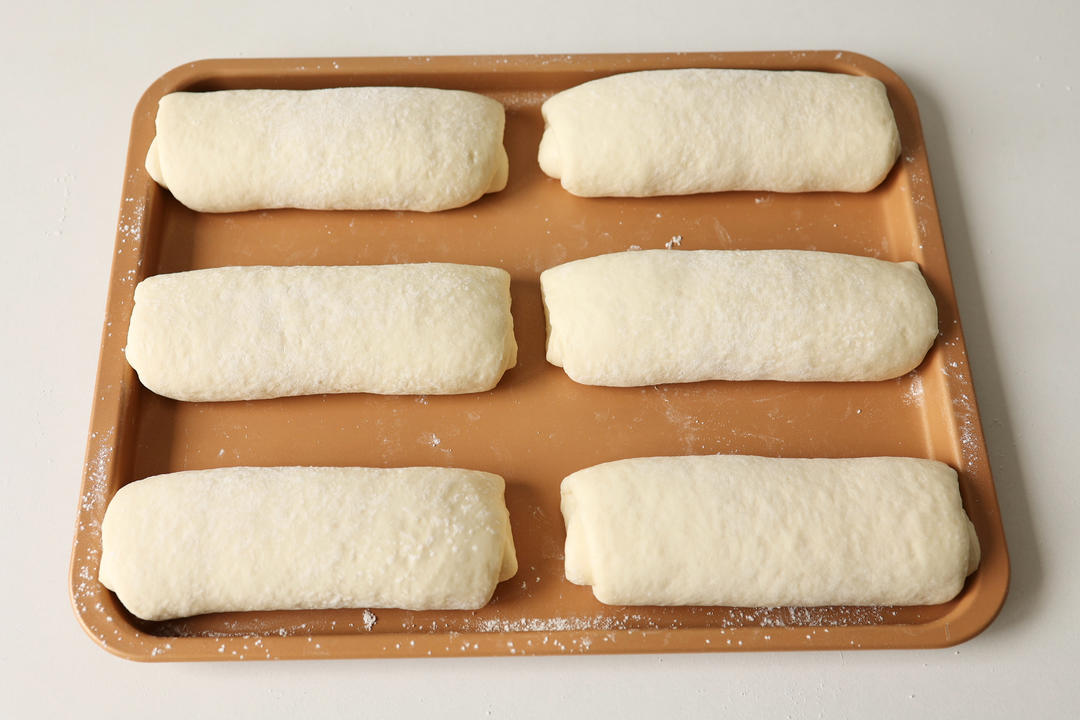
Step 14 – Dust with flour after resting
Dust with flour after resting.
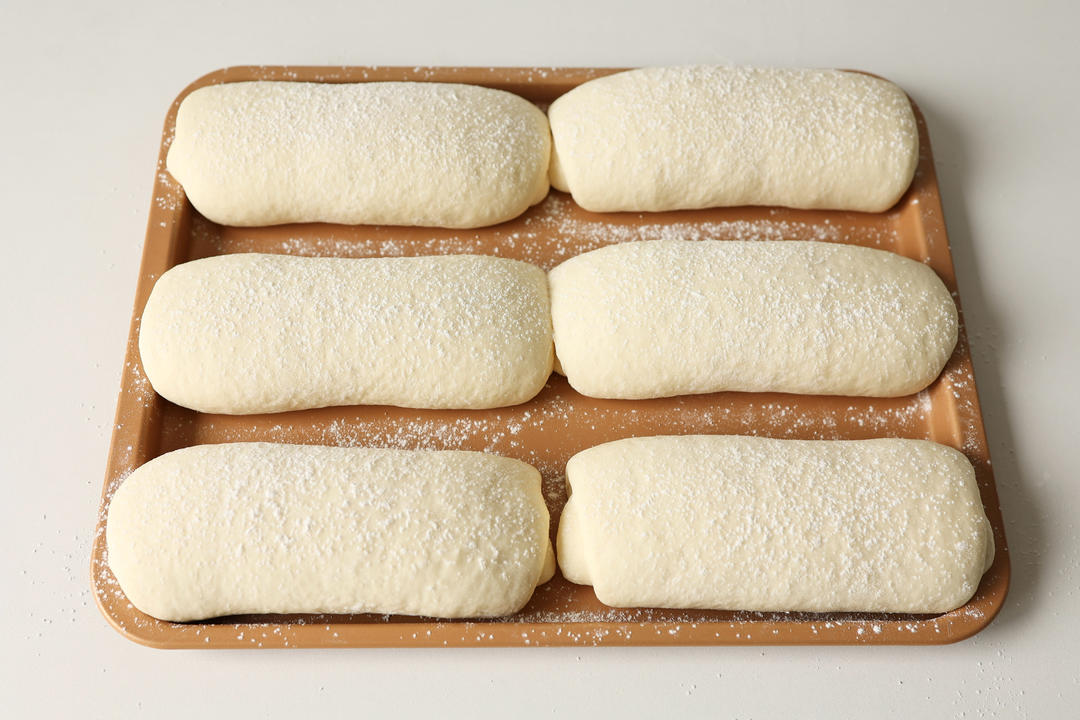
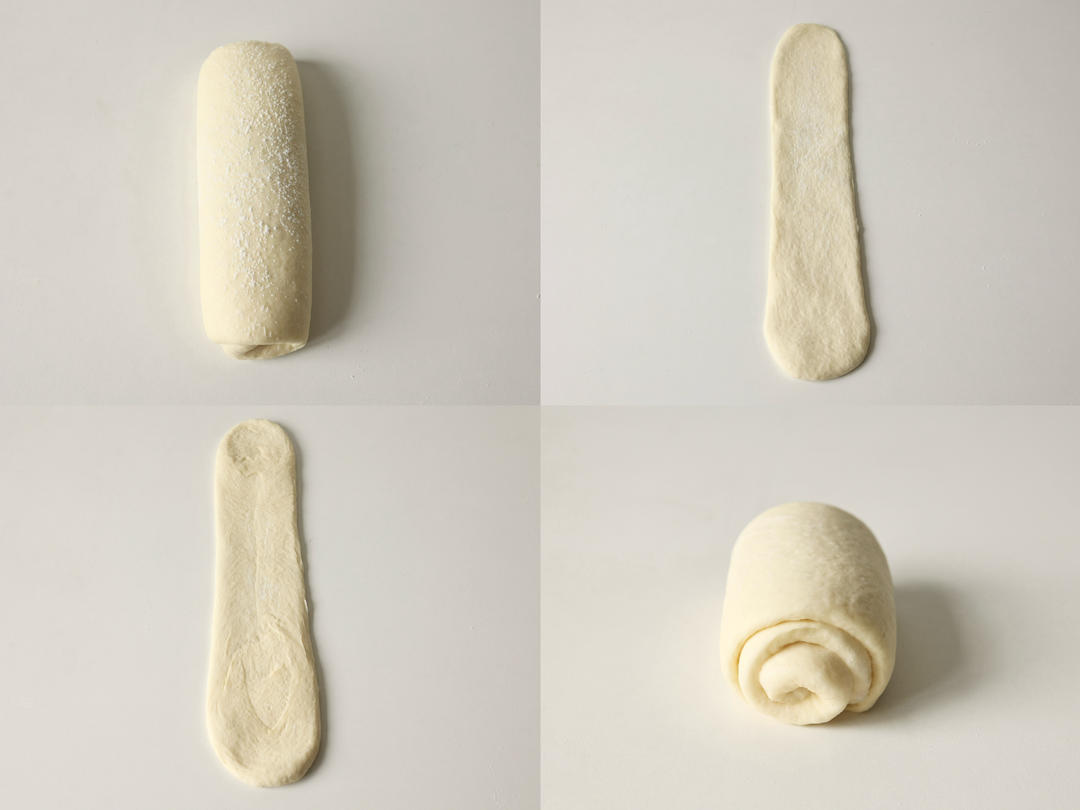
Step 15 – Turn the dough upright, roll out 35-40 cm long
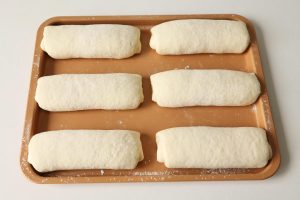
Turn the dough upright, roll out 35-40 cm long. Flip, roll from top to bottom, thin the bottom edge, and tuck it underneath.
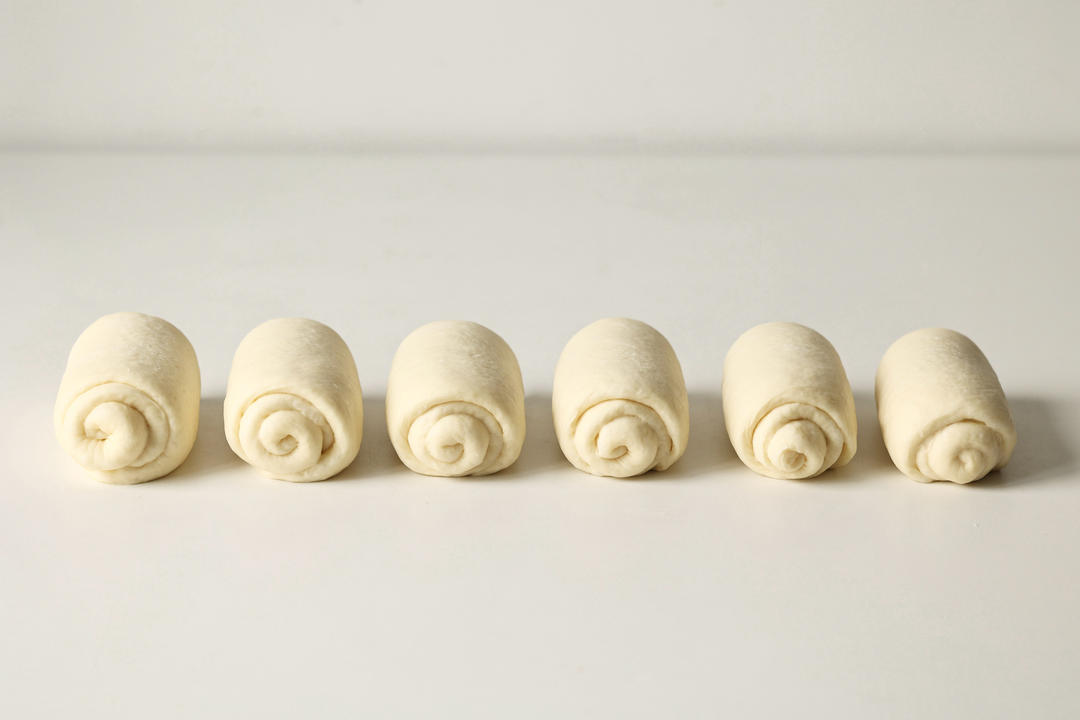
Step 16 – All pieces rolled
All pieces rolled.
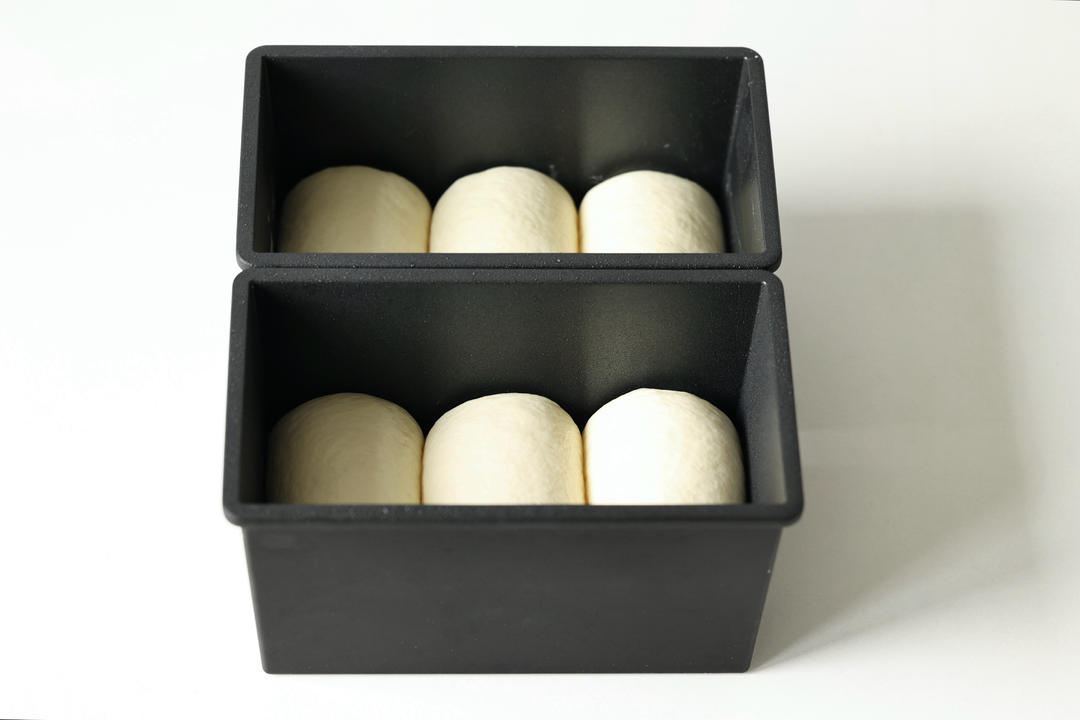
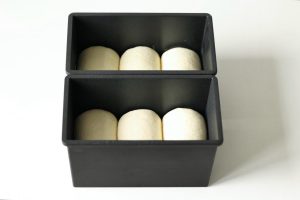
Step 17 – Three per group, same direction, into the 450 g loaf pans
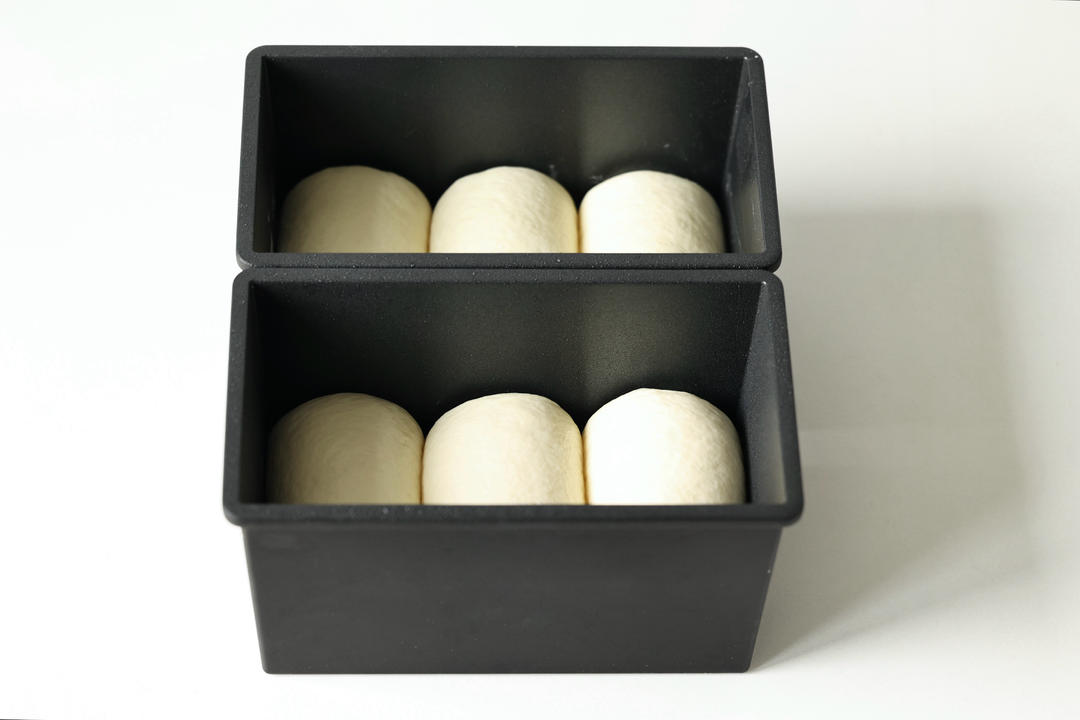
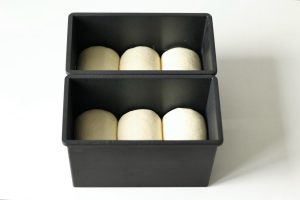
Three per group, same direction, into the 450 g loaf pans.
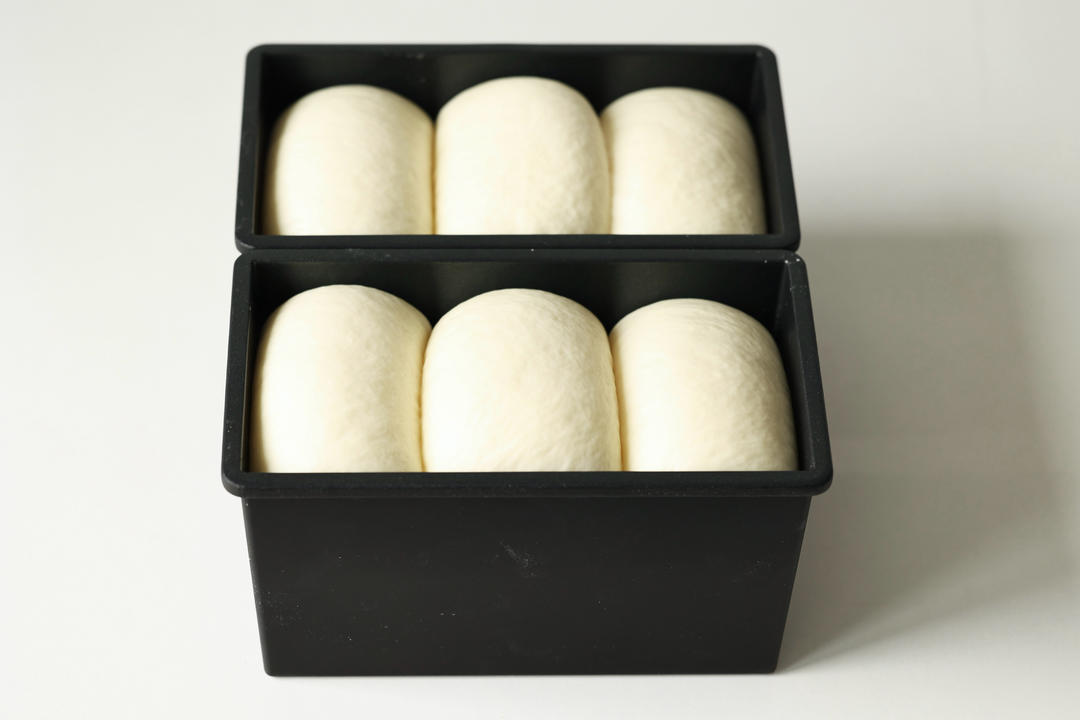
Step 18 – Ferment sealed at 30-32°C until the pan is 90% full
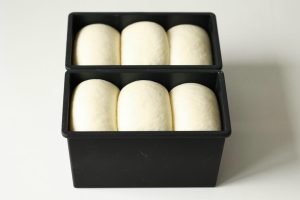
Ferment sealed at 30-32°C until the pan is 90% full. About 40-50 minutes. (Room temperature in summer; proofing box or oven in winter.)
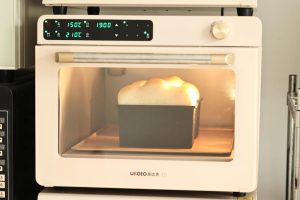
Step 19 – Bake in a preheated oven – a low-sugar loaf pan on the origi
Bake in a preheated oven – a low-sugar loaf pan on the original tray, top heat 140-150°C, bottom 210°C, about 30 minutes (times are for the same oven).
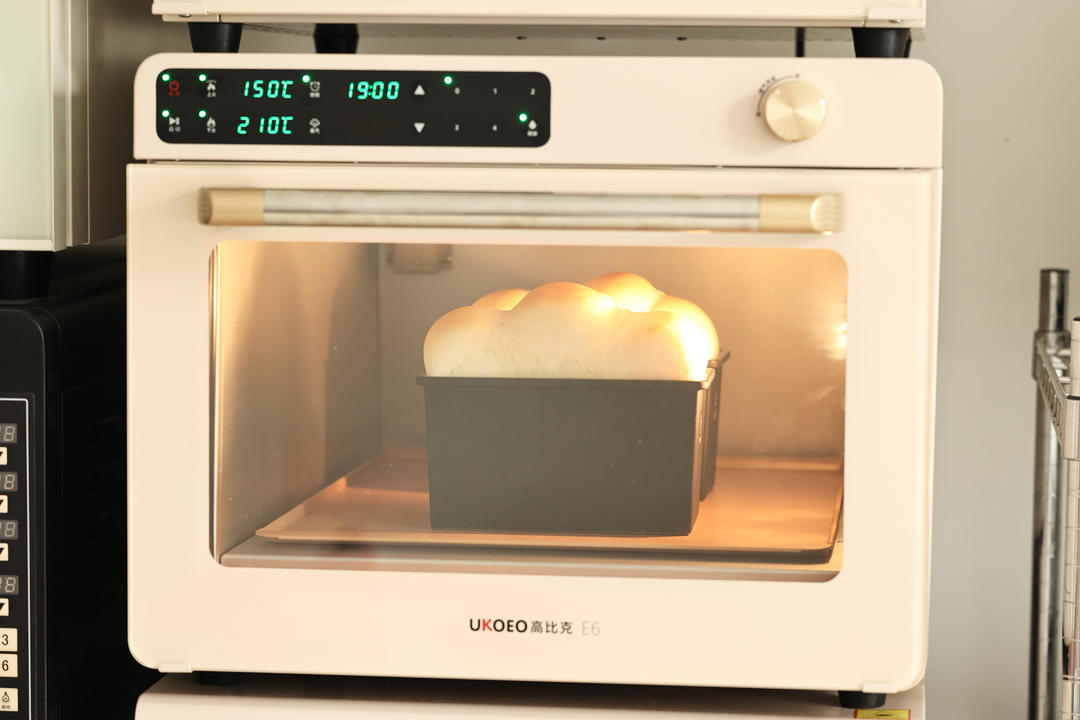
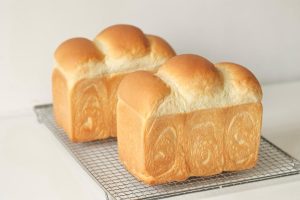
Step 20 – Like little clouds
Like little clouds.
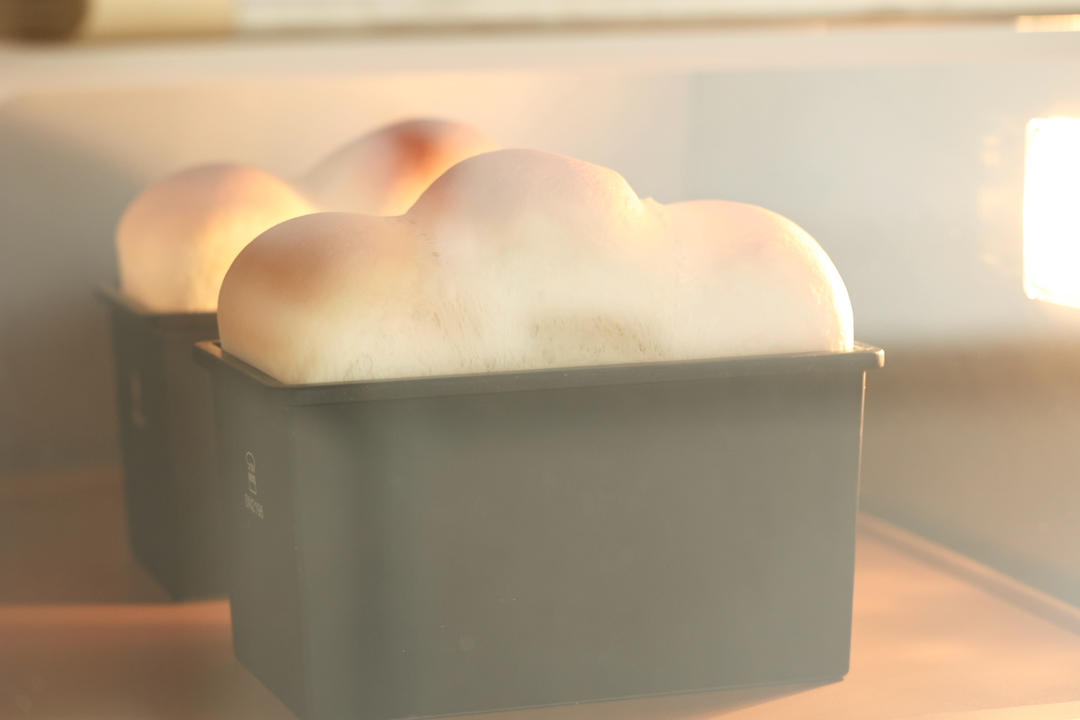
Step 21 – Out of the oven, knock out the steam immediately, unmold at
Out of the oven, knock out the steam immediately, unmold at once, and cool on a rack.
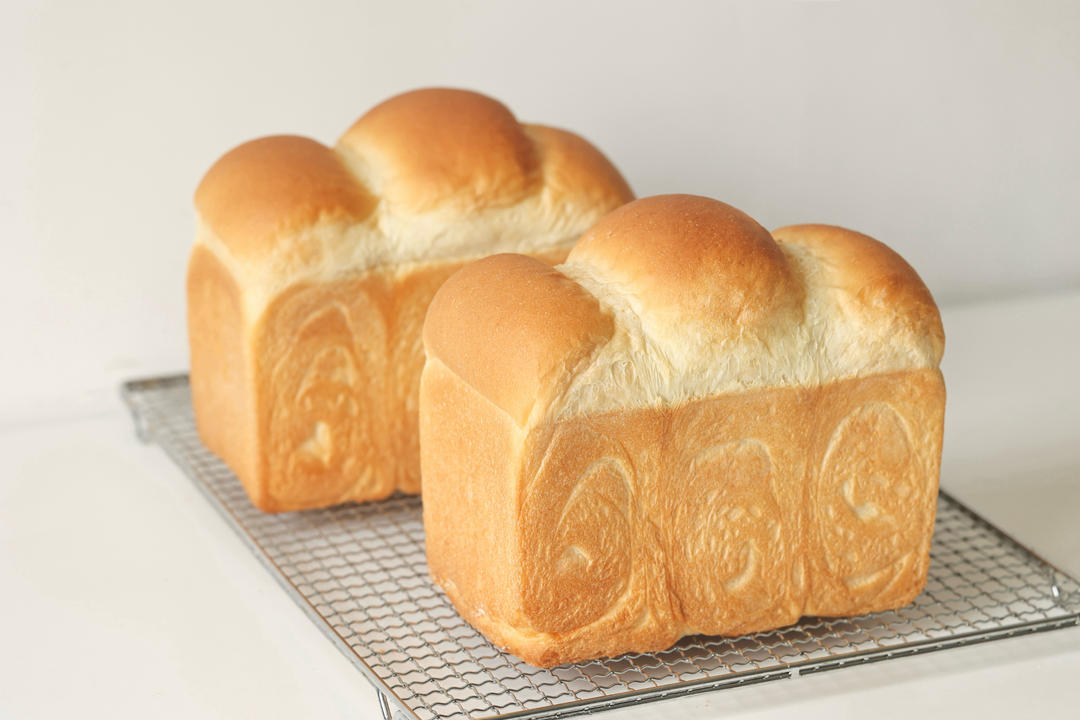
Step 22 – Simple ingredients, easy to make, delicious and fine – a sof
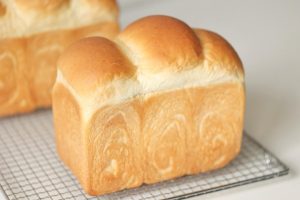
Simple ingredients, easy to make, delicious and fine – a soft white bread that needs no starter and ages slowly. Spread with jam or cheese, or build sandwiches – sweet or savory.
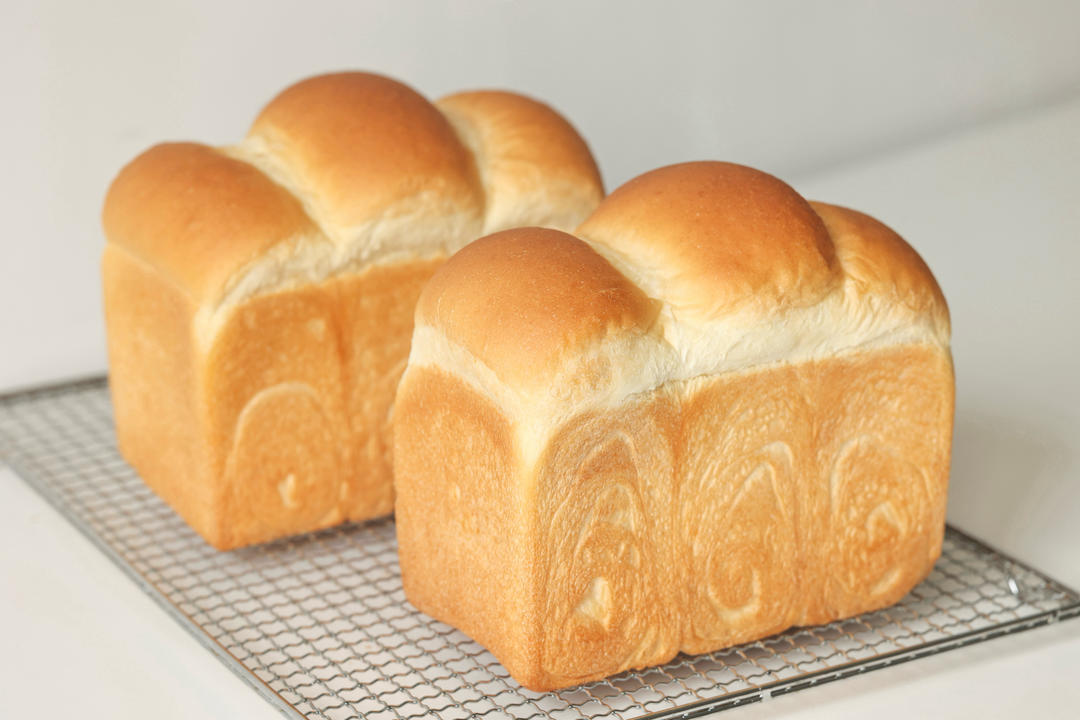
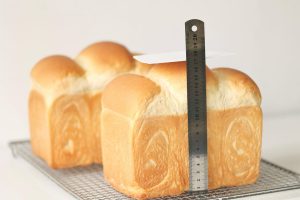
Step 23 – Great oven spring – it rose very tall, 17
Great oven spring – it rose very tall, 17.5 cm.
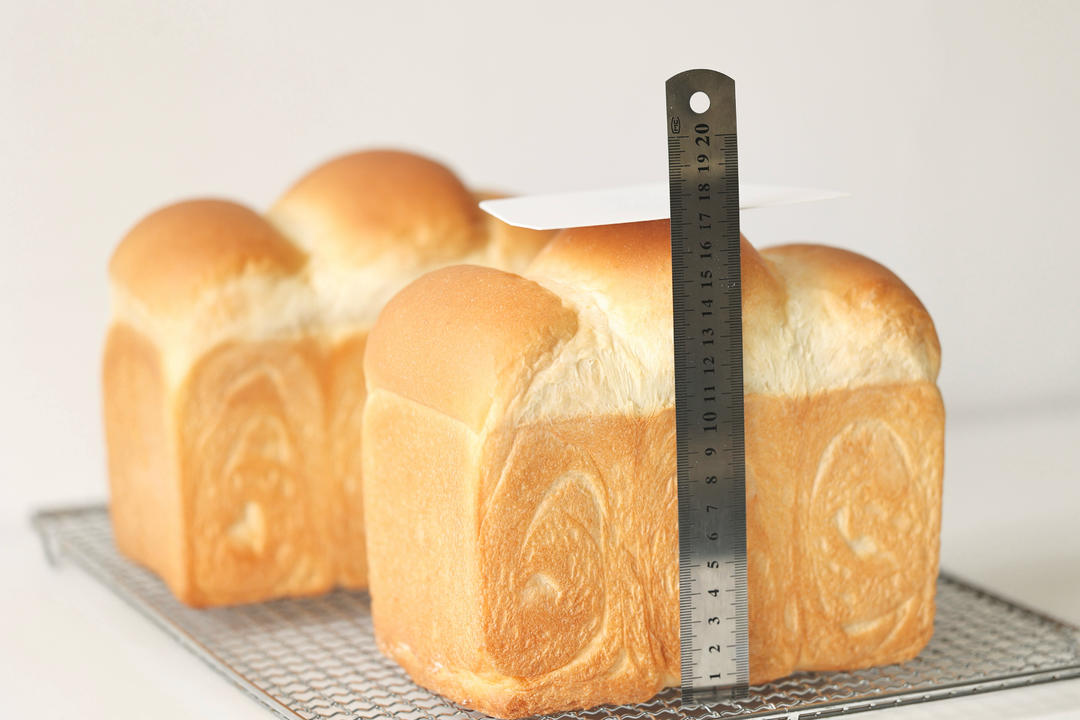
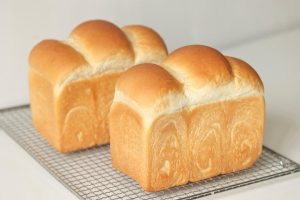
Step 24 – (Decorative shot
(Decorative shot.)
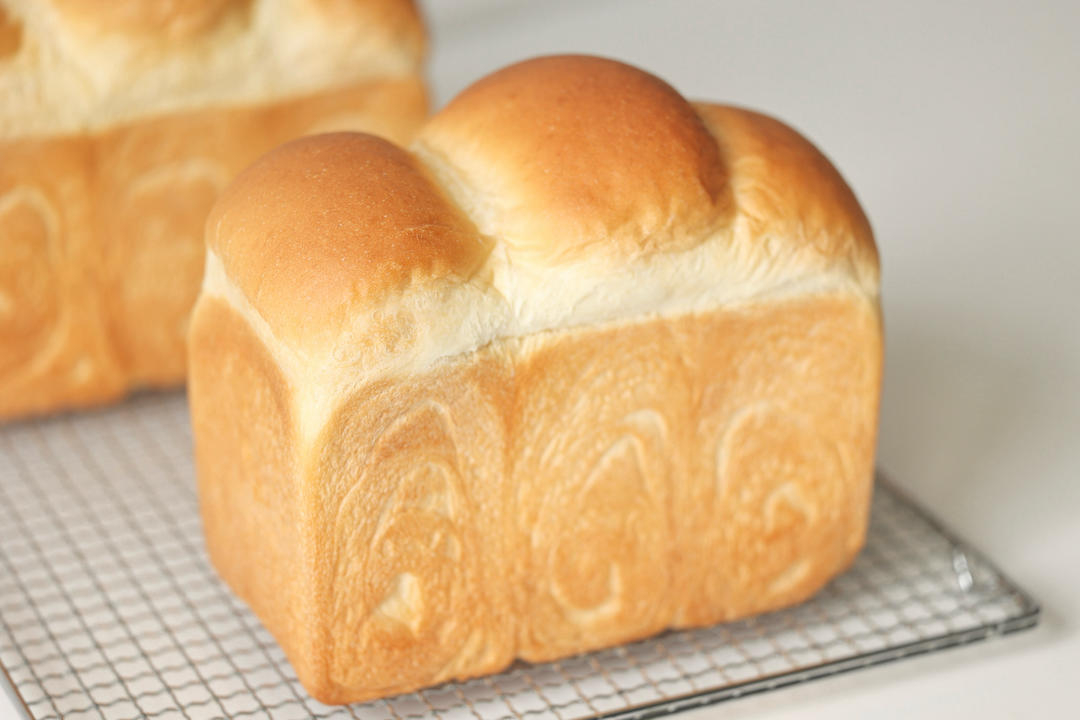
Step 25 – (Decorative shot
(Decorative shot.)
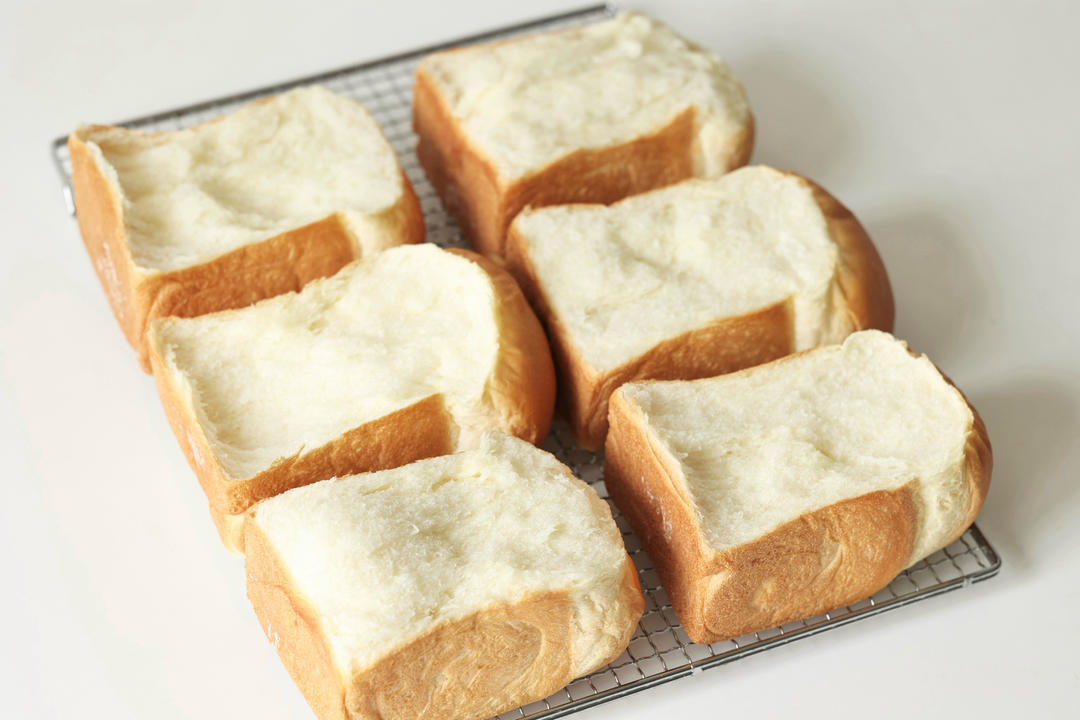
Step 26 – (Decorative shot
(Decorative shot.)
Step 27 – Storage: slice, seal in a bag, and freeze at -18°C
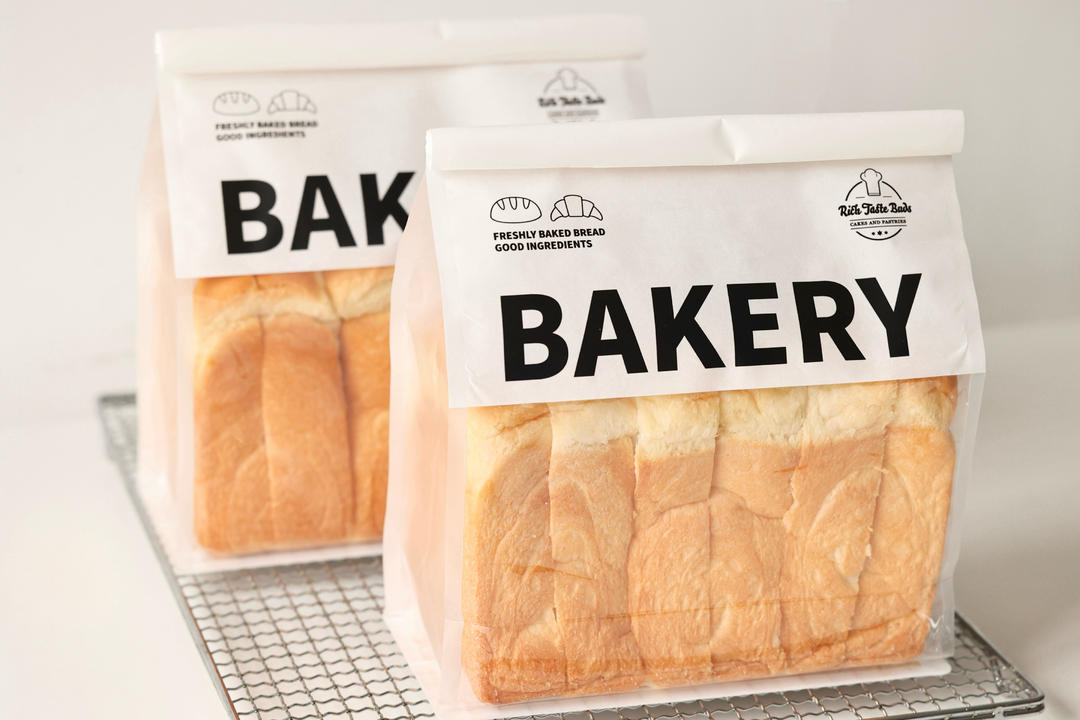
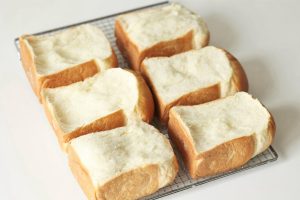
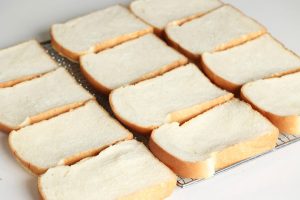
Storage: slice, seal in a bag, and freeze at -18°C. Do not refrigerate – cold storage ages the bread fast and hardens it. Thaw at room temperature before eating.
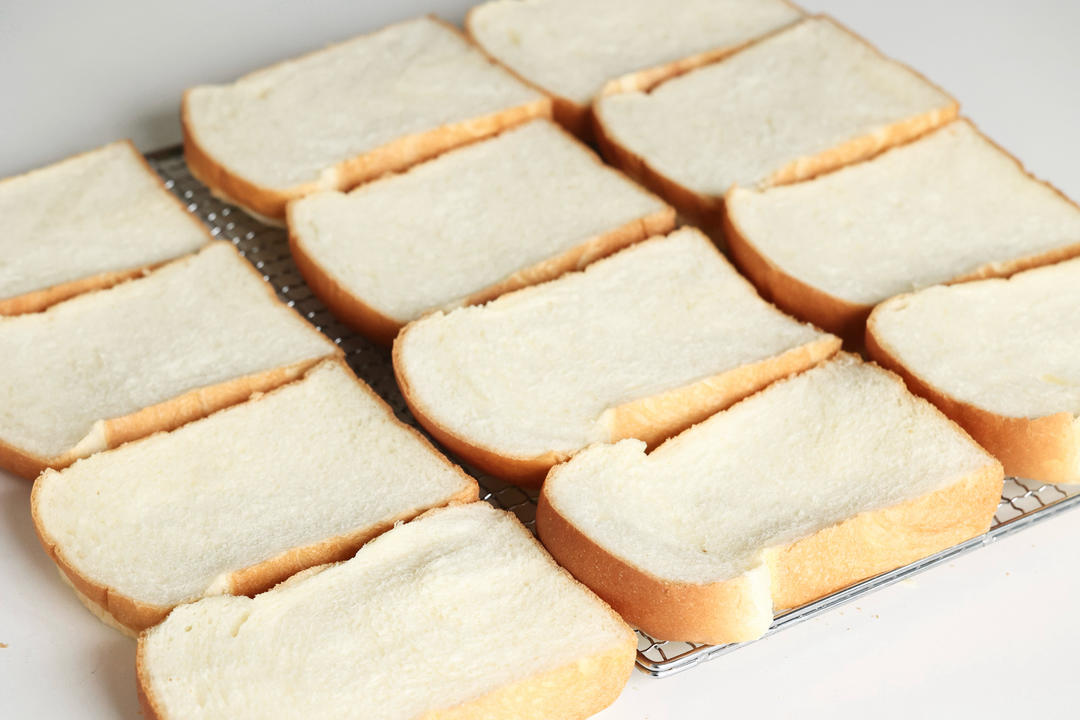
Step 28 – (Decorative shot
(Decorative shot.)
Step 29 – A video reference: the toast stored at room temperature on t
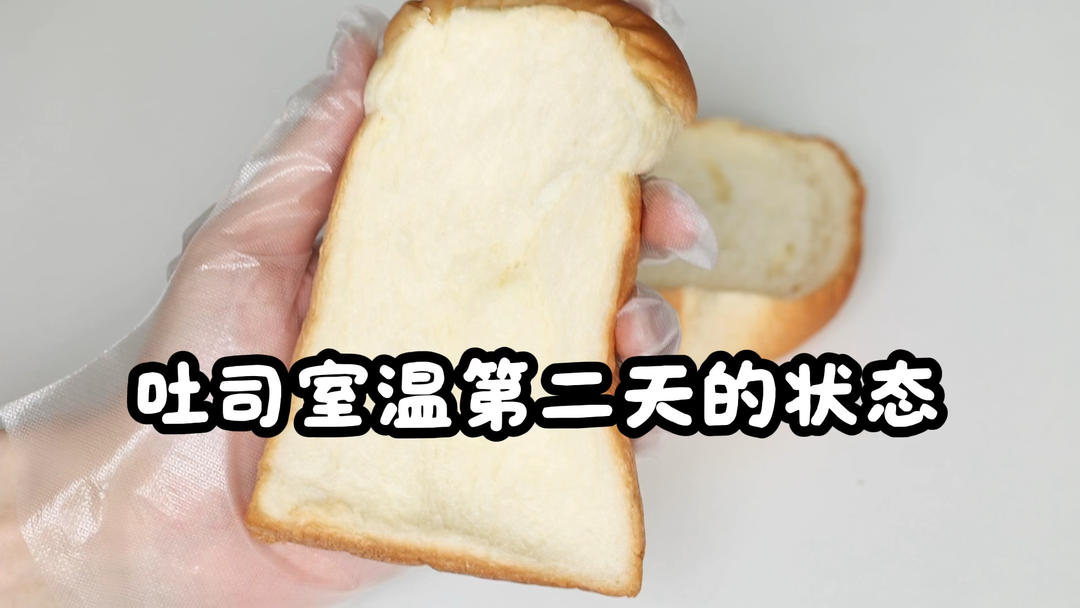
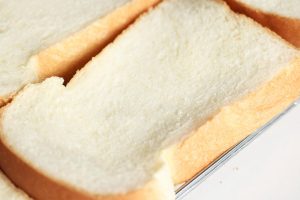
A video reference: the toast stored at room temperature on the second day – unheated – is still super soft, with strong anti-staling performance.
Step 30 – (Final slice shot
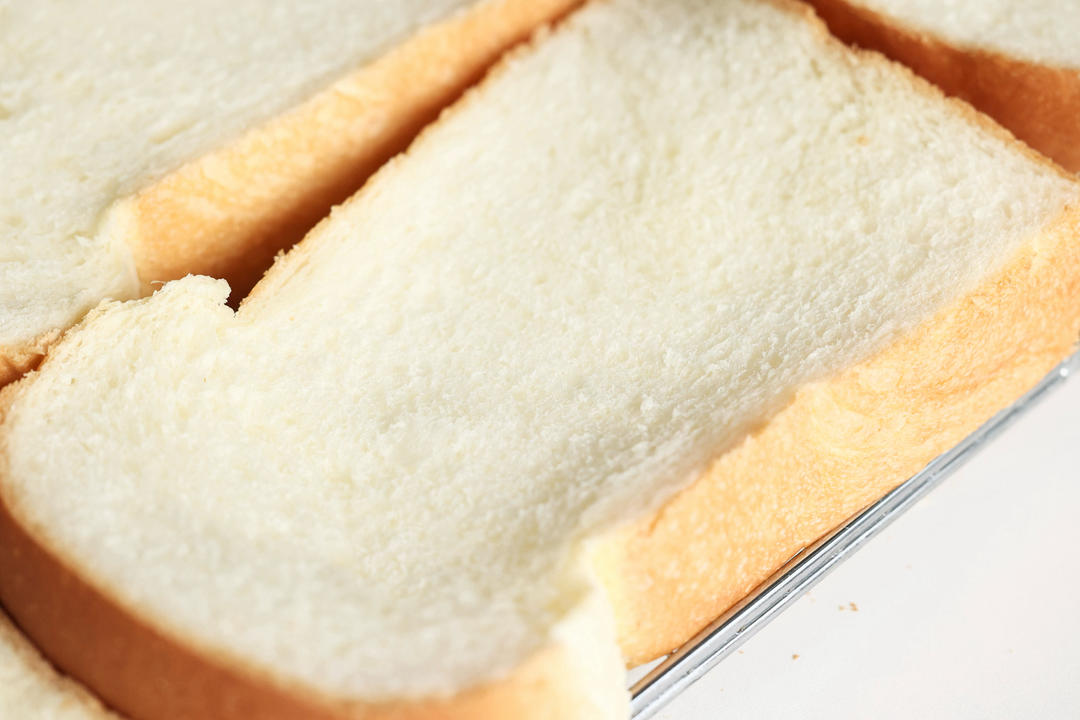
(Final slice shot.)
Common Mistakes When Making This Bread
1. A dense, heavy loaf. Cause: under-kneaded gluten. Fix: the windowpane test.
2. A torn, ragged top. Cause: shaping too eagerly. Fix: the rests between shapings.
3. A collapsed loaf. Cause: over-proofing past 9/10. Fix: watch the pan, not the clock.
4. Hard, stale crumbs. Cause: fridge storage. Fix: freeze slices – cold storage hardens.
5. An overheated dough. Cause: a hot kitchen or long mix. Fix: the 24-26°C target.
6. A pale, raw center. Cause: too low an oven. Fix: the recipe’s top-and-bottom heats.
Variations
Whole wheat: Replace a third of the flour. My cloud-soft milk bread rolls are the enriched sibling.
Sweet: More sugar and a butter glaze for a dessert loaf.
Savoury: Fold in scallions or ham before the final roll.
The bread shelf: With cloud-soft milk bread rolls and soft pumpkin steamed cake, the bakery drawer is complete.
Frequently Asked Questions
Do I need a starter? No – the straight dough is the point; it still ages slowly.
Why refrigerate-averse? Cold storage speeds starch retrogradation – the crumb hardens fast; freeze instead.
Can I knead by hand? Yes, with more time and the windowpane as the test.
How do I know the proof is done? The pan is 9/10 full and the dough springs back slowly.
How long does it take? About 4 hours including the rises.
How to Serve
Toast it, sandwich it, or eat it plain – with cloud-soft milk bread rolls and soft pumpkin steamed cake for a bakery table, or with sweet red bean soup for a cozy pairing. Or pair it with poached pork belly fish-fragrant pork steamed mushroom chicken tomato egg noodles for more ideas.
Storage & Reheat
Slice, seal, and freeze at -18°C; thaw at room temperature and re-toast. Do not refrigerate. Never leave bread out more than 2 hours in warm weather.
Allergen Notice
This recipe contains gluten (flour), dairy (milk, butter, milk powder), and egg. It is free of soy, nuts, fish, and shellfish.
Nutrition Disclaimer
Nutrition information is calculated using an ingredient database and should be considered an estimate. In cases where multiple ingredient alternatives are given, the first listed is calculated for nutrition. Garnishes and optional ingredients are not included.
About the Author & Recipe Development
I am Lin, a professional Chinese chef and food writer with a decade in restaurant kitchens before turning to recipes. This xiachufang cook’s super soft milk bread is the loaf in my freezer, and the recipe’s straight-dough-windowpane logic is exactly why it stays soft for days. I tested it as written. I have not tested the whole-wheat or savoury variations, so those are your experiments, not my claims.
Authoritative References
USDA Food Safety and Inspection Service – Safe Temperature Chart for egg handling and baked-goods storage guidance.
Super Soft Milk Bread (Chao Ruan Niu Nai Tu Si): Basic White Loaf

Equipment
- Stand mixer
- Two 450 g loaf pans
- Digital thermometer (helpful)
- Cooling rack
Ingredients
For the Dough
- 500 g high-protein bread flour 4 cups
- 15 g milk powder 2 tbsp
- 355 g milk 1.5 cups, reserve 20 g for flour variations
- 55 g whole egg about 1 large
- 50 g fine sugar 1/4 cup
- 15 g fresh yeast or 5 g / 1.5 tsp instant dry yeast
- 5 g salt 1 tsp
- 50 g butter, softened 3.5 tbsp
Instructions
- The image opens at full size when tapped. The flour shown is a premium domestic high-protein brand – fine texture, strong absorption, and tolerant of mixing. (Any high-protein bread flour works.)

- Add all ingredients except the salt and butter to the stand mixer. Because flour absorption varies, reserve 20 g of the milk and add it later depending on the dough.

- Mix 30 seconds on speed 2, 30 seconds on speed 3, then 5 minutes on speed 6 – until the dough is about 80% developed, pulling a thick, toothed membrane.
- Add the salt and butter.
- Mix 1 minute on speed 4, 1 minute on speed 5, then 1-2 minutes on speed 6 – until fully developed (100%), pulling a thin, smooth membrane.
- Turn out, round, and hold the dough temperature at 24-26°C.
- Ferment at 26-28°C until doubled. (Air-conditioned room in summer; proofing box or oven in winter.)
- The windowpane was a bit thin here, so fearing weak support I folded once halfway through fermentation (about 30 minutes) to strengthen the gluten, then fermented another 20-30 minutes.
- Move to the bench and divide into six equal pieces, about 174 g each.
- Press out the gas, round, and rest sealed 20-30 minutes at 26-28°C.
- After resting, dust with flour to prevent sticking.
- Roll each piece out about 25 cm long and 14 cm wide. Flip, then fold from top to bottom in three folds.

- Rest sealed about 20 minutes at 26-28°C.
- Dust with flour after resting.
- Turn the dough upright, roll out 35-40 cm long. Flip, roll from top to bottom, thin the bottom edge, and tuck it underneath.
- All pieces rolled.
- Three per group, same direction, into the 450 g loaf pans.
- Ferment sealed at 30-32°C until the pan is 90% full. About 40-50 minutes. (Room temperature in summer; proofing box or oven in winter.)
- Bake in a preheated oven – a low-sugar loaf pan on the original tray, top heat 140-150°C, bottom 210°C, about 30 minutes (times are for the same oven).
- Like little clouds.
- Out of the oven, knock out the steam immediately, unmold at once, and cool on a rack.
- Simple ingredients, easy to make, delicious and fine – a soft white bread that needs no starter and ages slowly. Spread with jam or cheese, or build sandwiches – sweet or savory.
- Great oven spring – it rose very tall, 17.5 cm.
- (Decorative shot.)
- (Decorative shot.)
- (Decorative shot.)
- Storage: slice, seal in a bag, and freeze at -18°C. Do not refrigerate – cold storage ages the bread fast and hardens it. Thaw at room temperature before eating.
- (Decorative shot.)
- A video reference: the toast stored at room temperature on the second day – unheated – is still super soft, with strong anti-staling performance.
- (Final slice shot.)











Leave a Reply