I have a weakness for cakes that look plain and taste like a cloud. This steam-baked milk chiffon cake (zheng kao niu nai dan gao, 蒸烤牛奶蛋糕) is exactly that: a pale, tender chiffon made with rich water buffalo milk, baked low and slow over a pan of water so the crumb stays custard-soft and the top never splits. The first time I cut into one, still warm, I understood why Chinese home bakers describe the steam-bake method as “no fire” – no burnt crust, no cracked dome, just a gentle, even rise.
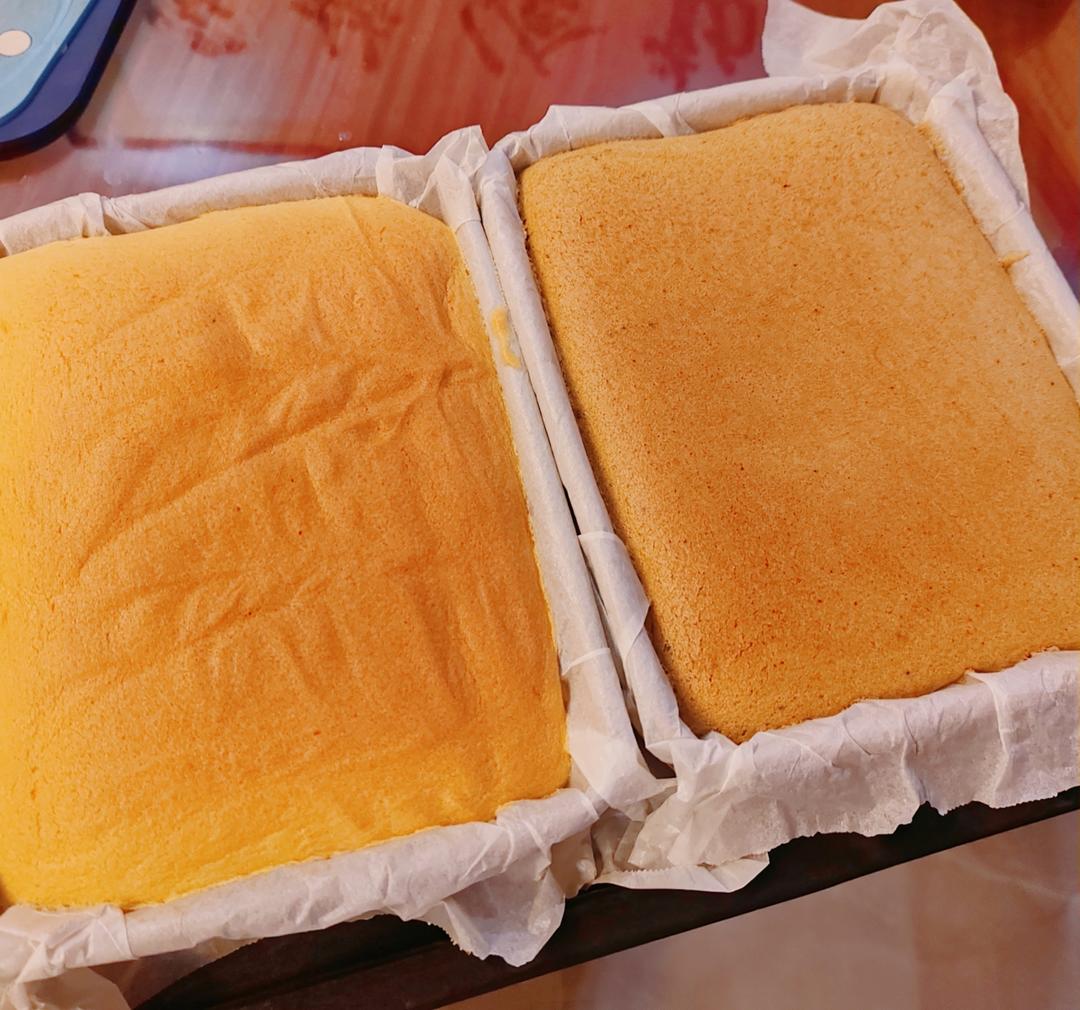
What makes this different from a standard chiffon is the method, not the ingredient list. You steam-bake it: a roasting pan half full of water sits on the bottom rack, keeping the oven humid, and a very gentle 130°C (266°F) bake lets the cake climb evenly without scorching the sides or splitting the top. It is the same logic that gives Japanese soufflé cheesecakes their wobble, applied to a humble six-egg milk cake.
I tested this recipe with water buffalo milk and regular whole milk, with and without the frozen-meringue trick, and the small details matter more than you would think. Freeze the egg whites for 15 minutes. Strain the yolk batter. Bake low and slow. Do those three things and the cake comes out tall, moist, and sliceable – the kind of slice you end up eating with a spoon in the afternoon.
What Is a Steam-Baked Milk Chiffon Cake (Zheng Kao Niu Nai Dan Gao)?
Zheng kao niu nai dan gao (蒸烤牛奶蛋糕) is a steam-baked milk cake from the Chinese home-baking community. “Zheng kao” literally means “steam-bake”: the batter is set inside an oven with a pan of hot water beneath it, so the cake bakes in a humid environment instead of dry heat. The “niu nai” (milk) is usually water buffalo milk, prized in Cantonese-style baking for its higher fat and natural sweetness, and the cake itself is a chiffon – separated eggs, whipped whites, and a flour-and-cornstarch base with no butter. Street and bakery versions are often sold as tall, pale slices; at home, a standard oven with a water bath reproduces the same custard-soft crumb.
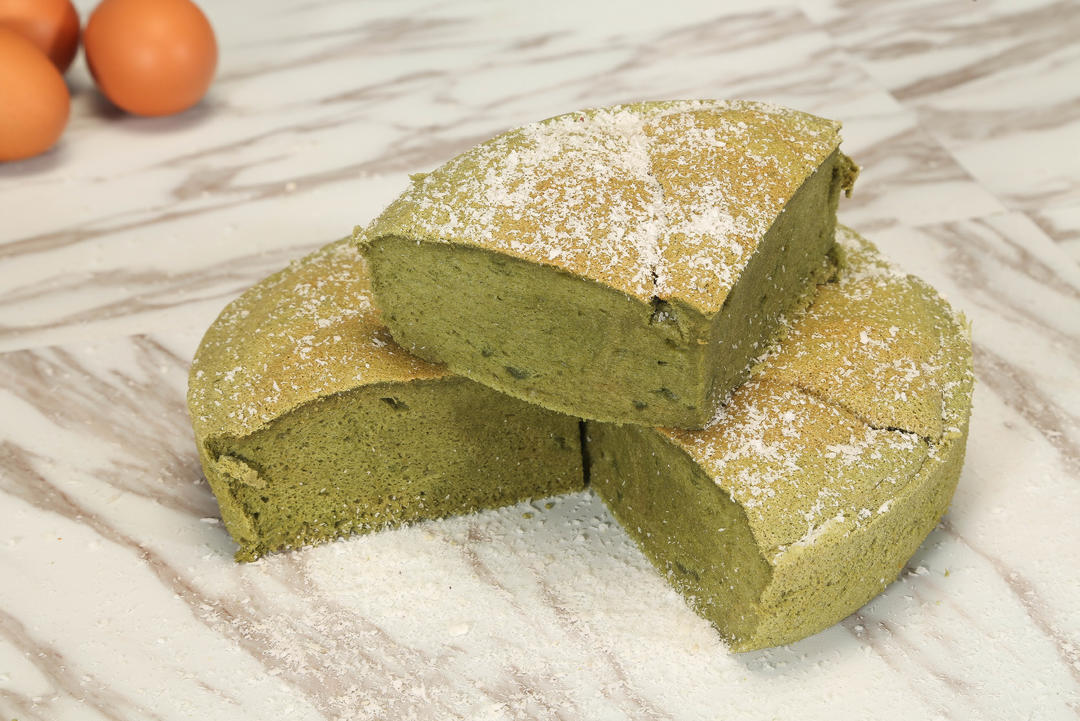
If you love the tender, tea-kissed crumb of this cake, you will adore my fluffy matcha chiffon cake, which uses the same chiffon technique with green tea powder for a delicate, bitter-sweet flavor. Both slice into the softest, most pillowy layers – perfect with a cup of tea.
1Fluffy Matcha Chiffon CakeA light, airy Matcha Chiffon Cake recipe with authentic Uji matcha. Step-by-step guide for a cotton-soft texture. Perfect sweetness and tea aroma.Check out this recipe
Why This Recipe Works
- Steam-bake means no cracking: the humid oven keeps the surface elastic, so the cake rises without the top splitting or browning too fast.
- Low and slow is the whole trick: 130°C (266°F) for a full hour lets the center set before the outside over-bakes, giving that even, custard-soft texture.
- Chilled egg whites whip stiffer: 15 minutes in the freezer creates a more stable meringue that holds its structure through folding and baking.
- Water buffalo milk adds richness: its higher fat content makes the crumb silkier and naturally sweet, with no extra sugar needed.
- Chilling the yolk batter relaxes the gluten: a short rest in the fridge gives a more tender, velvety crumb instead of a rubbery one.
Equipment Needed
- Two 9-inch (23 cm) square cake pans
- A stand mixer or hand mixer with a whisk attachment
- A large roasting pan for the water bath
- A fine-mesh strainer
- Parchment paper
- A rubber spatula
Ingredients
- 6 large eggs, chilled overnight, separated
- 40 g (3 tbsp) corn oil
- 150 ml (2/3 cup) water buffalo milk, or whole milk
- 100 g (3/4 cup plus 1 tbsp) cake flour (low-gluten flour)
- 30 g (1/4 cup) cornstarch
- 80 g (1/3 cup plus 1 tbsp) caster sugar
- A few drops of lemon juice or white vinegar
Ingredient Notes
Water buffalo milk is the traditional choice and gives the cake its signature silkiness – it is the same milk I reach for in my silky steamed egg with milk and pork floss. If you cannot find it, whole milk works perfectly well at a 1:1 swap. Cake flour (di jin mian fen) keeps the crumb delicate; to improvise, sift together 3/4 cup all-purpose flour with 2 tablespoons cornstarch. Cornstarch further softens the texture and helps the cake stay pale. Use caster sugar for the meringue – it dissolves faster than granulated, giving a glossier, more stable foam.
Prep & Mise en Place
Get the eggs ready first: separate them over two clean, completely dry bowls – any water or oil in the white bowl will wreck the meringue – then put the whites in the freezer for 15 minutes. Weigh the milk, oil, flour, cornstarch and sugar so everything is within reach, and line the two pans with parchment paper. The fridge rest for the yolk batter comes later, so leave yourself room in the fridge now.
Cooking Process
Step 1 – Separate the Eggs and Chill the Whites
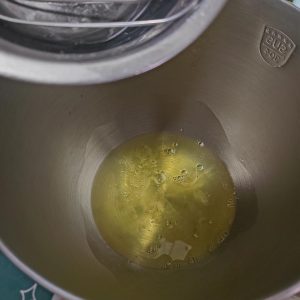
Separate the chilled eggs over two clean, dry bowls. Put the whites in the freezer for 15 minutes so they develop light ice crystals – this makes the meringue more stable.
Step 2 – Emulsify the Milk and Oil
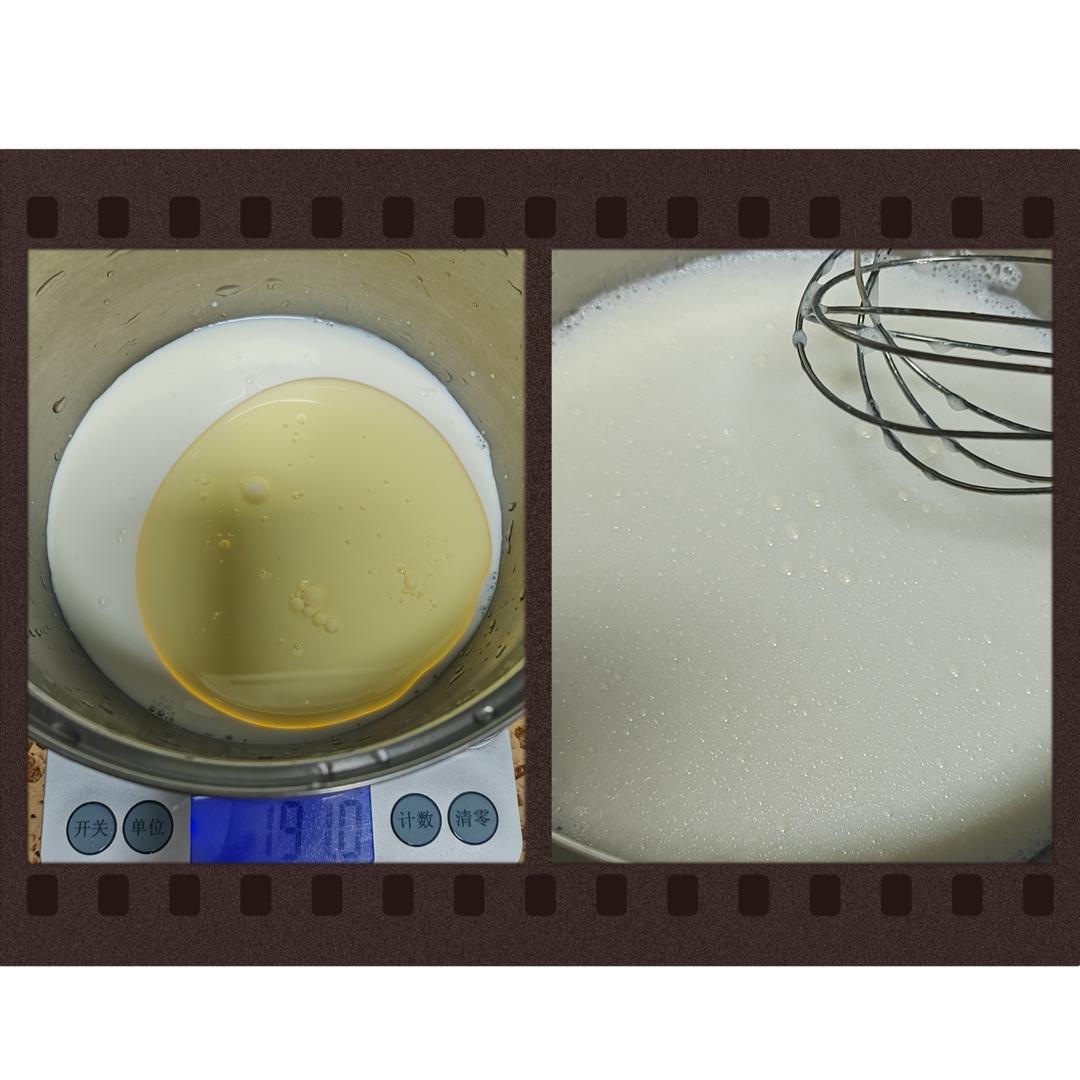
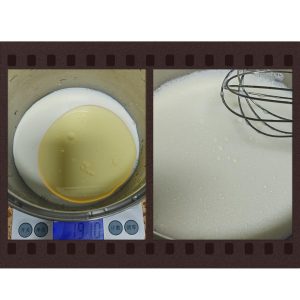
Weigh the milk and corn oil into a bowl and whisk until the mixture emulsifies and looks creamy, with no oil slick floating on top.
Step 3 – Add the Flours
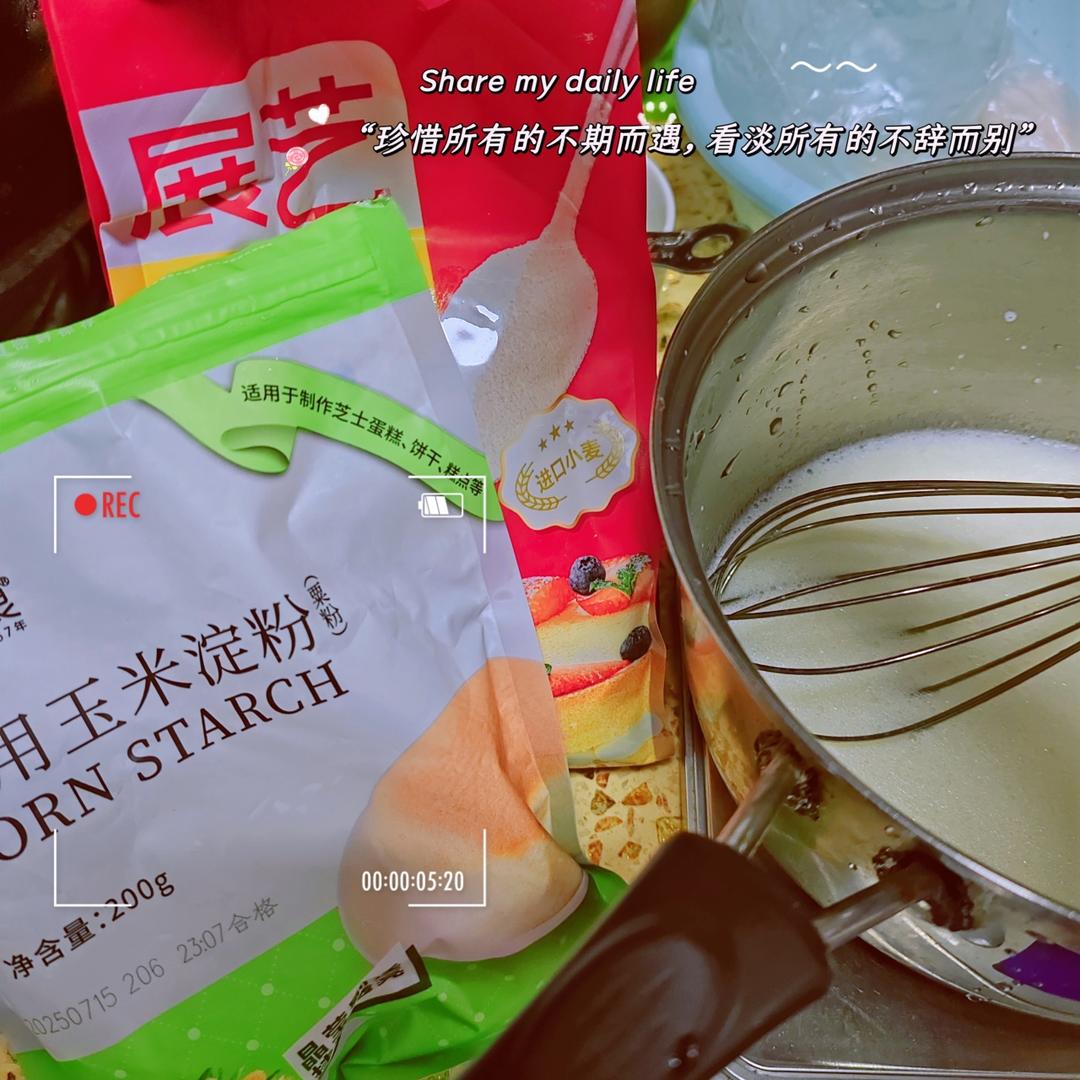
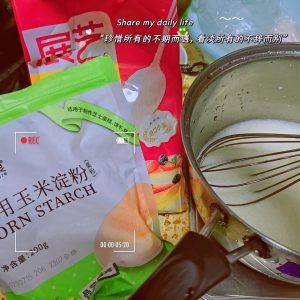
Add the cornstarch and cake flour straight into the bowl – no sifting needed – and whisk until no dry streaks remain.
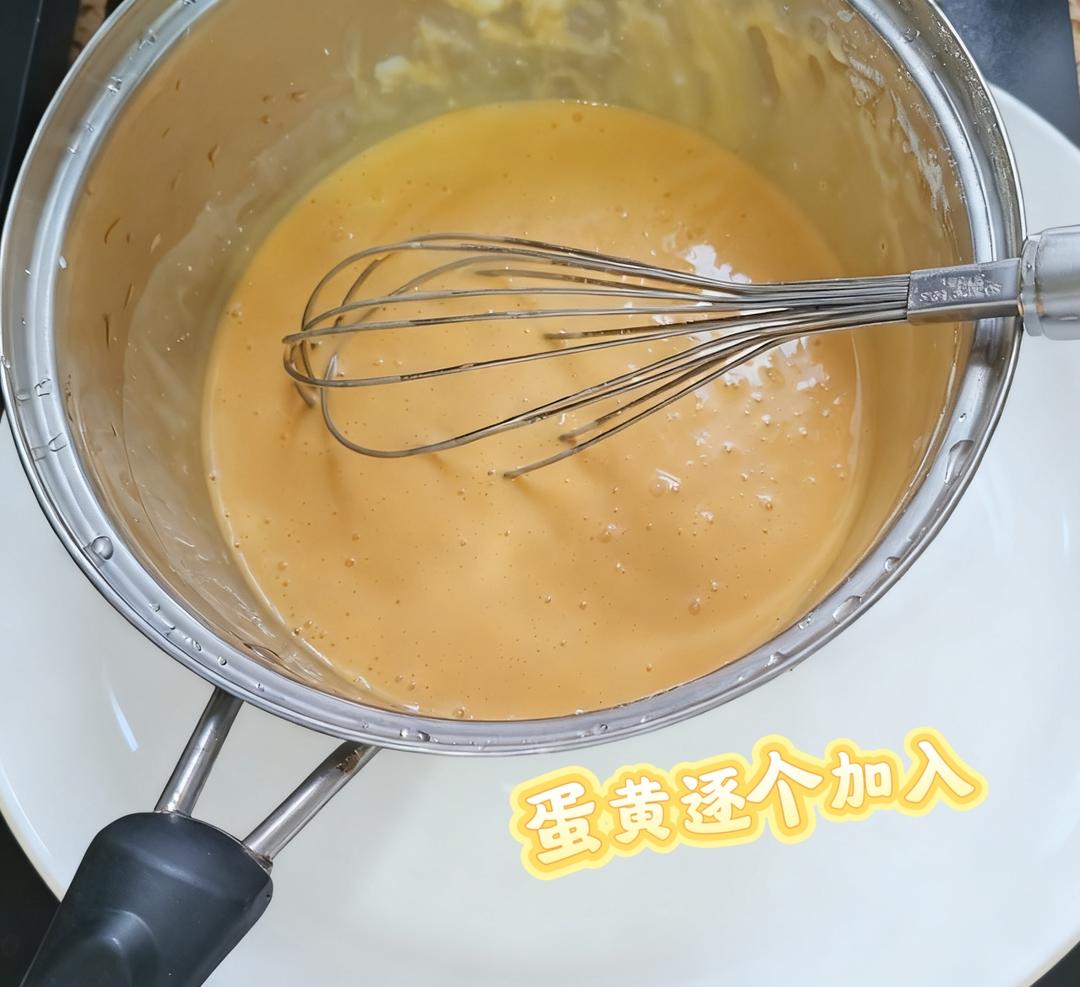
Step 4 – Add the Yolks One by One
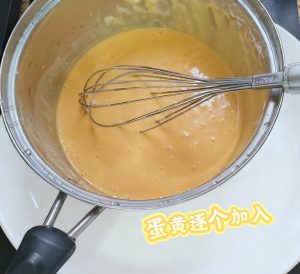
Add the yolks one at a time, mixing until smooth after each addition. If the batter smells eggy or oily, stir in 2 drops of vanilla extract. Strain the batter through a fine-mesh strainer once, cover, and chill it in the fridge – this step matters and should not be skipped.
Step 5 – Whip the Meringue
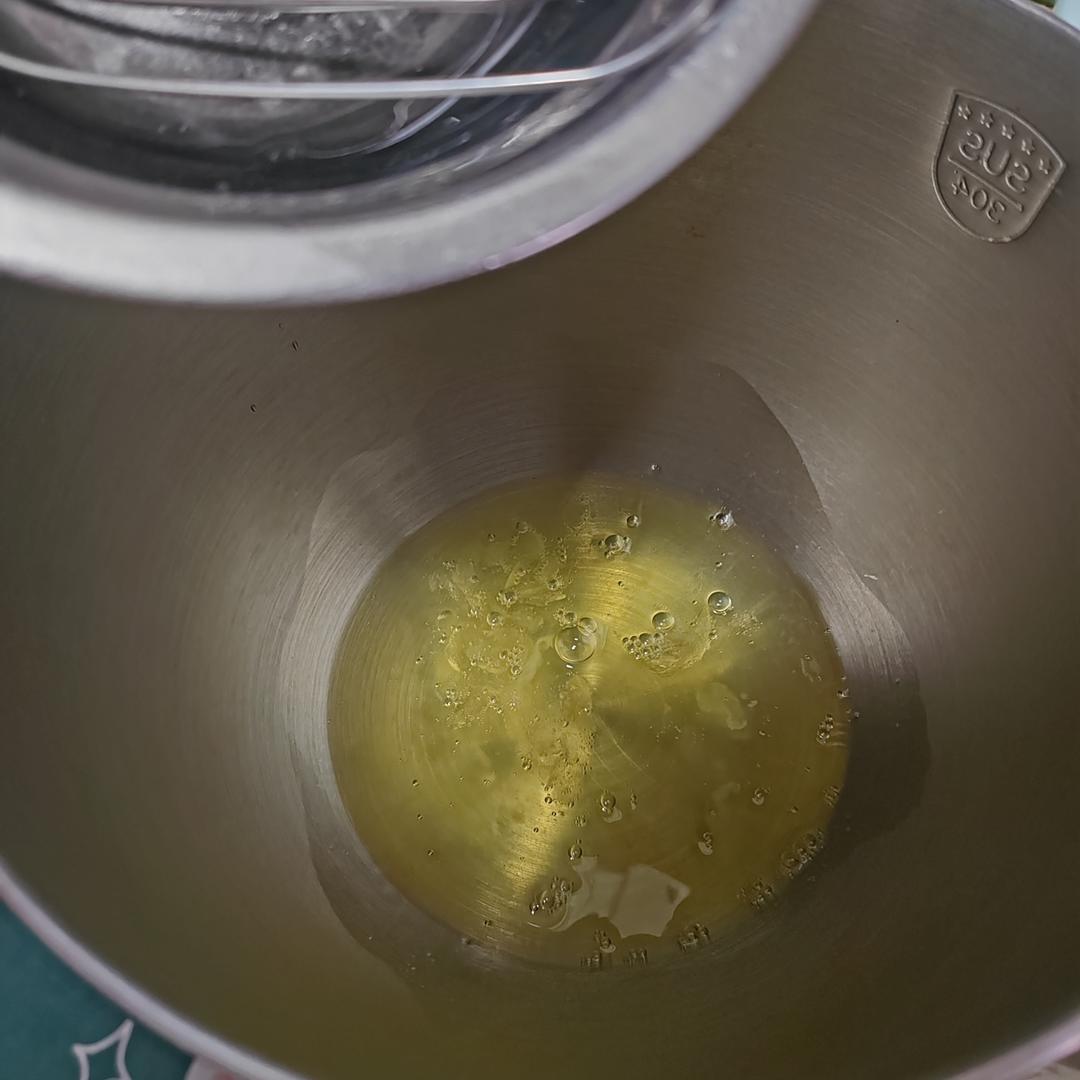
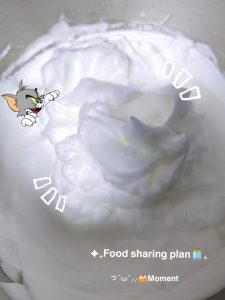
After 15 minutes the whites will have ice crystals – that is your cue to start whipping. Add 3 drops of lemon juice or vinegar and whip on high speed the whole time, adding the sugar in three additions: first when the whites are foamy with big bubbles, then when they turn white and flowing, and finally when soft peaks begin to form.
Step 6 – Whip to Stiff Peaks
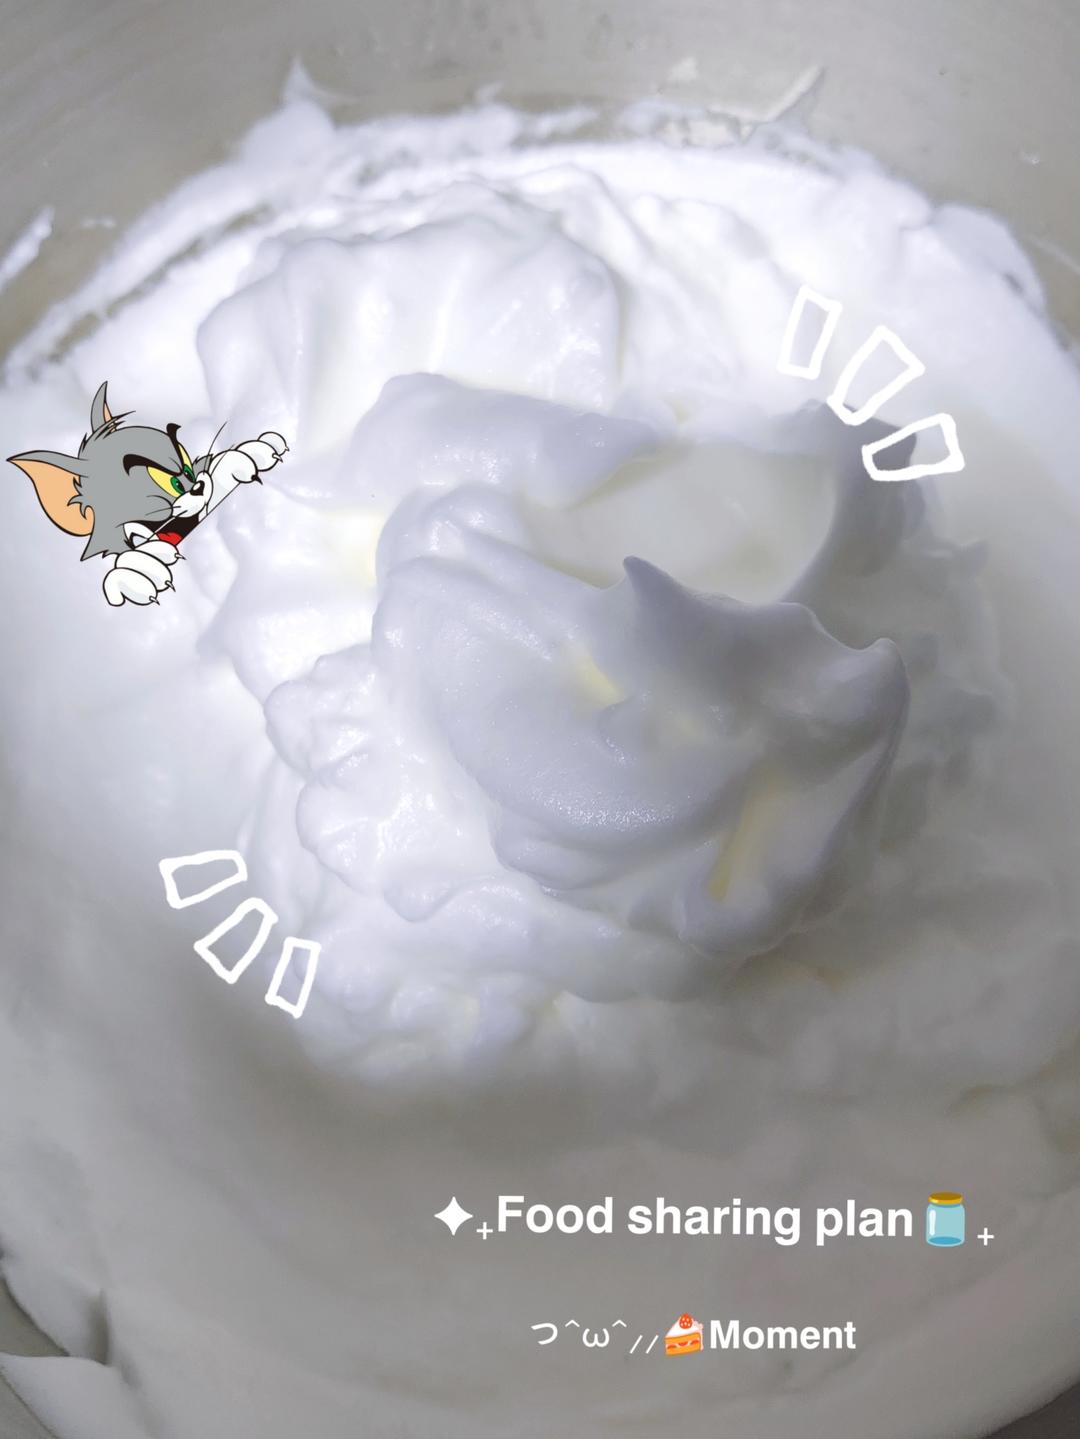
Keep whipping to stiff peaks: the meringue should hold a small upright tip, and the bowl should stay put when you turn it upside down.
Step 7 – Preheat With a Water Bath
Place a roasting pan filled halfway with hot water on the bottom rack of the oven and preheat to 180°C (350°F) for 10 minutes.
Step 8 – Fold the Batter Together
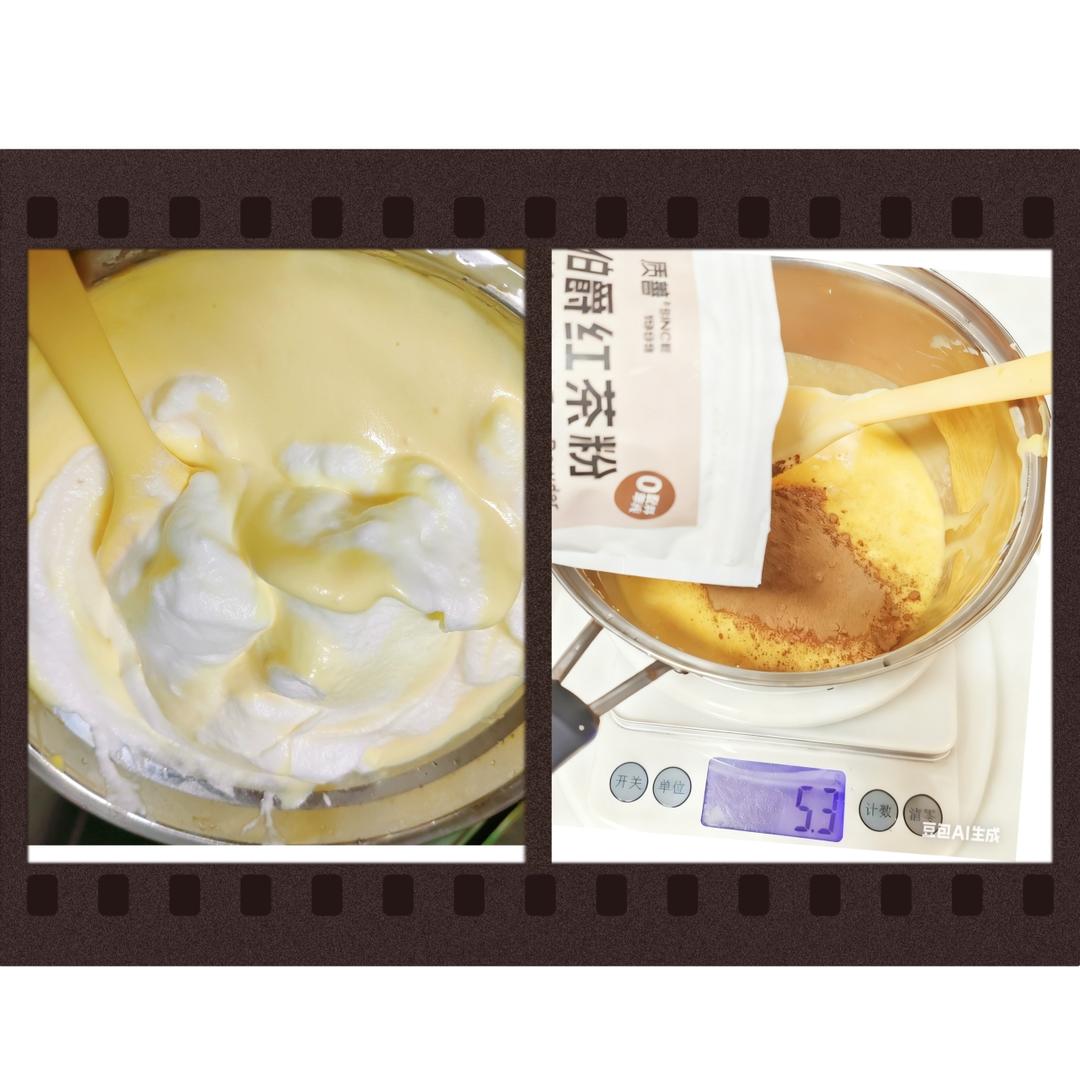
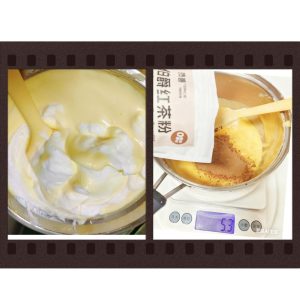
Take the chilled yolk batter out of the fridge. I made two flavors by splitting the batter and adding 5 g black tea powder to one half. Fold half the meringue into each yolk batter, in two additions per batch, gently cutting from the bottom up until no white streaks remain. If you are making a single flavor, fold the meringue in three additions instead.
Step 9 – Fill the Pans
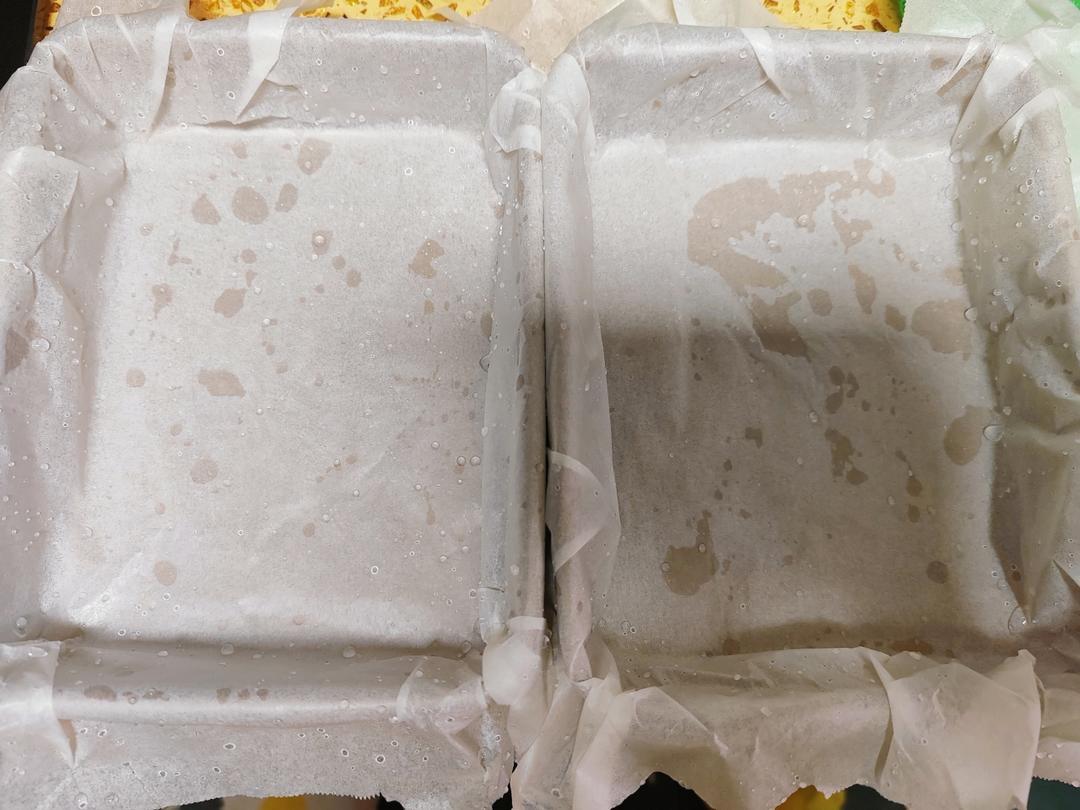
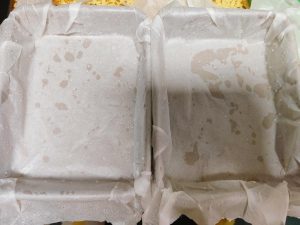
Line two 9-inch (23 cm) square pans with parchment paper. Some bakers say paper stops a chiffon from climbing, but I like the non-stick insurance. Pour in the batter to about 80% full.
Step 10 – Steam-Bake at 130°C
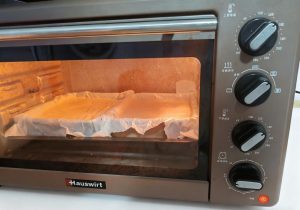
Set the pans in the oven and bake at 130°C (266°F) for 60 minutes. Resist opening the door for at least the first 40 minutes.
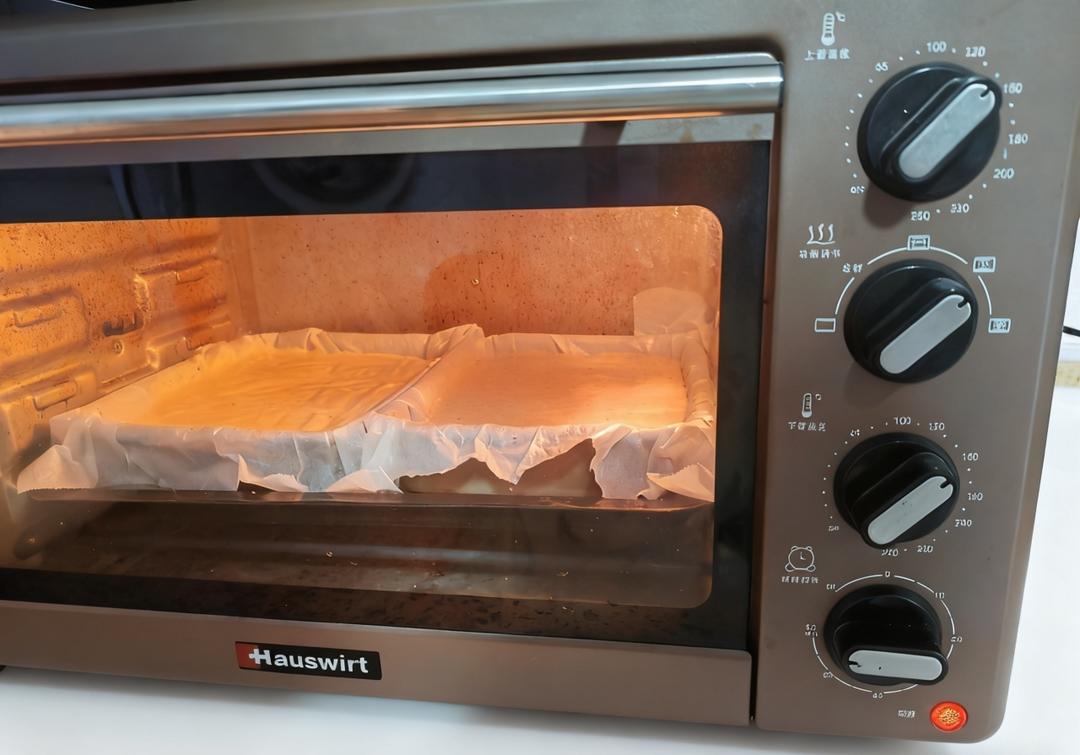
Why does steam make such a difference? The water bath keeps the air around the cake moist, which keeps the surface flexible while the interior bakes. A dry, hot oven sets the crust early, and when the expanding batter pushes against that rigid skin, it cracks. Moisture buys the cake time – the same reason a properly steamed custard is smooth while a baked one curdles.
Step 11 – Check at 50 Minutes
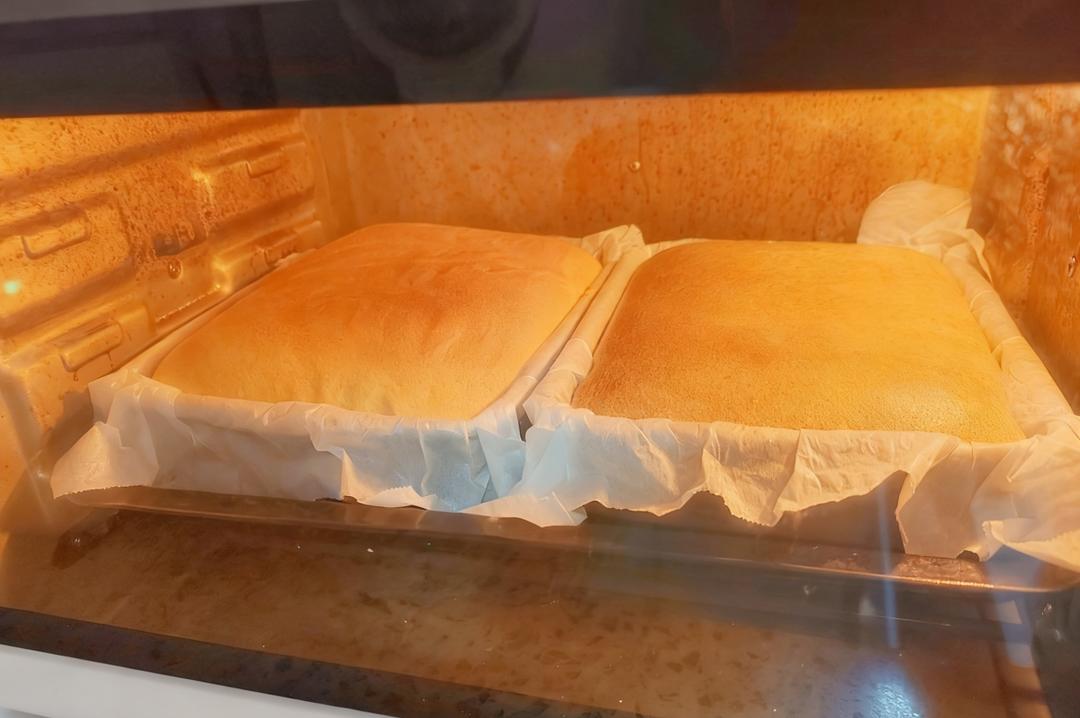
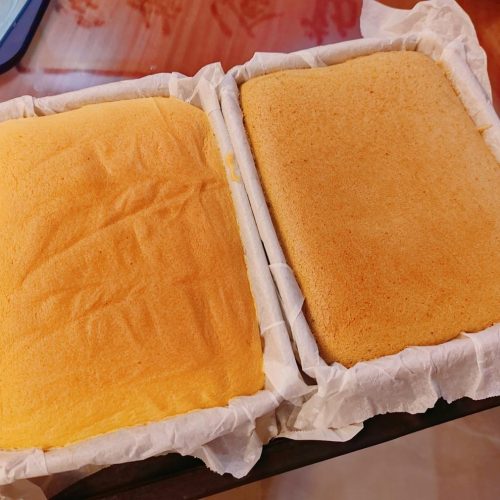
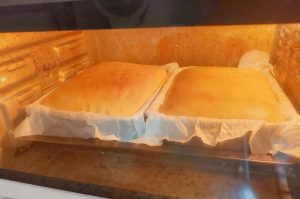
At 50 minutes the cakes should be gently risen and pale golden – proof that the low, gentle heat is doing its job.
Step 12 – Cool and Slice
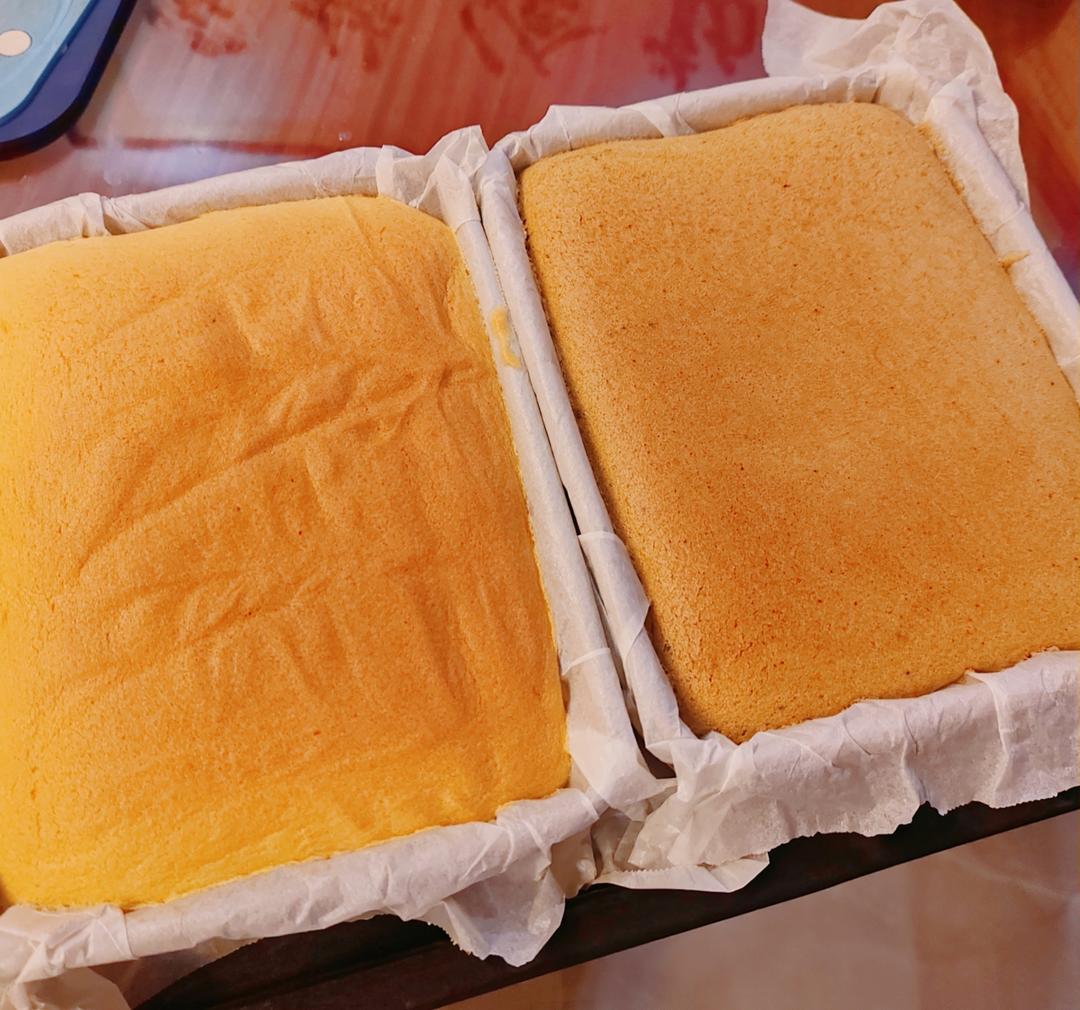
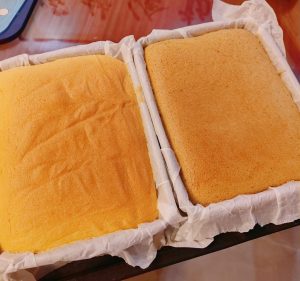
Out of the oven the cakes should show no collapse or shrinking. Cool in the pan for 10 minutes, lift them out with the paper, and cool completely on a wire rack before slicing.
Common Mistakes When Making a Steam-Baked Milk Chiffon Cake
1. The top cracks. Cause: the oven is too hot or there is no water bath. Fix: steam-bake with a half-full pan of water and hold the temperature at 130°C (266°F).
2. The cake collapses after baking. Cause: under-whipped meringue or over-folding deflated the foam. Fix: whip to stiff peaks and fold just until no streaks remain.
3. An eggy smell. Cause: un-chilled whites and a warm yolk batter. Fix: chill the whites, add a few drops of lemon juice, strain the batter, and add 2 drops of vanilla if needed.
4. A dense, rubbery crumb. Cause: yolks added too fast or the batter over-mixed. Fix: add yolks one at a time and mix gently until smooth each time.
5. The cake sticks to the pan. Cause: no lining. Fix: parchment paper is worth the “won’t climb” debate – it makes release effortless.
6. A soggy bottom. Cause: the water bath is too deep. Fix: fill the roasting pan only halfway, and use hot water so the oven temperature recovers quickly.
Variations
The author’s two-flavor trick – 5 g black tea powder folded into half the batter – is the easiest way to dress this cake up; matcha, cocoa, or pandan powder work the same way. For a different kind of soft Chinese cake, my Chinese date cake (zao gao) steams up dense and sticky-sweet, while the yellow millet sticky rice cake brings that chewy, Q texture if you want something less airy.
Frequently Asked Questions
Can I use regular milk instead of water buffalo milk? Yes – whole milk substitutes 1:1. The cake will be slightly less rich but just as tender.
Why did my cake sink in the middle? Almost always a meringue problem: the whites were under-whipped, or the batter was folded too aggressively. Whip to stiff, glossy peaks and fold gently, scraping from the bottom up.
Can I bake this without a steam function? Yes – this recipe only needs a standard oven. The roasting pan of water creates the steam; no special setting required.
Do I need a stand mixer? No. A hand mixer takes a few minutes longer but works perfectly. Whisking by hand is possible but very tiring – I would not recommend it for the meringue.
Why freeze the egg whites? Cold whites whip into a denser, more stable foam that survives folding and the slow bake, which is exactly what keeps this tall cake from collapsing.
How to Serve
This cake is a tea-time staple in my house. Serve thick slices at room temperature with a pot of jasmine tea, or warm them slightly and add a scoop of vanilla ice cream. If you are building a dessert spread, my cream puffs (nai you pao fu) and smiling sesame cookies sit happily next to it, and kids always reach for the meat floss cakes first.
Storage & Reheat
This cake is best within the first two days – unlike my fluffy coconut bread strips, which stay soft for days, a chiffon is most magical fresh. Keep leftovers wrapped tightly at room temperature for up to 2 days or refrigerated for up to 4 days; the cold crumb actually firms up into a lovely pound-cake texture. Freeze slices for up to 2 months and thaw at room temperature, or reheat gently in a low oven. Always keep raw egg whites chilled and wash anything that touches them with hot, soapy water.
Allergen Notice
This recipe contains egg, gluten (cake flour) and dairy (milk). It can be made gluten-free with a 1:1 gluten-free flour blend, and dairy-free with oat or soy milk – the texture will be slightly less rich but still soft.
Nutrition Disclaimer
Nutrition information is calculated using an ingredient database and should be considered an estimate. In cases where multiple ingredient alternatives are given, the first listed is calculated for nutrition. Garnishes and optional ingredients are not included. Nutrition information is an estimate and provided for informational purposes only.
About the Author & Recipe Development
I’m Lin, a professional chef who grew up in my family’s Sichuan restaurant and spent a decade on line jobs before writing recipes for home cooks. This cake came from a happy accident: I bought water buffalo milk for a dessert, had extra eggs, and remembered a bakery cake my aunt used to buy that tasted faintly of steamed custard. I tested the recipe six times – frozen versus room-temperature whites, strained versus unstrained batter, 130°C versus 150°C bakes – and the version here is the one that never cracked and never sank. The two-flavor black tea split is my favorite way to make a single batch disappear twice as fast.
Authoritative References
For safe handling of raw egg whites, I follow the USDA egg safety guidance, which recommends keeping eggs refrigerated and cooking dishes that contain eggs to a safe temperature. The science of how the cornstarch in this batter gelatinizes and sets the soft crumb is explained in this overview of starch gelatinization from ScienceDirect.
Steam-Baked Milk Chiffon Cake (Zheng Kao Niu Nai Dan Gao)

Equipment
- Two 9-inch (23 cm) Square Cake Pans
- Stand Mixer or Hand Mixer
- Roasting Pan for the Water Bath
- Fine-mesh strainer
- Parchment paper
Ingredients
For the Cake
- 6 large eggs chilled overnight, separated
- 3 tbsp corn oil 40 g
- 0.67 cup water buffalo milk 150 ml, or whole milk
- 0.75 cup cake flour (low-gluten flour) 100 g, plus 1 tbsp
- 0.25 cup cornstarch 30 g
- 0.33 cup caster sugar 80 g, plus 1 tbsp
- 3 drops lemon juice or white vinegar for the meringue
Instructions
- Separate the chilled eggs over two clean, dry bowls. Freeze the whites for 15 minutes.
- Weigh the milk and corn oil into a bowl and whisk until the mixture emulsifies and looks creamy.

- Add the cornstarch and cake flour and whisk until no dry streaks remain.
- Add the yolks one at a time, mixing until smooth. Add 2 drops of vanilla if the batter smells eggy. Strain once, cover and chill.

- Add 3 drops of lemon juice to the frozen whites and whip on high speed, adding the sugar in three additions.
- Whip to stiff peaks – a small upright tip that does not fall when the bowl is inverted.

- Place a roasting pan half full of hot water on the bottom rack and preheat the oven to 180°C (350°F) for 10 minutes.
- Fold the meringue into the chilled yolk batter in two additions (or three for a single flavor). Add 5 g black tea powder to half the batter for a two-flavor version.
- Line two 9-inch square pans with parchment and pour in the batter to about 80% full.

- Bake at 130°C (266°F) for 60 minutes. Do not open the door for the first 40 minutes.

- At 50 minutes the cakes should be gently risen and pale golden.

- Remove from the oven – no collapse or shrinking. Cool in the pan 10 minutes, lift out with the paper, and cool completely on a rack.







Leave a Reply