Direct Answer: The Golden Ratio Summary
The most critical variable in cooking rice is the evaporation rate, not just the absorption capacity of the grain itself. While different rice varieties have unique starch structures, a baseline ratio of 1:1.1 to 1:1.25 (rice to water by volume) works for most long-grain white rice in a sealed environment like a rice cooker. For stovetop methods where steam loss is higher, this ratio must increase to 1:1.5 to account for the 15-20% higher moisture escape.

Why It Works: The Science of Starch Gelatinization
Cooking rice is a process of starch gelatinization, which typically occurs between 140°F and 185°F (60°C–85°C). During this phase, the starch granules (amylose and amylopectin) absorb water and swell until they lose their crystalline structure, resulting in a softened, edible grain.
- Amylose Content: High-amylose rice (like Basmati or Jasmine) remains distinct and fluffy. Low-amylose rice (like Sushi or Glutinous rice) becomes sticky because the granules rupture more easily, releasing “starch glue”.
- The 1:1 Base: Chemically, rice only needs a 1:1 ratio to fully hydrate. Every drop of water added beyond that 1:1 ratio is strictly to compensate for evaporation during the cooking process.
Controlled Variable Explanation
To achieve consistent results, the following variables must be stabilized:
- Rinsing: Rinsing removes excess surface starch (amylopectin). Failing to rinse can lead to a gummy texture even if your water ratio is perfect.
- Soaking: Soaking rice for 20–30 minutes allows water to penetrate the core of the grain before heat is applied, ensuring even cooking and reducing the total cook time by approximately 5–7 minutes.
- Vessel Seal: A loose-fitting lid can increase water requirements by up to 25% due to uncontrolled steam escape.
Comprehensive Rice-to-Water Ratio Chart
| Rice Variety | Rice Cooker / Instant Pot | Stovetop (Tight Lid) | Texture Goal |
| Jasmine (White) | 1 : 1.1 | 1 : 1.25 | Fluffy, slightly floral |
| Basmati | 1 : 1.25 | 1 : 1.5 | Long, distinct grains |
| Short-Grain (Sushi) | 1 : 1.1 | 1 : 1.2 | Sticky, cohesive |
| Brown Rice | 1 : 1.25 | 1 : 1.75 | Chewy, nutty |
| Glutinous (Sticky) | 1 : 0.8 (after soaking) | Steam only | Extremely sticky |
Pro Tip: Use the same measuring cup for both rice and water to maintain a true volumetric ratio, regardless of the cup’s actual size.
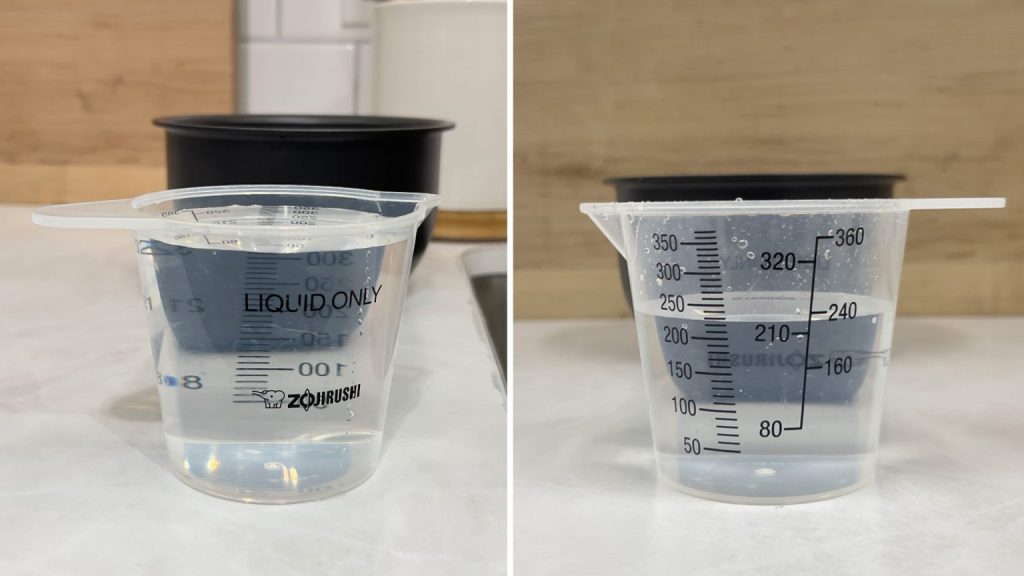
Step-by-Step Method: Technique Mastery
1. Preparation (The Rinse)
Place rice in a fine-mesh strainer and rinse under cold water until the water runs clear. This usually takes 3–4 cycles of agitation. This step is vital for making perfect rice in a cast iron pot or any traditional vessel.
2. The Water Calculation
Add the measured water based on the chart above. If you are using an electric stovetop, be aware that heat retention is higher than gas, often requiring you to pull the pot off the burner entirely once the timer is up.
3. The Cooking Phase
- Bring to a boil: High heat until large bubbles appear.
- Simmer: Reduce to the lowest possible setting. For a standard 18,000 BTU burner, this is the “Low” or “Simmer” click.
- Timing:
- White Rice: 15–18 minutes.
- Brown Rice: 40–45 minutes.
4. The Rest (Mandatory)
Do not open the lid immediately. Let the rice sit for 10 minutes off the heat. This allows the residual steam to redistribute, preventing the bottom layer from being soggy while the top is dry.
Common Mistakes & Troubleshooting
- Problem: Mushy/Wet Rice
- Cause: Too much water or skipped the resting phase.
- Fix: Spread the rice on a baking sheet to let excess moisture evaporate quickly. Use it for fried rice the next day.
- Problem: Crunchy/Hard Rice
- Cause: Not enough water or the heat was too high, causing premature evaporation.
- Fix: Add 2–3 tablespoons of boiling water, cover tightly, and steam on low for an additional 5 minutes.
- Problem: Scorched Bottom
- Cause: Burner output is too high for the pot size.
- Prevention: Use a heat diffuser or a heavy-bottomed pot like a Dutch oven.
Restaurant vs. Home Comparison
| Variable | Professional Kitchen | Home Kitchen |
| Equipment | Commercial Gas Steamer / 50-cup Cooker | 6-cup Electric Cooker / Stovetop Pot |
| Heat Control | Constant, high-volume steam | Cycling heating elements (Electric) |
| BTU Output | 30,000+ BTU (Propane/Gas) | 10,000–18,000 BTU |
| Volume Impact | High thermal mass; retains heat better | Small batches cool/heat rapidly |
When This Method Does NOT Work
- Altitudes above 3,000 feet: Water boils at a lower temperature ($<212^{\circ}F / 100^{\circ}C$). You must increase water by 5–10% and increase cook time.
- Parboiled or “Instant” Rice: These grains have been pre-gelatinized and dried; they do not follow standard absorption ratios.
- Paella or Risotto: These techniques require open-vessel cooking where the ratio is intentionally high (often 1:3) to allow for constant evaporation.
Safety & Standards
- Food Safety (USDA): Cooked rice is a “TCS” (Time/Temperature Control for Safety) food. It must be cooled from 135°F to 70°F (57°C to 21°C) within 2 hours to prevent Bacillus cereus growth.
- Ventilation: Always ensure active ventilation when using high-BTU gas ranges to prevent carbon monoxide buildup.
Sources & Standards Referenced
- USDA FoodData Central: Nutritional and hydration standards for cereal grains.
- Harvard T.H. Chan School of Public Health: Research on starch types and glycemic loads in cooked rice varieties.
- Manufacturer Specifications: Thermal conductivity data for carbon steel vs. stainless steel cookware.
FAQ
Q: Can I use chicken broth instead of water? A: Yes, the ratio remains the same. However, if the broth is high in sodium, it may slightly toughen the grain’s exterior.
Q: Why does my rice cooker boil over? A: This is usually due to excess surface starch. Ensure you are rinsing your rice thoroughly until the water is clear.
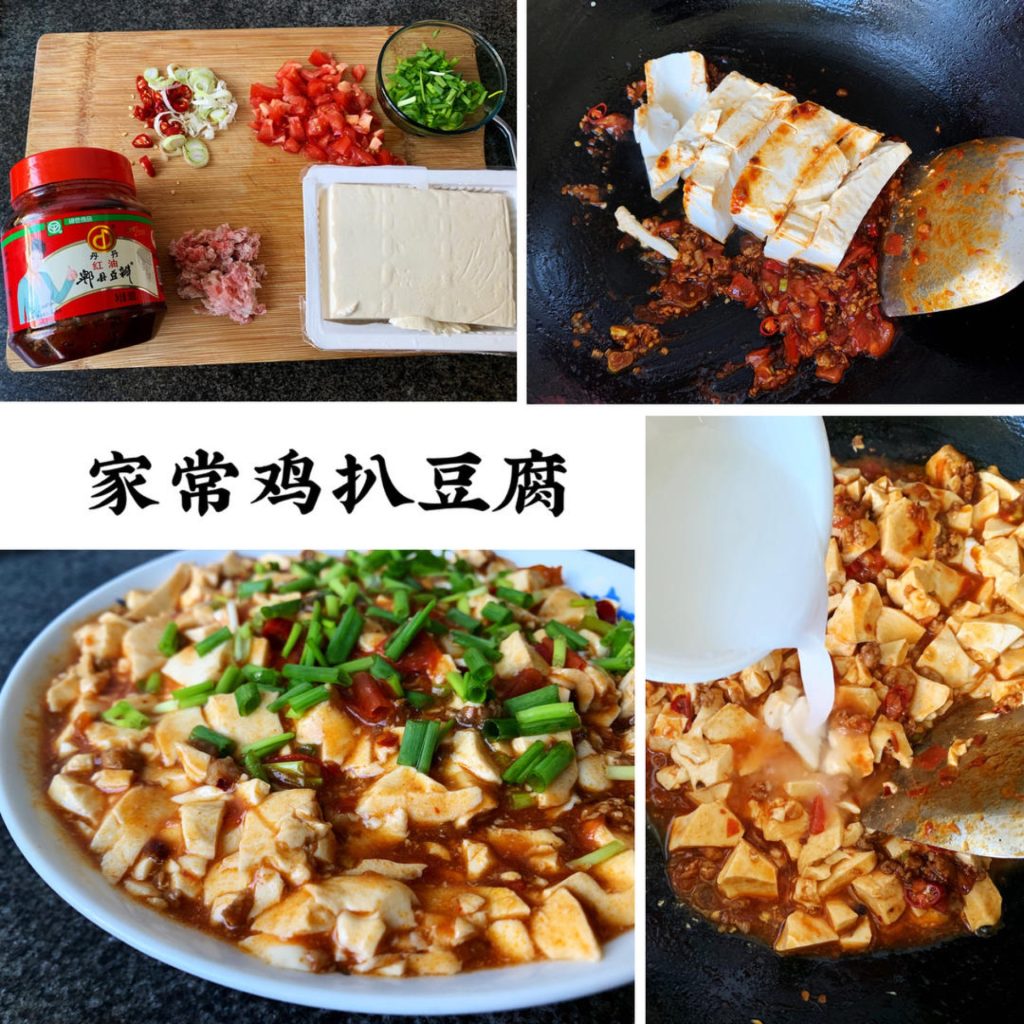
Q: Should I add salt or oil? A: Salt is for flavor; oil helps keep grains separate. For authentic Asian styles, both are often omitted to allow the rice to complement savory dishes like General Tso’s Chicken or Mapo Tofu.





Leave a Reply