The name might sound a little, well… brutal when you translate it literally. Oyakodon (親子丼) means “Parent and Child Bowl,” referring to the chicken (the parent) and the egg (the child) being cooked together. Despite the slightly dark humor in the name, this is arguably one of the most comforting, soul-warming dishes in Japanese cuisine.
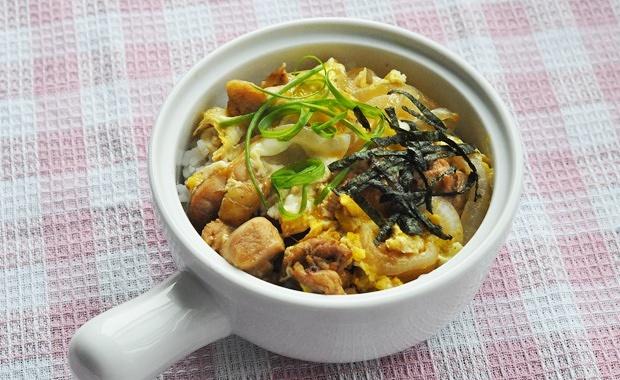
If you enjoy the convenience of one-bowl meals like my Chaliapin Steak Don (Shaliapin Steak Rice Bowl) or the savory sweetness of Teriyaki Chicken Rice Bowl, you are going to fall in love with this. It’s fast, it’s protein-packed, and the interplay between the savory sauce and the sweet onions is pure magic.
Why This Recipe
I have eaten Oyakodon in Tokyo department store basements and high-end restaurants, but the version I am sharing today uses a specific technique that bridges my Chinese culinary training with Japanese home cooking.
Most standard recipes boil raw chicken directly in the broth. However, in this recipe, we pan-sear the chicken skin first without oil. This renders out the excess fat and creates a golden, flavorful crust (Maillard reaction) before it ever touches the sauce. It adds a depth of flavor and texture that boiled chicken simply cannot achieve.
What Is Oyakodon?
Oyakodon is a type of donburi (Japanese rice bowl dish). It originated in the late 19th century in Tokyo. It consists of chicken, sliced onions, and eggs simmered in a soy-sauce-based broth, then poured over hot steamed rice.
While it is distinctively Japanese, it shares DNA with other comfort foods we love. For instance, Katsudon uses a similar egg-binding technique but with a breaded cutlet like Tonkatsu (Japanese Fried Pork Cutlet). If you are looking for a similar silky texture but with Chinese flavors, you might also appreciate Steamed Egg with Minced Pork, which also highlights the comforting potential of eggs.
About the Author & Recipe Development
I’m Lin, a chef born in Sichuan with over a decade of professional kitchen experience. While my roots are in spicy, complex Sichuan flavors, my culinary journey has taken me through various Asian cuisines. I tested this recipe in my home kitchen using a standard 10-inch skillet to ensure it works for you. I found that the secret to restaurant-quality Oyakodon isn’t just the sauce—it’s the texture of the egg. By adding the egg in two batches (a technique pro chefs use), we achieve that perfect contrast between fully cooked fluffy egg and the creamy, semi-set custard that binds the rice together.
Why This Recipe Works
- Texture Contrast: Pan-searing the chicken first prevents the meat from becoming rubbery and adds a smoky depth.
- Two-Stage Egg Pour: Adding half the egg early and the other half at the end ensures a creamy, silky finish rather than a dry omelet.
- No Special Dashi Required: This specific recipe relies on the chicken’s own rendered fat and a precise ratio of water and seasonings to create a clean, rich broth without needing instant dashi powder.
Key Ingredients & Substitutions
- Chicken Thighs: Boneless, skin-on thighs are crucial here. The skin provides the fat for searing, and thighs remain juicy even after simmering.
- Onion: Yellow or white onions work best. They provide sweetness that balances the saltiness.
- Eggs: Use fresh, large eggs. Since they are served semi-soft, quality matters.
- Sake: A Japanese rice wine that removes gamey odors and adds sweetness. If you cannot find Sake, you can substitute it with Shaoxing Wine in a pinch, though the flavor profile will shift slightly towards Chinese cooking.
- Soy Sauce: Use a standard Japanese soy sauce or a high-quality Light Soy Sauce to maintain the right salinity without overpowering the color.
- Rice: Short-grain Japanese rice is traditional, but this works perfectly well with jasmine rice. For tips on getting the perfect grain, see my guide on How to Cook Perfect Rice in a Cast Iron Pot.
Ingredients
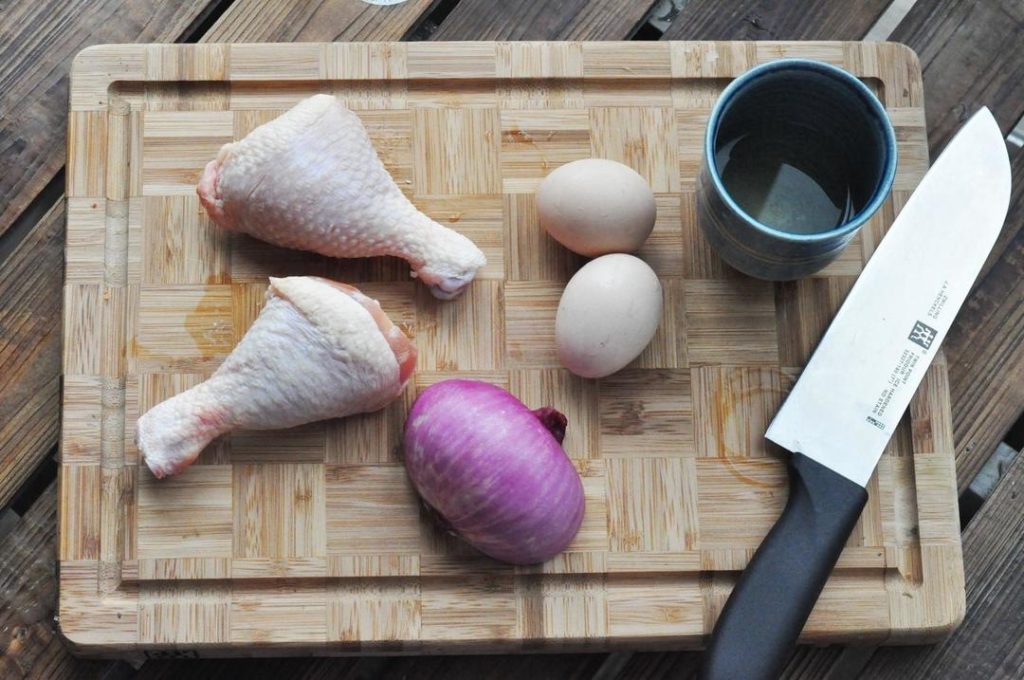
- 2 Chicken thighs (boneless, skin-on preferred)
- 1/2 Onion (medium size)
- 2 Large Eggs
- Sake (as needed for marinade/sauce)
- The Sauce (Mixed together):
- 1/2 cup Water (approx. 120ml)
- 1/2 tsp Salt
- 2 tbsp Soy Sauce
- 1 tbsp Cooking wine (Mirin is best, or Shaoxing wine)
- 1 tbsp Sugar
- 1 tbsp Sake
- Garnish: Chopped scallions (green onions) and shredded Nori (seaweed).
Recipe Notes Before You Start
- The Pan: A small 8-inch frying pan is traditional for single servings, but a 10-inch skillet works for this batch (serves 2). You must have a lid for the pan.
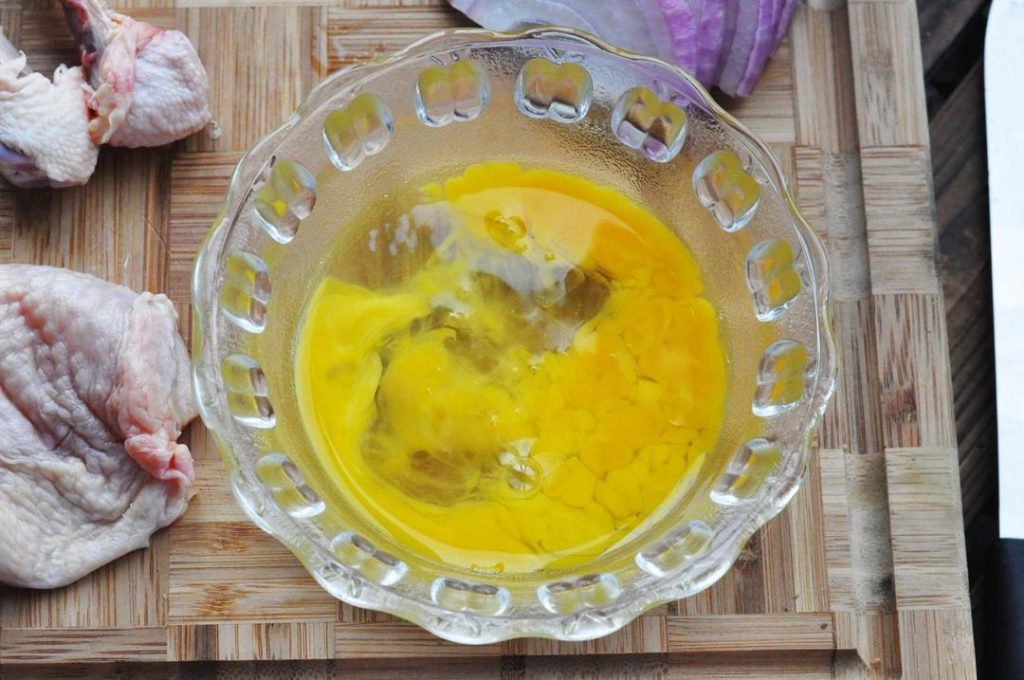
- Egg Beating: Do not whisk the eggs into a uniform yellow liquid. You want to see streaks of white and yolk. This creates a beautiful marble effect and varying textures in the final dish.
- Rice: Make sure your rice is hot. Placing the savory chicken and egg mixture over cold rice ruins the experience.
Mise en Place / Prep
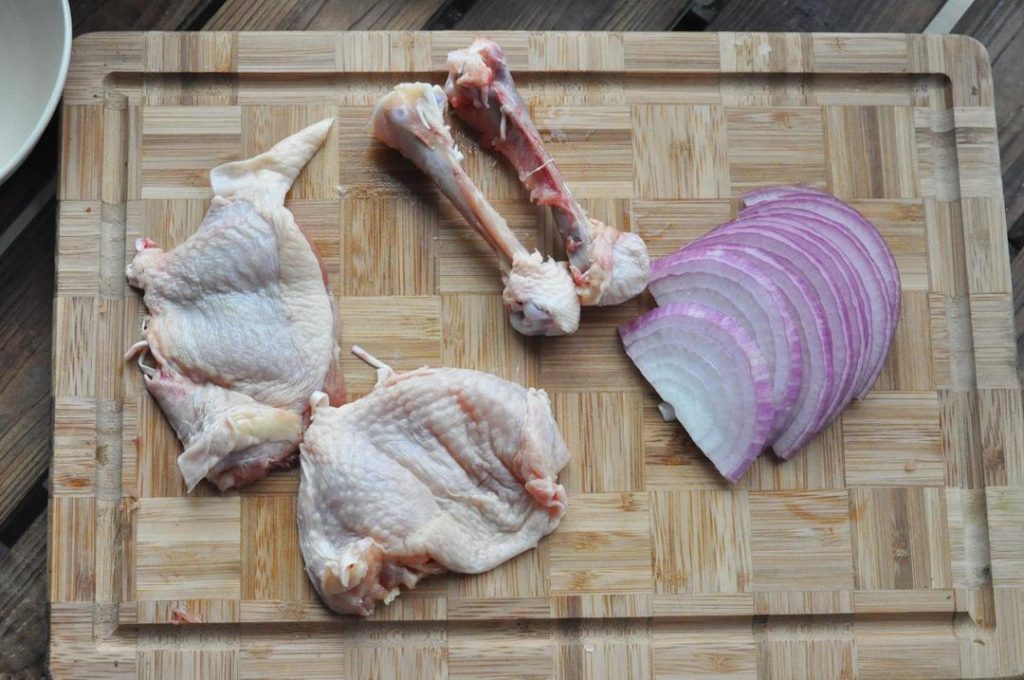
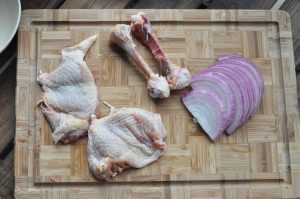
- Prep the Chicken: Debone the chicken thighs if necessary. Do not cut them into bite-sized pieces yet; we will sear them as whole steaks first.
- Slice Onion: Slice the onion into thin strips (about 1/4 inch thick).
- Prep the Eggs: Crack the eggs into a bowl. Lightly break the yolks and give them two or three stirs. Remember, do not over-beat!
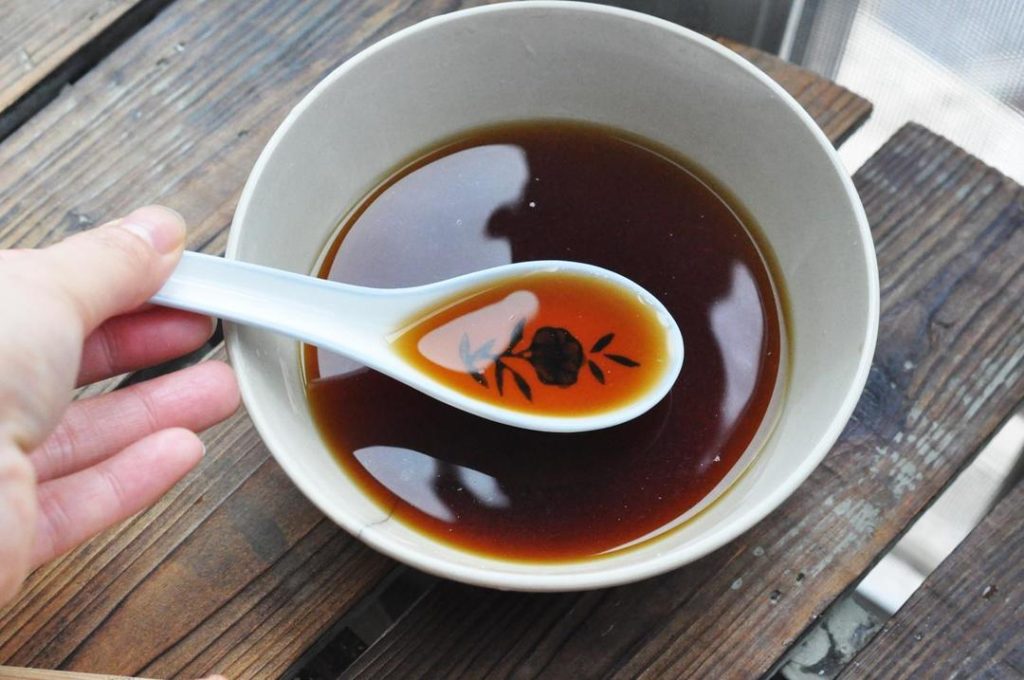
- Make the Sauce: In a small bowl, combine the water, salt, soy sauce, cooking wine, sugar, and sake. Stir until the sugar dissolves.
How to Make Oyakodon
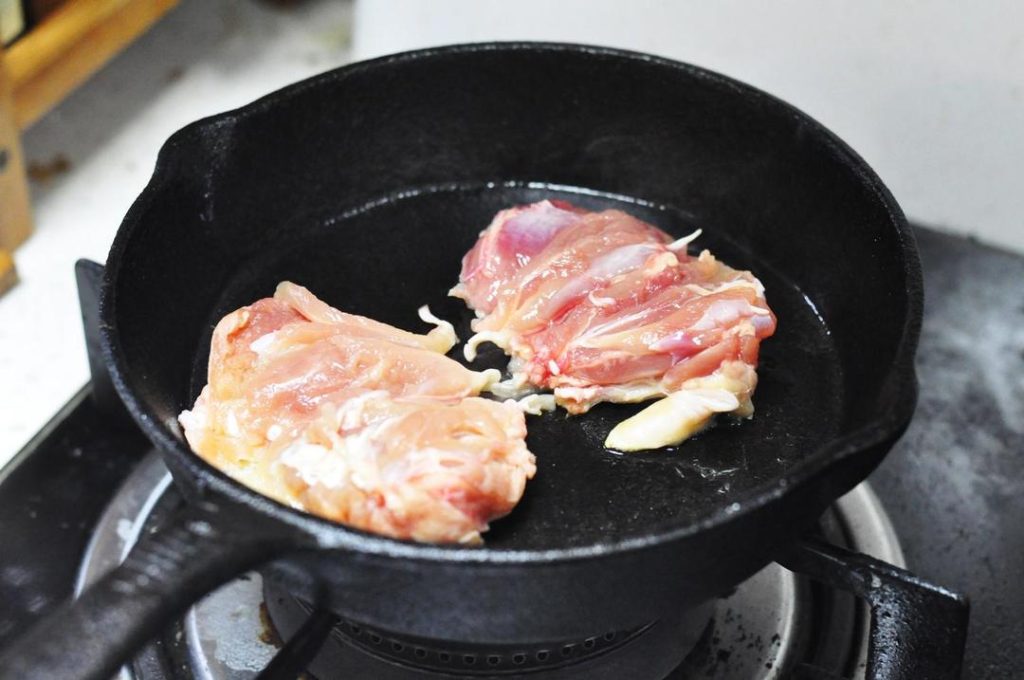
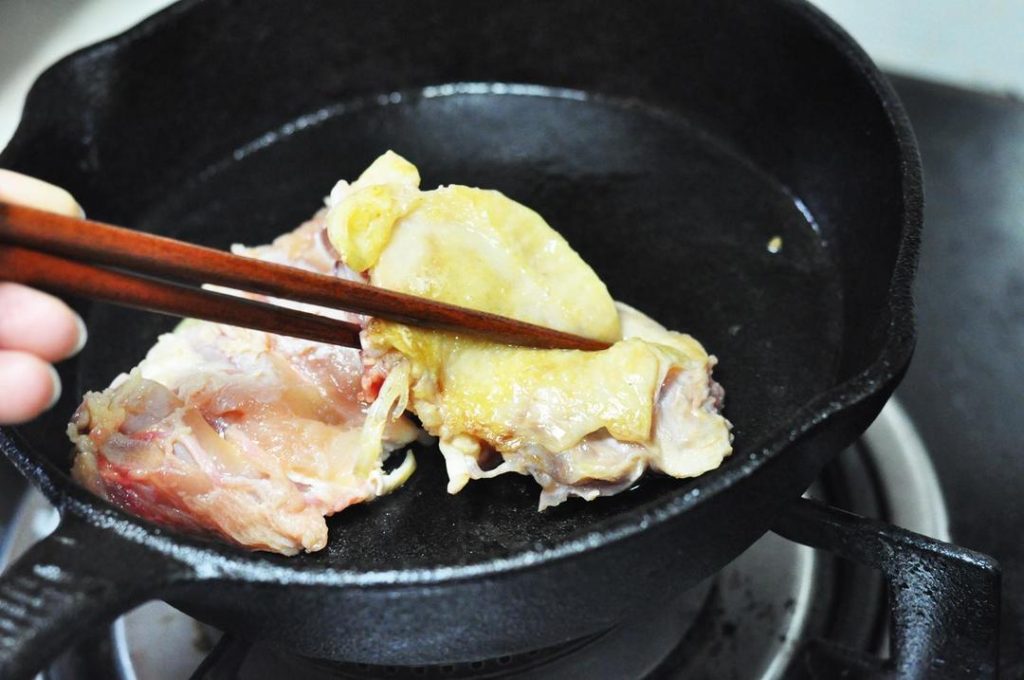
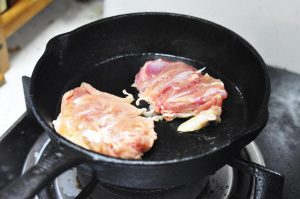
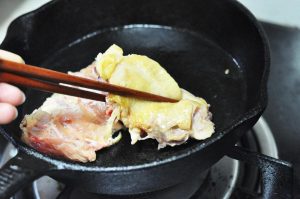
- Sear the Chicken: Place a cold frying pan over medium heat. Place the chicken thighs in the pan, skin-side down. Do not add oil. As the pan heats, the fat will render out from the skin. Cook until the skin is golden brown and crispy, and excess grease has been released.
- Cut the Chicken: Remove the chicken from the pan (it will not be fully cooked yet, and that’s okay). Cut the chicken into 2cm (approx 1 inch) bite-sized pieces.
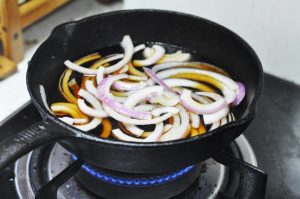
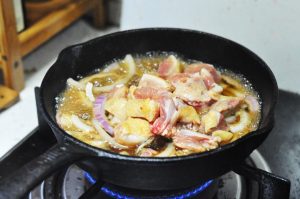
- Simmer the Onions: Wipe the excess oil from the pan with a paper towel (leave a thin film for flavor if you like). Pour in the prepared sauce mixture and add the sliced onions. Bring to a boil over medium heat.
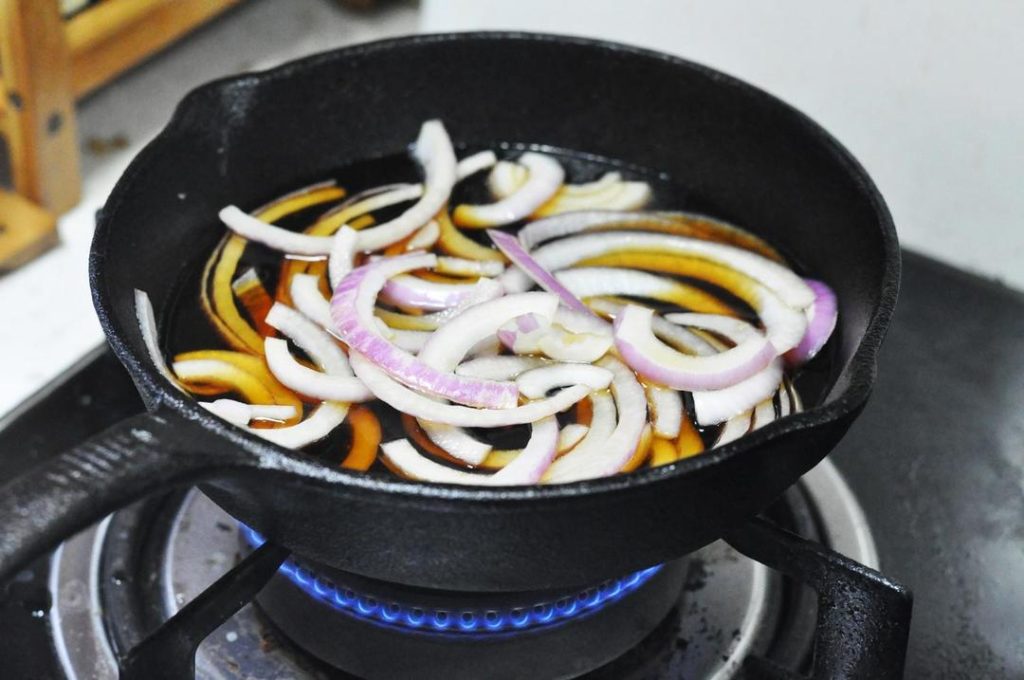
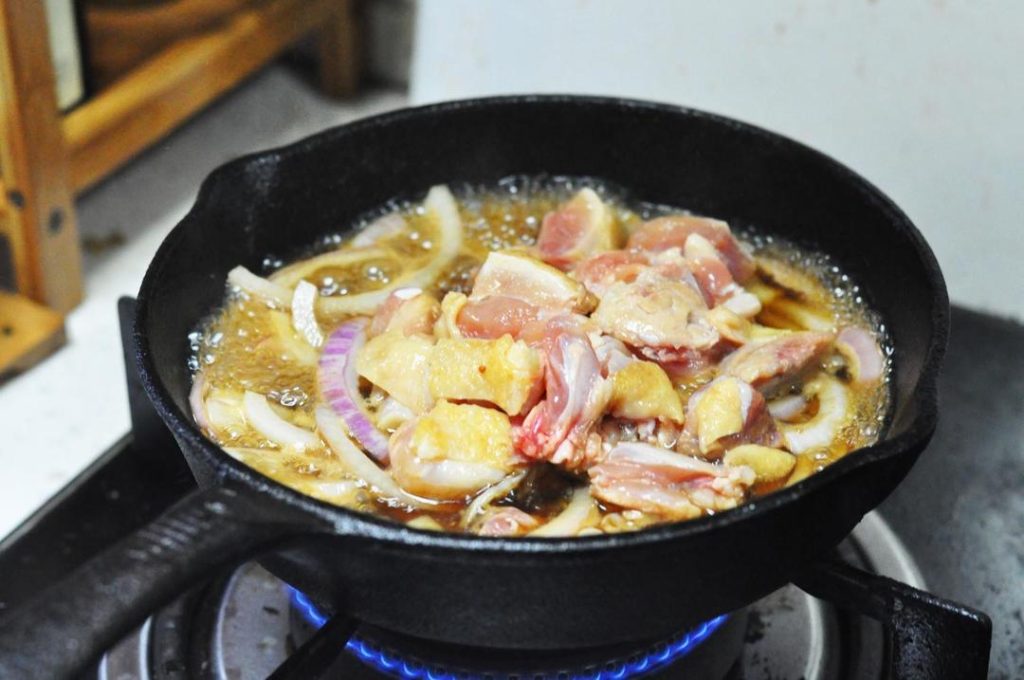
- Cook the Chicken: Add the chicken pieces to the boiling sauce. Simmer until the chicken is cooked through.
- Chef’s Tip: Use a spoon or skimmer to skim off any white foam/scum that floats to the surface to ensure a clean-tasting broth.
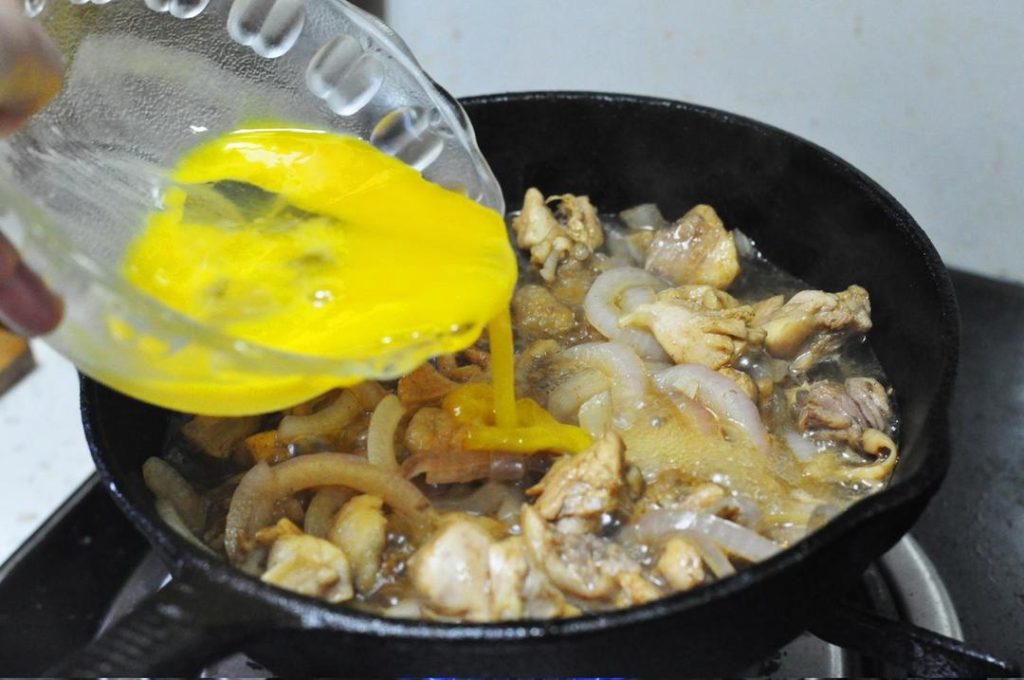
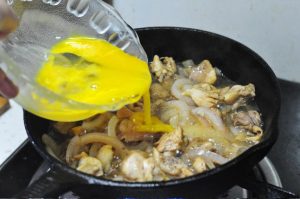
- First Egg Pour: Lower the heat to a simmer. Pour half of the egg mixture over the chicken and onions in a circular motion. Cover the pan with a lid and cook for about 30 seconds. This creates a stable base.
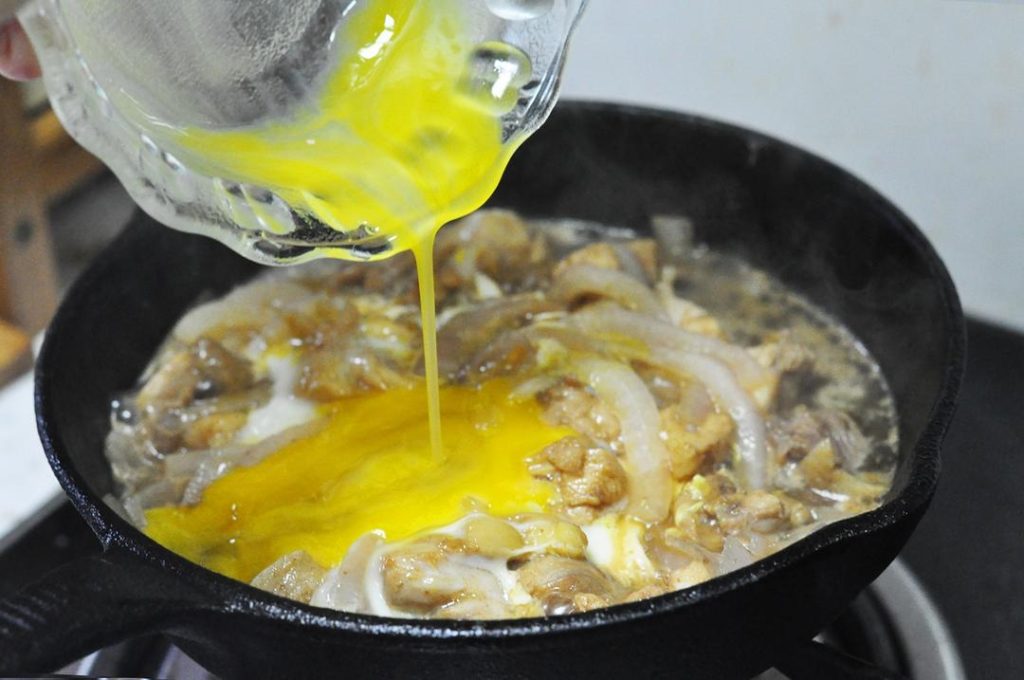
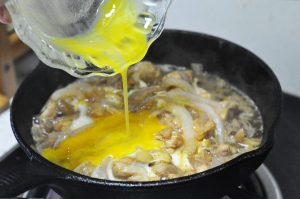
- Second Egg Pour: Uncover the pan. Pour the remaining egg liquid over the top. Cover again and remove from heat immediately (or turn heat to the lowest setting). Let it sit for 30 seconds to 1 minute. The residual heat will cook the egg to a perfect soft, custard-like consistency.
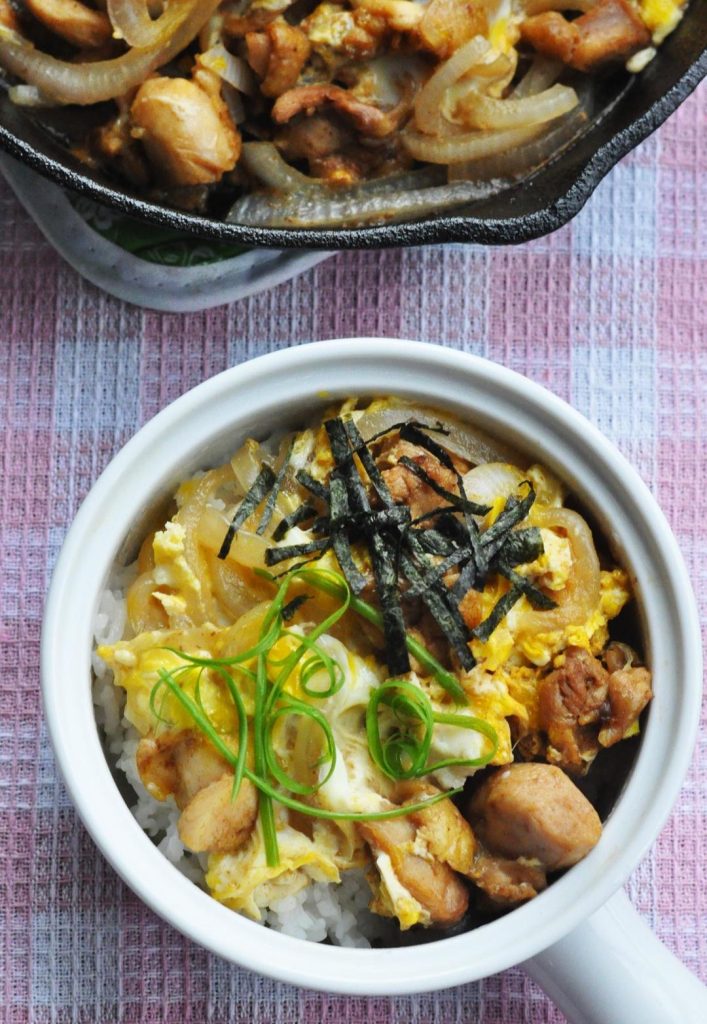
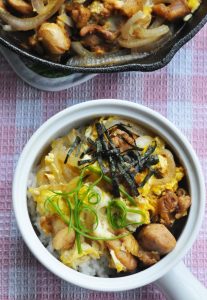
- Serve: Scoop the rice into deep bowls. Slide the chicken and egg mixture on top of the hot rice. Garnish with chopped scallions and shredded nori. If you want a bit of spice, a sprinkle of Shichimi Togarashi (Japanese seven-spice) is excellent here.
Common Mistakes When Making Oyakodon
- Overcooking the Eggs: The hallmark of a good Oyakodon is the “runny” or creamy egg texture. If you boil it until the eggs are rubbery, you lose the sauce-like quality that flavors the rice.
- Over-beating the Eggs: If the egg mixture is uniform yellow, the texture becomes dense. You want distinct bites of fluffy white and rich yolk.
- Crowding the Pan: If making multiple servings, try not to stack the chicken. Everything should be in a single layer so the egg can bind it all together.
How to Store & Reheat
- Storage: Oyakodon is best eaten fresh. However, you can store the chicken/egg topping separate from the rice in an airtight container in the refrigerator for up to 2 days.
- Reheating: Reheat gently in a pan or microwave. Be aware that reheating will fully cook the eggs, so you will lose that silky texture. Do not freeze this dish, as the texture of the cooked eggs will become rubbery and watery upon thawing.
Food Safety & Preparation
- Egg Safety: This recipe traditionally serves eggs semi-cooked (soft set). According to the USDA Food Safety and Inspection Service, young children, the elderly, and persons with weakened immune systems should avoid eating raw or undercooked eggs. You can use pasteurized eggs to reduce risk, or cook the eggs until firm in step 6 if you prefer.
- Chicken Handling: Ensure the chicken reaches an internal temperature of 165°F (74°C) during step 4 before adding the eggs.
Nutrition Information (Estimate)
- Calories: ~650 kcal per serving
- Protein: 35g
- Carbohydrates: 85g
- Fat: 18g
- Sodium: 1200mg
- Disclaimer: Nutrition information is calculated using an ingredient database and should be considered an estimate. Garnishes and optional ingredients are not included. Sodium levels depend heavily on the soy sauce brand used.
Similar Recipes You Might Like
If you enjoyed this Japanese classic, you might want to explore other savory, protein-rich dishes. The way we gently cook the chicken here is reminiscent of Scallion Oil Chicken (Hand Shredded Chicken), which also prioritizes tender meat. For another egg-centric dish that pairs wonderfully with rice, try our Tomato and Egg Stir-fry.
Authoritative References
- Food Safety: For more on egg safety and handling, refer to the USDA Food Safety and Inspection Service.
- Ingredient Science: To understand the Maillard reaction (the browning of the chicken skin), you can read this explanation by Science of Cooking.
Oyakodon (Japanese Chicken and Egg Rice Bowl)

Equipment
- Frying Pan with Lid 10-inch skillet recommended
Ingredients
Main Ingredients
- 2 chicken thighs boneless, skin-on
- 0.5 onion sliced
- 2 eggs large, lightly beaten
- Steamed Rice for serving
Sauce
- 0.5 cup water
- 0.5 tsp salt
- 2 tbsp soy sauce
- 1 tbsp cooking wine Mirin or Shaoxing wine
- 1 tbsp sugar
- 1 tbsp sake
Garnish
- scallions chopped
- nori shredded
Instructions
- Debone the chicken thighs. Slice the onion into strips. Lightly beat the eggs (retain streaks of white and yolk). Mix the sauce ingredients in a bowl.

- In a dry frying pan (no oil) over medium heat, sear the chicken thighs skin-side down until the skin is golden brown and fat is rendered.
- Remove chicken and cut into 1-inch (2cm) pieces. Wipe excess oil from the pan.
- Pour the sauce mixture into the pan and add the sliced onions. Bring to a boil.
- Add the chicken pieces to the pan. Cook until the chicken is fully cooked through. Skim off any foam that rises to the surface.
- Lower heat. Pour in HALF of the egg mixture. Cover with lid and cook for 30 seconds.
- Pour in the REMAINING egg mixture. Cover and turn off the heat (or use lowest heat). Let sit for 30-60 seconds until the egg is soft-set (half-cooked texture).
- Serve immediately over a bowl of hot rice. Garnish with chopped scallions and shredded nori.



Leave a Reply