There is a moment in every oven-roasted pork belly cook when the fat starts to render and the kitchen fills with a smell that makes everyone wander into the kitchen asking what is for dinner. This home cook’s recipe is the oven version of the BBQ-beloved pork belly: thick slices marinated in soy, cumin, and pepper, roasted over a bed of potatoes and carrots until the juices drip down and season everything below. It is the kind of low-effort, high-reward roast that makes a regular Tuesday feel like a cookout.
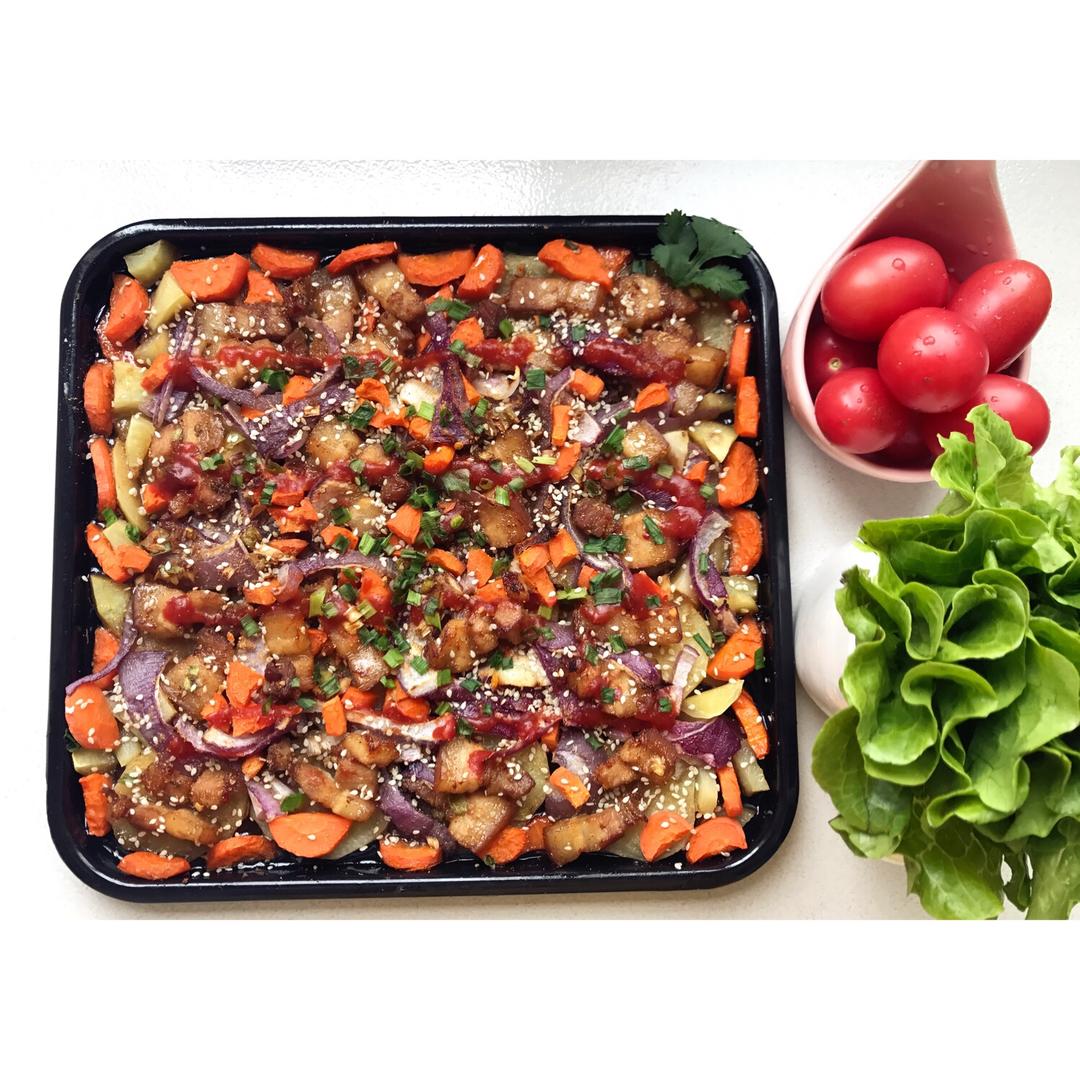
Kao wu hua rou (烤五花肉) is oven-roasted pork belly – thick-cut pork belly marinated in wine, soy, oyster sauce, cumin, and pepper, roasted at 180°C (356°F) over a layer of potatoes, carrots, and onions until the fat sizzles and the edges crisp. The original is a 10-step roast written by a home cook with a sense of humor – the photos talk to the meat like a friend – and the finish, wrapped in a lettuce leaf with a dab of ketchup, is the perfect way to eat it.
What Is Oven-Roasted Pork Belly (Kao Wu Hua Rou)?
Kao wu hua rou (烤五花肉) is a Chinese home-oven adaptation of the beloved grilled pork belly: thick slices marinated in a savory-soy-cumin blend, roasted in the oven over a bed of vegetables so the rendered fat bastes everything, and eaten with lettuce leaves to cut the richness. It is the oven answer to the barbecue pork belly that Chinese home cooks crave but cannot always grill.
The technique is simple but deliberate. The pork is cut thick and marinated with wine, soy, oyster sauce, salt, pepper, cumin, and chili powder; the tray is layered with oiled potato slices, then carrots and onions, then the pork with its marinade poured over. Two 15-minute roasts at 180°C (356°F), a flip of the pork in between, and a final garnish of scallion, sesame, and ketchup finish the dish. The vegetables catch the dripping fat, which is half the flavor of the whole meal.
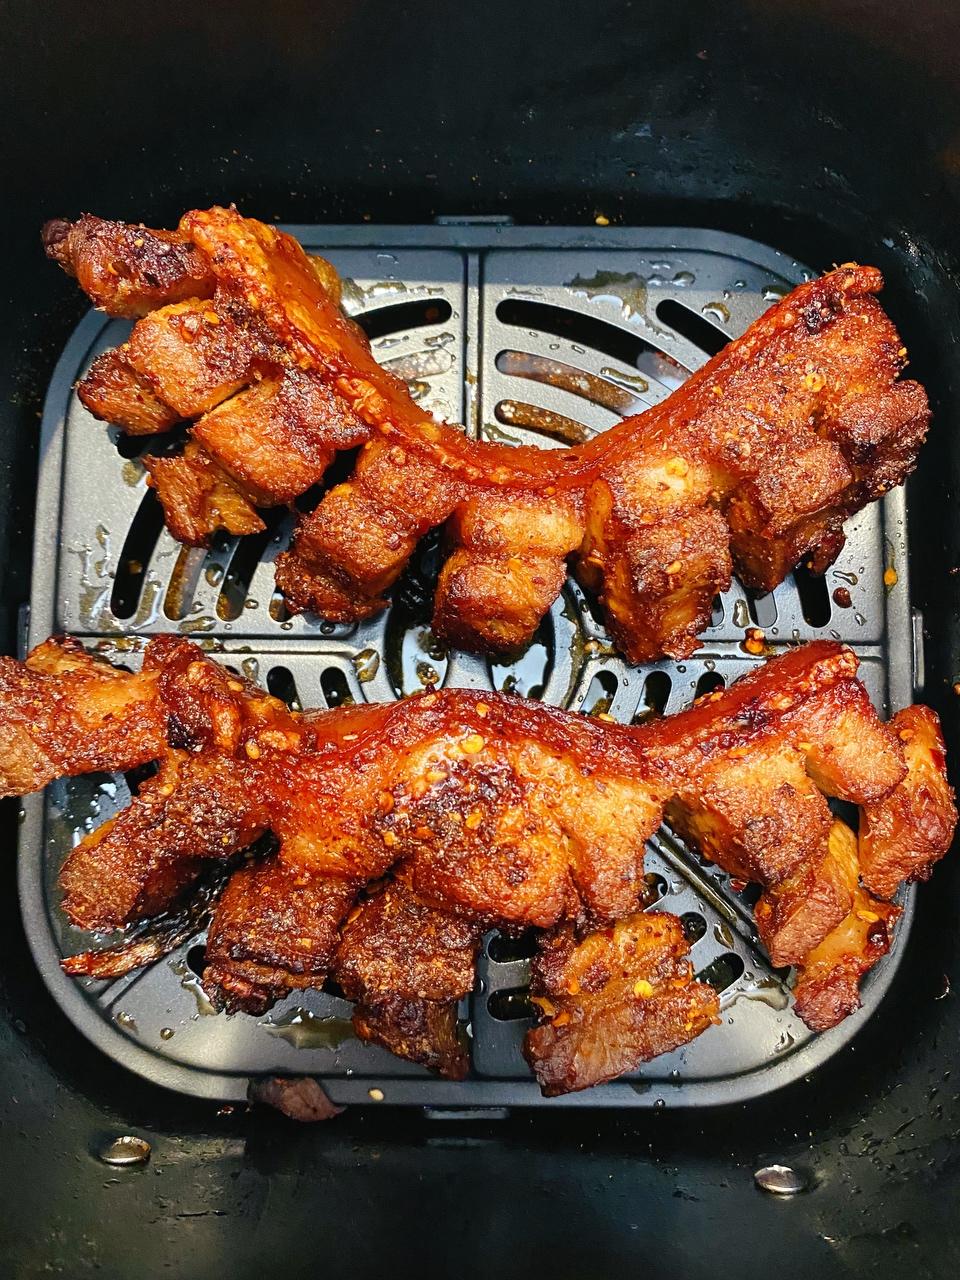
For the crispy-skinned air-fryer version of pork belly, my air fryer crispy pork belly is the showstopping sibling of this oven roast.
1Air Fryer Crispy Pork BellyThis Air Fryer Crispy Pork Belly recipe (Cui Pi Wu Hua Rou) creates the ultimate crackling skin with juicy, tender meat in under an hour. It is a simplified, home-kitchen friendly version of the classic Cantonese Siu Yuk, featuring a savory Sichuan-spiced marinade.Check out this recipe
Why This Version Works
- Thick slices, generous marinade. The pork is cut thick so it stays juicy through the roast, and the wine-soy-oyster-cumin marinade seasons it deeply – the original’s 2-2-1-1 ratio (2 wine, 2 soy, a little oyster, a little salt).
- The vegetables are the flavor bed. Potatoes, carrots, and onions under the pork catch every drop of rendered fat – the vegetables become a side dish for free.
- Two 15-minute roasts, one flip. 180°C (356°F) top-and-bottom, 15 minutes, flip only the pork, 15 more – simple timing that lets the fat render gradually.
- Cumin and pepper carry the flavor. A little cumin and chili powder in the marinade give the belly a barbecue-style warmth that soy alone cannot.
- Lettuce wraps at the end. The original’s serving move – wrap the roasted belly in lettuce with ketchup – cuts the richness and makes it a hands-on meal.
Equipment Needed
- A roasting tray or baking sheet (foil-lined for easy cleanup, per the original)
- A bowl for the marinade
- Tongs for flipping
- A knife for the prep
Ingredients
- 500 g (1.1 lb) pork belly, sliced thick (choose your preferred fat ratio)
- 2 potatoes, sliced thick
- 1 carrot, sliced thick, halved
- 1/2 onion, sliced
- 2 tbsp (30 ml) light soy sauce
- 2 tbsp (30 ml) Shaoxing wine
- 1 tbsp (15 ml) oyster sauce
- 1/2 tsp (3 g) salt
- 1/2 tsp (2 g) black pepper
- 1/2 tsp (2 g) cumin powder
- 1/2 tsp (2 g) chili powder (optional)
- 1 tbsp (15 ml) oil, for the tray
- 2 scallions, chopped, for garnish
- 1 tbsp (8 g) white sesame seeds
- Ketchup, for serving
- Lettuce leaves, for wrapping
Ingredient Notes
Pork belly: The original says buy the fat ratio you prefer – belly with more fat renders juicier and more flavorful; leaner cuts roast drier. Thick slices (about 2 cm / 3/4 in) hold their moisture through the two-stage roast. My pork belly guide covers the cut thoroughly.
The marinade: Two spoons wine, two spoons soy, a little oyster sauce, and a little salt – plus pepper, cumin, and optional chili. The cumin is what gives it the barbecue character; do not skip it.
Vegetables: Potatoes sliced thick so they do not burn before the pork is done; carrots and onions catch the fat. The original even says leftover potato and carrot edges can go in too – nothing wasted.
Lettuce: The serving vehicle – any crisp lettuce leaf works. The original’s note: the lettuce “reduces the greasiness,” and eating the roast wrapped in it is the best way.
Prep & Mise en Place
Slice the pork belly thick and combine the marinade: wine, soy, oyster sauce, salt, pepper, cumin, and chili. Toss the pork in the marinade – the original’s note is that the exact “a tiny bit” amounts are flexible, so season by feel within the ratio.
Prep the vegetables while the pork marinates: thick potato slices, thick carrot slices halved, onion sliced. Brush the tray with oil (or line with foil, brushed – the original’s cleanup tip). Layer the potatoes, then the vegetables, then the pork with its marinade poured over. The oven preheats to 180°C (356°F) with top and bottom heat.
Cooking Process
Step 1 – Prep the Vegetables
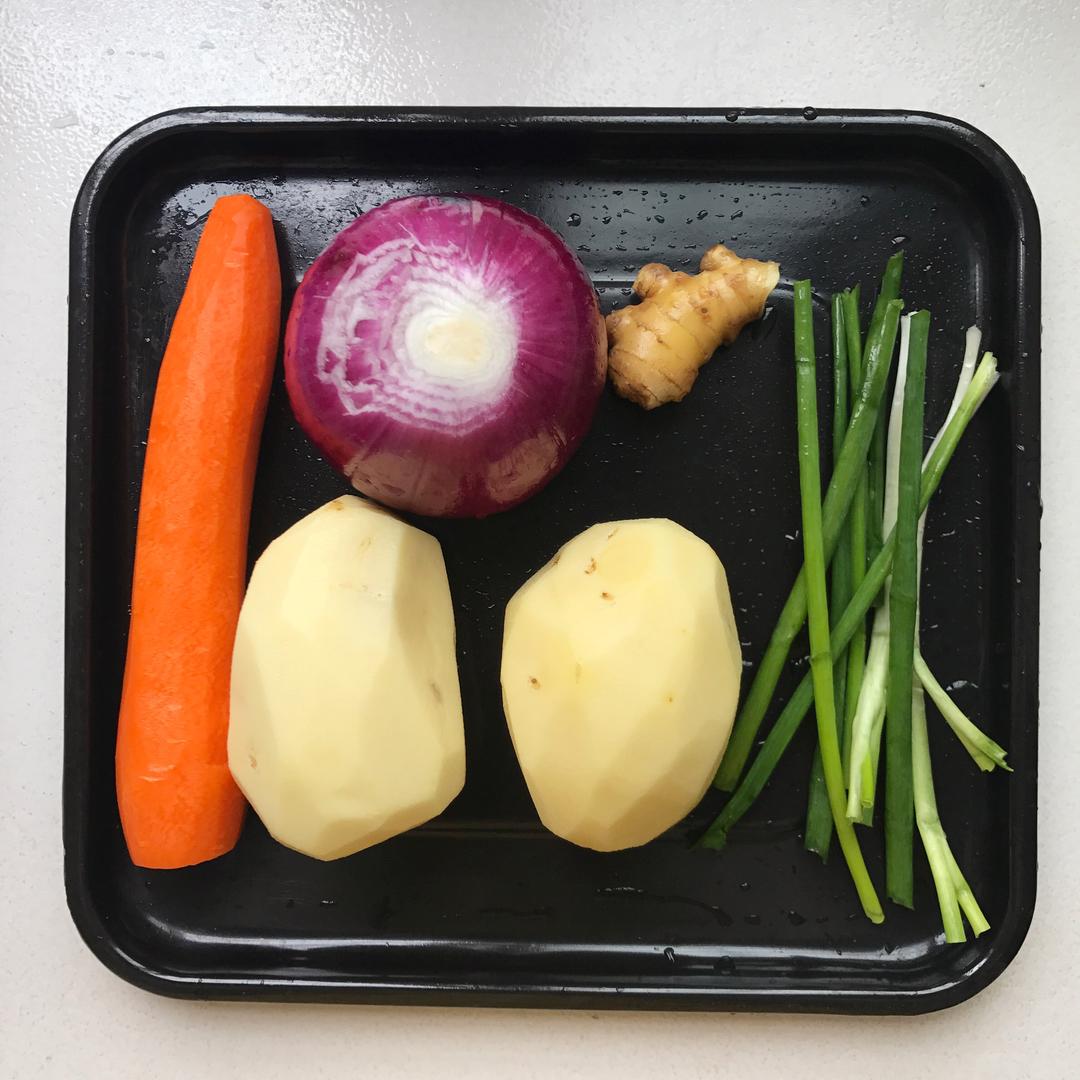
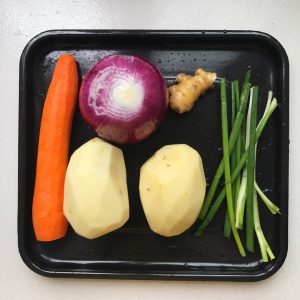
Wash everything; slice the potatoes thick, halve the thick carrot slices, and slice the onion. Chop the scallion tops for garnish and mince the ginger. The thick potato slices are what hold up through the roast.
Step 2 – Marinate the Pork Belly
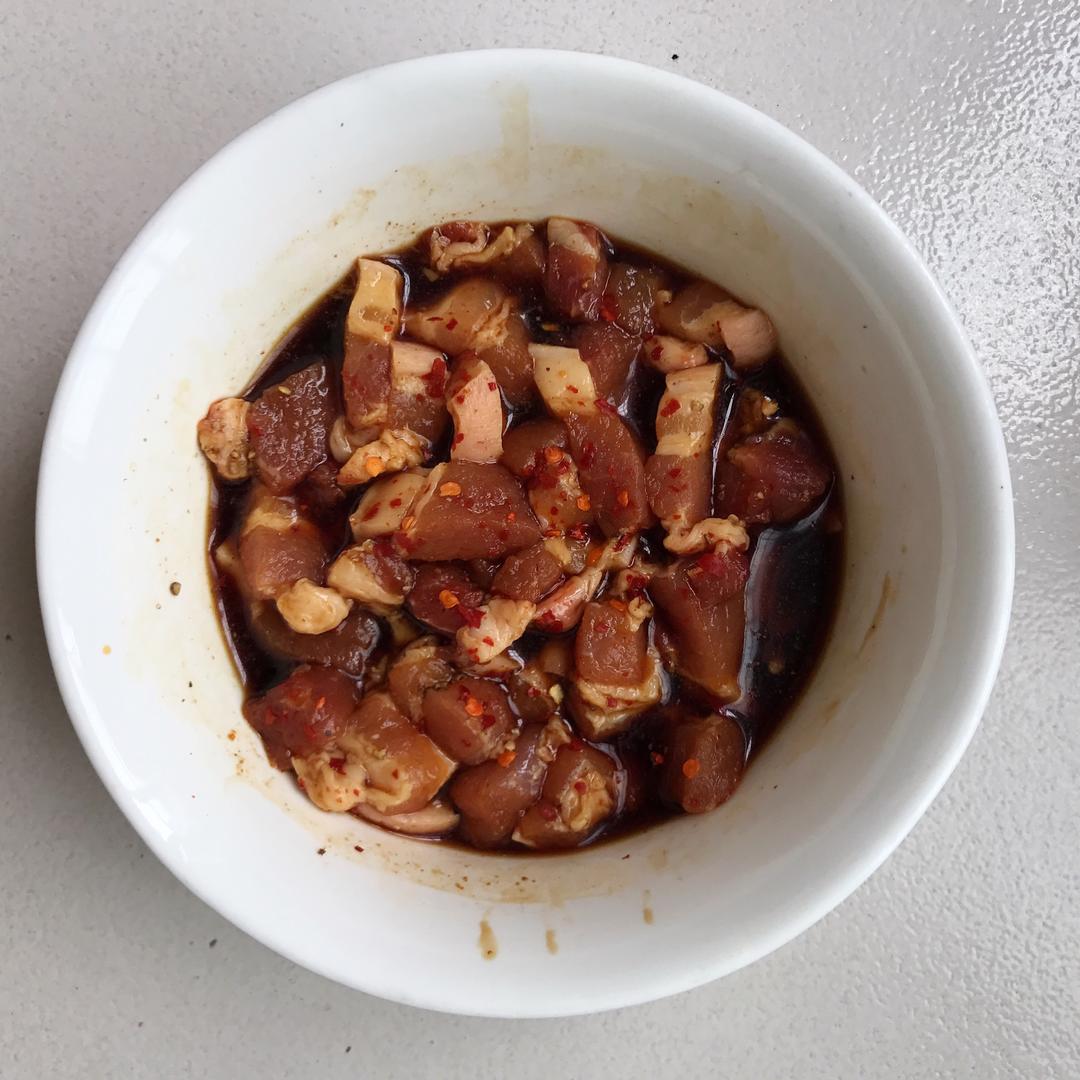
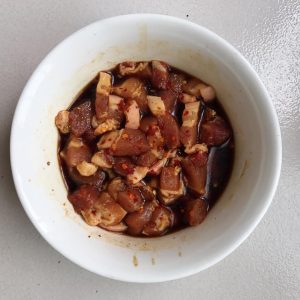
Slice the pork belly thick and toss it with the wine, light soy, a little oyster sauce, a little salt, pepper, cumin powder, and optional chili powder. Let it sit in the marinade while the tray is prepared.
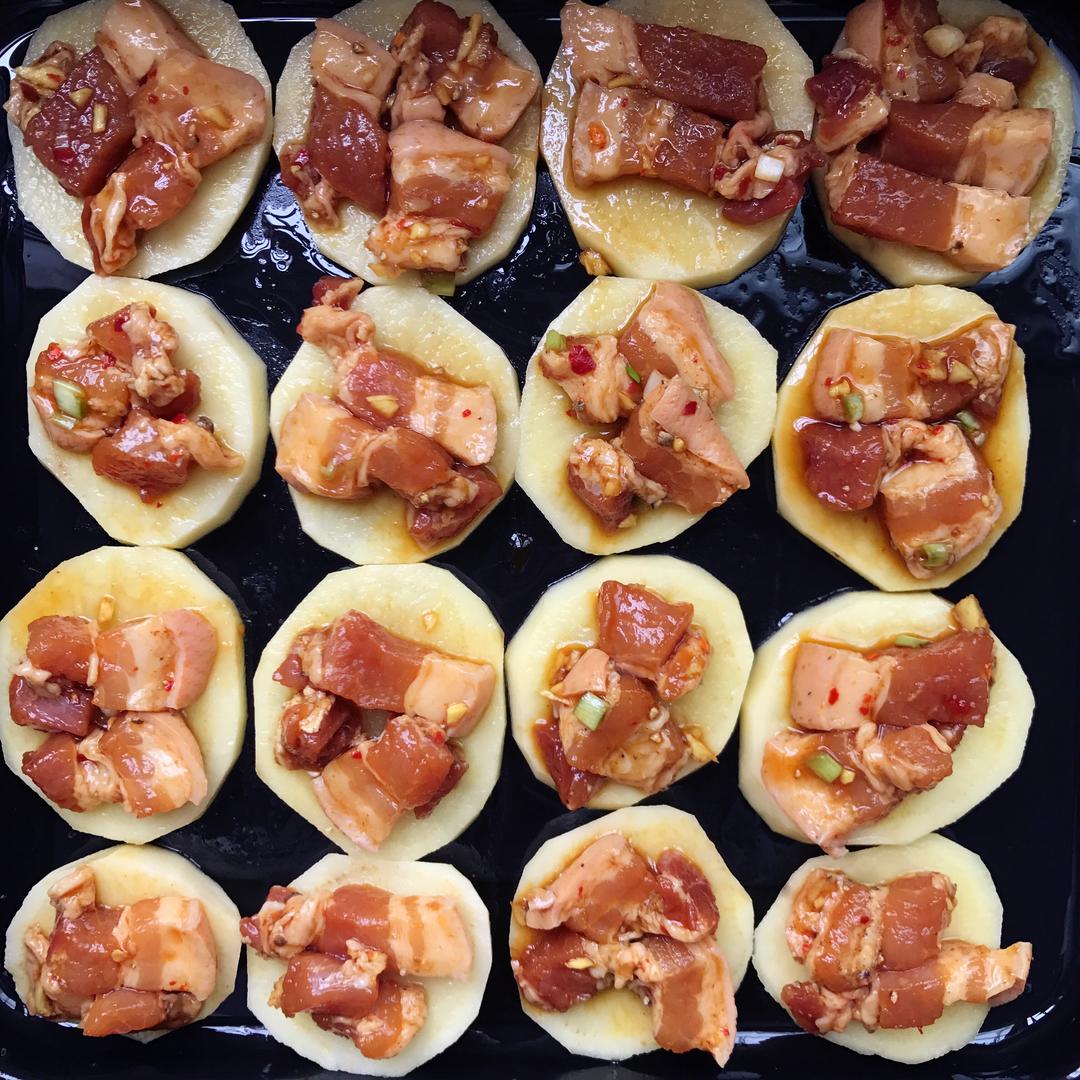
Step 3 – Layer the Tray
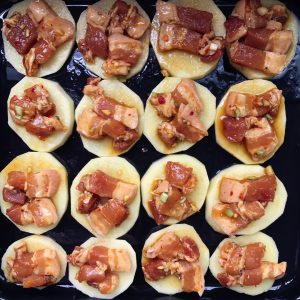
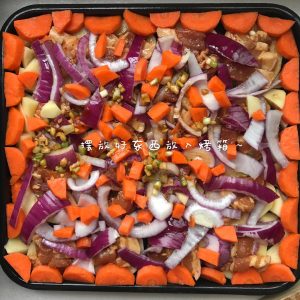
Brush the tray with oil (or line with foil first – the original’s note: foil makes cleanup much easier). Lay down the potato slices, then the onion and carrot, then arrange the pork over the top in a single layer.
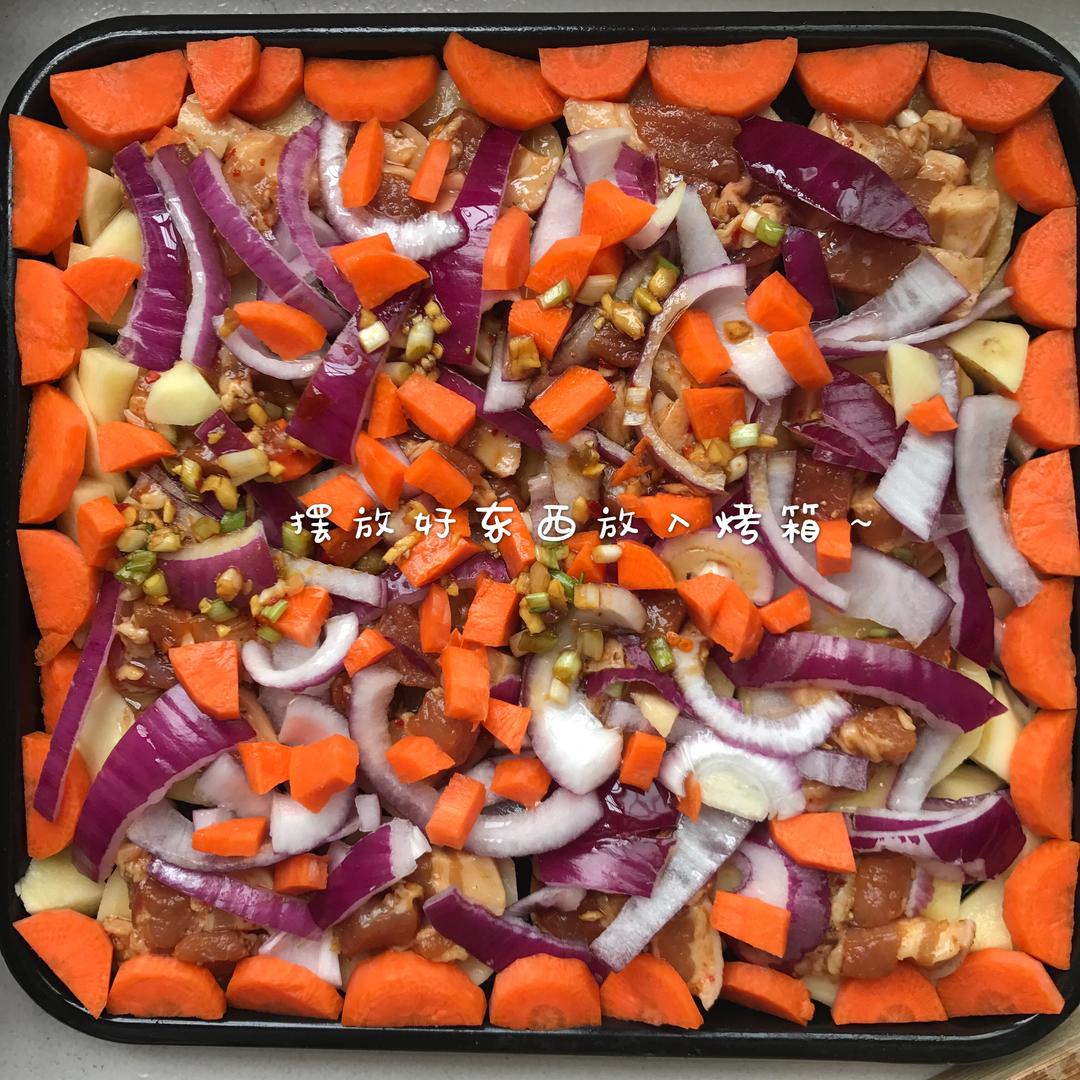
Step 4 – Pour Over the Marinade
Pour the remaining marinade evenly over the pork and vegetables – the original also adds a little extra oil at this point. Any leftover potato and carrot edges can go in too; they will catch the fat.
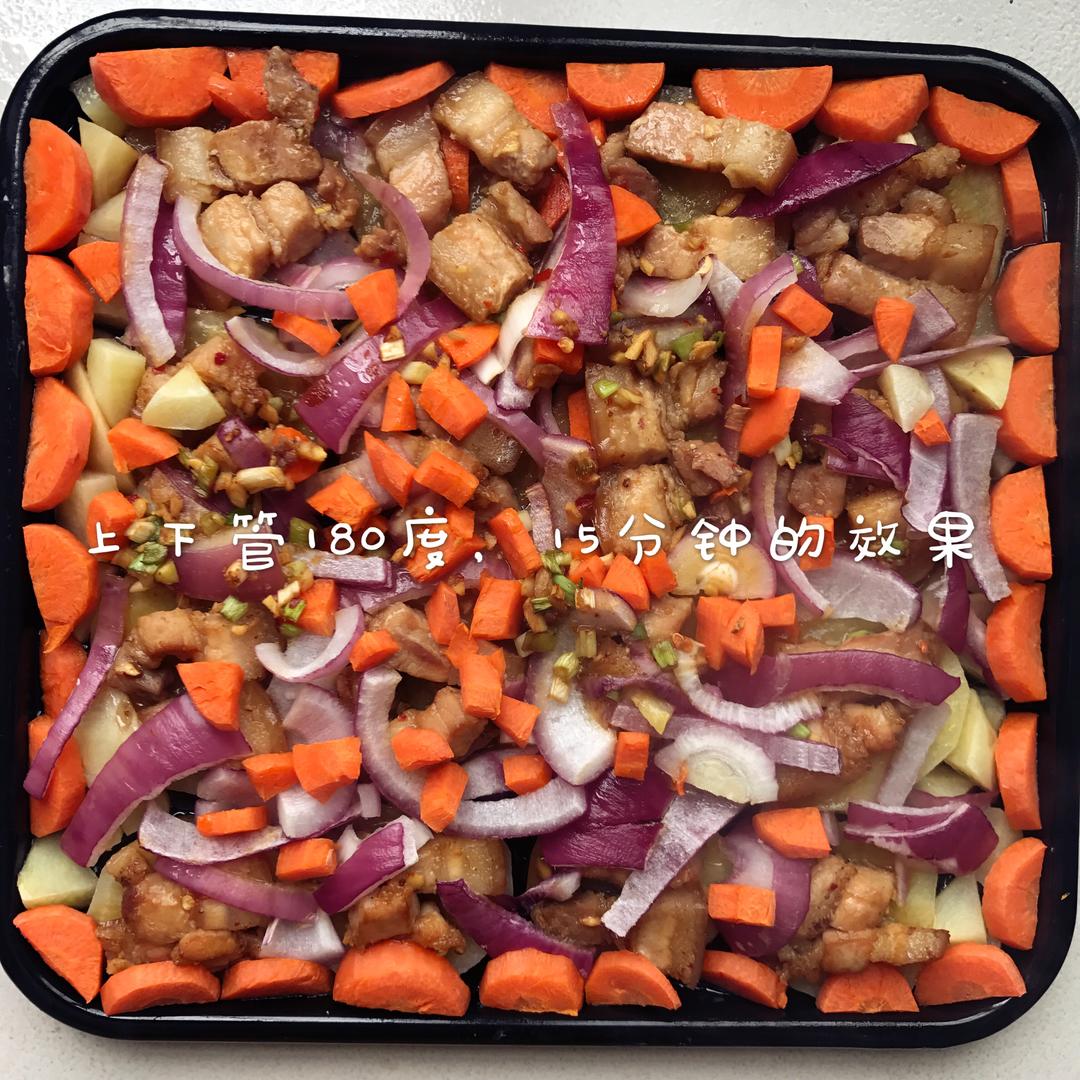
Step 5 – First Roast: 180°C for 15 Minutes
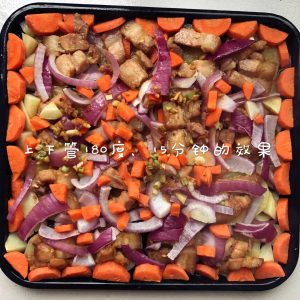
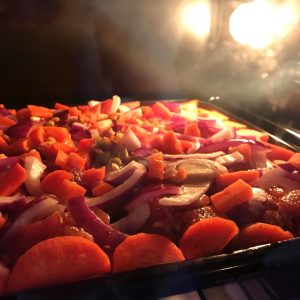
Roast with top and bottom heat at 180°C (356°F) for 15 minutes, then pull the tray out.
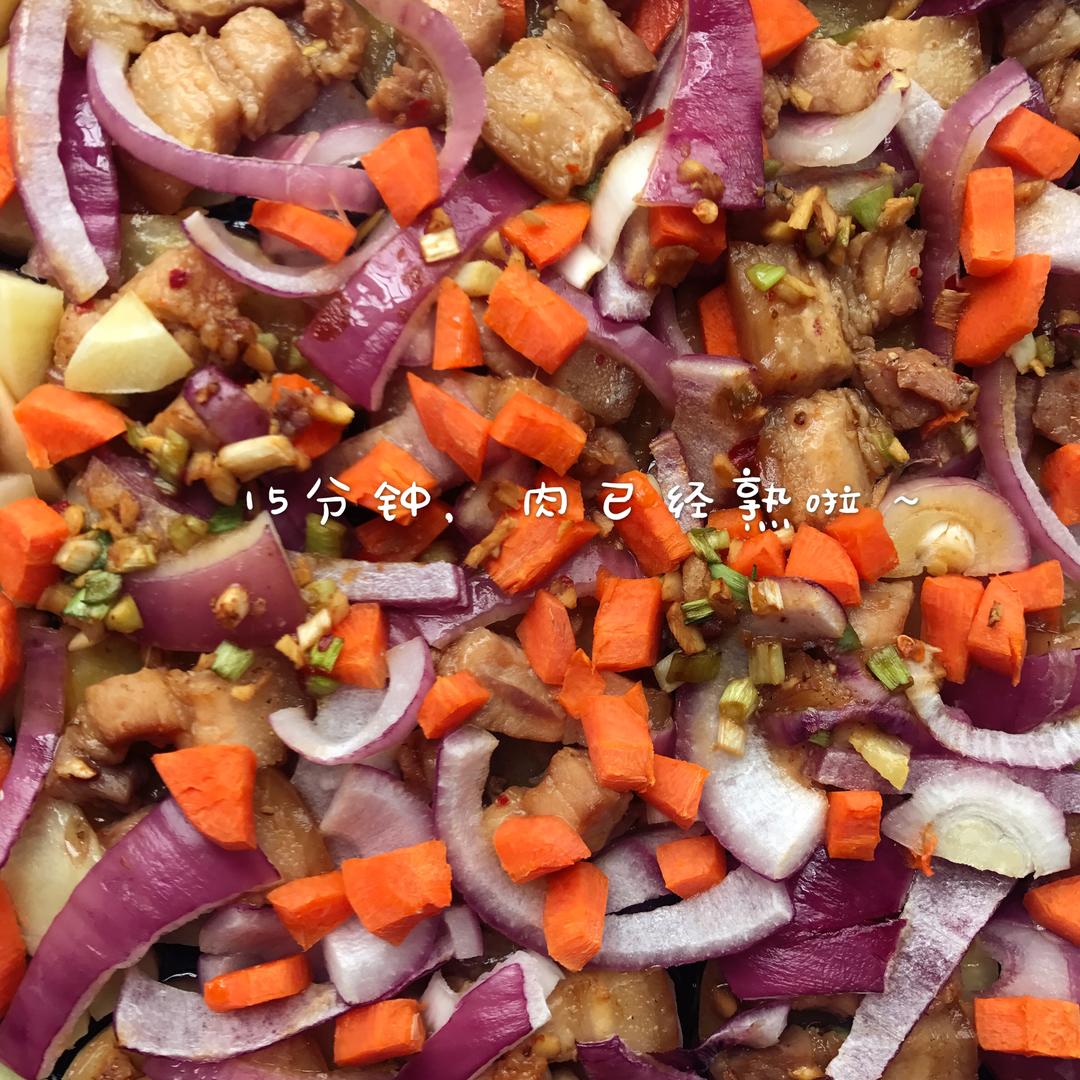
Step 6 – Flip Only the Pork
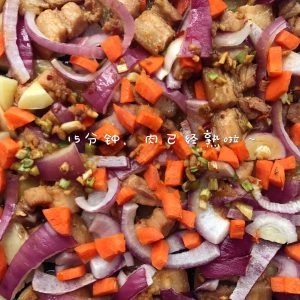
Flip the pork slices over – the original’s instruction is specific: flip the meat only; leave the potatoes, and feel free to stir the carrots and onions. The pork has rendered some fat by now, seasoning the vegetables beneath.
Step 7 – Second Roast: 15 More Minutes
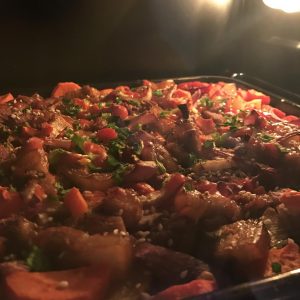
Return the tray to the oven and roast 15 more minutes – the pork’s fat will sizzle and drip onto the potatoes. At the end, pull the tray out; the meat should be cooked through and the edges beginning to crisp.
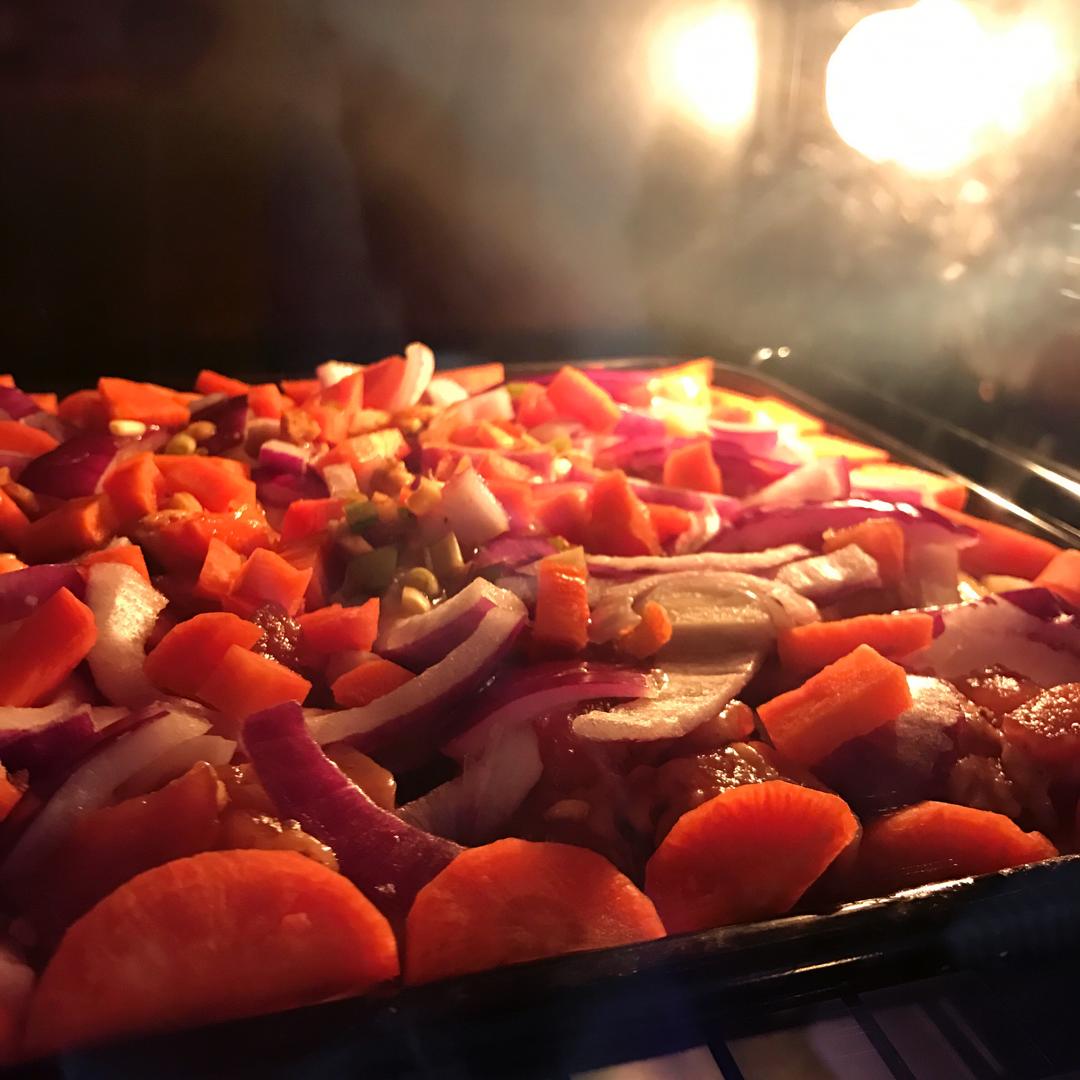
Step 8 – Garnish and Finish
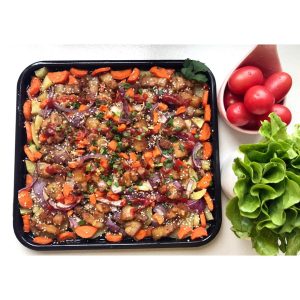
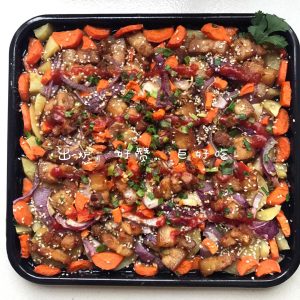
Garnish the roast with the chopped scallion, white sesame, and a squeeze or spoon of ketchup – the original’s photo shows this final 5-minute step before serving.
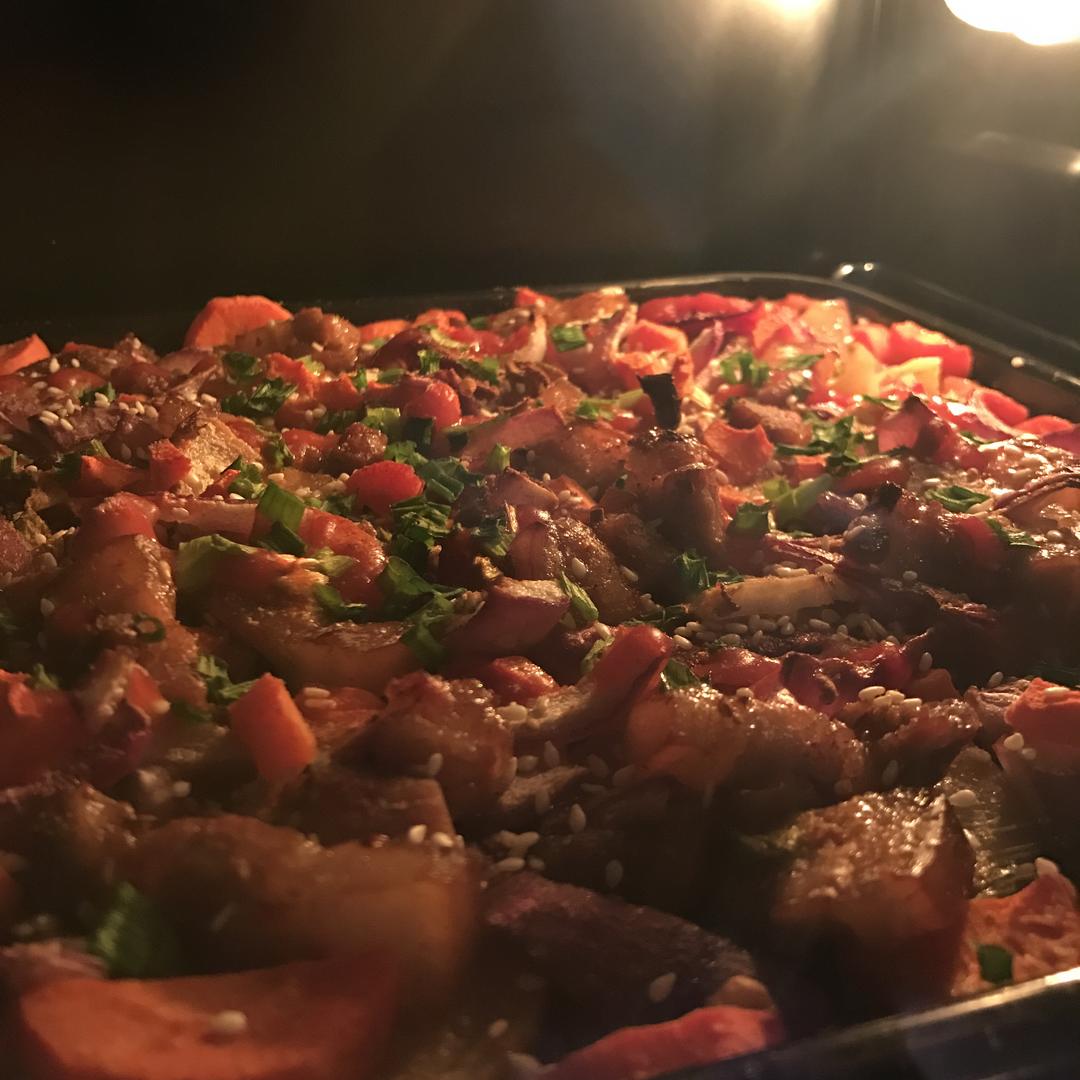
Step 9 – Serve With Lettuce Wraps
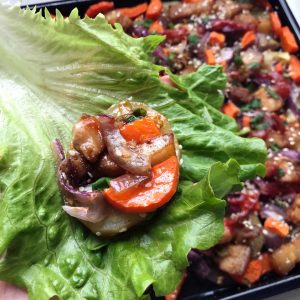
Pull the tray out and serve hot, with washed lettuce leaves on the side. The original’s serving advice: wrap the roasted belly in a lettuce leaf with a little ketchup – the lettuce cuts the richness and makes every bite a hands-on treat.
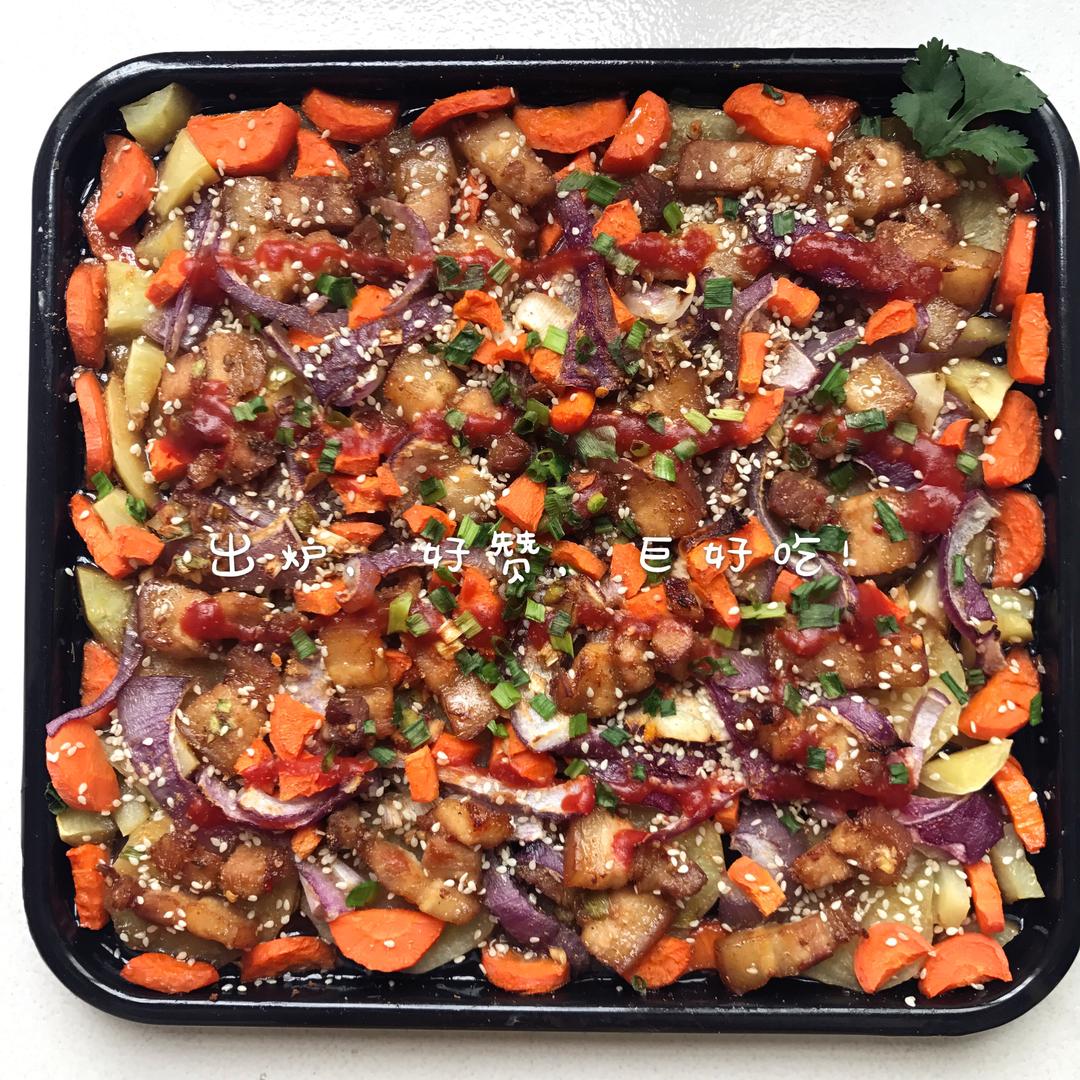
Step 10 – Enjoy
The original’s final word is simply to dig in – the pork is juicy and seasoned, the potatoes have soaked up the fat, and the lettuce wraps keep it from being too rich. It is the kind of roast that becomes a regular request.
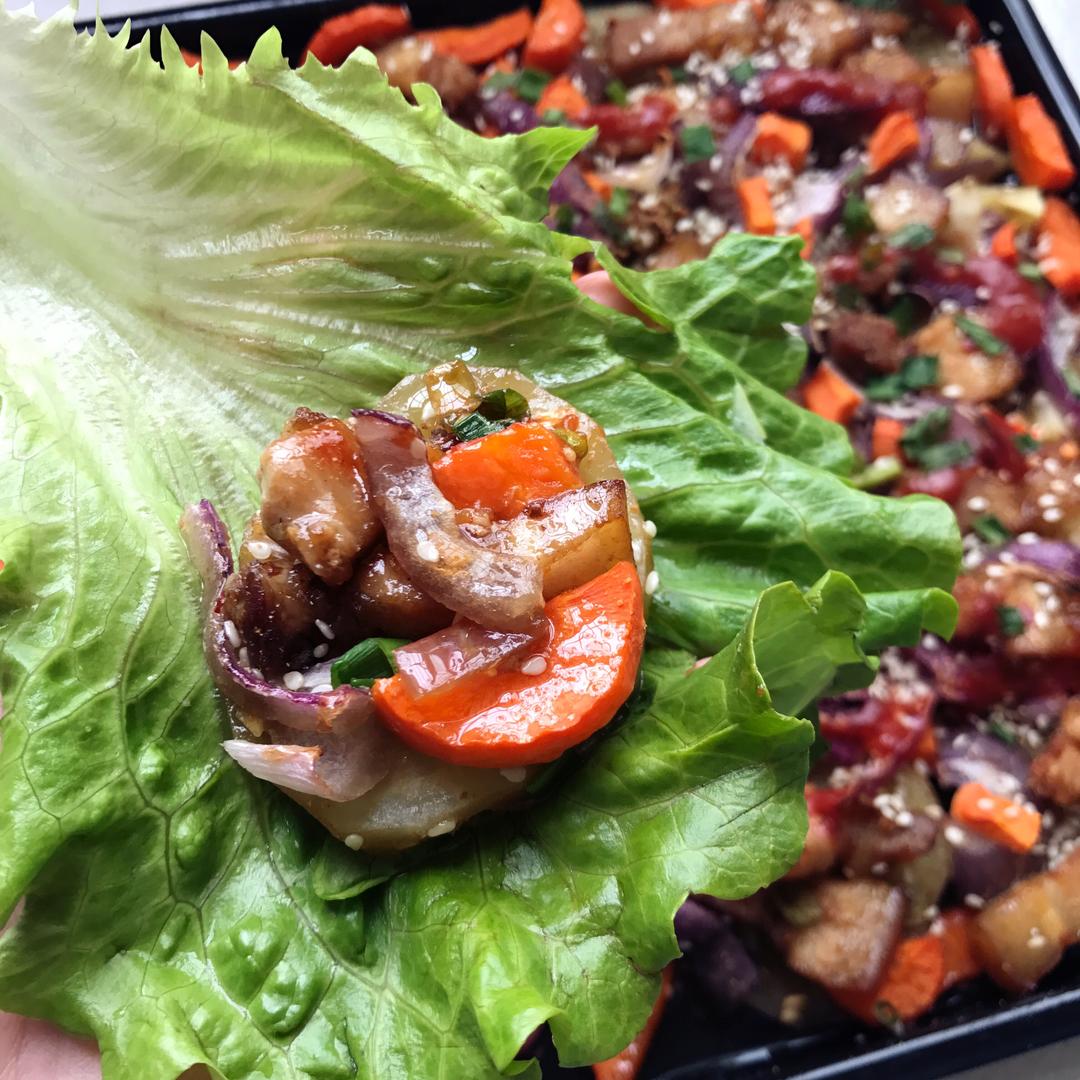
Common Mistakes When Making Oven-Roasted Pork Belly
1. Dry, tough pork. Cause: thin slices or too much heat. Fix: thick slices and the gentle 180°C (356°F) two-stage roast – the fat needs time to render, not blast.
2. Burnt vegetables. Cause: thin potato slices that burn before the pork finishes. Fix: thick potato slices, and flip only the pork (stir the vegetables) at the halfway point.
3. A bland, pale roast. Cause: skimping on the marinade or the cumin. Fix: the full 2-2-1-1 ratio plus cumin and pepper is what carries the flavor.
4. A greasy tray and greasy pork. Cause: no lettuce at the table and too much added oil. Fix: the lettuce wraps are not optional garnish – they are the balance – and use a light hand with the extra oil.
5. Uneven cooking. Cause: pork overlapping. Fix: a single layer of pork so each slice gets direct heat.
6. Sticking to the tray. Cause: no oil or foil. Fix: brush the tray (or foil) with oil first – the original’s cleanup tip.
Variations
More crispy: For crackling skin, broil the top for the last 3 minutes – my air fryer crispy pork belly is the full crispy treatment.
Spicier: Double the chili powder or add a spoon of chili crisp to the marinade – my kimchi pork belly stir-fry is the spicy stir-fry sibling.
Other vegetables: Sweet potato, pumpkin, or mushrooms join the tray happily – anything that loves rendered fat.
Cured version: For the preserved take on belly, my Chinese cured pork belly is a different project entirely.
Frequently Asked Questions
Can I use an air fryer? Yes – cook the belly in batches at 180°C (356°F) for about 12 minutes, shake, and continue until crisp. The vegetables are easier in the oven.
How do I know the pork is done? The two-stage roast cooks it through; check that the thickest slice reads at least 74°C (165°F) with a thermometer.
Can I make this ahead? The roast is best fresh – the fat solidifies as it cools. Leftovers reheat well in a 180°C (356°F) oven for 8-10 minutes.
What if I do not like ketchup? The original offers it as the finish; a squeeze of lemon or a chili dip works instead.
Why is my pork not crisp? The belly renders gradually; for more edge-crisp, add a final 3-minute broil and keep the slices in a single layer.
How to Serve
Serve the roast hot from the tray with lettuce leaves for wrapping – it is a family-style, hands-on meal. It pairs with a rice bowl and a bright side: scallion pork belly stir-fry or twice-cooked pork belly for a pork night, and red braised pork belly if you want the braised contrast. For the full belly repertoire, my pan-grilled pork belly covers the stove-top route.
Storage & Reheat
Refrigerate leftovers in an airtight container for up to 3 days. Reheat in a 180°C (356°F) oven for 8-10 minutes to revive the texture; the microwave works but softens the crisp edges. Reheat pork to at least 74°C (165°F). Do not freeze cooked belly – the texture suffers. Never leave the tray out for more than 2 hours.
Allergen Notice
This recipe contains soy (light soy sauce, oyster sauce) and may contain gluten and shellfish in the sauces – check labels. It is free of nuts, eggs, and dairy.
Nutrition Disclaimer
Nutrition information is calculated using an ingredient database and should be considered an estimate. In cases where multiple ingredient alternatives are given, the first listed is calculated for nutrition. Garnishes and optional ingredients are not included.
About the Author & Recipe Development
I am Lin, a professional Chinese chef and food writer with a decade in restaurant kitchens before turning to recipes. This xiachufang recipe is written with real personality – the cook talks to the pork in the oven like an old friend – and underneath the humor is a solid two-stage roast. I tested the 180°C (356°F) timing, the flip-only-the-pork instruction, and the lettuce-wrap finish, and all of it holds up. I have not tested every vegetable bed or the broil-for-crisp trick, so those are your experiments, not my claims.
Authoritative References
USDA Food Safety and Inspection Service – Safe Temperature Chart for pork handling and storage guidance.
Oven-Roasted Pork Belly (Kao Wu Hua Rou) With Vegetables

Equipment
- Roasting tray
- Bowl
- Tongs
Ingredients
For the Roast
- 500 g pork belly, sliced thick 1.1 lb, your preferred fat ratio
- 2 potatoes, sliced thick
- 1 carrot, sliced thick
- 1/2 onion, sliced
- 2 tbsp light soy sauce 30 ml
- 2 tbsp Shaoxing wine 30 ml
- 1 tbsp oyster sauce 15 ml
- 1/2 tsp salt 3 g
- 1/2 tsp black pepper 2 g
- 1/2 tsp cumin powder 2 g
- 1/2 tsp chili powder 2 g, optional
- 1 tbsp oil, for the tray 15 ml
- 2 scallions, chopped, for garnish
- 1 tbsp white sesame seeds 8 g
- ketchup and lettuce leaves, for serving
Instructions
- Prep the vegetables: thick potato slices, thick carrot slices halved, onion sliced.

- Slice the pork thick and marinate with wine, soy, oyster sauce, salt, pepper, cumin, and chili.
- Brush the tray with oil; layer potatoes, onion, carrot, then the pork in a single layer.
- Pour the remaining marinade over the pork and vegetables.
- Roast at 180°C (356°F) top and bottom for 15 minutes.
- Flip only the pork; stir the carrots and onions.
- Roast 15 more minutes until the fat sizzles and the meat is cooked through.
- Garnish with scallion, sesame, and ketchup.
- Serve hot with lettuce leaves for wrapping.
- Enjoy – the lettuce cuts the richness, and the potatoes have soaked up the fat.






Leave a Reply