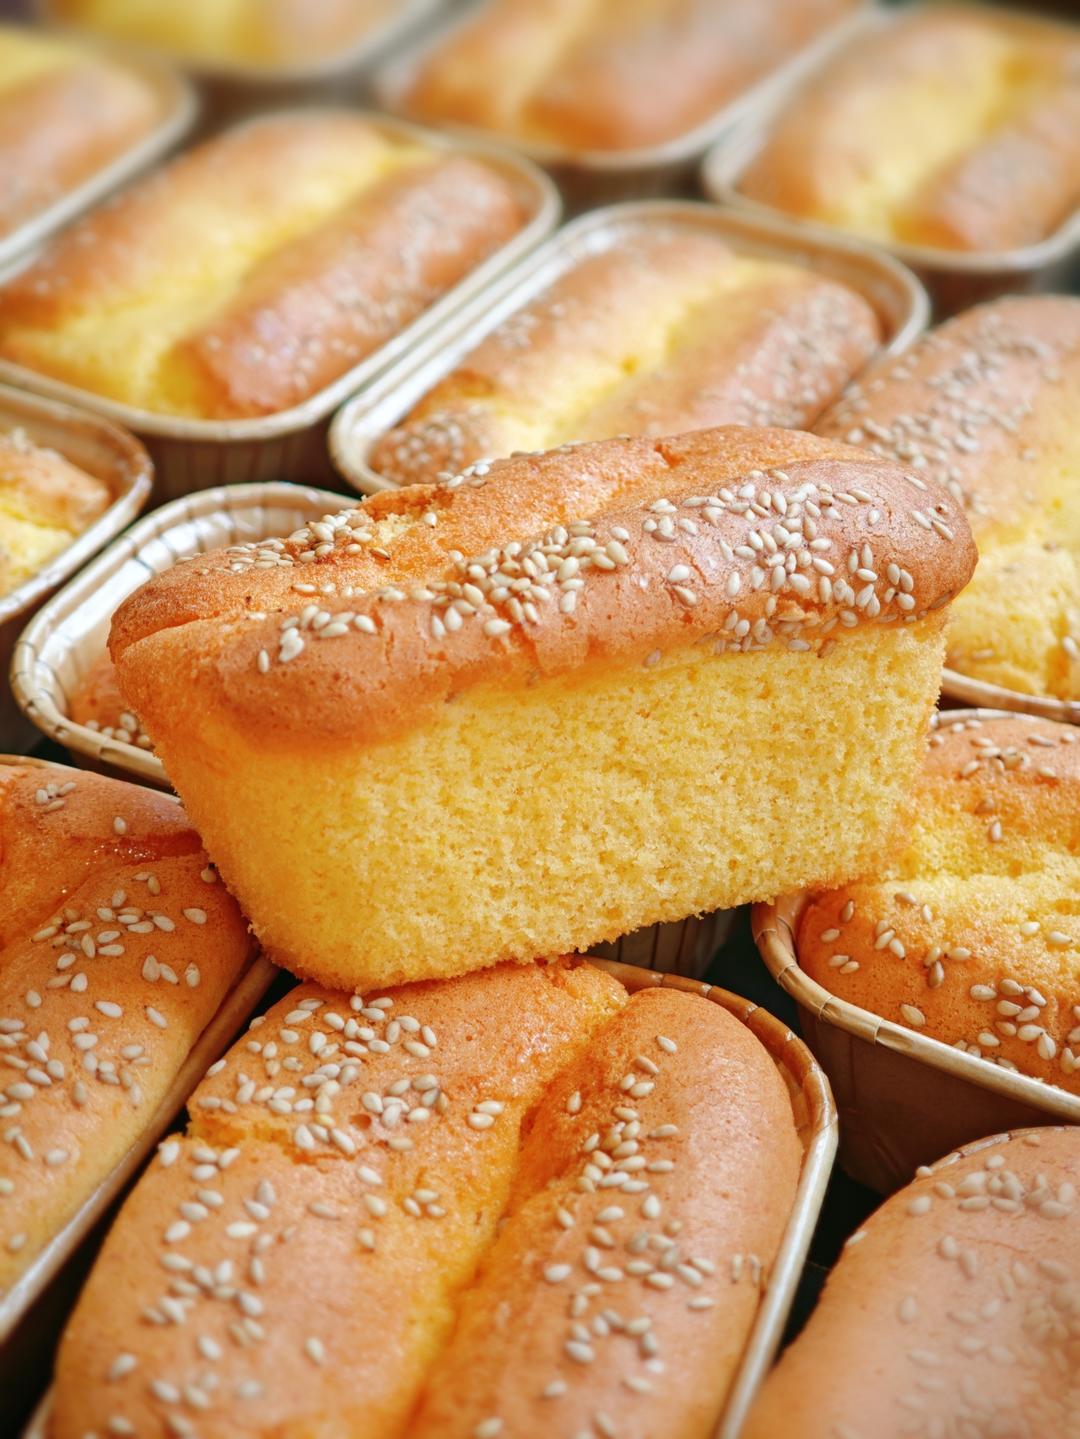
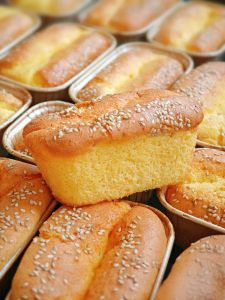
The first time I bit into a nuomi ba ba gao (糯米粑粑糕), I laughed out loud. The outside was crisp and sugary, like the edge of a good madeleine, and the inside was soft, stretchy, and faintly chewy – the texture Chinese bakers call “Q.” It tasted like a sponge cake that had secretly been crossed with a mochi. Best of all, this version uses no oil at all: the richness comes entirely from eggs, and the chew comes from water-milled glutinous rice flour.
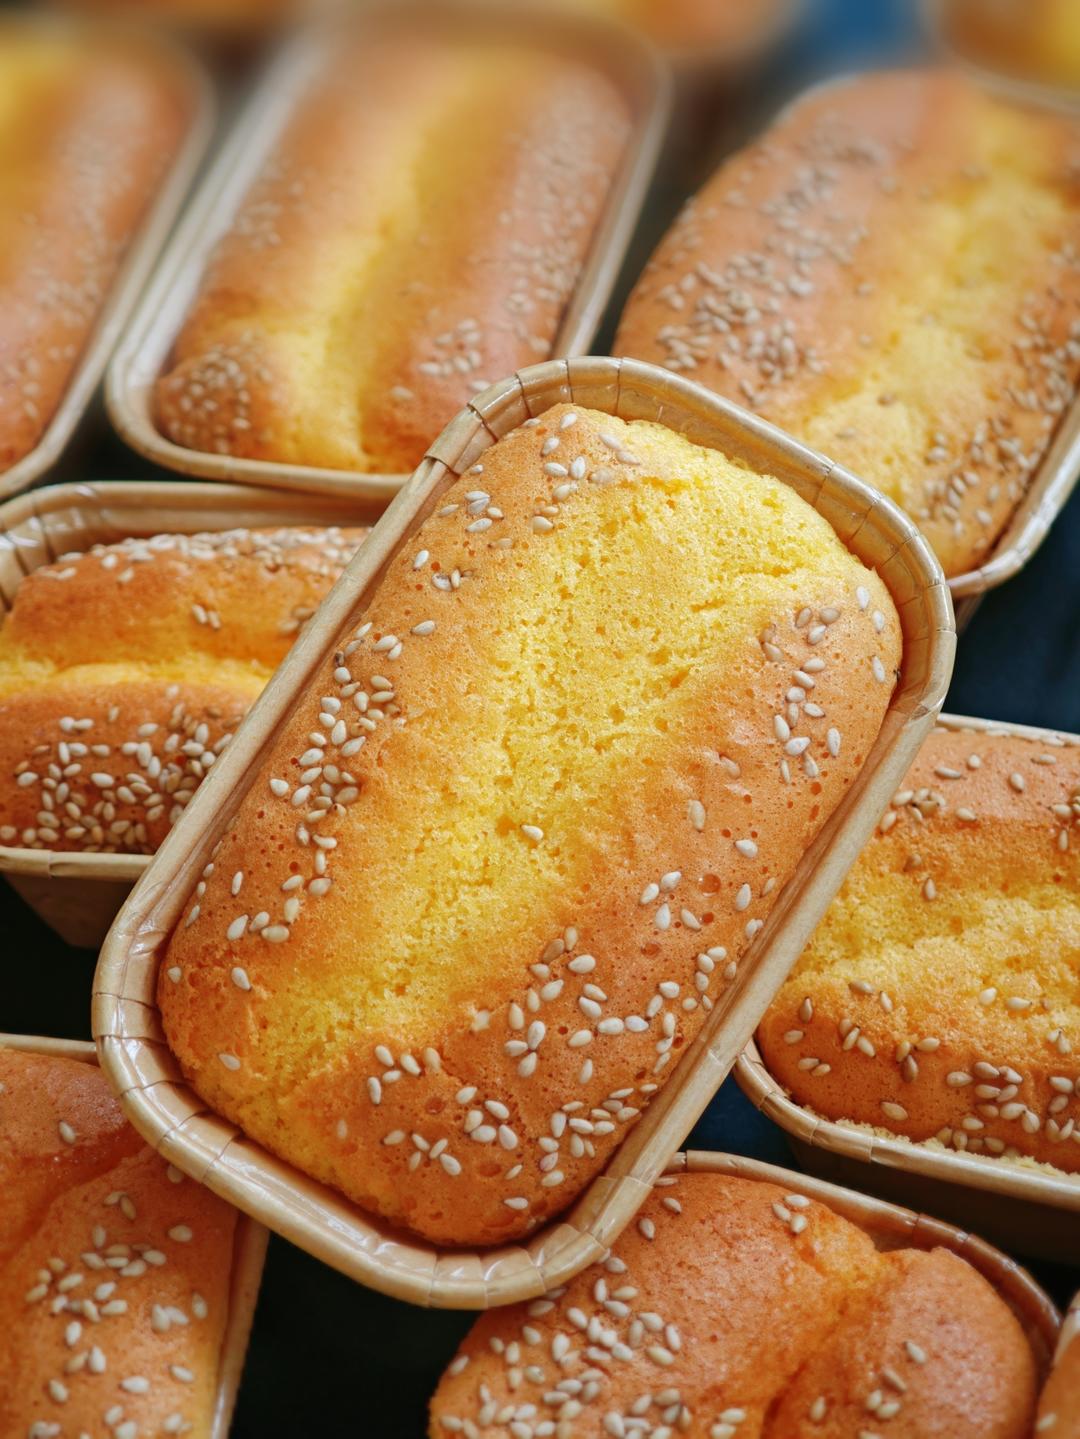
I have baked a lot of cakes in my career, but this one still surprises me with how forgiving it is. There is no butter to cream, no milk to warm, no oil to emulsify – just whole eggs whipped with sugar into a thick ribbon, folded with glutinous rice flour and baking powder, and baked in ten little molds. The whole thing is on the table in under an hour, and it is genuinely hard to ruin.
The author calls it a “lock the formula away” recipe, and after my fourth batch in one week – plain, sesame-topped, and a chocolate-swirled version I improvised – I understand why. Make it once and you will memorize it.
What Is Nuomi Ba Ba Gao (Glutinous Rice Cake)?
Nuomi ba ba gao (糯米粑粑糕) is a baked cake made from glutinous rice flour – the same water-milled flour used for tang yuan and mochi. Unlike a wheat-flour sponge, which relies on gluten for structure, a glutinous rice cake gets its signature texture from the starch itself: the outside bakes into a thin, crackly, golden crust while the center stays soft, stretchy and pleasantly chewy. It belongs to a family of Chinese rice cakes that includes ba ba (rice cakes), fa gao (steamed muffins) and the yellow millet cakes of the north, and it has become a bakery-fresh favorite at Chinese pastry counters in recent years.
If you love the soft, grain-sweet chew of this cake, try my yellow millet sticky rice cake – a northern cousin made with millet that steams up dense and golden. One is baked and chewy, the other steamed and custard-soft, and both are excellent with tea.
1Yellow Millet Sticky Rice Cake (Huang Mi Liang Gao)A refreshing, chewy Chinese chilled dessert made with layers of pumpkin-infused millet and sweet glutinous rice.Check out this recipe

Why This Recipe Works
- No oil, no butter, no dairy: the cake is leavened entirely by a properly whipped whole-egg foam, so it stays light without any fat.
- Water-milled glutinous rice flour: its ultra-fine grind dissolves into the batter for a smooth, stretchy crumb instead of gritty patches.
- Whole-egg ribbon method: whipping the eggs with sugar until the batter falls in thick ribbons gives the cake its structure and its marshmallow-soft interior.
- A hot, fast bake: 170°C (338°F) for 18-20 minutes sets the crust crisp while the center stays soft and chewy – the whole point of this cake.
- Honey and a pinch of salt: the honey adds a floral sweetness and helps the crust caramelize; the salt keeps the cake from tasting flat.
Equipment Needed
- 10 small cake molds or muffin cups (the recipe makes 10 rectangular boxes)
- A hand mixer or stand mixer
- A piping bag, or a spoon and a steady hand
- A fine-mesh strainer for the flour
- A wire cooling rack
Ingredients
- 275 g (about 5 large or 6 small eggs) whole egg liquid
- 80 g (1/3 cup plus 1 tbsp) caster sugar, or 75-90 g to taste
- 1.5 g (1/4 tsp) salt
- 8 g (about 2 tsp) honey
- 165 g (1 1/3 cups) water-milled glutinous rice flour
- 5 g (1 tsp) aluminum-free baking powder
- 2 g (1/2 tsp) lemon juice
- White sesame seeds, for topping
Ingredient Notes
Water-milled glutinous rice flour (shui mo nuo mi fen) is the star – look for the words “水磨糯米粉” on the package. It is milled finer than regular glutinous rice flour, which means a smoother batter and no gritty crumb; it is the same flour used for making steamed brown sugar sticky rice treats. Aluminum-free baking powder avoids a metallic aftertaste in a cake where the rice flavor is the whole point. And use a whole egg liquid that has been weighed rather than counted – eggs vary wildly in size, and 275 g is the exact amount this formula is built around.
Prep & Mise en Place
Preheat the oven to 170°C (338°F) and set out your molds – no greasing needed, since there is no fat in the batter to stick. Line them with small paper cups if you like, or use silicone molds. Weigh the egg liquid into a large bowl, add the lemon juice, sugar, salt and honey, and sift the glutinous rice flour with the baking powder into a second bowl. Have the sesame seeds and a piping bag ready.
Cooking Process
Step 1 – Combine the Eggs, Sugar, Salt and Honey
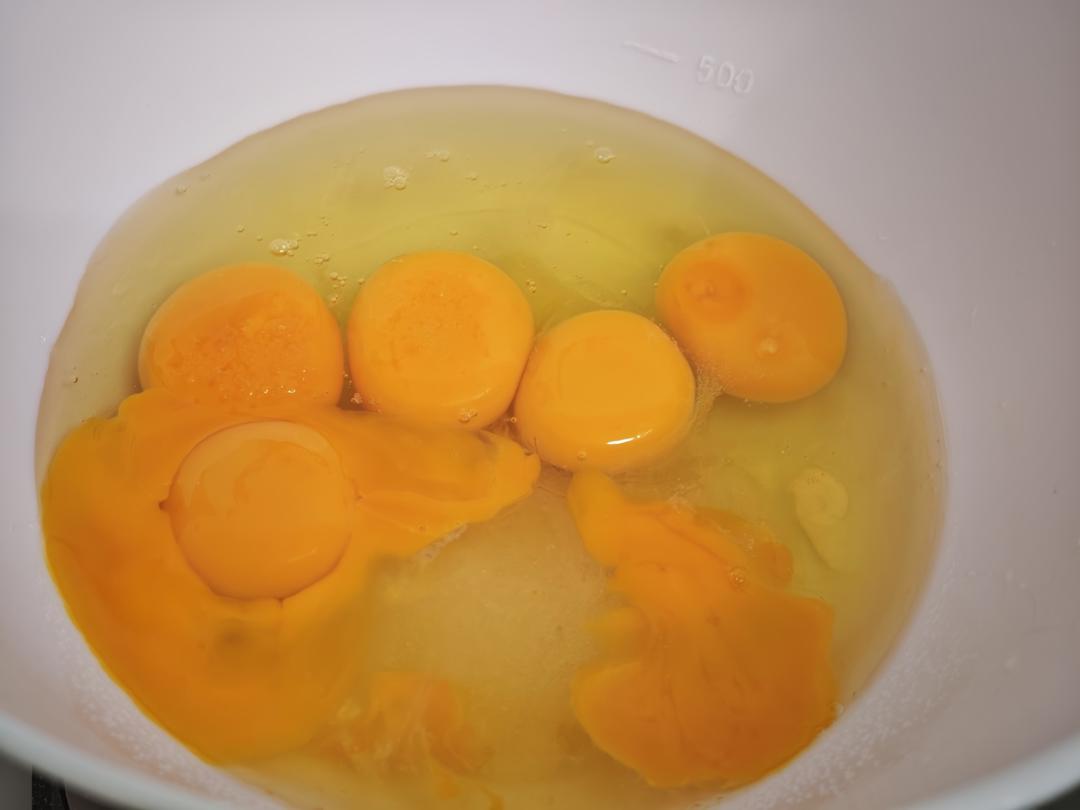
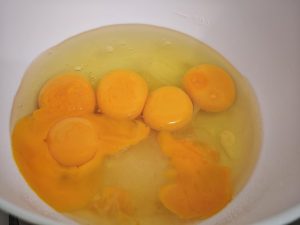
Preheat the oven to 170°C (338°F) and have your molds ready. Crack the eggs into a large bowl, add the lemon juice, caster sugar, salt and honey.
Step 2 – Whip on High Speed
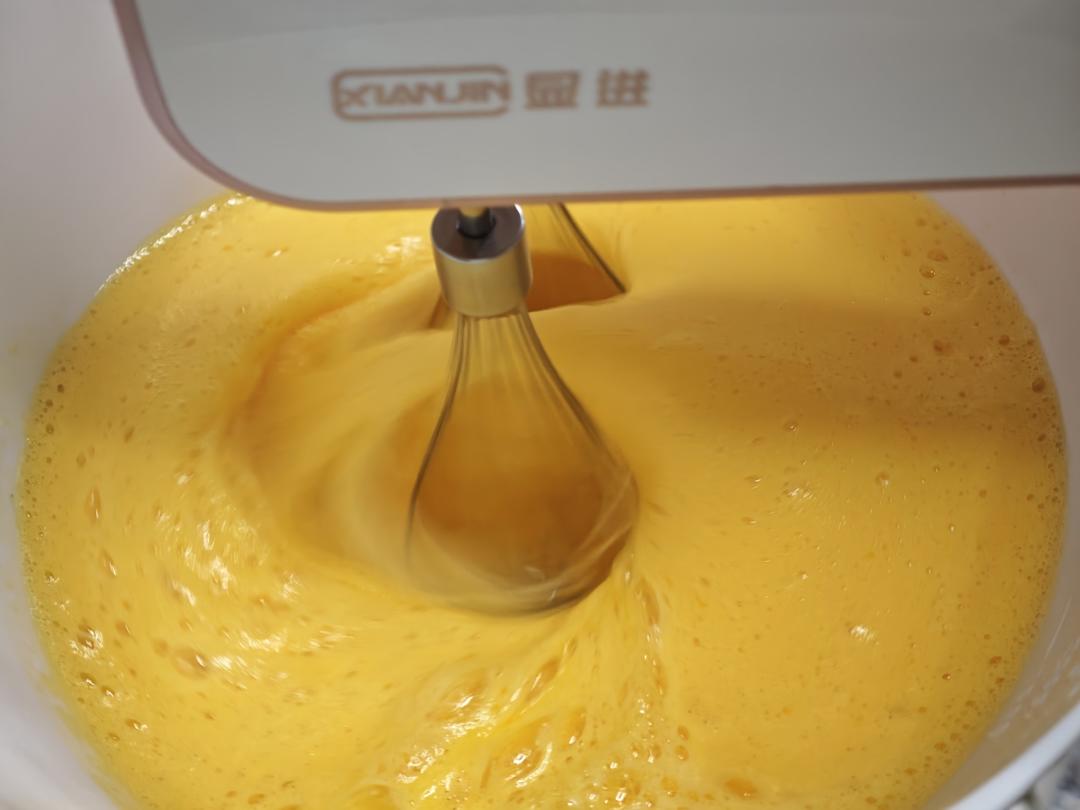
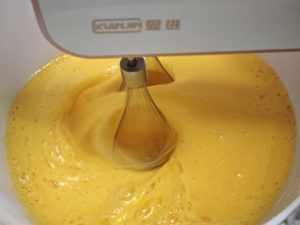
Whip the mixture on high speed with a hand or stand mixer. The batter will go from pale yellow to ivory and grow dramatically in volume.
Step 3 – Whip to the Ribbon Stage
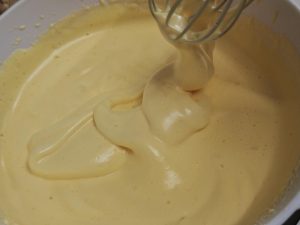
Keep whipping until you can lift the whisk and draw a clear, distinct figure-8 that holds its shape for a few seconds, with thick batter piling and stacking on top of itself. This is the whole-egg ribbon stage – the backbone of the cake’s structure.
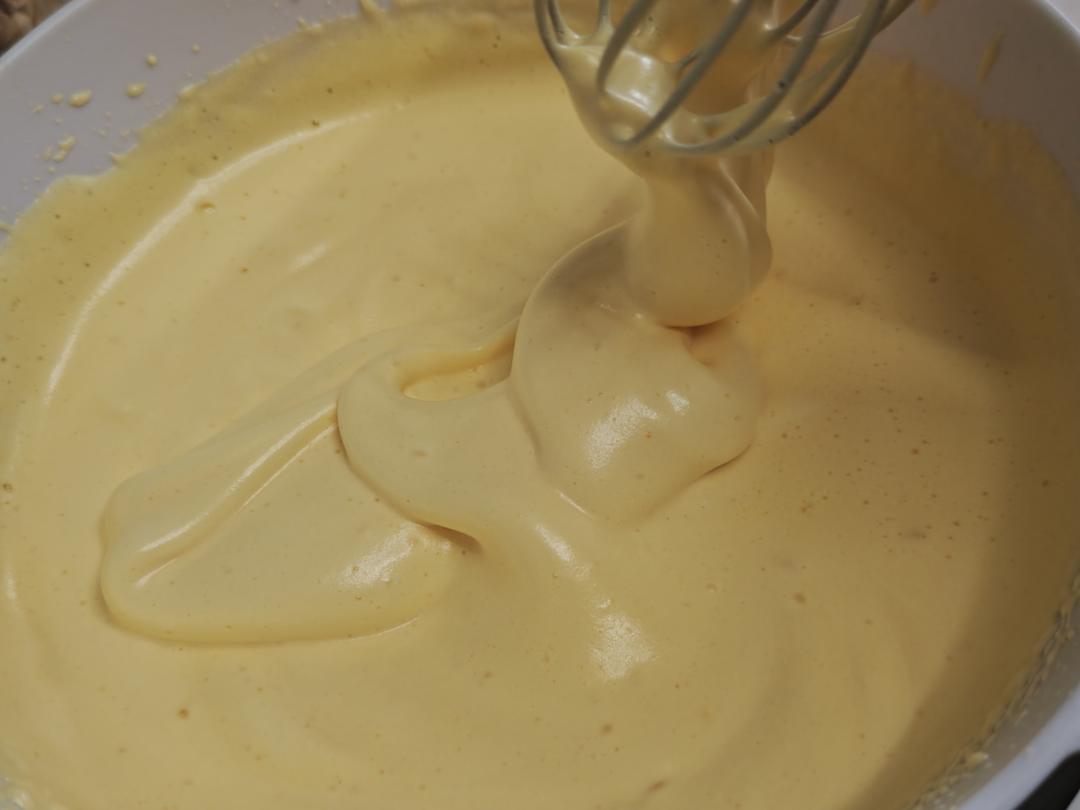
Ribbon stage matters because whole-egg foam has no egg-white-only stiffness to hide behind. The whipped eggs trap air in thin protein walls, and the sugar dissolves into them to make those walls stronger and more elastic. When the batter falls in thick, stacking ribbons that hold their shape, you know the foam is stable enough to carry the rice flour without deflating in the oven.
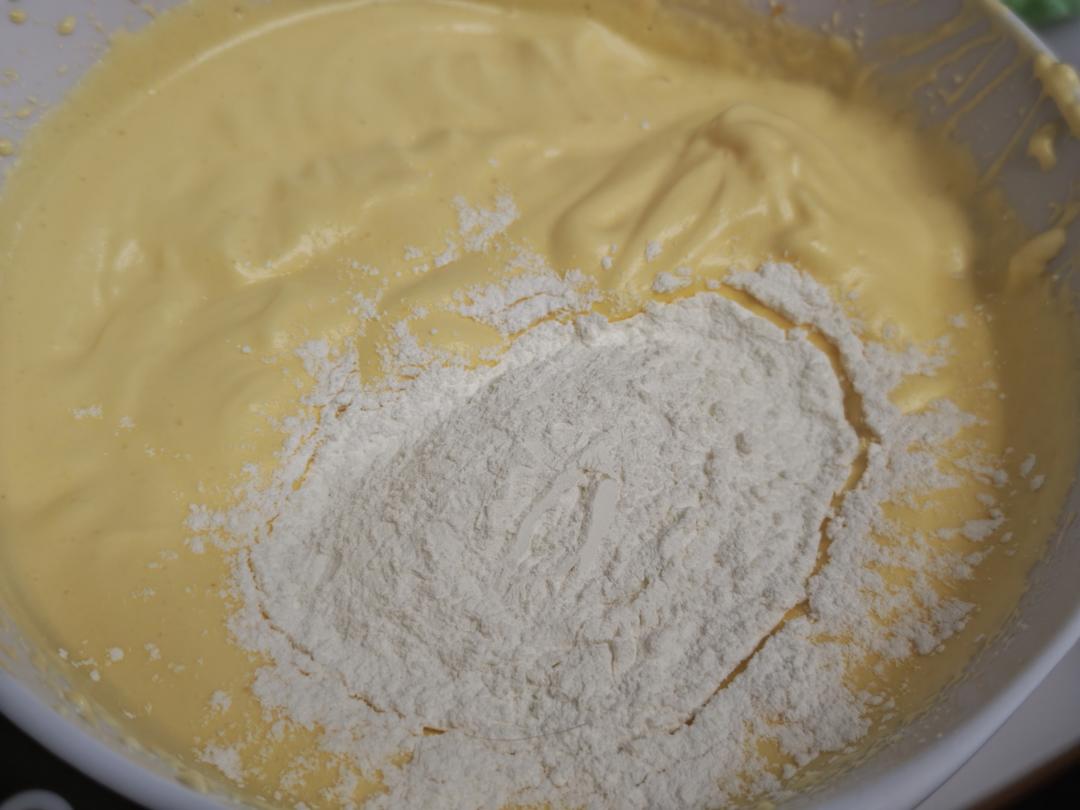
Step 4 – Fold in the Rice Flour
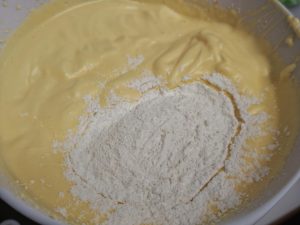
Sift the glutinous rice flour with the baking powder, then fold it into the egg foam in two additions. Use a spatula, cutting from the bottom and turning the bowl as you go, until no dry streaks remain – but stop the moment it comes together, to avoid deflating the foam.
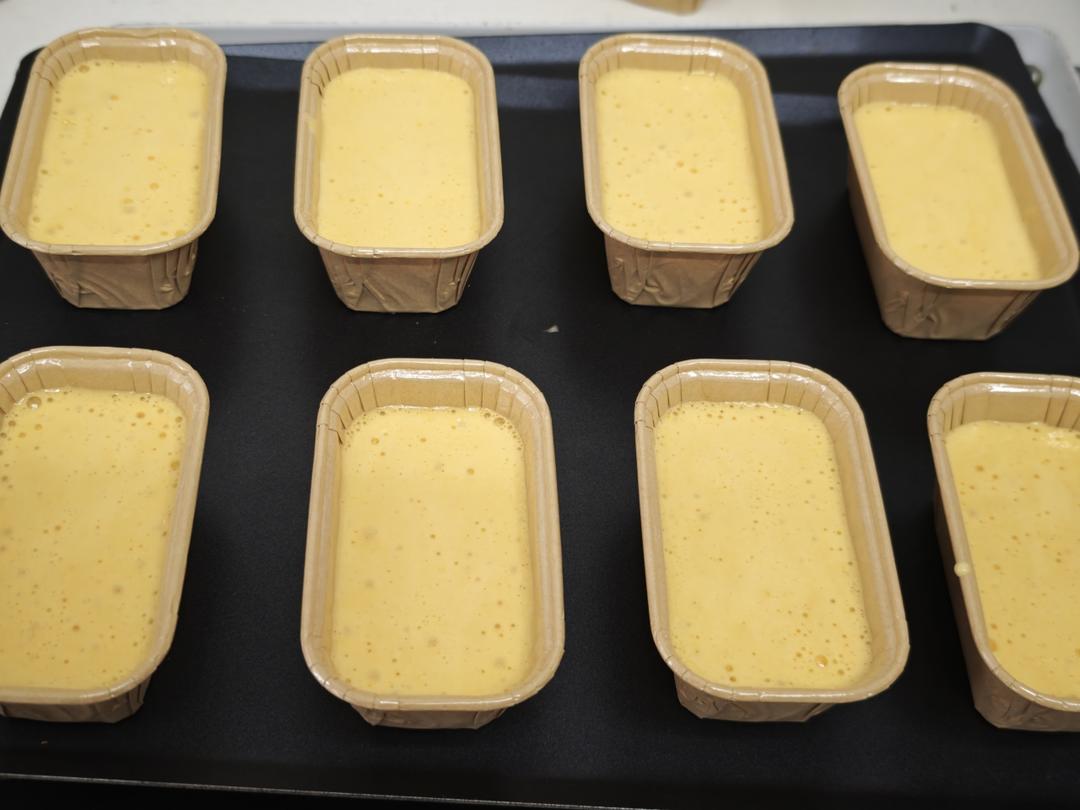
Step 5 – Fill the Molds
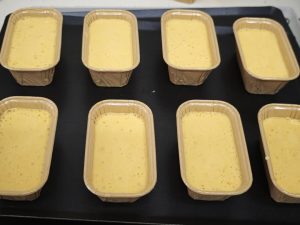
Transfer the batter to a piping bag and squeeze it into the molds, filling each to about 8-9 tenths full – they rise, so do not overfill.
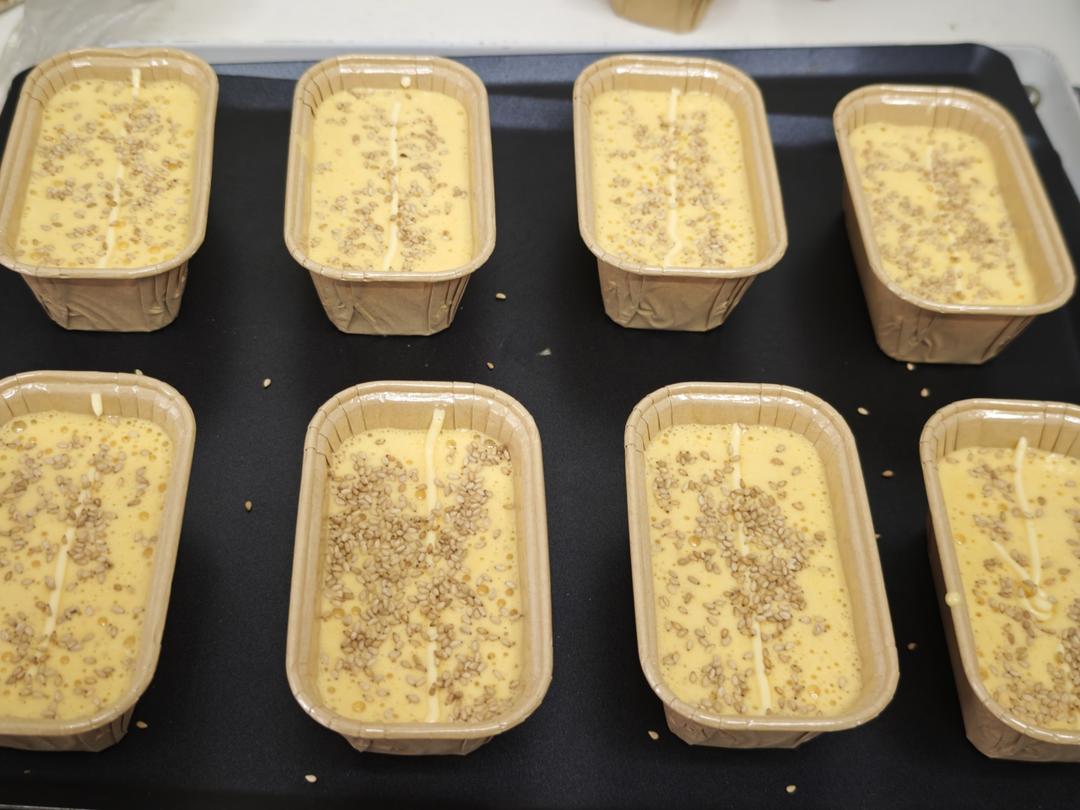
Step 6 – Sprinkle With Sesame
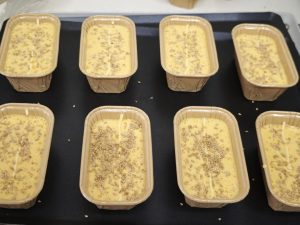
Sprinkle a pinch of white sesame seeds over the surface of each cake – they add a toasty flavor and a pretty finish.
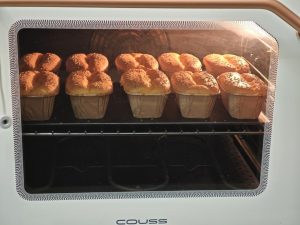
Step 7 – Bake at 170°C
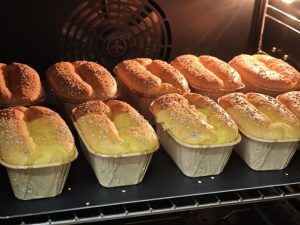
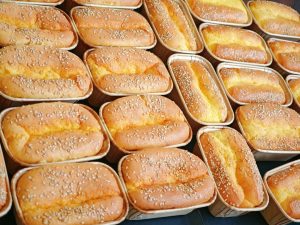
Bake on the lower-middle rack with top and bottom heat at 170°C (338°F) for 18-20 minutes, until puffed and deeply golden.
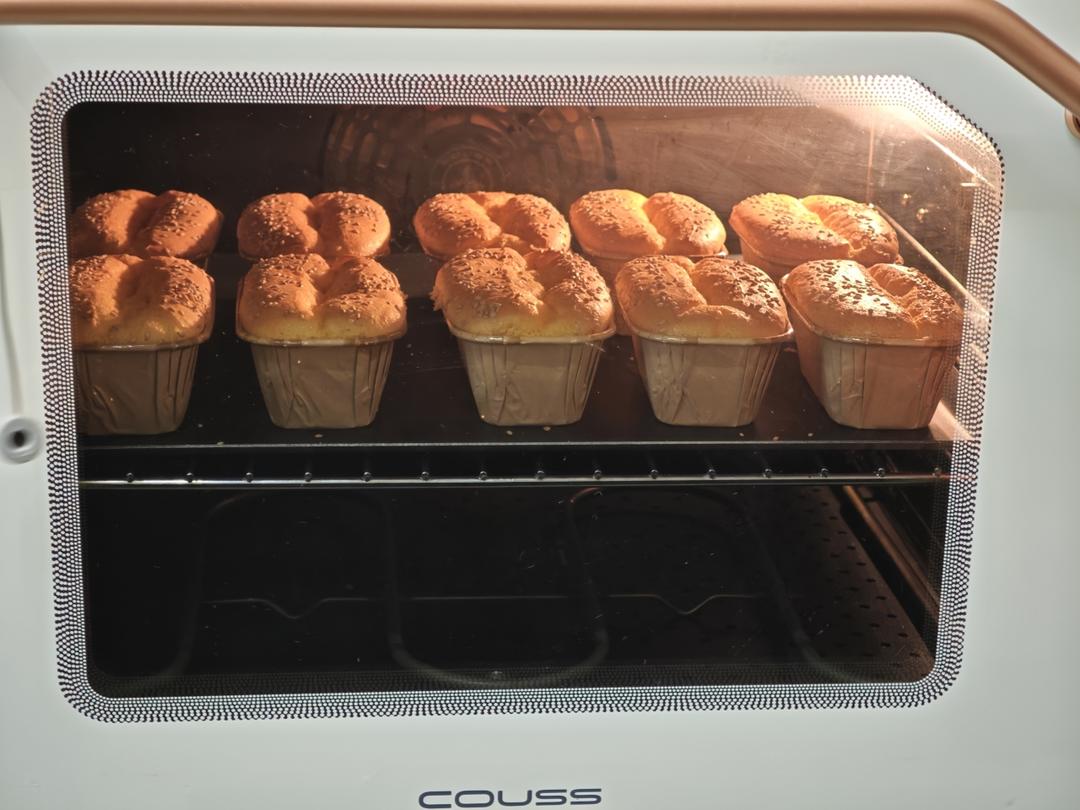
Step 8 – Watch for the Golden Color
The cakes are done when the surface is a deep, even gold and a skewer comes out clean – the golden color is your signal to pull them.
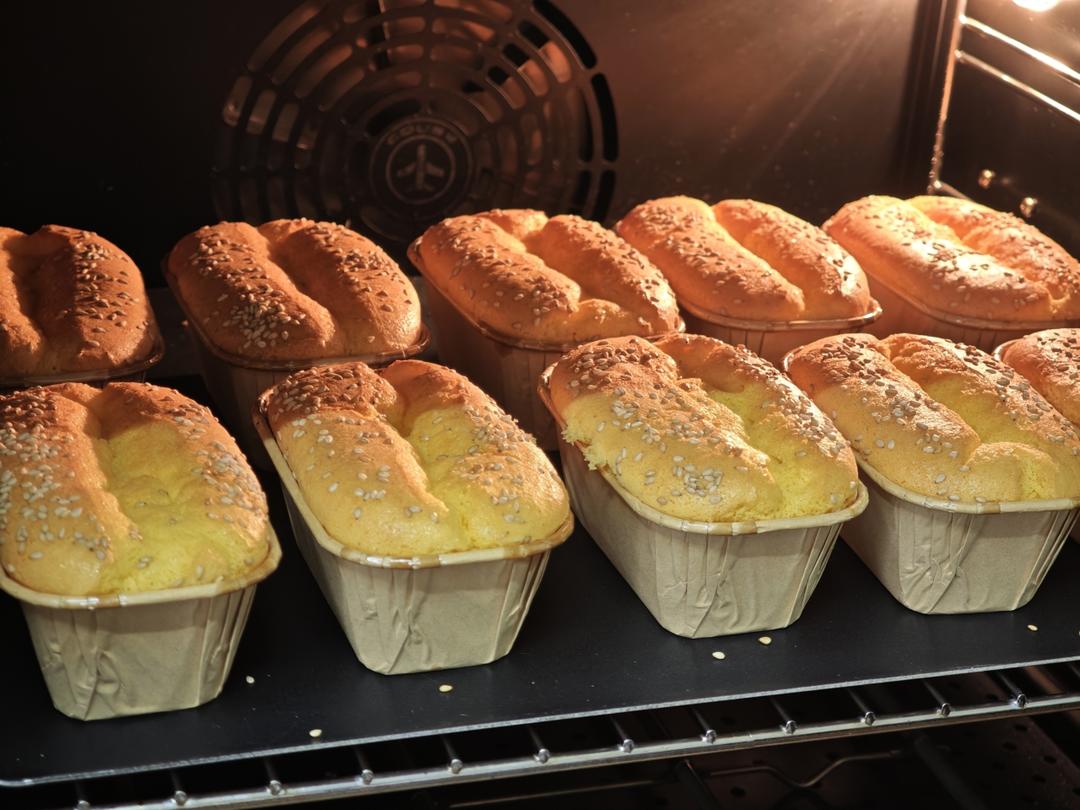
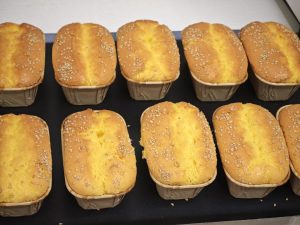
Step 9 – Cool on a Rack
Tap the pan lightly against the counter to release any steam, then turn the cakes out onto a wire rack. They are wonderful warm and even better after a short rest.
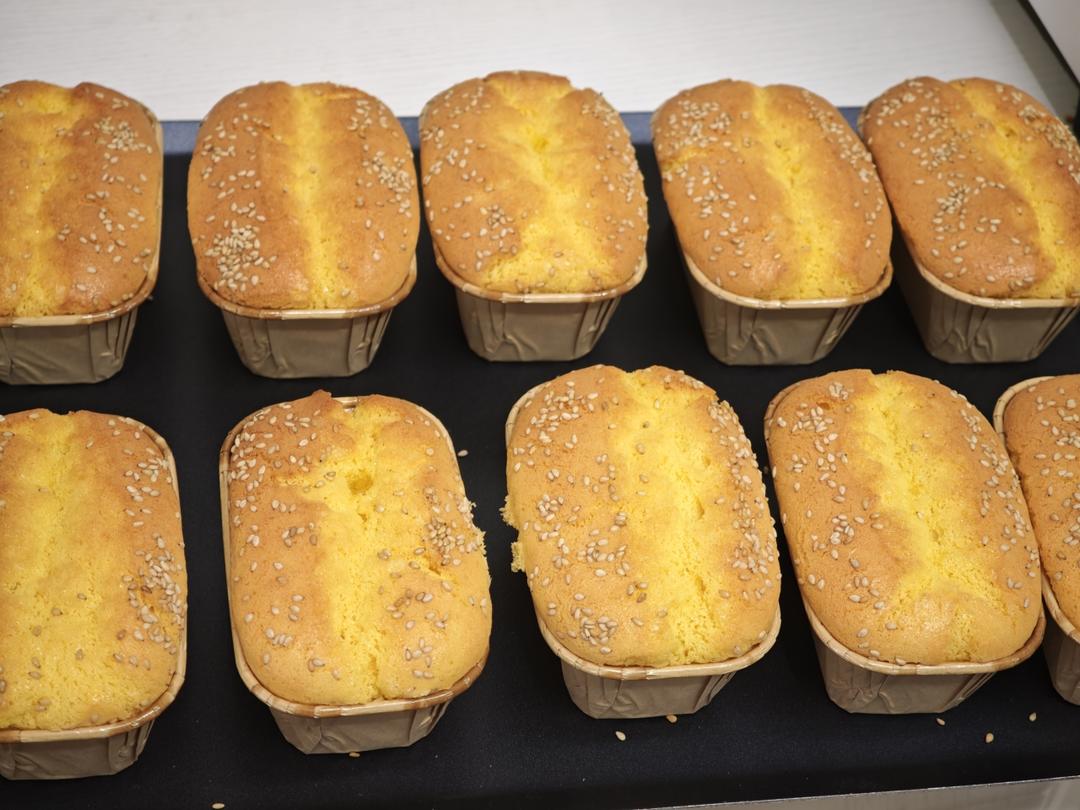
Step 10 – Admire the Golden Cakes
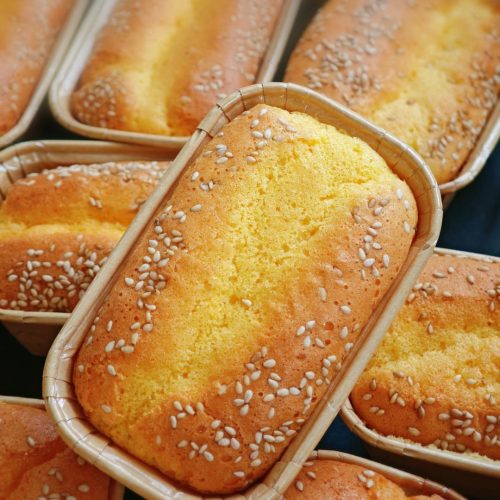
Each cake comes out golden, fragrant and glossy-topped – this is the batch that disappears fastest in my kitchen.
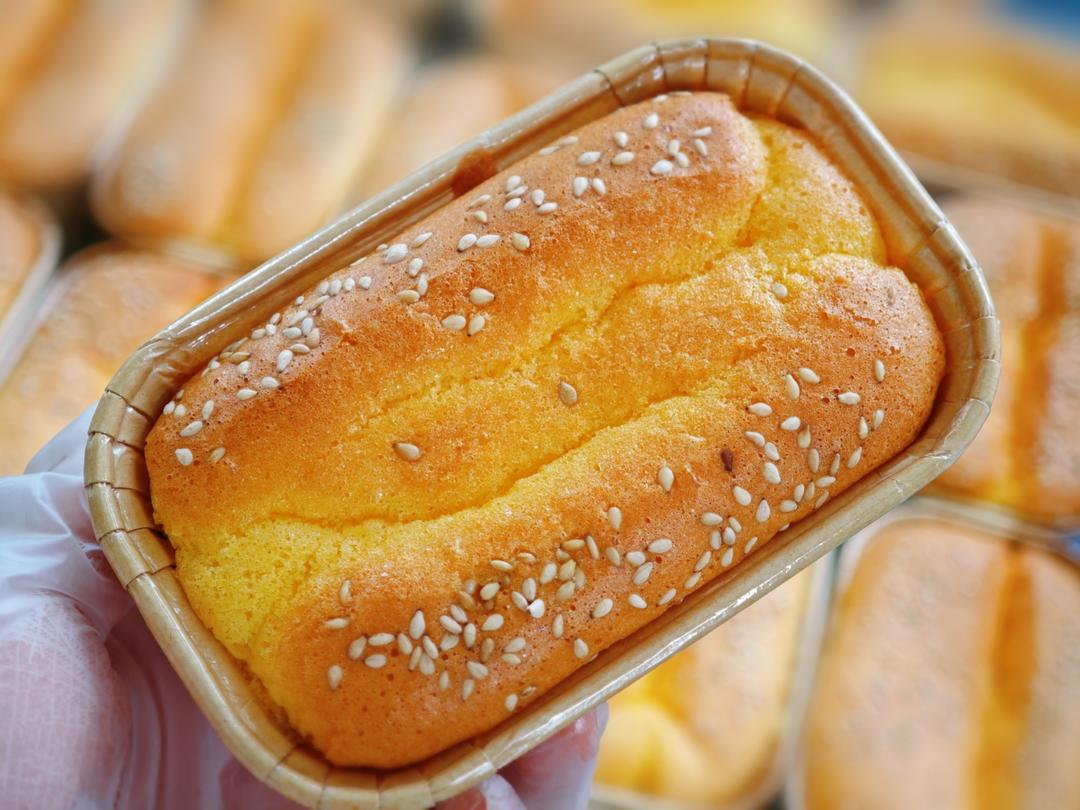
Step 11 – Enjoy the Aroma
By this point the kitchen smells like a bakery stall – rice, honey and toasted sesame drifting through every room.
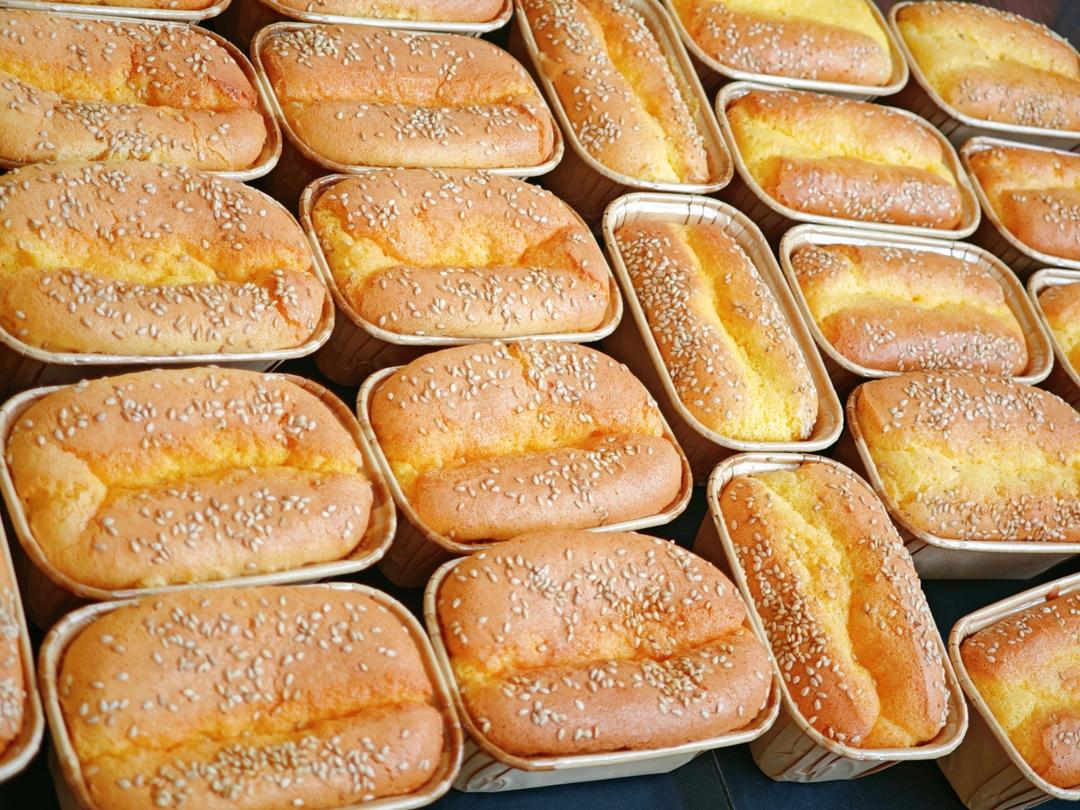
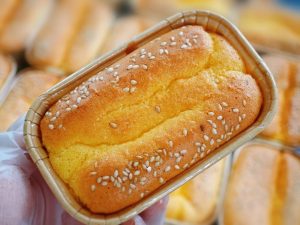
Step 12 – Taste the Crispy-Outside, Chewy-Inside Result
Bite through the crisp, sugary crust into the soft, stretchy center – this is the texture that makes the recipe worth locking away.
Common Mistakes When Making a Glutinous Rice Cake
1. The cakes deflate and turn dense. Cause: the egg foam was under-whipped. Fix: whip to a true ribbon stage – the figure-8 must hold for a few seconds before sinking.
2. Gritty, sandy texture. Cause: regular glutinous rice flour instead of water-milled, or the flour was not sifted. Fix: buy water-milled flour and always sift it with the baking powder.
3. The cakes collapse as they cool. Cause: over-folding deflated the foam, or the oven was opened too early. Fix: fold only until combined and keep the door closed for the first 15 minutes.
4. The outside is hard and the inside is raw. Cause: the oven is too hot. Fix: bake at 170°C (338°F), not higher, on the lower-middle rack.
5. A metallic aftertaste. Cause: regular baking powder. Fix: use aluminum-free baking powder.
6. Cakes stick to the molds. Cause: unlined molds. Fix: use paper liners or silicone molds – the batter has no fat to release itself.
Variations
This formula is a blank canvas. Swirl in a spoon of red bean paste for a marbled effect, fold in chocolate chips, or swap the sesame for dried osmanthus flowers. For a fun way to use up leftover sticky rice, my crispy sticky rice apple cakes are a favorite afternoon snack.
Frequently Asked Questions
What does “Q” texture mean? It is the Chinese term for a pleasantly springy, chewy texture – think mochi, tapioca pearls or al dente noodles. Glutinous rice starch delivers exactly that.
Can I use regular glutinous rice flour? It works but gives a slightly grittier crumb. Water-milled (shui mo) flour is ground finer and is worth seeking out in Asian grocers or online.
Can I make this dairy-free? It already is – there is no butter, milk or cream in the batter at all.
Why whip whole eggs instead of separating them? A whole-egg sponge is denser and chewier than a separated-egg chiffon, which is exactly what suits the Q texture of this cake. Separating would make it more airy and less stretchy.
How do I know the cakes are done? Deep golden color plus a clean skewer. Unlike a wheat cake, the crumb will always look slightly moist – that is the chewy center working as intended.
How to Serve
These cakes are best the day they are baked, still faintly warm, with tea or soy milk. They make a lovely dessert board next to my Chinese date cake and a bowl of the purple rice fan tuan for a grains-themed spread. Kids love them in lunch boxes, and my meat floss cakes have to fight for space on the same plate.
Storage & Reheat
Store the cakes in an airtight container at room temperature for up to 2 days – they are best fresh, when the crust still crackles. After a day the crust softens; refresh them in a 150°C (300°F) oven for 3-4 minutes to bring back the crisp shell. They also freeze well for up to a month: thaw at room temperature and re-toast briefly. Unlike my fluffy matcha chiffon cake, which turns dense when chilled, these cakes keep their chew.
Allergen Notice
This recipe contains egg. It is naturally gluten-free (glutinous rice flour) and dairy-free. If nut or seed allergies are a concern, omit the sesame seed topping.
Nutrition Disclaimer
Nutrition information is calculated using an ingredient database and should be considered an estimate. In cases where multiple ingredient alternatives are given, the first listed is calculated for nutrition. Garnishes and optional ingredients are not included. Nutrition information is an estimate and provided for informational purposes only.
About the Author & Recipe Development
I’m Lin, a professional chef who grew up in my family’s Sichuan restaurant and spent a decade in restaurant kitchens before writing recipes for home cooks. I first ate nuomi ba ba gao at a bakery counter in Shanghai and spent a week reverse-engineering it in my own kitchen. The breakthrough was weighing the eggs: once I hit exactly 275 g of whole egg liquid and stopped trusting egg counts, the texture went from good to “lock the formula away.” I tested it with honey and without, with sesame and with osmanthus, and the version here – plain, honeyed, sesame-topped – is the one I make weekly.
Authoritative References
The science of how whipped whole-egg foam builds structure in sponge cakes is covered in this overview of foaming and egg foam from ScienceDirect. For safe handling of raw eggs, I follow the USDA egg safety guidance.
No-Oil Glutinous Rice Cake (Nuomi Ba Ba Gao)

Equipment
- 10 Small Cake Molds or Muffin Cups
- Hand Mixer or Stand Mixer
- Piping Bag
- Fine-mesh strainer
- Wire Cooling Rack
Ingredients
For the Cake
- 275 g whole egg liquid about 5 large or 6 small eggs
- 0.33 cup caster sugar 80 g, adjust 75-90 g to taste
- 0.25 tsp salt 1.5 g
- 2 tsp honey 8 g
- 1.33 cup water-milled glutinous rice flour 165 g
- 1 tsp aluminum-free baking powder 5 g
- 0.5 tsp lemon juice 2 g
- white sesame seeds for topping
Instructions
- Preheat the oven to 170°C (338°F). Crack the eggs into a large bowl and add the lemon juice, sugar, salt and honey.

- Whip on high speed until the mixture turns ivory and grows dramatically in volume.
- Whip to the ribbon stage: the batter falls in thick, stacking ribbons and a lifted figure-8 holds its shape.
- Sift the glutinous rice flour with the baking powder and fold into the egg foam in two additions, cutting from the bottom up until just combined.
- Transfer to a piping bag and fill the molds to about 8-9 tenths full.
- Sprinkle white sesame seeds over the surface of each cake.
- Bake on the lower-middle rack at 170°C (338°F) for 18-20 minutes until puffed and deeply golden.
- Pull the cakes when the surface is a deep, even gold and a skewer comes out clean.
- Tap the pan lightly to release steam and cool the cakes on a wire rack.
- Serve golden, fragrant and glossy-topped – best while still faintly warm.
- Enjoy the rice, honey and toasted sesame aroma filling the kitchen.
- Bite through the crisp crust into the soft, stretchy center – the signature texture of this cake.



Leave a Reply