If there is one dish that instantly wakes up a tired palate, it is Kimchi Pork Belly Stir-fry (辣白菜炒五花肉). As a chef born in Sichuan but who has traveled extensively through Northern China, I developed a deep appreciation for the fusion of flavors found in regions bordering Korea. This dish is the ultimate “appetite opener” (kai wei cai).

The magic lies in the contrast. We take fatty, rich pork belly and render it down until it’s golden and slightly crispy—a technique I use often in dishes like Twice-Cooked Pork. Then, we hit it with the acidic, spicy punch of aged kimchi. The result is a dish that is rich but not greasy, spicy but balanced. It is incredibly fast to make, requires just one pan, and tastes better than takeout.
About the Author & Recipe Development
I’m Lin, the chef behind Woks of Love. Growing up in a restaurant family, I learned that the secret to great stir-frys isn’t always high heat—it’s understanding your ingredients.
For this recipe, I tested three different brands of kimchi available in US supermarkets to perfect the seasoning ratio. I discovered that the acidity varies wildly between brands. Therefore, this recipe includes a crucial “taste-and-adjust” step for sugar and vinegar to ensure your final dish is perfectly balanced, regardless of which kimchi you buy. I’ve adapted the traditional method to be foolproof for home cooks using standard non-stick pans or woks.
What is Kimchi Pork Belly Stir-fry?
This dish is a household staple in Northeastern China (Dongbei cuisine) and is very similar to the Korean dish Dubu Kimchi (without the tofu). It features thinly sliced pork belly that is pan-fried to release its fat, which is then used to sauté the kimchi.
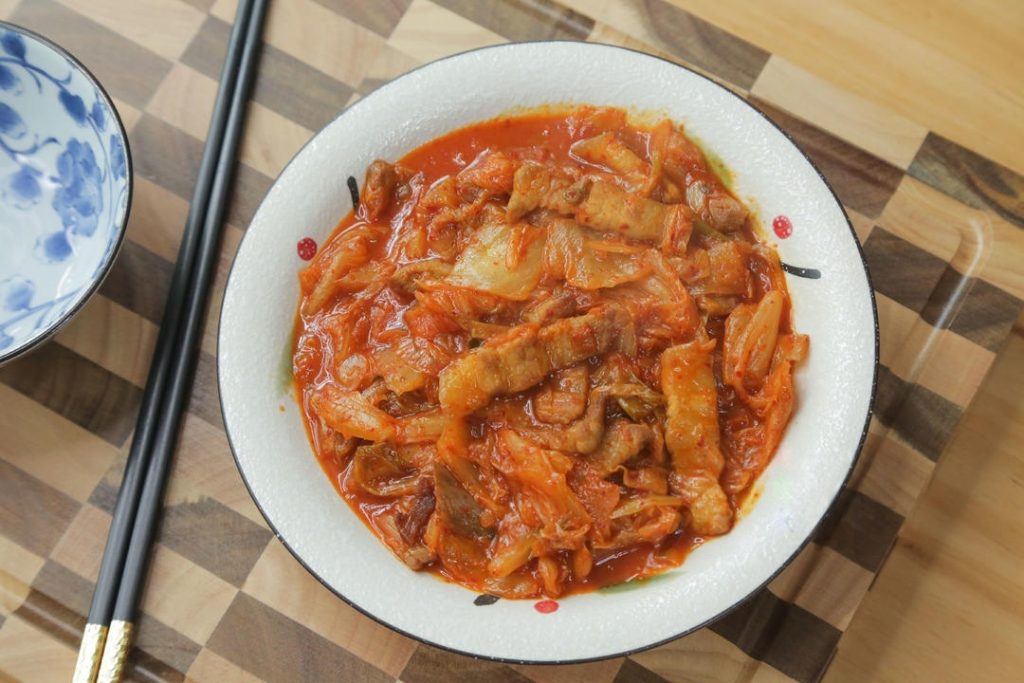
The pork absorbs the spicy red pepper brine of the cabbage, while the cabbage softens and takes on the savory richness of the meat. It is traditionally served alongside a steaming bowl of white rice, or sometimes paired with Yangzhou Fried Rice if you are feeling indulgent.
If you want to take this stir-fry to the next level with a fresher, homemade touch, you don’t actually need to wait weeks for cabbage to ferment. I highly recommend trying my 15-Minute Easy Quick Kimchi (Lazy Homemade Pao Cai). It delivers that perfect spicy, tangy crunch in a fraction of the time, and its bright acidity makes it an absolutely fantastic base for this rich, savory pork belly dish.
115-Minute Easy Quick Kimchi (Lazy Homemade Pao Cai)An effortless 15-minute lazy quick kimchi that delivers a crispy, spicy, and tangy crunch with absolutely no tedious fermentation required. Perfect for a quick weeknight side dish.Check out this recipe

Why It Works
- Fat Rendering: By starting the pork in a cold or warm pan without extra oil, we allow the fat to liquefy and the meat to brown (the Maillard reaction) without becoming greasy.
- Flavor Balancing: Kimchi is naturally sour and spicy. Adding a touch of sugar creates a rounder, savory flavor profile, while a splash of water at the end melds the sauce to coat the meat.
- Texture Contrast: The slight crunch of the fermented cabbage pairs perfectly with the chewy, crispy edges of the pork.
Key Ingredients & Substitutions
- Pork Belly (150g / 5 oz): You want fresh uncured pork belly.
- Tip: If you can’t find pork belly, you can use bacon, but be careful with the salt content as bacon is cured. If using fresh pork belly, removing the skin is recommended for a better mouthfeel in this quick stir-fry.
- See also: If you love pork belly, you must try my authentic Braised Pork Belly.
- Kimchi (300g / 10.5 oz): Napa cabbage kimchi is standard.
- Selection: Older, sourer kimchi works best for cooking. If your kimchi is fresh and not very sour, you will need the vinegar listed in the recipe.
- Chicken Essence (1/2 tsp): This adds an umami boost.
- Substitute: You can use chicken bouillon powder or a pinch of MSG. If you prefer not to use it, you can omit it, though the flavor won’t be as “restaurant-style.”
- Sugar & Vinegar: These are the balancing agents.
- Note: Use Chinese Rice Vinegar or white distilled vinegar.
Recipe Notes Before We Begin
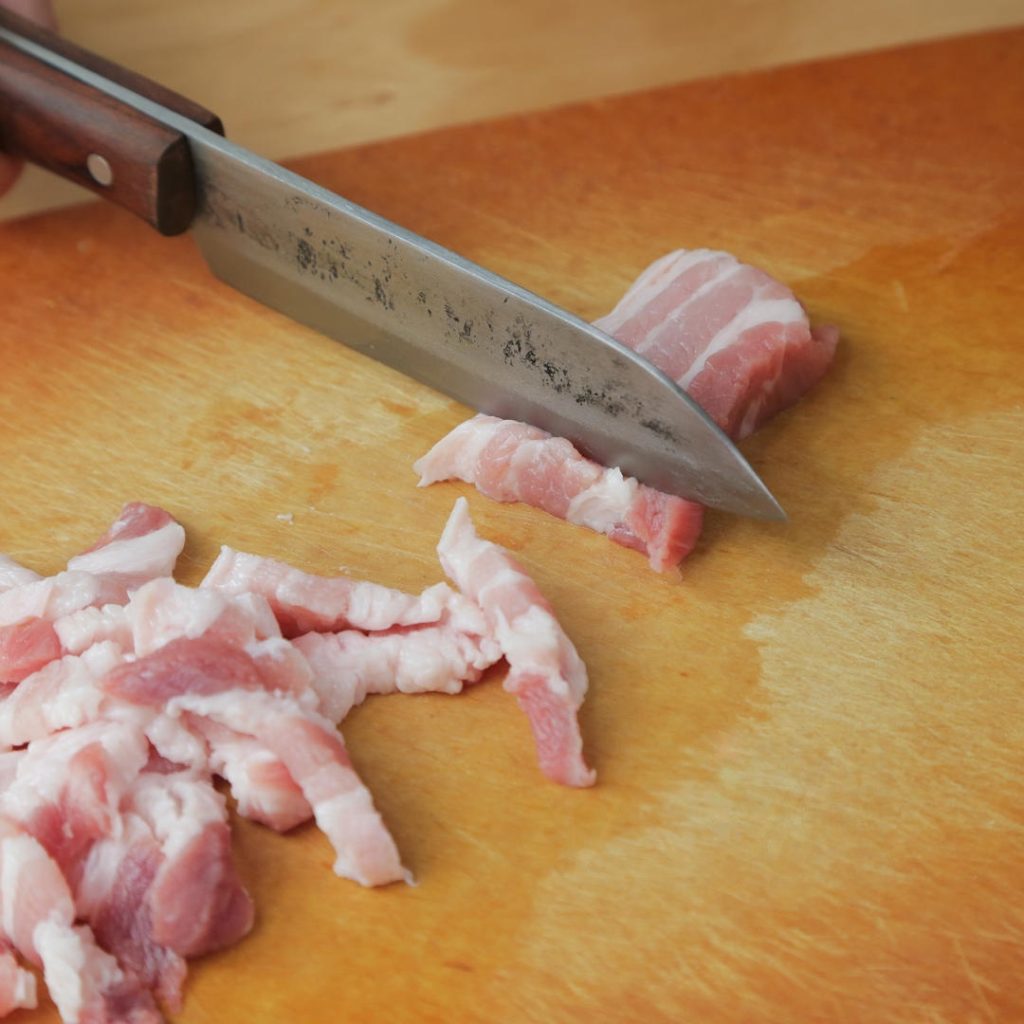
- Freeze to Slice: To get those perfect 3mm (1/8 inch) thin slices of pork, place your pork belly in the freezer for 20-30 minutes before cutting. It firms up the meat, making it much easier to slice evenly.
- Don’t Add Oil: The recipe instructions specifically say do not add oil to the pan initially. The pork belly will release plenty of its own fat. Adding extra oil will make the dish heavy.
- Water Control: We add a small amount of water at the end to help the flavors mingle, but don’t drown it. We want a stir-fry, not a soup like Hot and Sour Soup.
How to Make Kimchi Pork Belly Stir-fry
Step 1: Mise en Place (Preparation)
Slice the pork belly. Remove the rind (skin) if it is thick or tough. Slice the meat into thin pieces, approximately 3mm (1/8 inch) thick. If your kimchi is whole leaf, chop it into bite-sized pieces (about 1-2 inches wide).
Step 2: Render the Pork
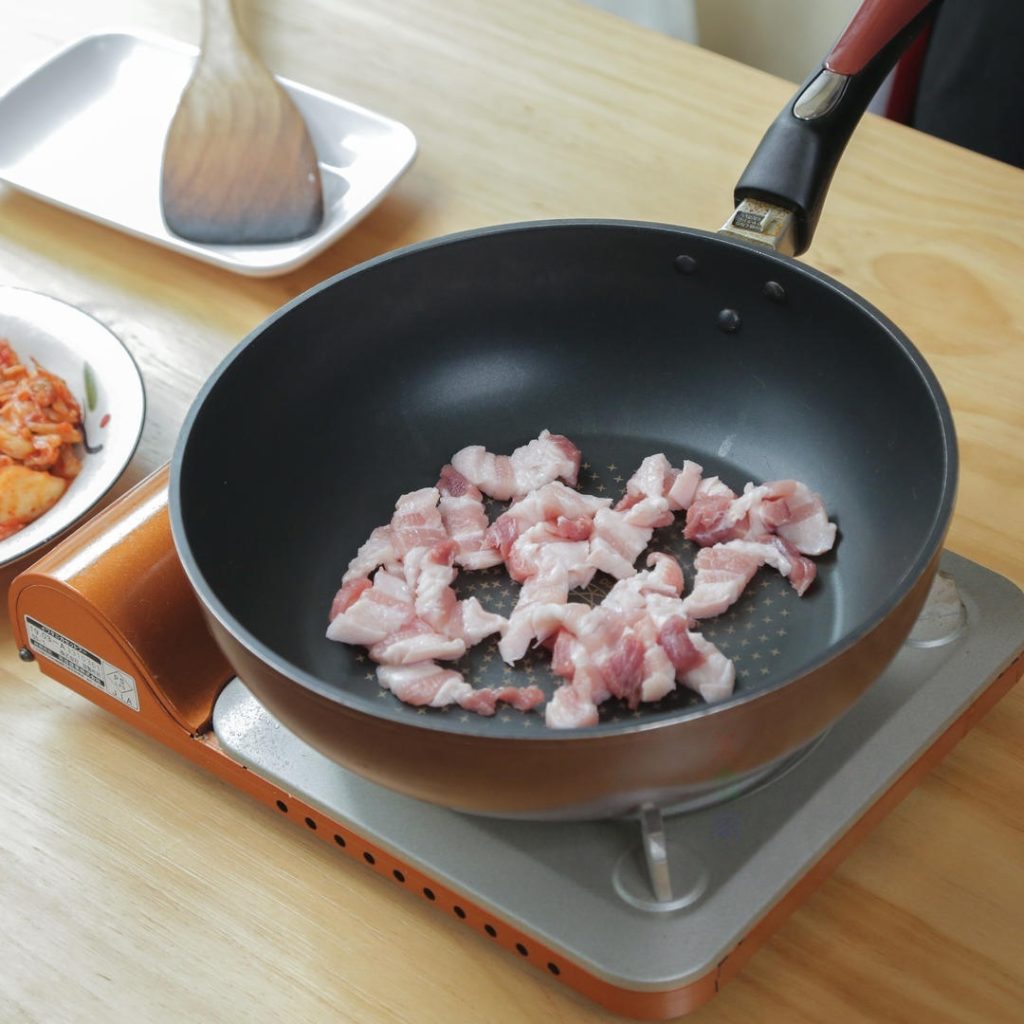
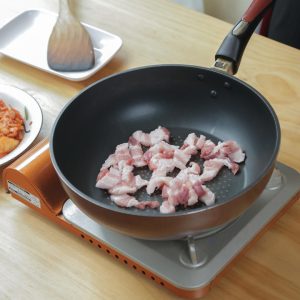
Place a non-stick pan or wok over medium-low heat. Do not add oil. Lay the pork belly slices in the pan. We are cooking this slowly at first to render the fat out.
- Why? If you sear it too hot, too fast, the fat seals inside, and the meat becomes rubbery. We want the fat to liquify and the edges to crisp up.
Step 3: Fry Until Golden
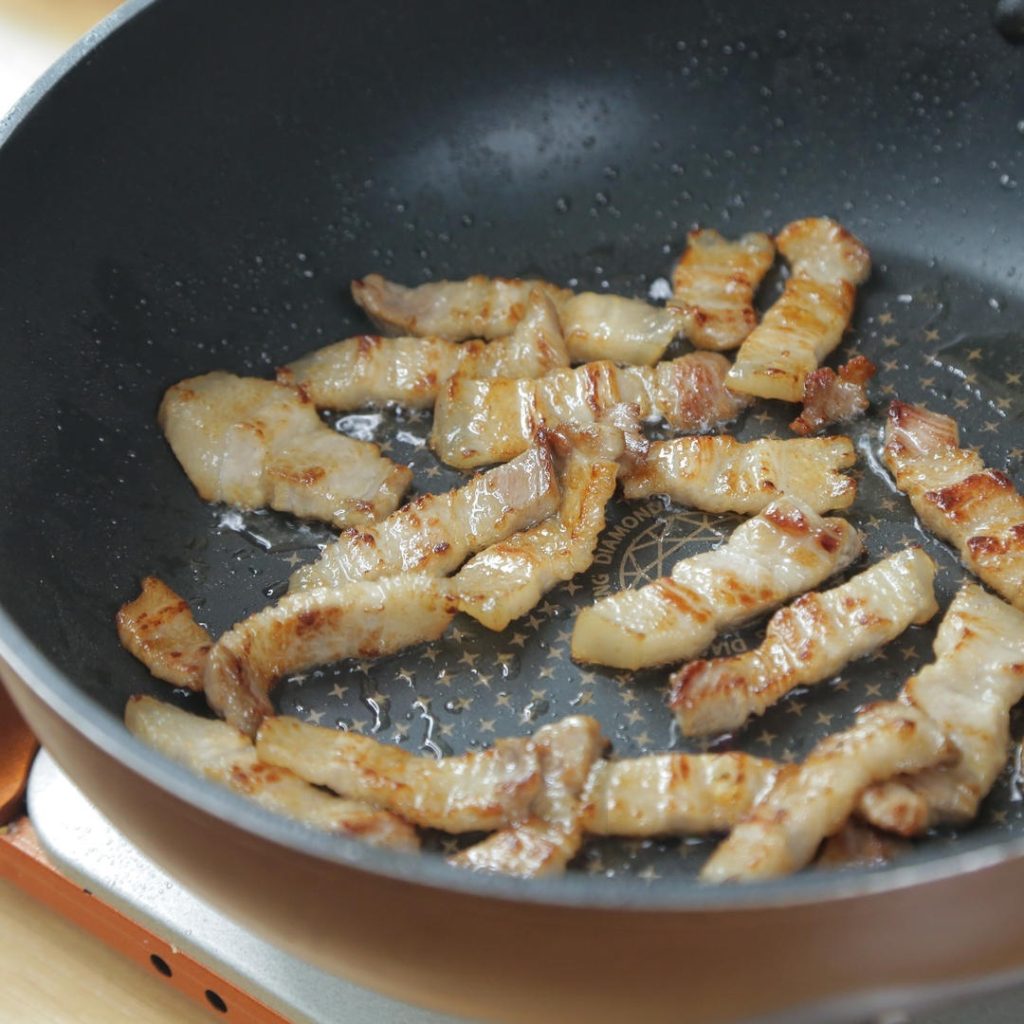
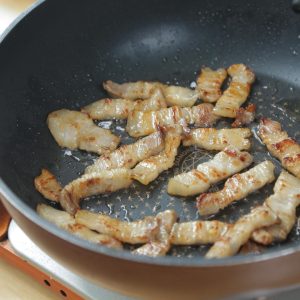
Stir-fry the pork until both sides are slightly golden brown and a significant amount of transparent oil has been released. The meat should look slightly curled and toasted.
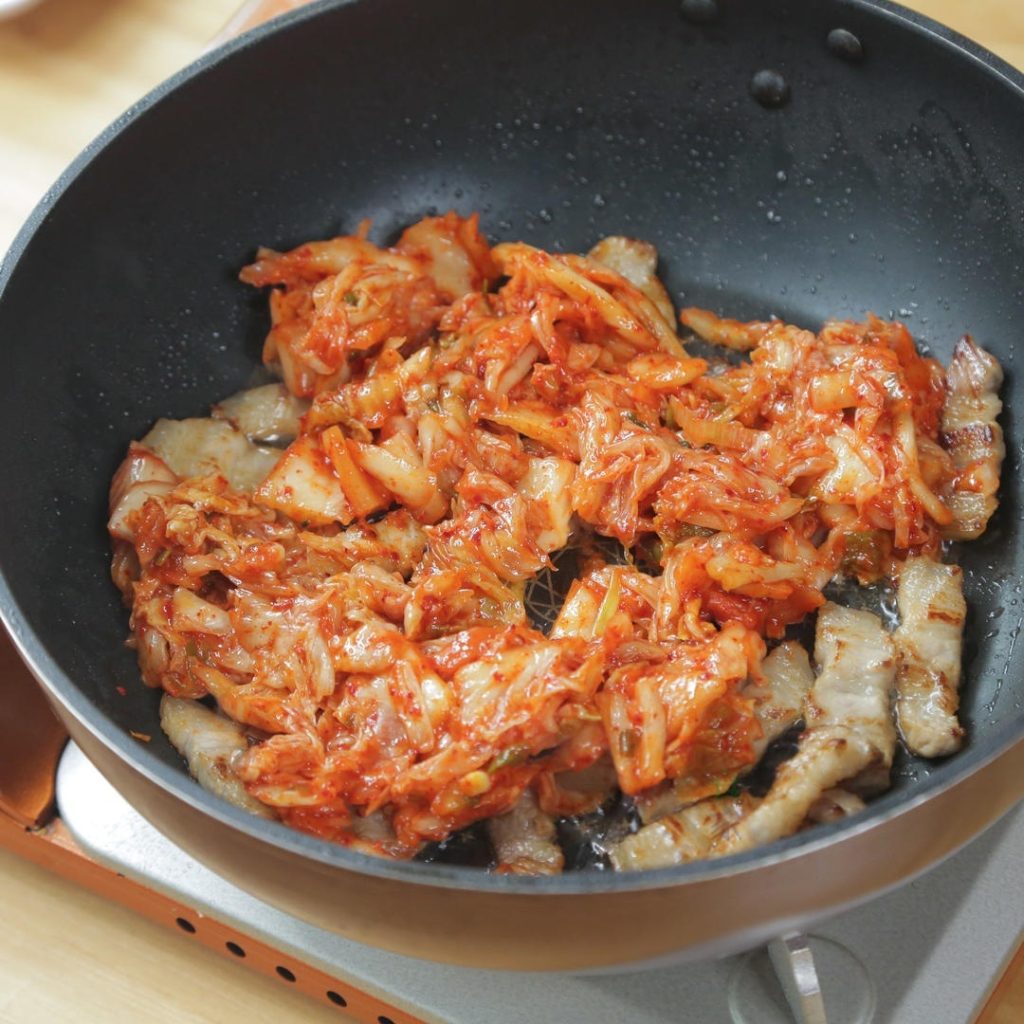
Step 4: Add Kimchi
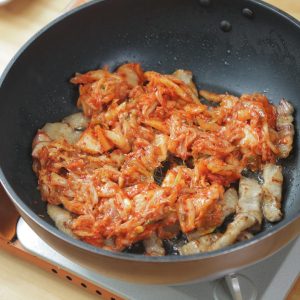
Pour the chopped kimchi (and its juices) directly into the pan with the pork and the rendered fat. Turn the heat up to medium-high.
Step 5: Season
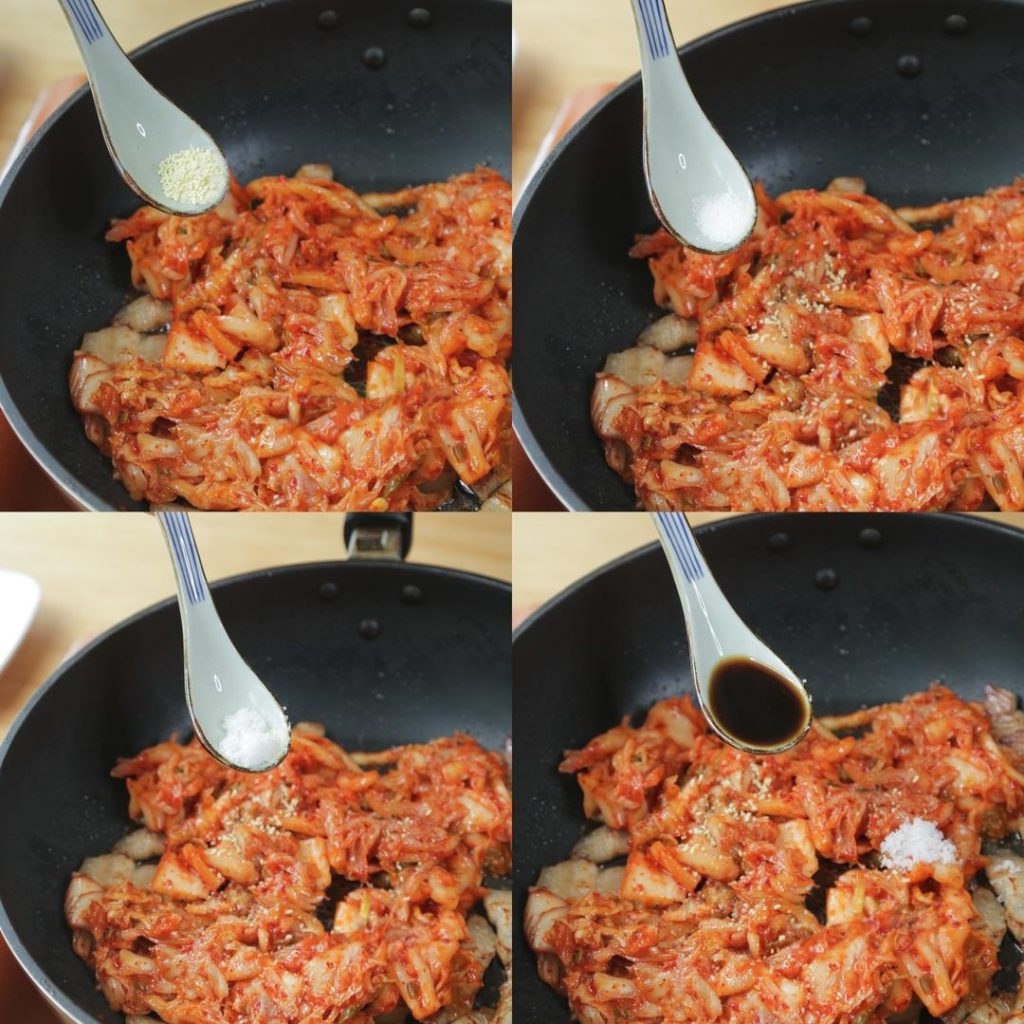
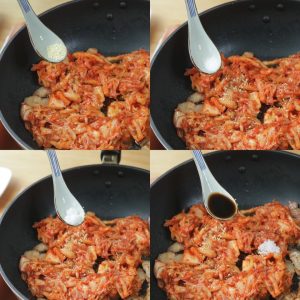
Add 1/2 tsp chicken essence (or bouillon). Now, the crucial part: Sugar and Vinegar.
- Taste Test: If your kimchi is very sour, add 1 tsp of sugar and skip the vinegar.
- Taste Test: If your kimchi is sweet/fresh, add 1 tsp of Chinese Rice Vinegar (or white vinegar) and reduce the sugar.
- Stir-fry until well combined.
Step 6: Simmer and Reduce
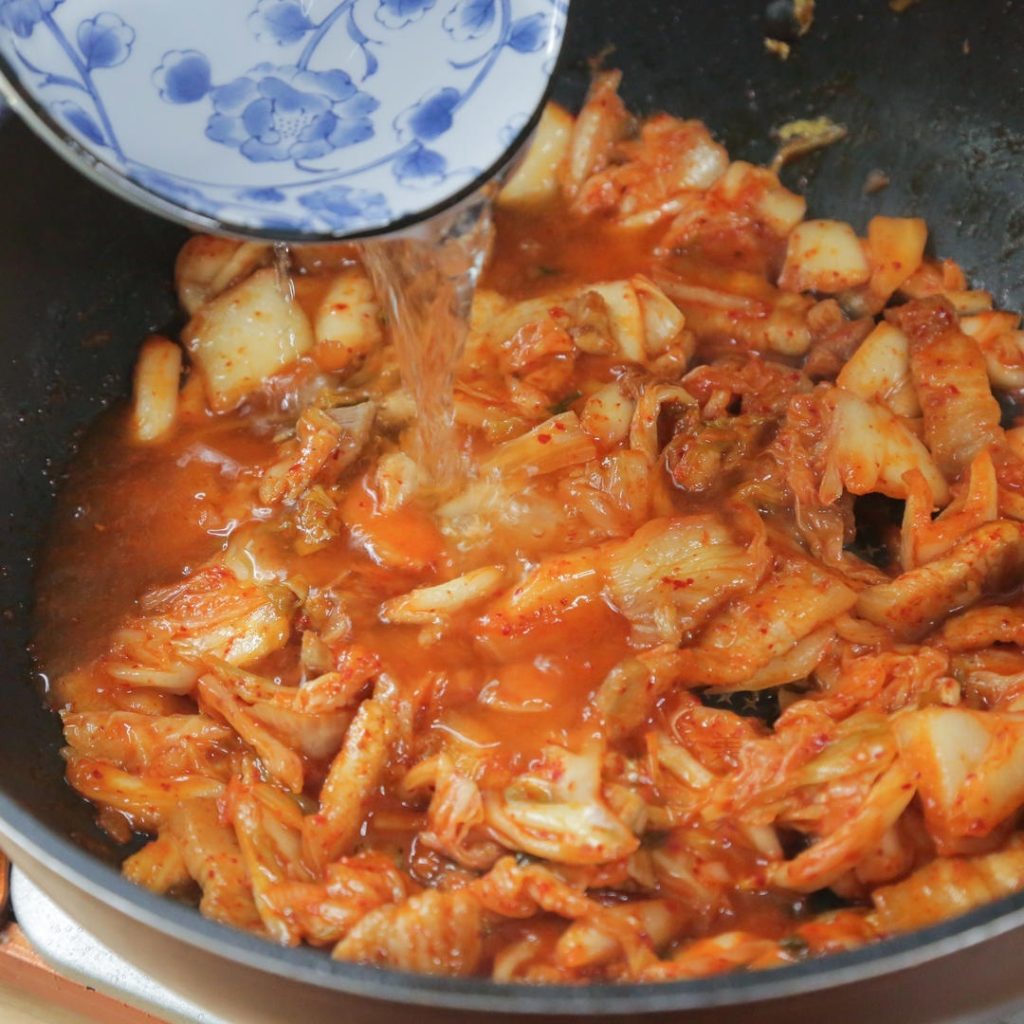
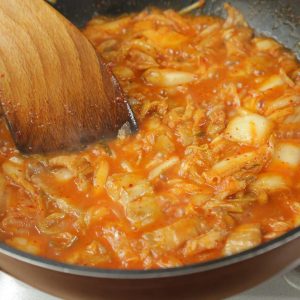
Pour in about 1/4 cup (60ml) of water. (The original recipe calls for “half a small bowl”). Stir well.
- Why? This creates a small amount of steam to soften the cabbage slightly and helps the seasonings dissolve and coat the pork.
Step 7: Finish
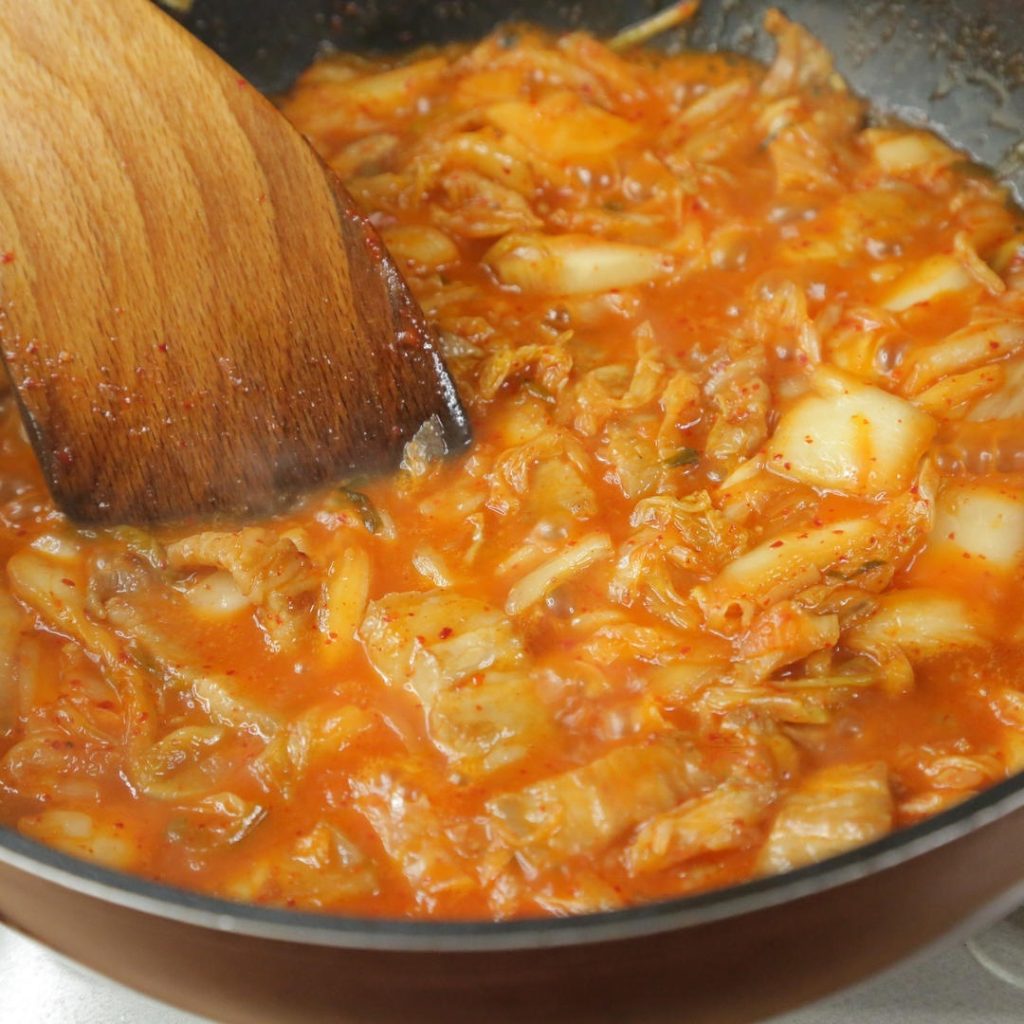
Continue to stir-fry until the liquid has mostly evaporated (this is called “shou zhi” or reducing the sauce). Taste a piece of pork. If it needs salt (kimchi is usually salty enough), add a pinch now or a dash of Light Soy Sauce. Give it a final toss and serve immediately.
Serving Suggestions
This dish is savory and robust, so it pairs best with plain steamed jasmine rice to balance the flavors.
- Make it a Meal: Serve alongside a refreshing cold dish like my Smashed Cucumber Salad to cut through the richness of the pork.
- Soup Pairing: A light soup, such as Tomato Egg Drop Soup, works wonderfully as a palate cleanser.
Food Safety and Preparation
- Pork Safety: Ensure the pork belly is cooked through. The rendering process usually takes care of this, but the meat should change color completely from pink to golden/white. The FDA recommends cooking pork to an internal temperature of 145°F (63°C).
- Cross Contamination: Wash hands and cutting boards thoroughly after handling raw pork before touching the kimchi or ready-to-eat garnishes.
- Allergens: Kimchi often contains fermented shrimp or fish sauce. If you have a shellfish allergy, look for “Vegan Kimchi.”
FAQ & Troubleshooting
Q: My pork belly turned out tough and chewy. Why?
- A: This usually happens if the slices were too thick or if you didn’t render the fat long enough. Make sure to slice it thin (freeze it briefly to help!) and cook it on medium-low until it releases its oil before turning up the heat.
Q: The dish is too salty.
- A: Kimchi brands vary greatly in salt content. Always taste your kimchi before cooking. If it’s very salty, do not add any extra salt or soy sauce at the end. You can add a little more sugar or serve it with extra plain rice to balance it out.
Q: Can I use a wok for this?
- A: Absolutely. A wok is traditional. However, a non-stick skillet works great for beginners because it prevents the pork from sticking before the fat renders out.
Authoritative References
For more information on the science of pork fat rendering and food safety:
- USDA Food Safety and Inspection Service: Fresh Pork from Farm to Table
- Serious Eats: The Science of Rendering Fat
Nutrition Info (Estimate)
- Calories: ~350 kcal
- Protein: 12g
- Fat: 28g
- Carbohydrates: 8g
- Sodium: 680mg
Disclaimer: Nutrition information is calculated using an ingredient database and should be considered an estimate. In cases where multiple ingredient alternatives are given, the first listed is calculated for nutrition. Garnishes and optional ingredients are not included.
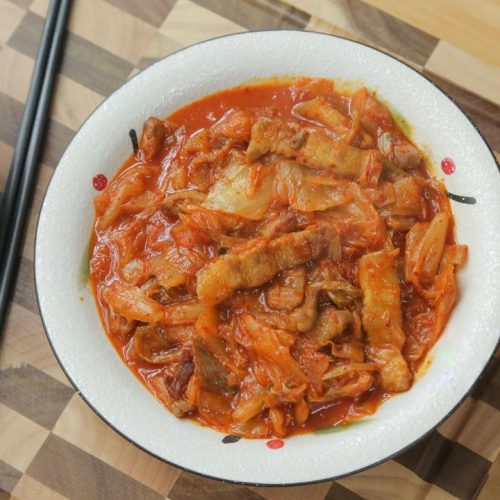
Kimchi Pork Belly Stir-fry (La Bai Cai Chao Wu Hua Rou)

Equipment
- Non-stick pan or Wok
- Chef’s knife
Ingredients
Main Ingredients
- 300 g Napa Cabbage Kimchi cut into bite-sized pieces
- 150 g Pork Belly skin removed, sliced into 3mm thin pieces
Seasonings
- 1/2 tsp Chicken Essence or chicken bouillon powder
- 1 tsp Sugar adjust based on kimchi acidity
- 1 tsp Chinese Rice Vinegar optional; only add if kimchi is not sour enough
- 60 ml Water approx 1/4 cup
- 1 pinch Salt optional; taste test first
Instructions
- Slice the pork belly into thin pieces, approximately 3mm (1/8 inch) thick. If using whole kimchi, chop into bite-sized pieces.

- Place a non-stick pan over medium-low heat. Do NOT add oil. Add the pork belly slices.
- Stir-fry the pork until the fat renders out and the meat turns slightly golden brown and releases oil.
- Add the kimchi to the pan. Turn heat to medium-high and stir-fry to combine with the pork fat.
- Add chicken essence. Taste the kimchi: if it is very sour, add the sugar. If it is sweet/bland, add the vinegar. Stir well.
- Pour in the water (about 1/4 cup). Stir-fry until the sauce reduces and the liquid is mostly evaporated.
- Taste and add a pinch of salt if necessary (rarely needed). Serve hot with steamed rice.


Notes
1. Freeze the pork belly for 20-30 minutes before slicing to make it easier to cut thin slices.
2. Do not add extra oil to the pan; the pork will render enough fat to cook the kimchi.
3. Adjust the sugar and vinegar based on your kimchi’s taste. Older kimchi needs more sugar; fresh kimchi needs vinegar. Safety & Storage:
Ensure pork is cooked to an internal temperature of 145°F (63°C). Leftovers can be stored in an airtight container in the fridge for up to 3 days. Nutrition Disclaimer:
Nutrition information is calculated using an ingredient database and should be considered an estimate. In cases where multiple ingredient alternatives are given, the first listed is calculated for nutrition. Garnishes and optional ingredients are not included.







Leave a Reply