There is a particular peace of mind that comes from knowing exactly where your food comes from. Growing up in Sichuan, and later working in professional kitchens, I often heard concerns about store-bought bean sprouts—fears about chemical bleaching or growth hormones used to make them look prettier on the shelf.
Because of this, I love growing my own. It feels like a simple science experiment that rewards you with the freshest, crunchiest ingredient for your stir-fries and soups. Today, I’m sharing a “zero failure” method to achieve Mung Bean Sprouts (Dou Ya) freedom at home. Whether you want to toss them into a Beef Chow Fun or add crunch to a Hot and Sour Soup, this method ensures you have a fresh supply year-round.

About the Author & Recipe Development
I am Lin, a culinary instructor and writer with over a decade of experience in professional Chinese kitchens. This method is based on the traditional techniques my mother used, refined through my culinary training to ensure safety and consistency. I have tested this specific “colander and weight” method three times in my home kitchen (using a standard 12-inch colander) to verify the timing. I specifically tested the “pressure” variable—adding a weight on top—which is the professional secret to getting thick, restaurant-quality stems rather than stringy, thin sprouts.
What Are Mung Bean Sprouts?
Mung bean sprouts (Lü Dou Ya) are germinated mung beans. They are a staple in Chinese cuisine, valued for their cooling properties in Traditional Chinese Medicine (TCM) and their ability to absorb flavors while retaining crunch.
Unlike the thin, raw sprouts often seen in Western sandwiches, Chinese bean sprouts are grown to be substantial and are almost always cooked. This home-growing method bridges the gap between traditional village practices and modern kitchen hygiene.
If you are looking for dishes to use these in, they are essential for adding texture to noodle dishes like Vegetable Chow Fun or as a fresh filling element in Spring Rolls.
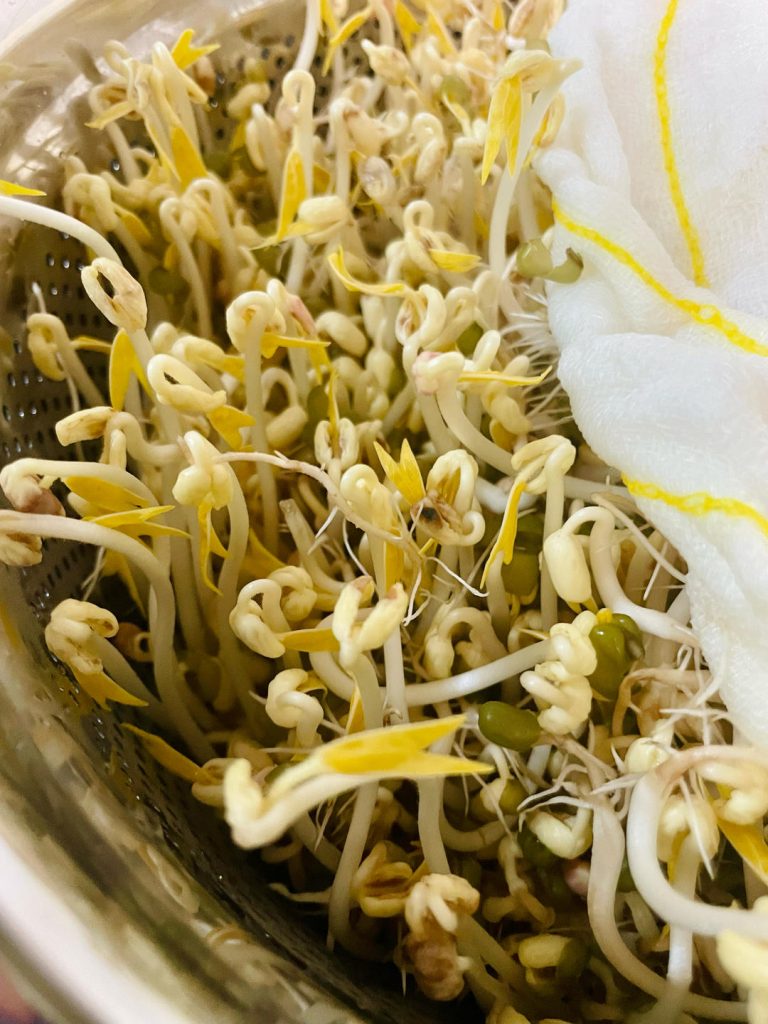
Why This Recipe Works
- The “Darkness” Principle: We strictly block out light to prevent photosynthesis. This stops the sprouts from turning pink, growing leaves too early, and developing a bitter taste.
- The Weight Technique: By placing a weighted plate on top of the growing sprouts, we force them to work harder to grow upward. This resistance creates the thick, juicy stems desirable in stir-fries, rather than spindly, stringy ones.
- Optimal Drainage: Using a colander prevents waterlogging, which is the number one cause of rot and bacterial growth in home sprouting.
Key Ingredients & Equipment
- Mung Beans (Lü Dou): You need dried whole mung beans with the green skin on. Do not use split yellow mung beans; they will not sprout. You can find these at Asian grocery stores or health food stores.
- Colander or Steamer Basket: Any basket with holes for drainage. Stainless steel or plastic works fine.
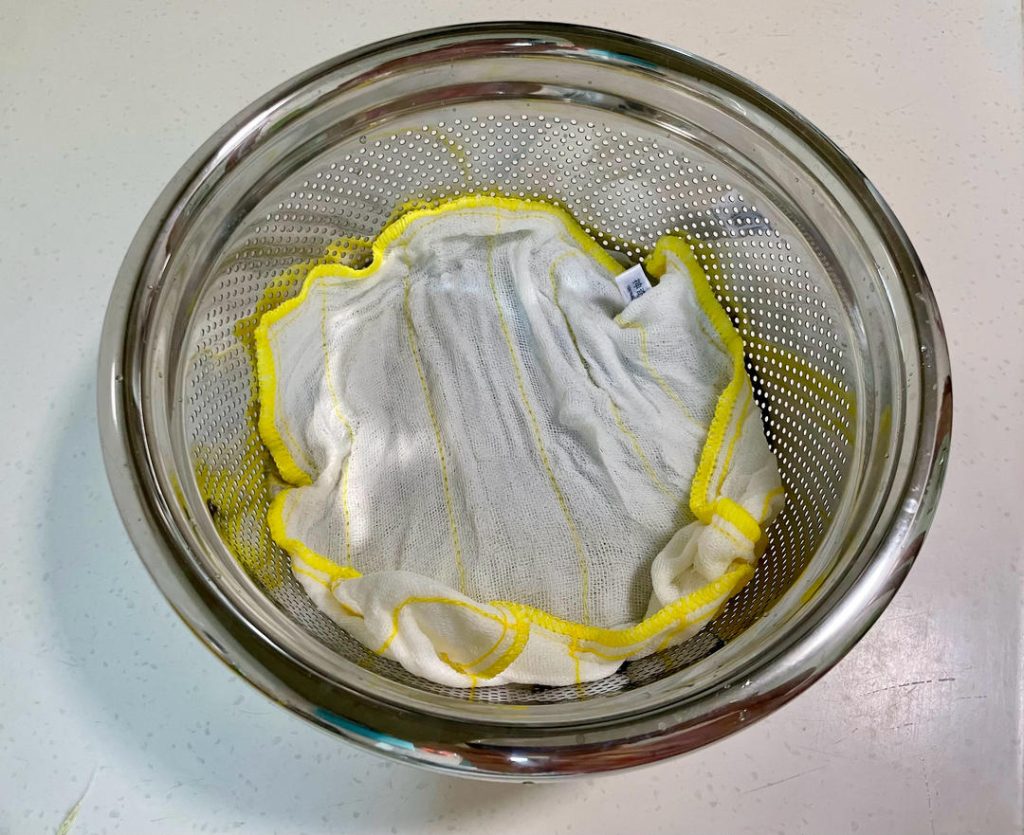
- Clean Cotton Cloth or Cheesecloth: You need two pieces—one to line the bottom and one to cover the top.
- A Weight: A heavy dinner plate or a bag of water.
- A Dark Bag: To block out light.
Recipe Notes Before You Start
- Sanitization is Key: Sprouts grow in warm, humid conditions—the same conditions bacteria love. Ensure your colander and cloths are thoroughly washed with hot, soapy water before beginning.
- Temperature: The ideal temperature for sprouting is between 68°F to 78°F (20°C to 25°C). If your house is colder, it may take a day longer; if warmer, they may be ready in 4 days.
How to Grow Mung Bean Sprouts
Day 1: The Soak
- Rinse and Sort: Take about 100g (approx. ½ cup) of dried mung beans. Pick out any broken or shriveled beans. Rinse them thoroughly under cold water.
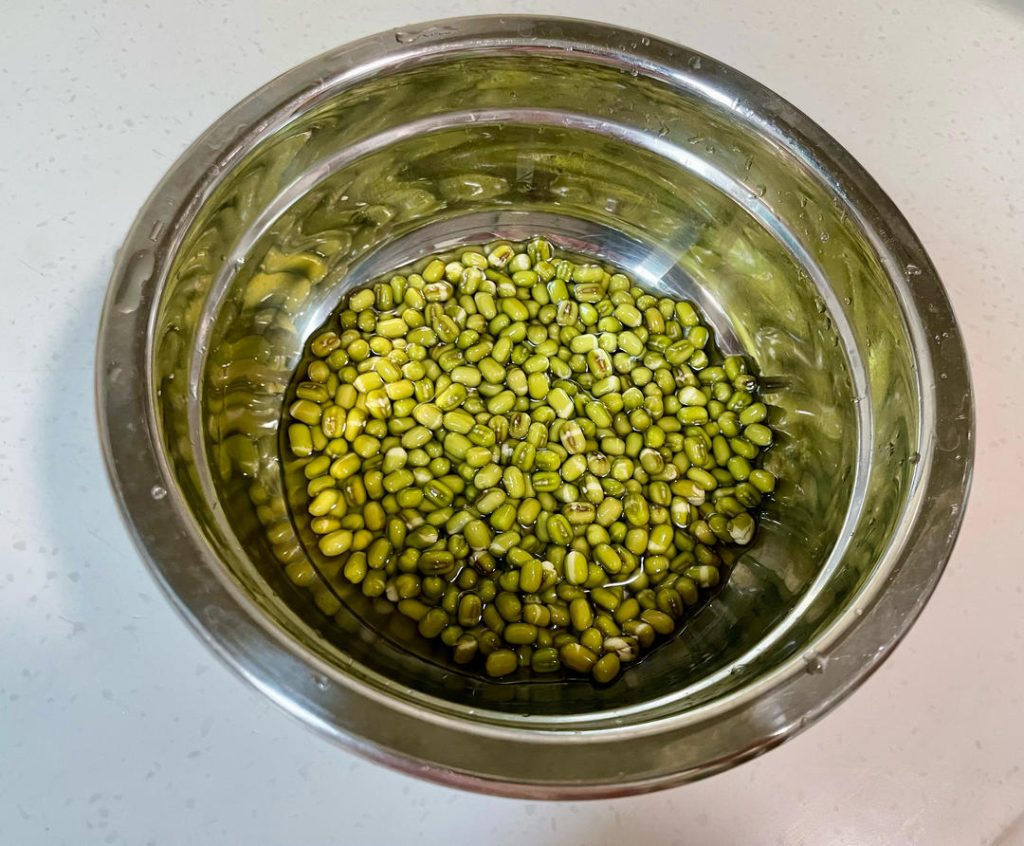
- Soak: Place the beans in a bowl and cover with plenty of cool water (at least 2-3 inches above the beans). Let them soak for 24 hours.
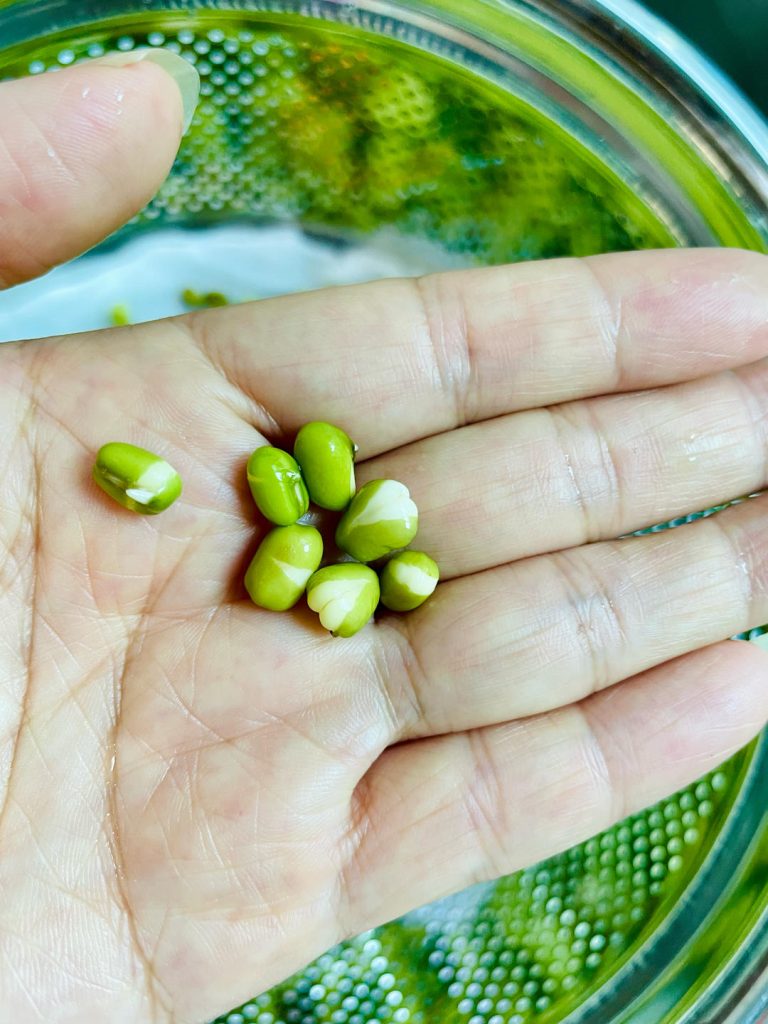
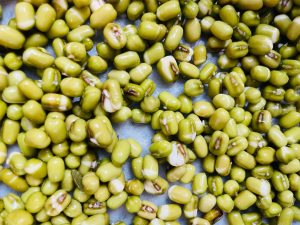
- Visual Cue: After soaking, the beans should have swelled significantly, and the green skins should be just starting to split, revealing a tiny white bud (the radical).

Day 2: The Setup
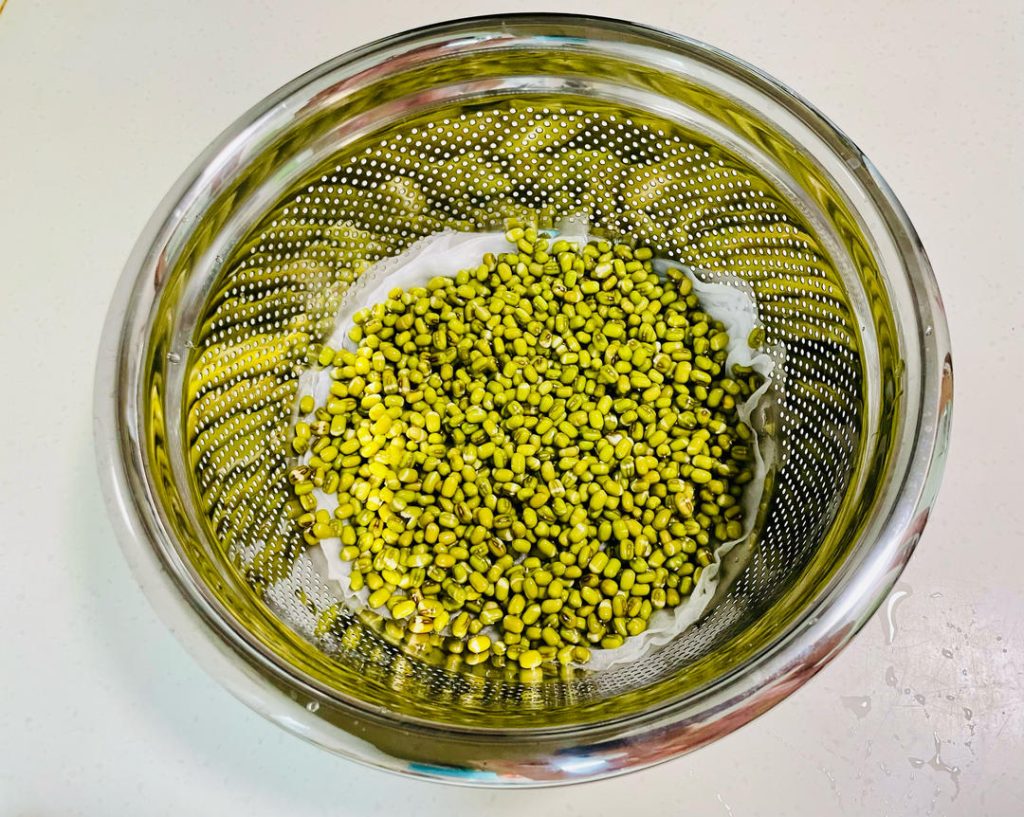
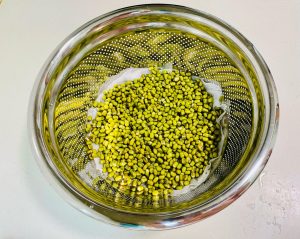
- Prepare the Vessel: Take your colander (or a steamer basket). Wet a clean cotton cloth or thick cheesecloth and line the bottom of the colander.
- Layer the Beans: Drain the soaked beans and spread them evenly over the wet cloth.
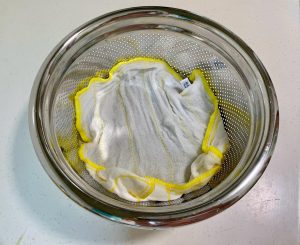
- Cover: Take a second wet cloth and place it directly on top of the beans.
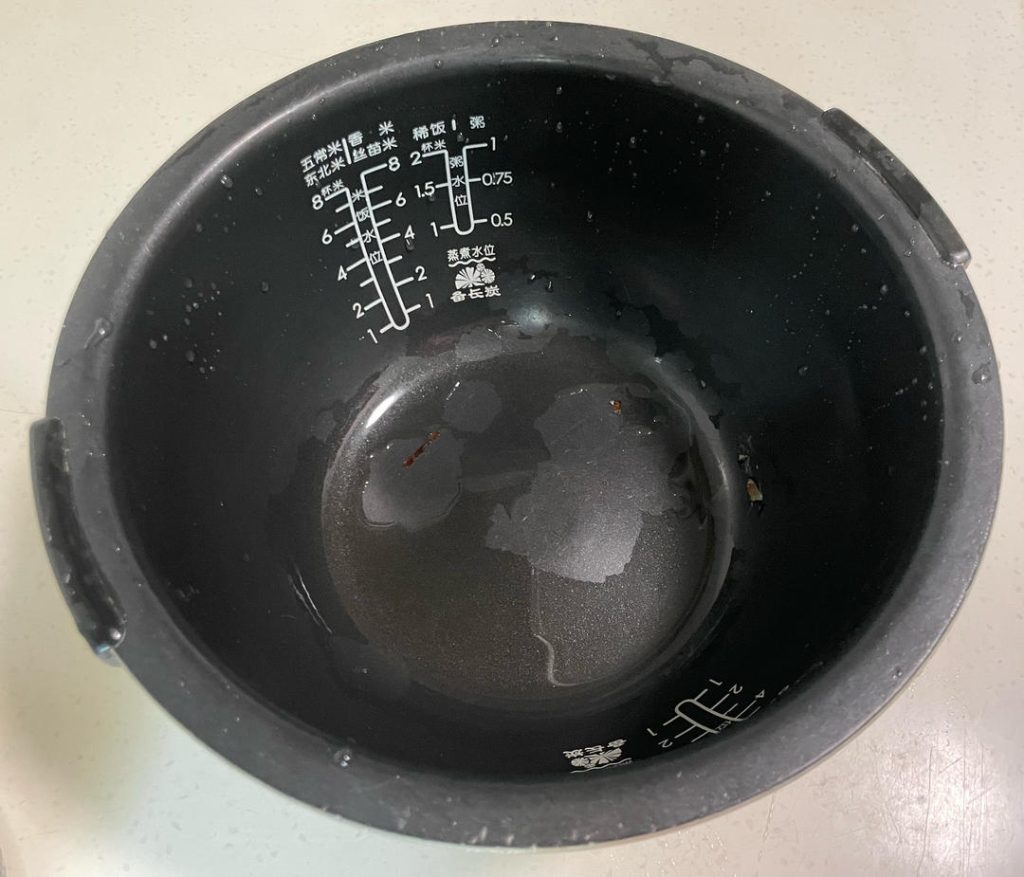
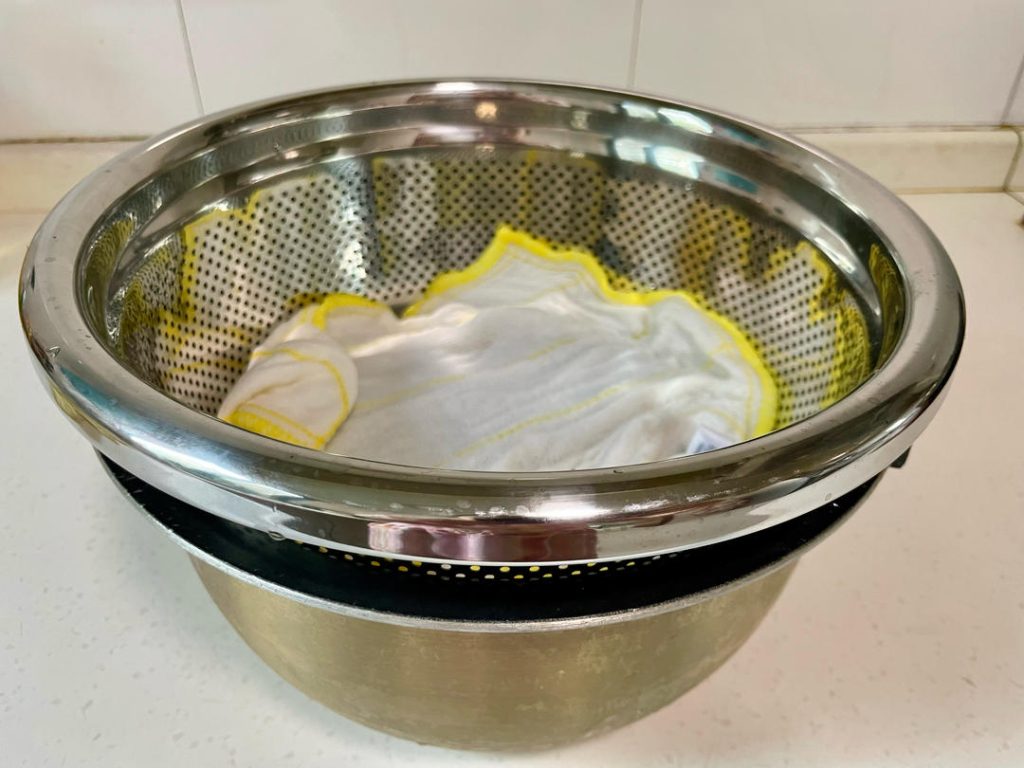
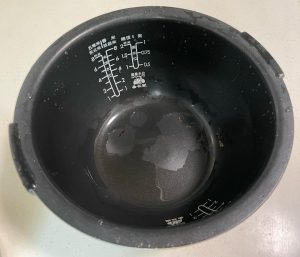
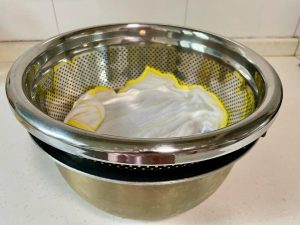
- The Drainage Setup: Place the colander inside a larger pot or bowl (an old rice cooker pot works great) to catch dripping water. Crucial: Ensure the bottom of the colander is not touching the drained water.
- The Weight (Important!): Place a heavy plate directly on top of the covering cloth. You can add a small bowl of water on top of the plate for extra weight. This pressure creates thicker sprouts.
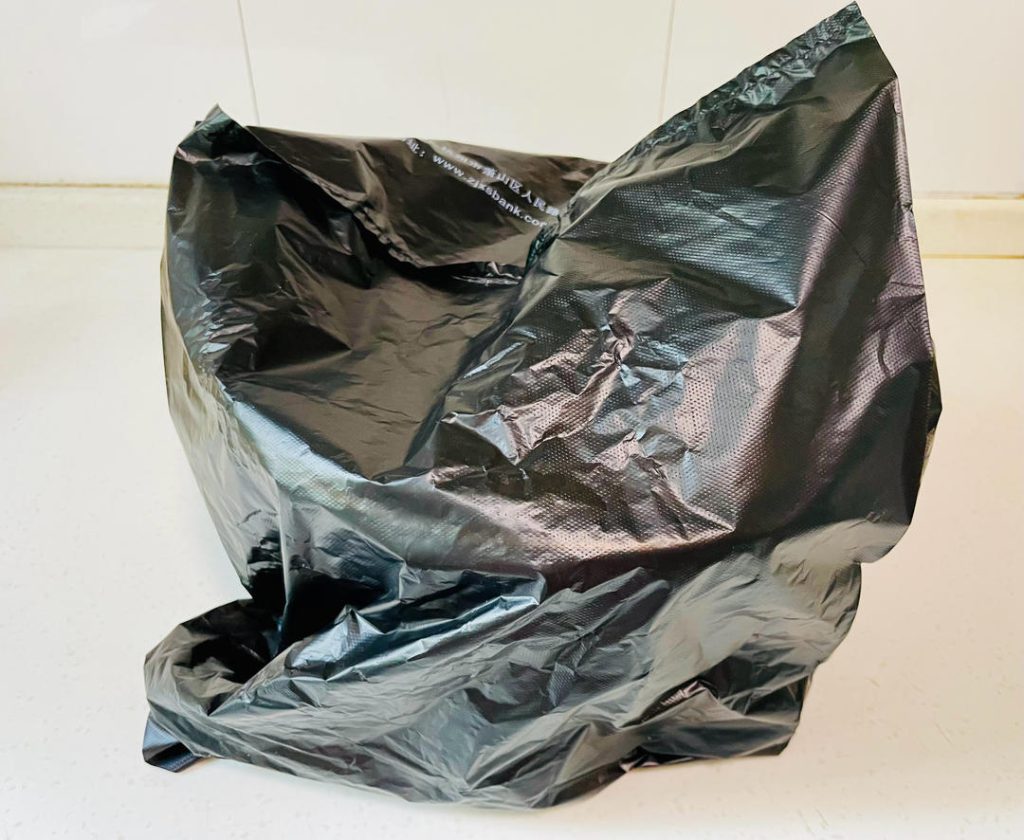
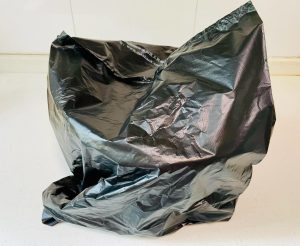
- The Black Bag: Cover the entire setup with a black plastic bag or place it in a very dark cupboard. Light is the enemy here.
Day 3-4: The Maintenance
- Rinsing: You must rinse the sprouts 2 to 3 times a day (Morning, Noon, and Night).
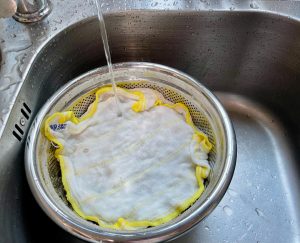
- Technique: Remove the weight. Gently run cold tap water over the top cloth (no need to uncover the beans) for about 30 seconds to flush them.
- Drain: Let the excess water drip out, empty the catch-bowl underneath, and replace the weight and black bag immediately.
- Observation: By Day 3, you should see significant lift as the sprouts push the plate up.
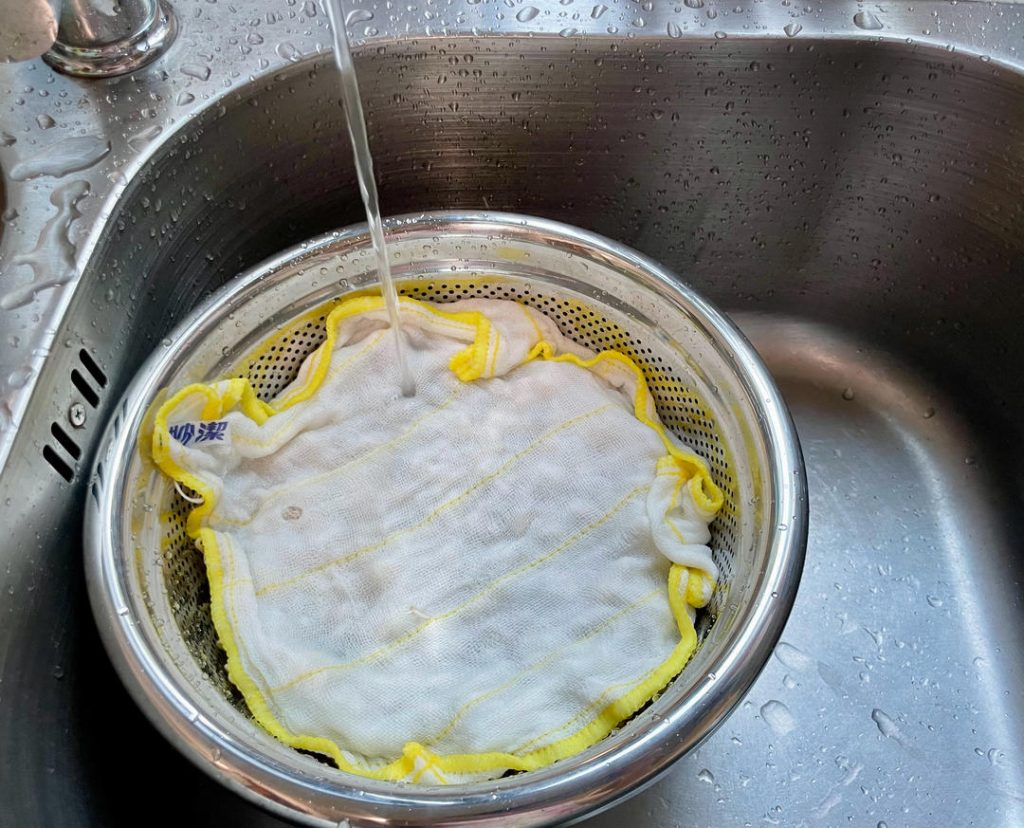
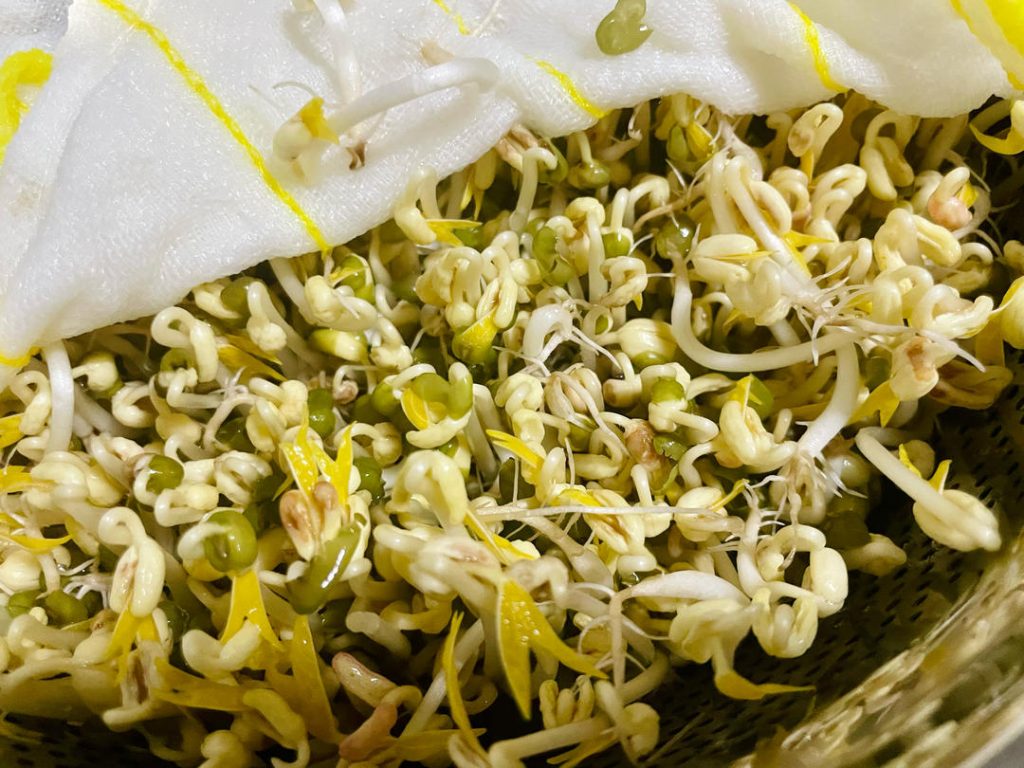
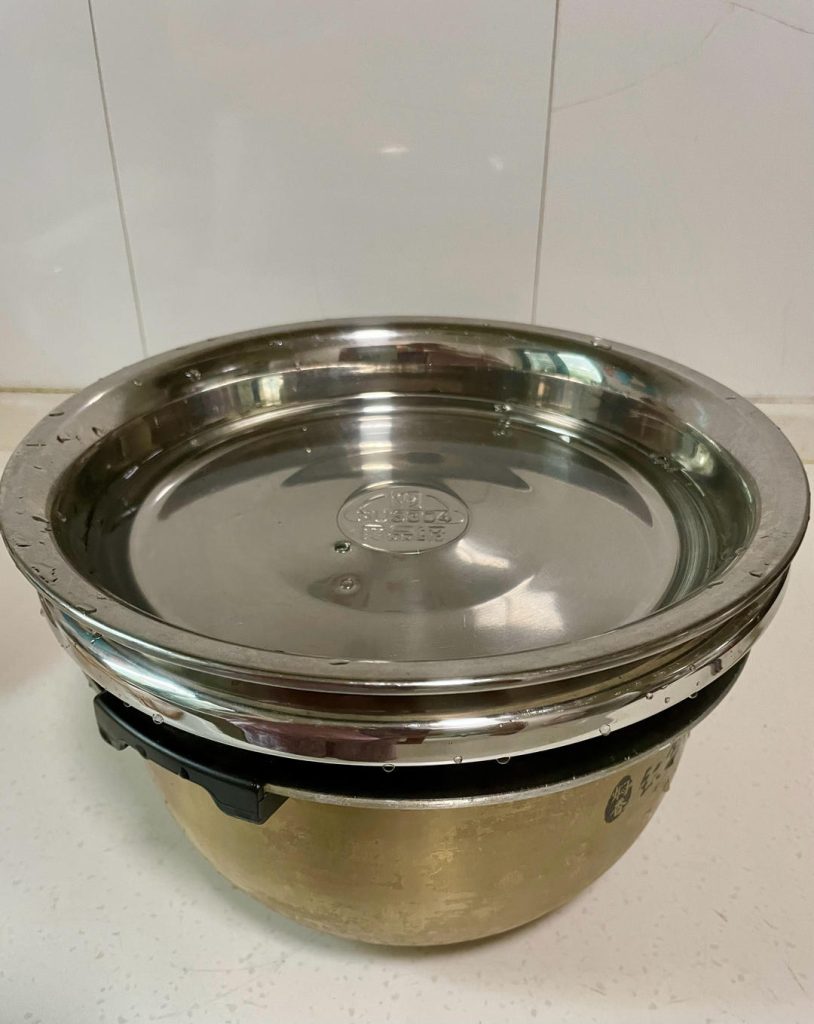
Day 5: Harvest
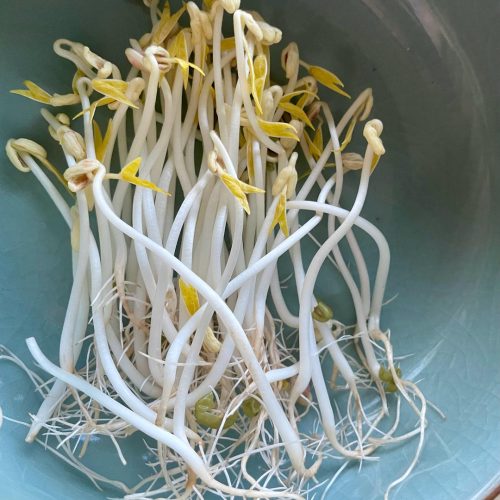
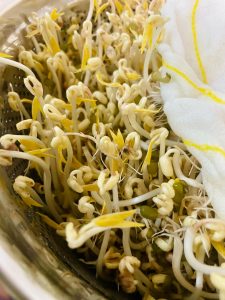
- Check Growth: By the morning of Day 5 (or Day 4 in warm weather), the sprouts should be 3-4 inches long with thick, white stems and small yellow leaves.
- Clean: Remove the sprouts. You can gently wash them in a basin of water to remove the loose green hulls (they float to the top).
- Use: They are now ready to cook!
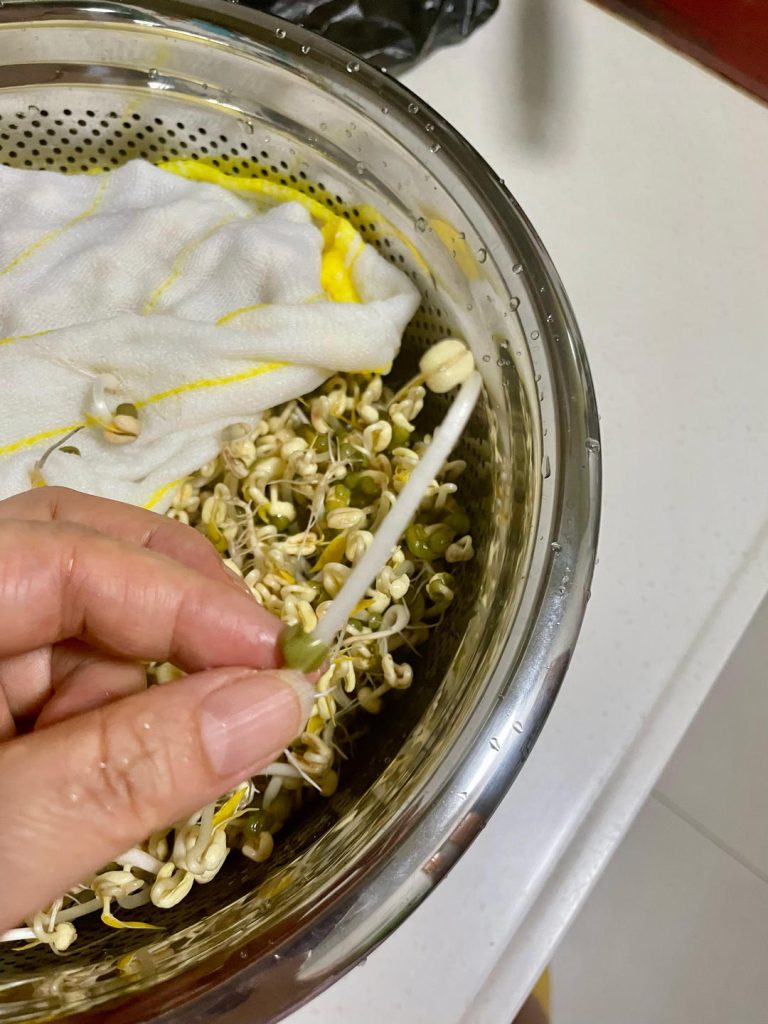

Food Safety and Preparation
Sprouts are raw agricultural products that carry a risk of foodborne illness if not handled correctly.
- Cook Thoroughly: I strongly recommend cooking homegrown sprouts rather than eating them raw. Stir-frying until they are steaming hot kills potential bacteria.
- Smell Test: Healthy sprouts smell fresh and grassy. If they smell sour, fishy, or musty, or if they feel slimy, discard them immediately. Do not attempt to salvage them.
- See the CDC Guidelines on Sprouts for more safety information.
Tips for Success
- Avoid Light: If your sprouts turn pink or purple, they have been exposed to light. They are safe to eat but may taste slightly bitter.
- Water Management: Never let the beans sit in standing water. They will rot. The bottom cloth should be damp, not swimming.
Serving Suggestions
Now that you have achieved “Sprout Freedom,” how should you eat them?
- Stir-fry: They are classic in a simple stir-fry with garlic, scallions, and a dash of vinegar.
- Noodle Soups: Blanch them and add them to Wonton Noodle Soup for a refreshing crunch.
- Fillings: They add bulk and texture to Vegetable Steamed Dumplings.
- Sides: Serve them alongside a hearty Pork and Green Bean Stir-fry.
Common Mistakes When Growing Sprouts
- Mistake: Using split mung beans (Dal).
- Solution: You must use whole green mung beans. Split beans have lost their ability to germinate.
- Mistake: Sprouts are too thin and stringy.
- Solution: You didn’t use enough weight. The beans need resistance to grow thick stems. Add a heavier plate or a water-filled bag on top next time.
- Mistake: The beans rotted/smell bad.
- Solution: Insufficient drainage or missed rinsings. Make sure the colander is elevated so air can circulate, and rinse with cold water to keep the temperature down.
Nutrition Information (Estimate)
- Calories: ~30 kcal per cup
- Vitamin C: High
- Protein: ~3g per cup
- Note: Sprouting increases the bioavailability of nutrients compared to un-sprouted beans.
- Disclaimer: Nutrition information is calculated using an ingredient database and should be considered an estimate. Garnishes and optional ingredients are not included.
Authoritative References
For more information on the science of sprouting and safety:
- US Food & Drug Administration (FDA): Selecting and Serving Fresh Produce Safely
- North Carolina State Extension: Sprouting Seeds for Food
How to Grow Mung Bean Sprouts (Foolproof)

Equipment
- Colander Or steamer basket
- Cotton Cloth Or cheesecloth/facial towel
- Heavy Plate Used as a weight
- Black Plastic Bag To block light
Ingredients
Sprouting Ingredients
- 100 g Dried Whole Mung Beans approx. 3.5 oz or 1/2 cup
- Water For soaking and rinsing
Instructions
- Soak: Rinse the mung beans and soak them in a large bowl of water for 24 hours. They should swell and the skins should start to crack, revealing a small white bud.

- Prepare Bed: Wet a clean cotton cloth and lay it flat at the bottom of your colander. Spread the soaked beans evenly over the cloth.

- Cover: Wet the second cloth and place it directly on top of the beans.

- Drainage: Place the colander on top of a pot or bowl to catch drips (ensure the colander bottom doesn’t touch the bottom of the pot).

- Weight: Place a plate on top of the covering cloth. You can add a small bowl of water on the plate for extra weight (this makes the sprouts thick).
- Darkness: Cover the entire setup with a black bag or place in a dark cupboard. Light will make the sprouts bitter.

- Rinse: Rinse the sprouts (through the cloth) with cold water 2-3 times a day (morning and night essential). Drain the catch-pot each time.

- Harvest: By Day 4 or 5, the sprouts should be 3-4 inches long. Remove, wash away the green hulls, and cook!









Leave a Reply