If there is one “secret weapon” condiment that defines the flavor of Chinese steamed seafood and vegetable dishes, it is Chinese Garlic Sauce (Suan Rong Jiang).

Growing up in Sichuan, helping in my parents’ restaurant kitchen, I learned early on that garlic isn’t just an ingredient—it’s a foundation. My father, a chef with 20 years of experience, taught me that the difference between a mediocre garlic sauce and a restaurant-quality one lies in a technique called “Jin Yin Suan” (金银蒜), or “Gold and Silver Garlic.”
This recipe captures that authentic flavor. It combines the deep, nutty aroma of fried garlic (“Gold”) with the sharp, spicy bite of raw garlic (“Silver”). Whether you are topping steamed oysters, dressing a bowl of noodles, or looking for a way to elevate simple boiled lettuce, this sauce is the answer.
Why This Recipe Works
- The “Gold and Silver” Ratio: By frying only half the garlic and keeping the other half raw, we create a complex flavor profile that is both mellow/nutty and sharp/pungent.
- Texture Control: We use a specific chopping technique (pulsing, not pureeing) to ensure the sauce has a pleasant texture, rather than becoming a mushy paste.
- Temperature Precision: We start with cool oil and cook on low heat to prevent the garlic from turning bitter—a common mistake for beginners.
What is Chinese Garlic Sauce?
In the West, garlic sauce often implies a creamy, mayonnaise-based dip (like for pizza) or a thickened stir-fry sauce. In China, Suan Rong Jiang (蒜蓉酱) is a chunky, oil-based condiment. It is famously used in dishes like Steamed Scallops with Vermicelli or Steamed Enoki Mushrooms.
The magic lies in the maillard reaction of the fried garlic combined with the enzymatic punch of the raw garlic. It is savory, slightly sweet, and incredibly aromatic.
Key Ingredients & Substitutions
- Solo Garlic (独蒜): The original Chinese recipe calls for Solo Garlic (single-clove garlic), which is prized in China for its high oil content, crisp texture, and ease of peeling.
- Substitution: In the US and Europe, Solo Garlic can be hard to find. You can substitute standard garlic bulbs. You will need about 3–4 whole heads to get the equivalent amount. Ensure it is fresh and firm.
- Millet Peppers (小米辣): These are small, spicy red chilis.
- Substitution: Thai Bird’s Eye Chilies are the closest match. For a milder version, use Fresno chilies or Red Jalapeños (remove seeds to reduce heat).
- Seasoned Soy Sauce for Seafood (蒸鱼豉油): This is a sweeter, lighter soy sauce infused with flavors. Brands like Lee Kum Kee sell this widely.
- Substitution: Mix 3 tbsp Light Soy Sauce (e.g., Pearl River Bridge) with 1 tsp sugar and a drop of sesame oil.
- Chicken Juice/Concentrate (鸡汁): This adds savory depth (umami).
- Substitution: Chicken Bouillon Powder (like Knorr) or Better Than Bouillon paste works perfectly.
- Cooking Oil: Use a neutral oil with a high smoke point, such as Vegetable, Canola, or Grapeseed oil. Do not use Olive Oil, as its flavor is too strong.
Ingredients
- Garlic: 10 bulbs of Solo Garlic (approx. 1.5 cups or 250g minced regular garlic)
- Chili: 4 Millet Peppers (or Thai Bird’s Eye Chilies), chopped
- Oil: ½ cup (120ml) Neutral Cooking Oil (Vegetable or Canola)
- Seasonings:
- 3 tbsp Seasoned Soy Sauce for Seafood (Lee Kum Kee)
- 1 tbsp Oyster Sauce
- ½ tbsp Chicken Bouillon Powder (or Chicken Juice)
- 1 tsp (approx 1g) White Sugar
Recipe Notes Before You Start
- Avoid “Garlic Mud”: If using a food processor, use the “pulse” function. If you hold the button down, you will create a watery garlic puree (mud), which will splatter dangerously in the oil and lack the correct texture. Hand-chopping is best if you have the patience!
- Safety First: We are cooking with oil. Ensure your garlic is not excessively wet to prevent splattering.
- Equipment: A wok or a small heavy-bottomed saucepan works best.
Mise en Place
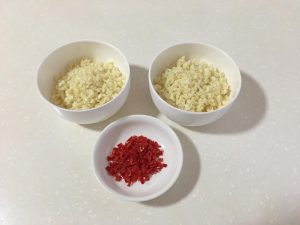
- Prep the Garlic: Peel the garlic. If using a food processor, pulse roughly until you have small, uniform bits (minced). Do not blend into a paste.

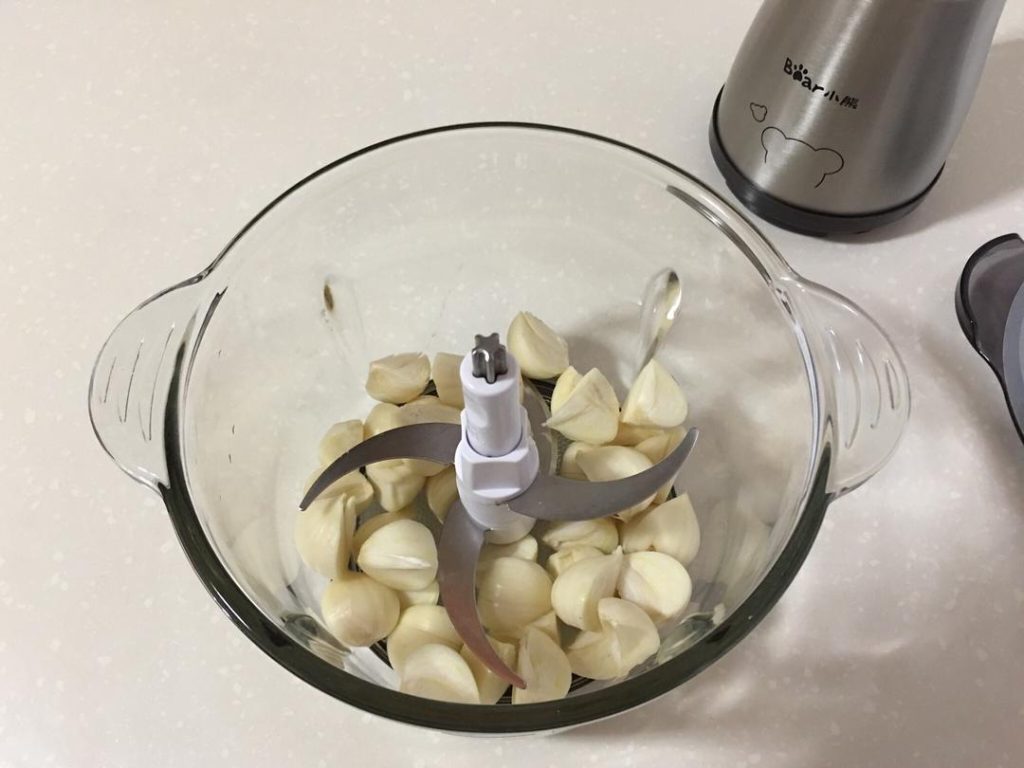
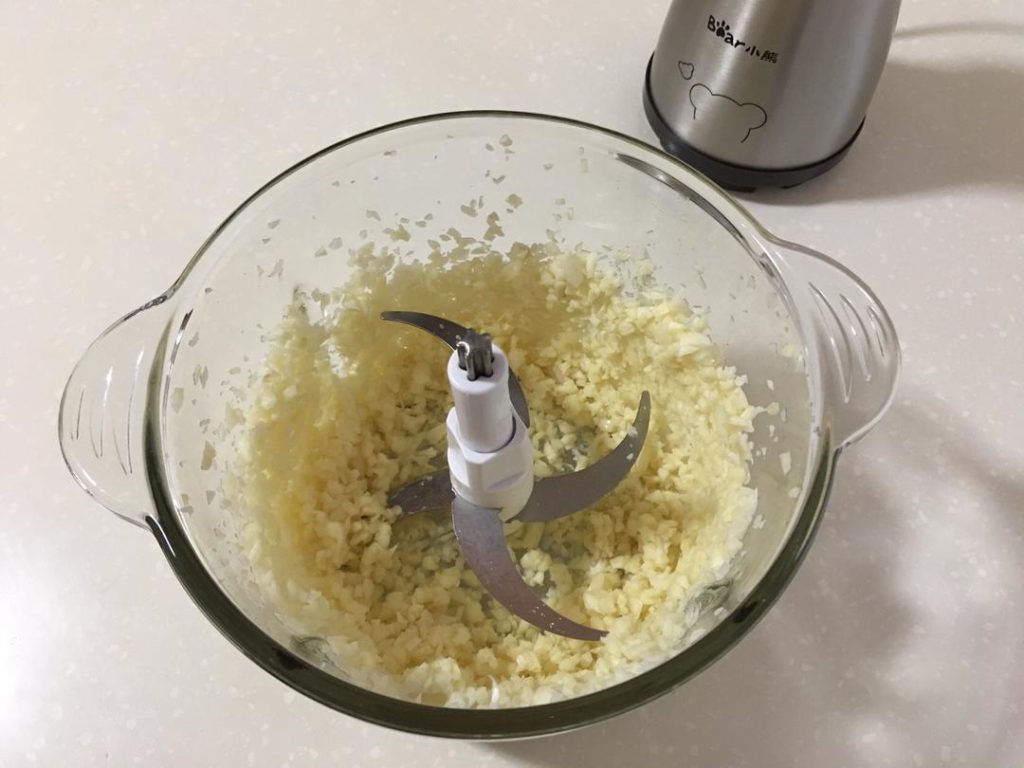
- Divide: Separate the minced garlic into two bowls. Bowl A (50%) will be fried. Bowl B (50%) will stay raw.
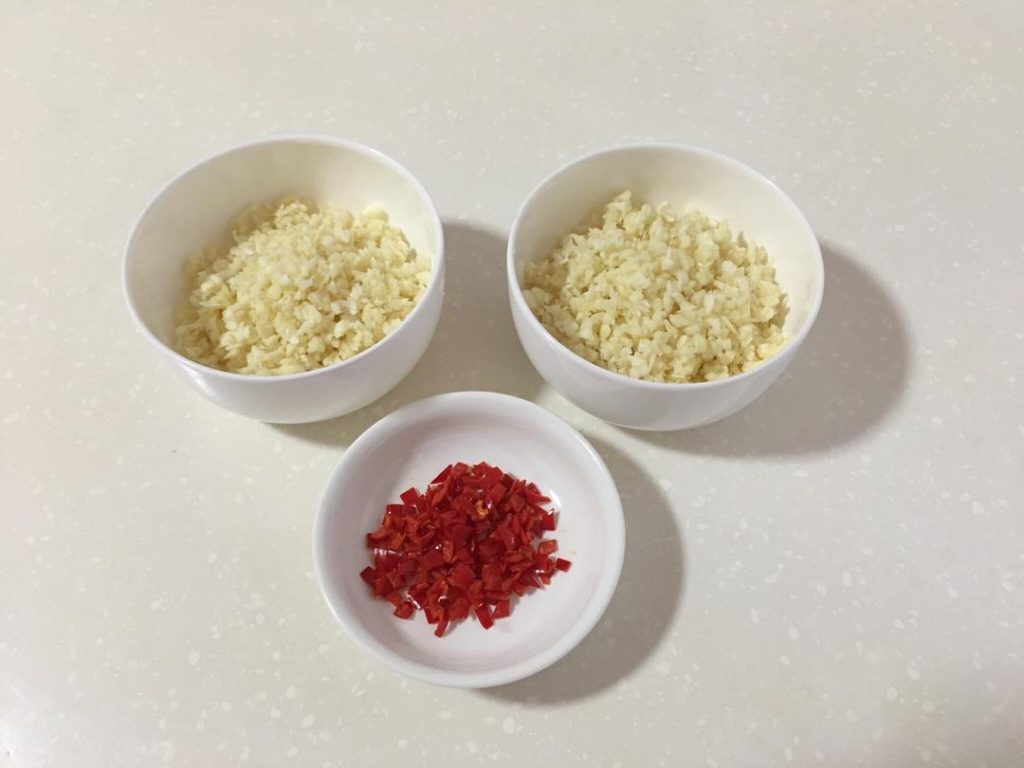
- Prep the Chili: Remove the stems of the peppers and mince them finely.
- Mix the Sauce: In a small bowl, combine the Seasoned Soy Sauce for Seafood, Oyster Sauce, Chicken Powder, and Sugar. Stir until dissolved.
How to Make Chinese Garlic Sauce
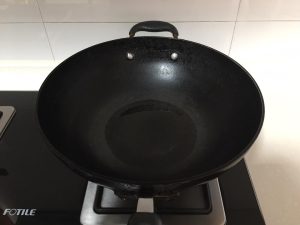
- Heat the Oil: Pour the oil into your wok or saucepan. Heat over medium-low heat. We are looking for a temperature of roughly 250°F – 275°F (120°C – 135°C).
- Visual Cue: Stick a wooden chopstick into the oil. You should see very tiny, slow bubbles. If it bubbles furiously, it is too hot.
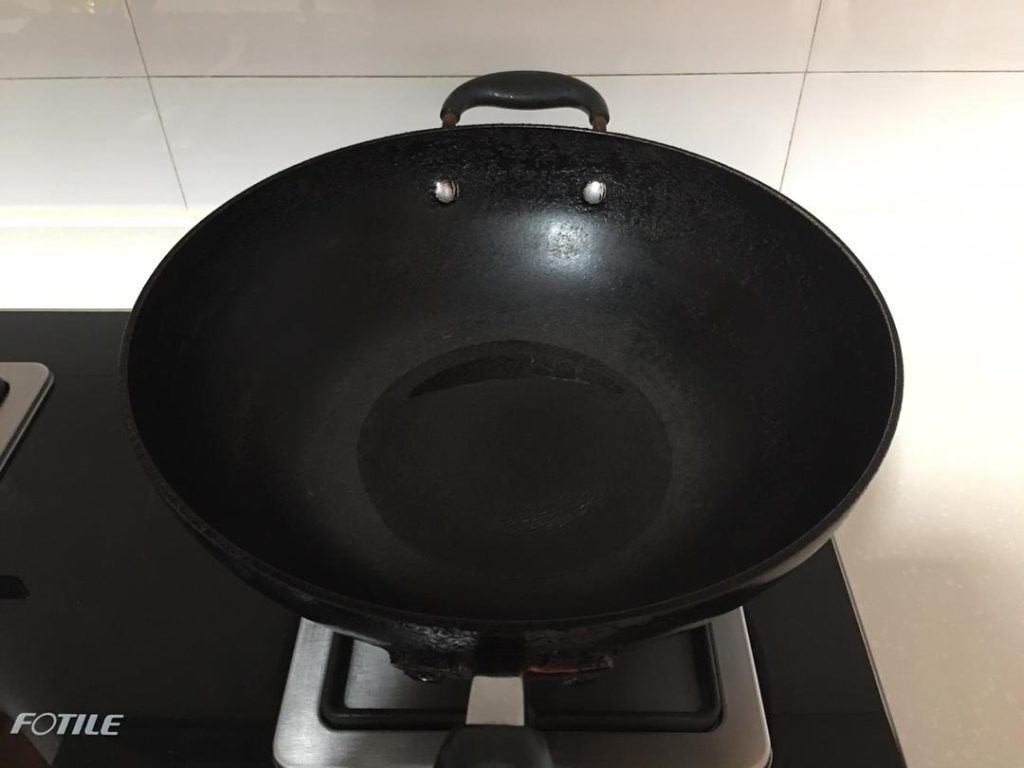
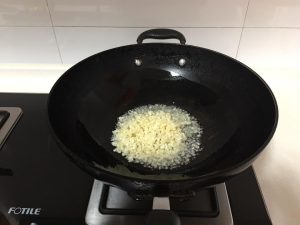
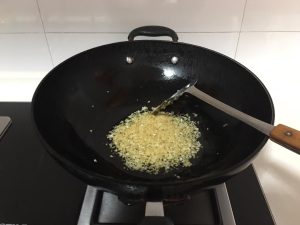
- Fry the First Half (The “Gold”): Add Bowl A (half the garlic) into the oil.
- Crucial Step: Immediately turn the heat down to LOW. If the oil is too hot, the garlic will burn on the outside before releasing its aroma, resulting in a bitter taste. This is the most common mistake beginners make.
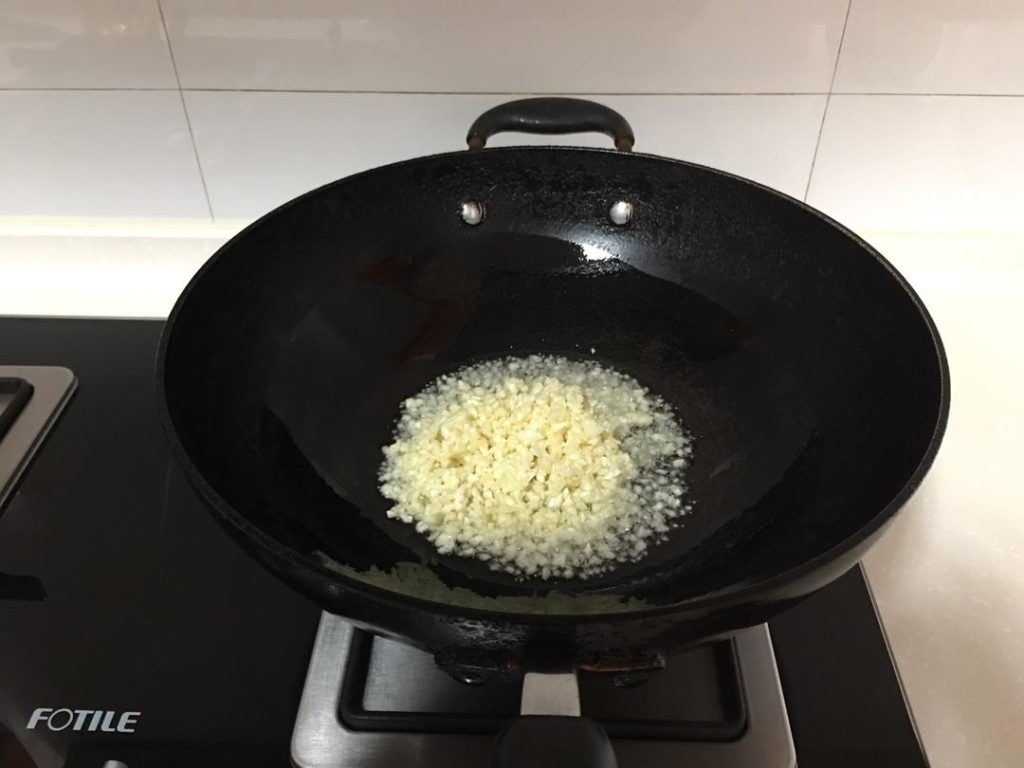
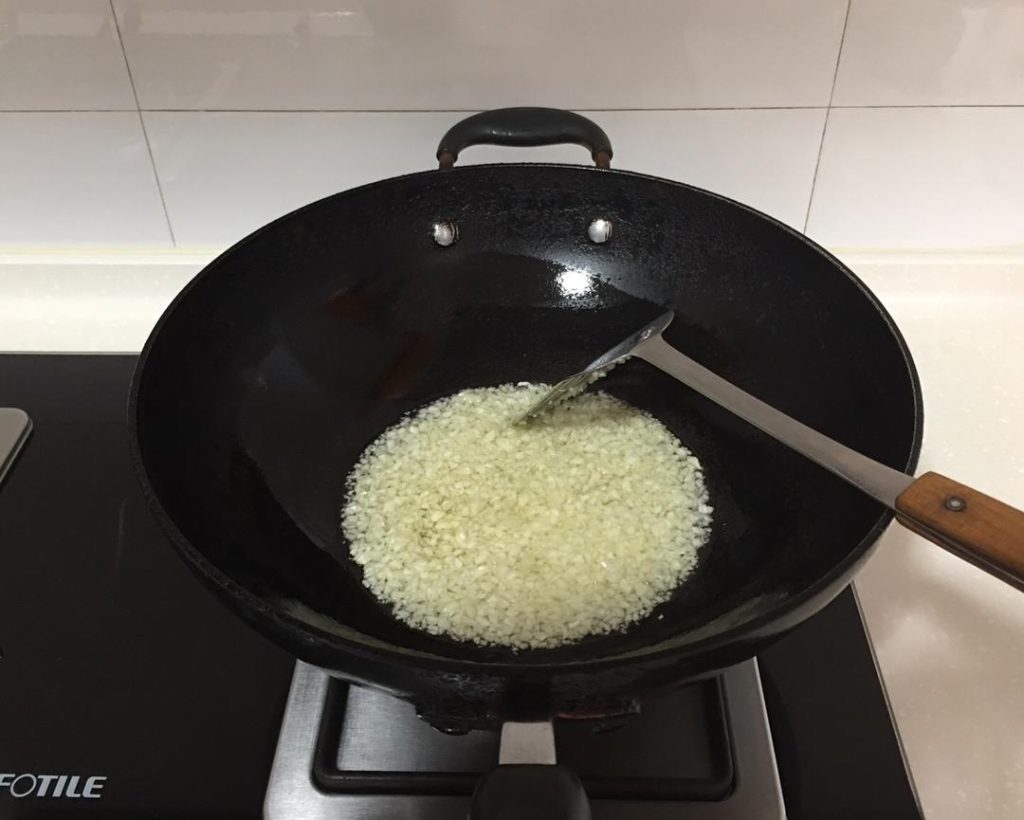
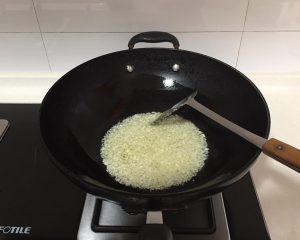
- The Immersion: Gently stir continuously with a spatula or chopsticks to prevent sticking. Let the garlic bathe in the oil. It will slowly turn from white to opaque, then to a very pale yellow.
- Watch the Color: As soon as the garlic turns pale yellow (straw color), turn off the heat immediately.
- Why? The residual heat in the oil will continue to cook the garlic. If you wait until it looks golden brown in the pan, it will burn and turn dark brown by the time it cools, becoming bitter.
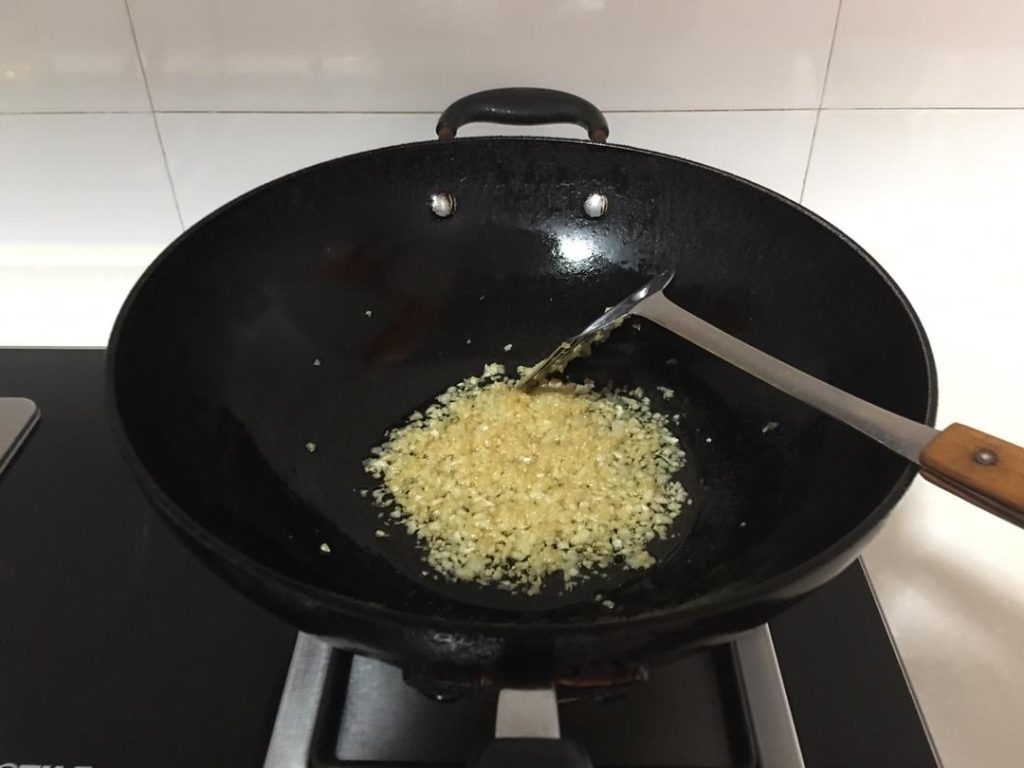
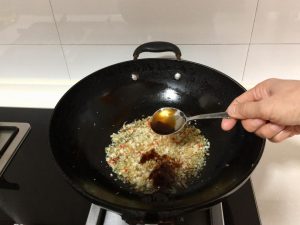
- Add the “Silver”: Immediately after turning off the heat, add the chopped chilies and Bowl B (the raw garlic). Stir well. The residual heat will take the raw edge off the second batch of garlic without frying it, preserving its sharp pungency.
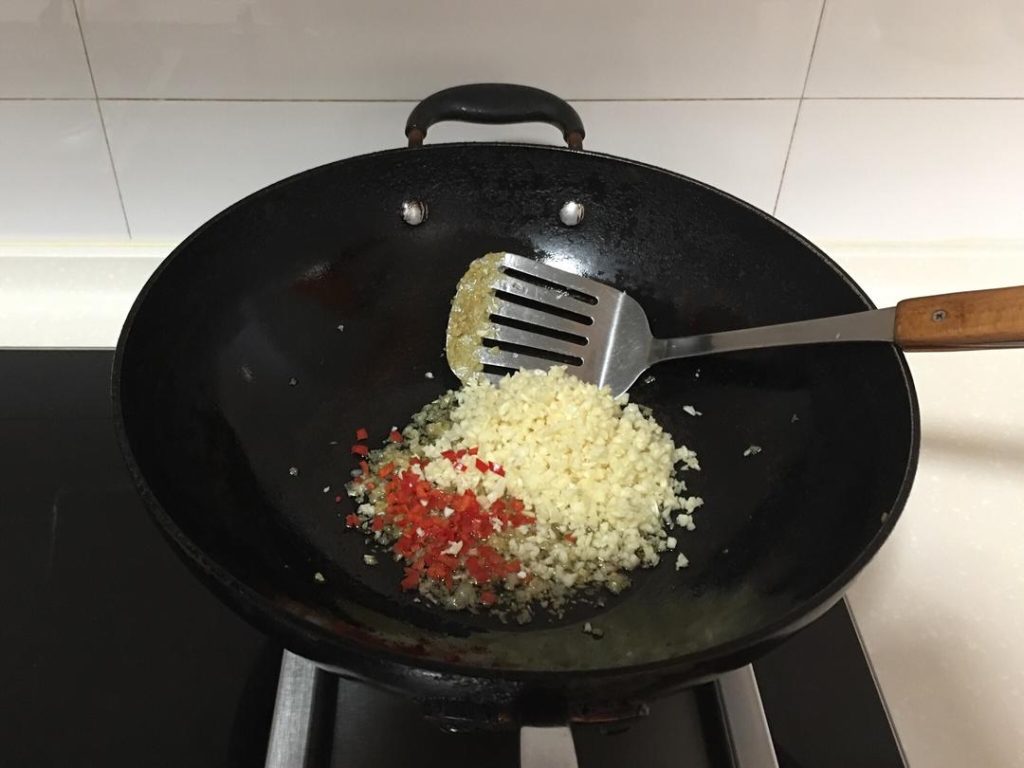
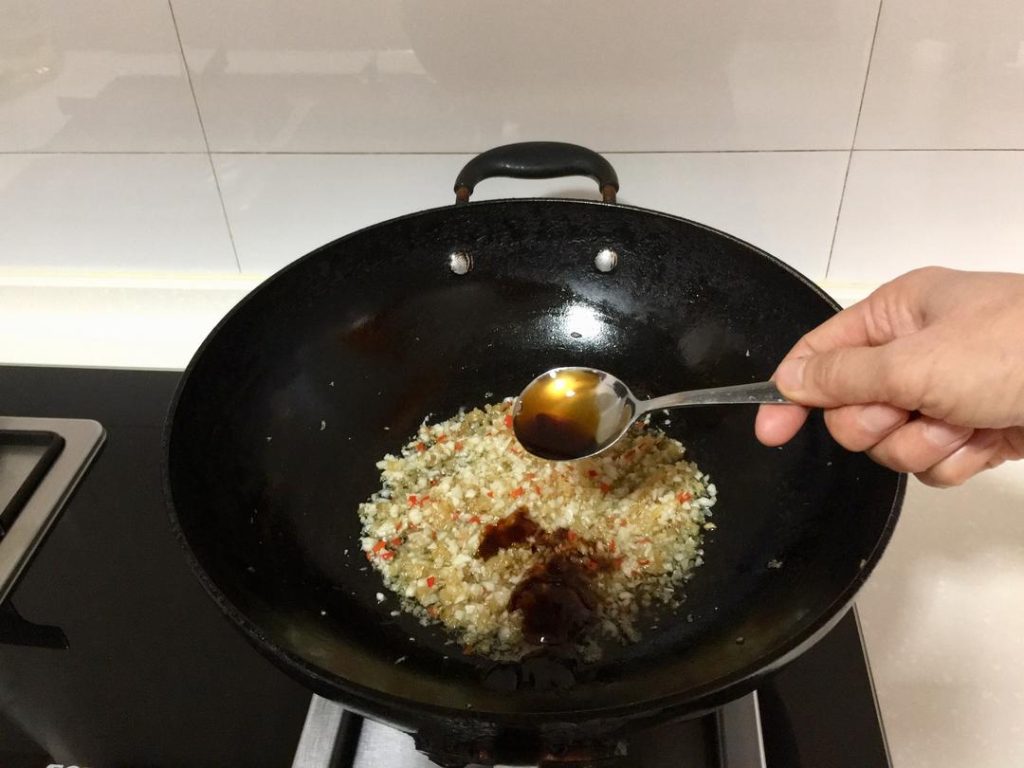
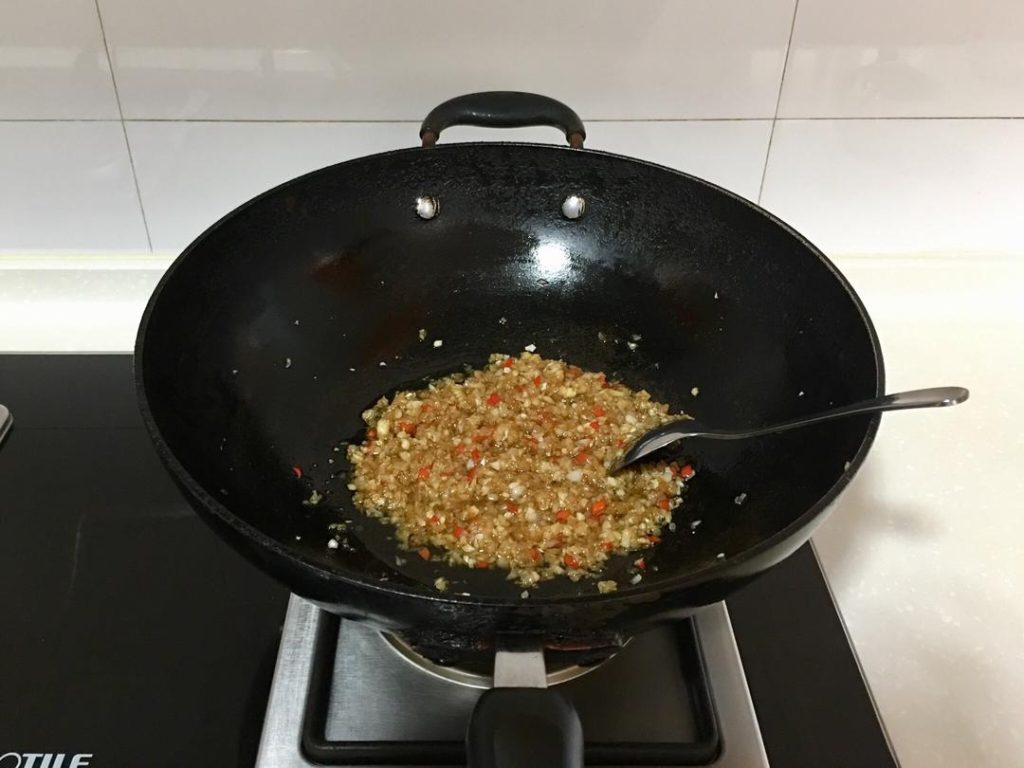
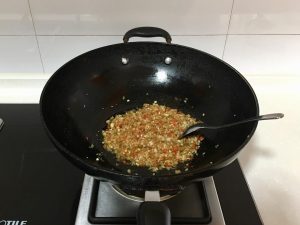
- Season: Pour in your pre-mixed sauce (soy sauce, oyster sauce, chicken powder, sugar). Stir until everything is well combined. You generally do not need extra salt, as the soy sauce and oyster sauce provide enough salinity.
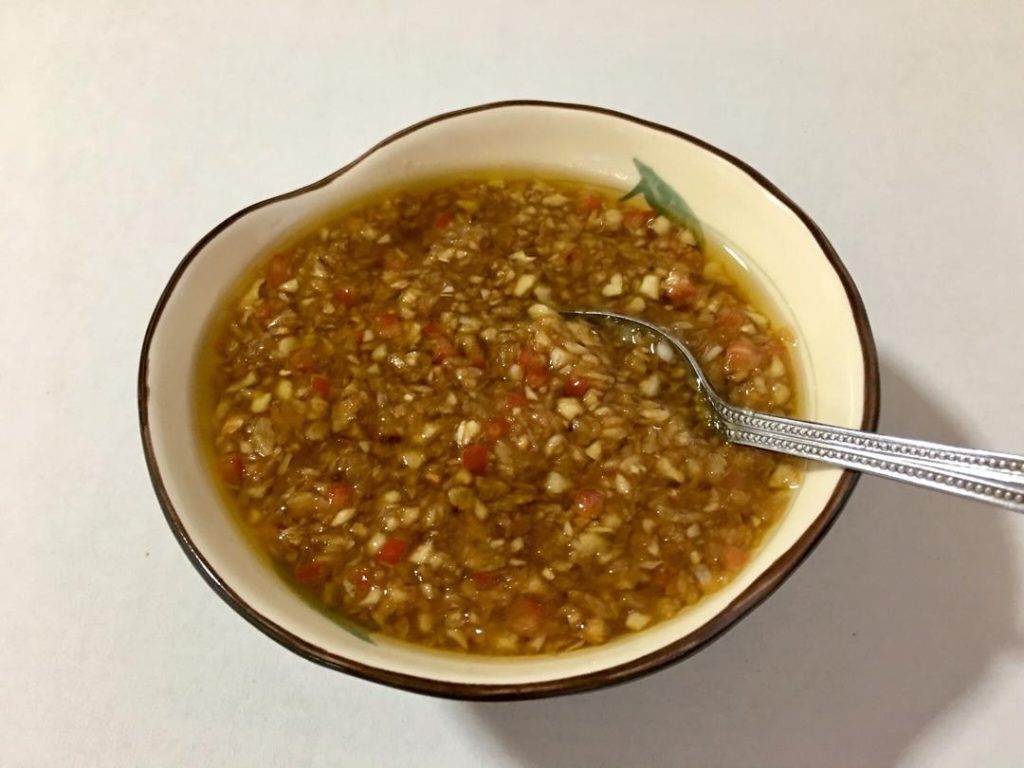
- Cool: Let the sauce cool completely in the pan. The flavors will meld as it sits.
Tips for Success
- The “Bitter” Enemy: I cannot stress this enough—if your garlic turns dark brown, throw it out and start over. Burnt garlic sauce is incredibly bitter and will ruin any dish you put it on.
- Volume: This recipe scales up easily. In our restaurant, we would make liters of this at a time.
- Flavor Depth: For an even richer sauce, you can add 1 tablespoon of finely chopped dried shrimp (soaked and drained) during step 5.
Serving Suggestions
This sauce is incredibly versatile. Here are a few ways I use it in my kitchen:
- Steaming: Spoon it over raw scallops, shrimp, or oysters before steaming.
- Vegetables: Use it to top Easy Dry-Fried King Oyster Mushrooms or blanched lettuce/broccoli.
- Noodles: Mix a tablespoon into plain boiled noodles for a quick lunch.
- Meat: It pairs excellently as a topping for Steamed Pork Ribs with Black Bean Sauce if you want an extra garlic kick.
How to Store
- Container: Store in a clean, airtight glass jar.
- Refrigeration: It must be stored in the refrigerator.
- Shelf Life: Because this contains fresh garlic and low-acid ingredients, it is best consumed within 1 week. Always use a clean, dry spoon to scoop it out to prevent contamination.
Troubleshooting / FAQ
Q: Why does my garlic sauce taste bitter? A: The oil temperature was likely too high, or you fried the garlic too long. Garlic continues to cook even after you turn off the heat. Turn the heat off when it is pale yellow, not golden.
Q: Can I use a blender? A: Yes, but pulse gently. If you over-blend, the garlic cells rupture too much, releasing water and creating a paste that doesn’t fry well. It becomes sticky and prone to burning.
Q: Can I make this spicy? A: Absolutely. Increase the amount of millet peppers, or add a teaspoon of chili flakes during step 5.
Nutrition Information (Estimate)
- Serving Size: 1 tbsp
- Calories: ~65 kcal
- Fat: 6g
- Carbohydrates: 2g
- Sodium: ~180mg
- Sugar: 0.5g
(Disclaimer: Nutrition information is calculated using an ingredient database and should be considered an estimate. Garnishes and optional items are not included. Actual values vary depending on the specific brands of soy sauce and oil used.)
Food Safety Note
Warning: Garlic in oil mixtures can be a breeding ground for Clostridium botulinum if not stored correctly. While the cooking process and salinity help, it is safer to keep this refrigerated and consume it quickly. Never store garlic-in-oil mixtures at room temperature. For more information, refer to USDA guidelines on garlic in oil.
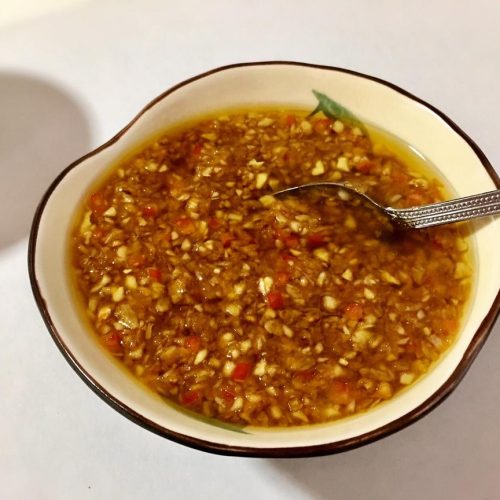
Homemade Chinese Garlic Sauce (Suan Rong Jiang)

Equipment
- 1 Wok or Heavy-bottomed Saucepan
- 1 Food Processor (Optional)
Ingredients
- 1.5 cups garlic (approx. 10 bulbs of Solo Garlic or 3-4 regular heads) minced, divided into two equal portions
- 4 millet peppers (or Thai Bird’s Eye Chilies) finely chopped (remove seeds for less heat)
- 0.5 cup neutral cooking oil vegetable, canola, or grapeseed oil
Sauce Seasoning
- 3 tbsp Seasoned Soy Sauce for Seafood Recommend Lee Kum Kee brand
- 1 tbsp oyster sauce
- 0.5 tbsp chicken bouillon powder or chicken juice concentrate
- 1 tsp white sugar
Instructions
- Prep the Garlic: Mince the garlic finely (pulse if using a food processor, do not puree). Divide the garlic into two equal bowls. One for frying, one for keeping raw.

- Prep Seasonings: In a small bowl, mix the seafood soy sauce, oyster sauce, chicken powder, and sugar. Set aside. Chop the chilies.
- Heat Oil: Pour the oil into a wok or saucepan. Heat to medium-low (approx 250°F/120°C).
- Fry First Batch: Add the first half of the garlic to the oil. Immediately turn the heat to LOW. Stir constantly to prevent sticking.
- Watch the Color: Fry slowly until the garlic turns a pale yellow (straw color). Do not wait for it to turn golden brown.

- Stop Cooking: Immediately turn off the heat. The residual heat will continue to cook the garlic.
- Add Remaining Ingredients: Immediately stir in the chopped chilies and the second half (raw) garlic. Mix well. Then pour in the pre-mixed seasoning sauce.
- Cool and Store: Let the sauce cool completely before transferring to a clean, airtight jar. Store in the refrigerator.
Notes
Safety & Storage Notes
Storage: Store in an airtight container in the refrigerator for up to 1 week. Always use a clean spoon to remove the sauce. Safety Warning: Homemade garlic-in-oil mixtures can carry a risk of botulism if stored at room temperature. Keep refrigerated and consume within the recommended time.Nutrition Info (Disclaimer)
Nutrition information is calculated using an ingredient database and should be considered an estimate. Garnishes and optional ingredients are not included.Calories: 65kcal | Carbohydrates: 2g | Fat: 6g | Sodium: 180mg




Leave a Reply