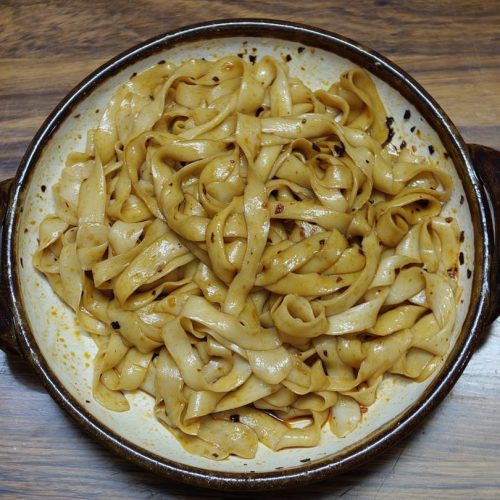
There is no kitchen skill that impresses like pulling noodles, and none that is easier to fake your way through. Hand-pulled noodles, che mian, start from a dough of nothing but flour, water, and salt, kneaded in three short rests, rolled, cut, oiled, and left alone for an hour. When the water boils, you take each oiled strip, stretch it gently between your hands, and drop it in. The noodles come out chewy, springy, and slightly uneven, which is exactly the point, because hand-pulled noodles are supposed to feel handmade.
This xiachufang recipe keeps the whole process simple enough for a weeknight. The dough is deliberately stiff, the rests are short and repeated, and the finished noodles are dressed the northern Chinese way: a splash of light soy, dark black vinegar, and a spoonful of oil-splashed chili (油泼辣子) that sizzles when it hits the bowl. This is the noodle dish that makes people ask if you took a class.
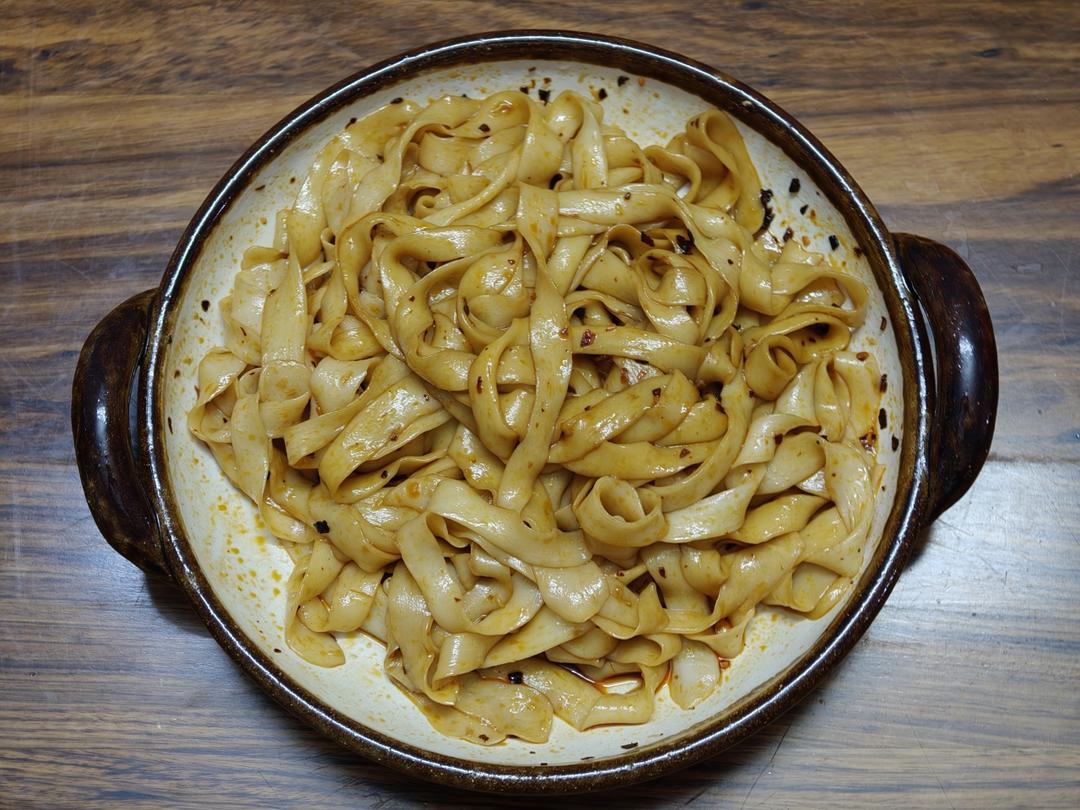
What Are Hand-Pulled Noodles (扯面)?
Che mian (扯面) are northern Chinese noodles made from a firm wheat dough that is kneaded, rested, rolled into a sheet, cut into strips, and stretched by hand before boiling. The word che means to pull or stretch, and the technique gives the noodles their signature elasticity: chewy enough to snap back, with a soft, wheaty center. They are the home-cook cousin of the dramatic pulled noodles you see made at restaurant windows.
The dressing here is the classic Shaanxi style: noodles tossed with soy sauce and black vinegar, then topped with chili flakes and scallion that get bloomed with hot oil. Some versions turn it into a full meal with tomato egg or minced pork on top; this recipe keeps the base plain and lets the chili oil and vinegar do the talking, exactly as the original cook intended.
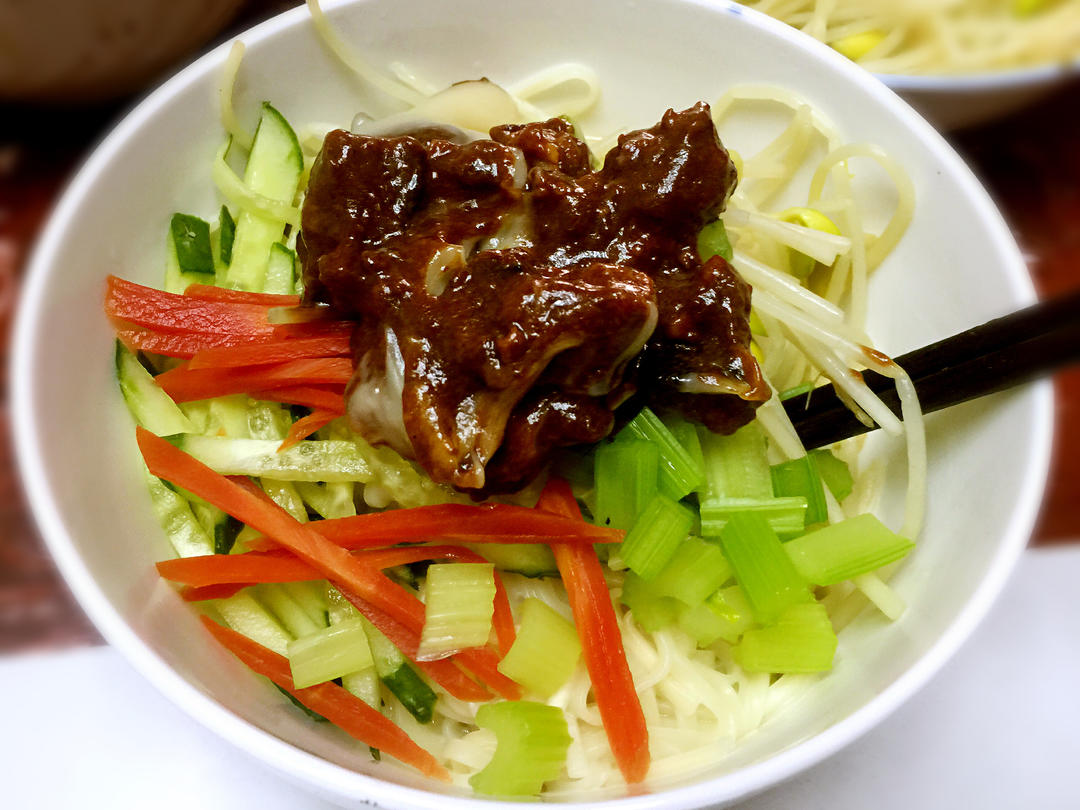
If you like saucy, boldly flavored noodles, my Old Beijing fried sauce noodles are another northern classic, and a great contrast to these clean, chili-dressed ones.
1Old Beijing Fried Sauce Noodles (Zha Jiang Mian)An authentic recipe for Old Beijing Zha Jiang Mian, featuring hand-diced pork belly rendered in its own fat and simmered with a blend of soybean pastes. A savory, rich classic.Check out this recipe
Why This Recipe Works
- Three short rests build the gluten. Kneading and resting in stages develops the dough’s elasticity without exhausting you, which is what lets the strips stretch instead of snap.
- A stiff dough is the secret. A firmer dough holds its shape when stretched, so the noodles stay thick and chewy instead of turning to mush in the pot.
- Oiled, rested strips stretch easily. Coating the cut strips in oil and resting them an hour relaxes the dough completely, so each strip pulls into a long ribbon with gentle hands.
- Salt in the boiling water seasons from within. Adding salt to the pot gives the noodles a clean, seasoned taste before any dressing touches them.
- The chili oil finishes hot. Pouring smoking oil over chili flakes and scallion blooms their flavor into a glossy, spicy dressing that clings to every noodle.
Equipment Needed
- Large mixing bowl
- Rolling pin
- Sharp knife
- Pastry brush (for the oil)
- Plastic wrap or a damp towel
- Large pot for boiling
- Colander or tongs
- Small heatproof bowl for the chili oil
Ingredients
- 1 1/2 cups plus 2 tbsp (200 g) high-gluten bread flour
- 90 ml (about 1/3 cup plus 1 tbsp) water
- 1/4 tsp fine salt, plus 1 tsp for the boiling water
- 1 to 2 tsp neutral oil, for the cut strips
- 1/2 cup all-purpose flour, for dusting
For the Dressing
- 2 tbsp light soy sauce
- 1 tbsp black vinegar (Chinkiang vinegar)
- 2 tbsp chili flakes
- 1 scallion, finely chopped
- 3 to 4 tbsp neutral oil, heated until just smoking
- 1 garlic clove, minced (optional)
Ingredient Notes
High-gluten flour. The recipe uses high-gluten (bread) flour, which has the protein the dough needs to stretch into long, chewy ribbons. All-purpose flour works but produces softer, slightly shorter noodles.
Water amount. The recipe’s ratio, 90 g of water to 200 g of flour, makes a dough that is deliberately stiff, not soft and sticky. If your flour is thirsty, add water a teaspoon at a time; the dough should be firm and only just come together.
Chili flakes. Use coarse Chinese chili flakes, not fine powder, so the oil can bloom them without burning. The amount is adjustable, but this dish is meant to have a proper kick.
Black vinegar. Chinkiang vinegar is the mellow, malty choice that balances the soy and chili. Balsamic is a workable substitute in a pinch.
Prep & Mise en Place
Weigh the flour, water, and salt before you start, because the dough relies on a consistent ratio. Mix until a stiff dough forms, then follow the rhythm of the recipe: knead, rest 15 minutes, knead, rest, knead, rest. Each rest is a short break that does the gluten’s work for you, so do not skip them.
While the dough rests, measure the dressing ingredients and line up a small heatproof bowl for the chili oil. Have a large pot of water heating by the time the dough has finished its final hour of rest, and set a colander and your serving bowl beside the stove, because once the noodles go in the pot, everything moves quickly.
Cooking Process
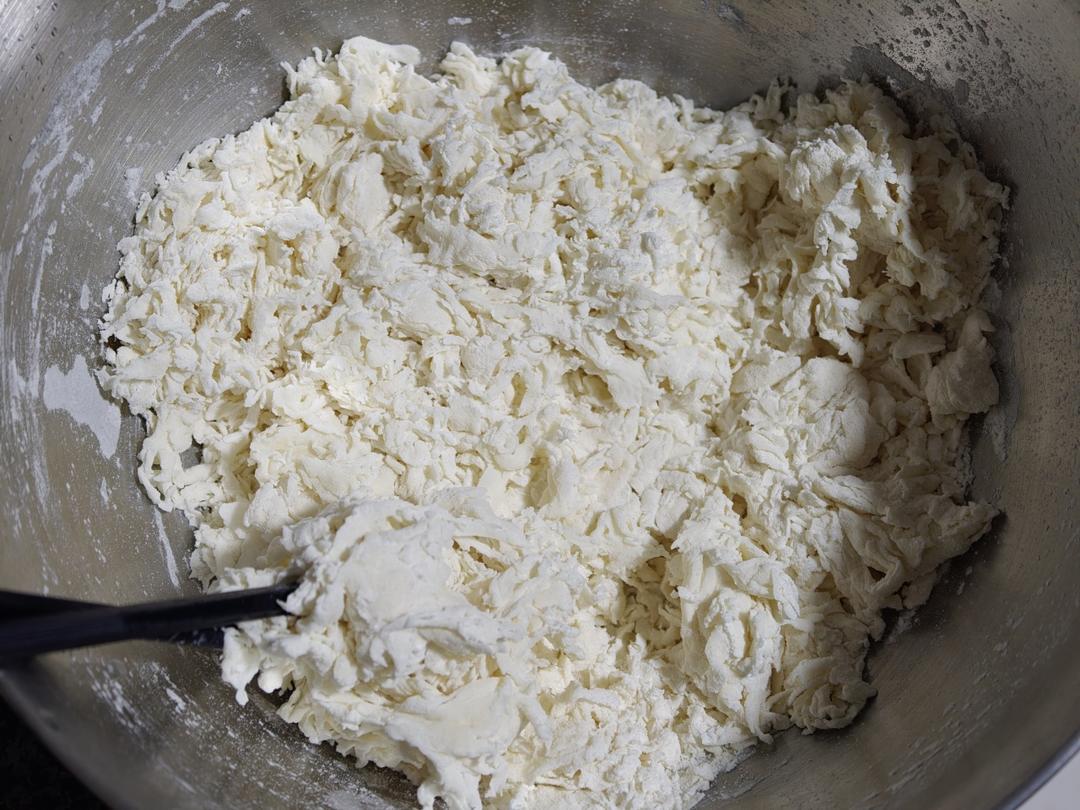
Step 1 — Mix a Firm Dough
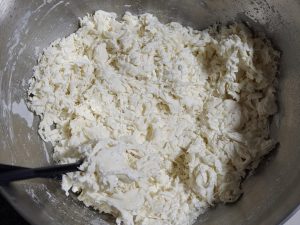
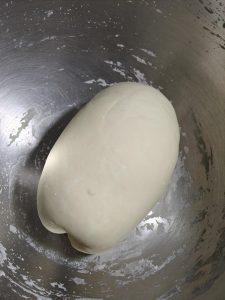
Combine 200 g (1 1/2 cups plus 2 tbsp) high-gluten flour with 90 ml water and 1/4 tsp salt. Mix into a dough that is on the firm side; it should be stiff, not sticky.
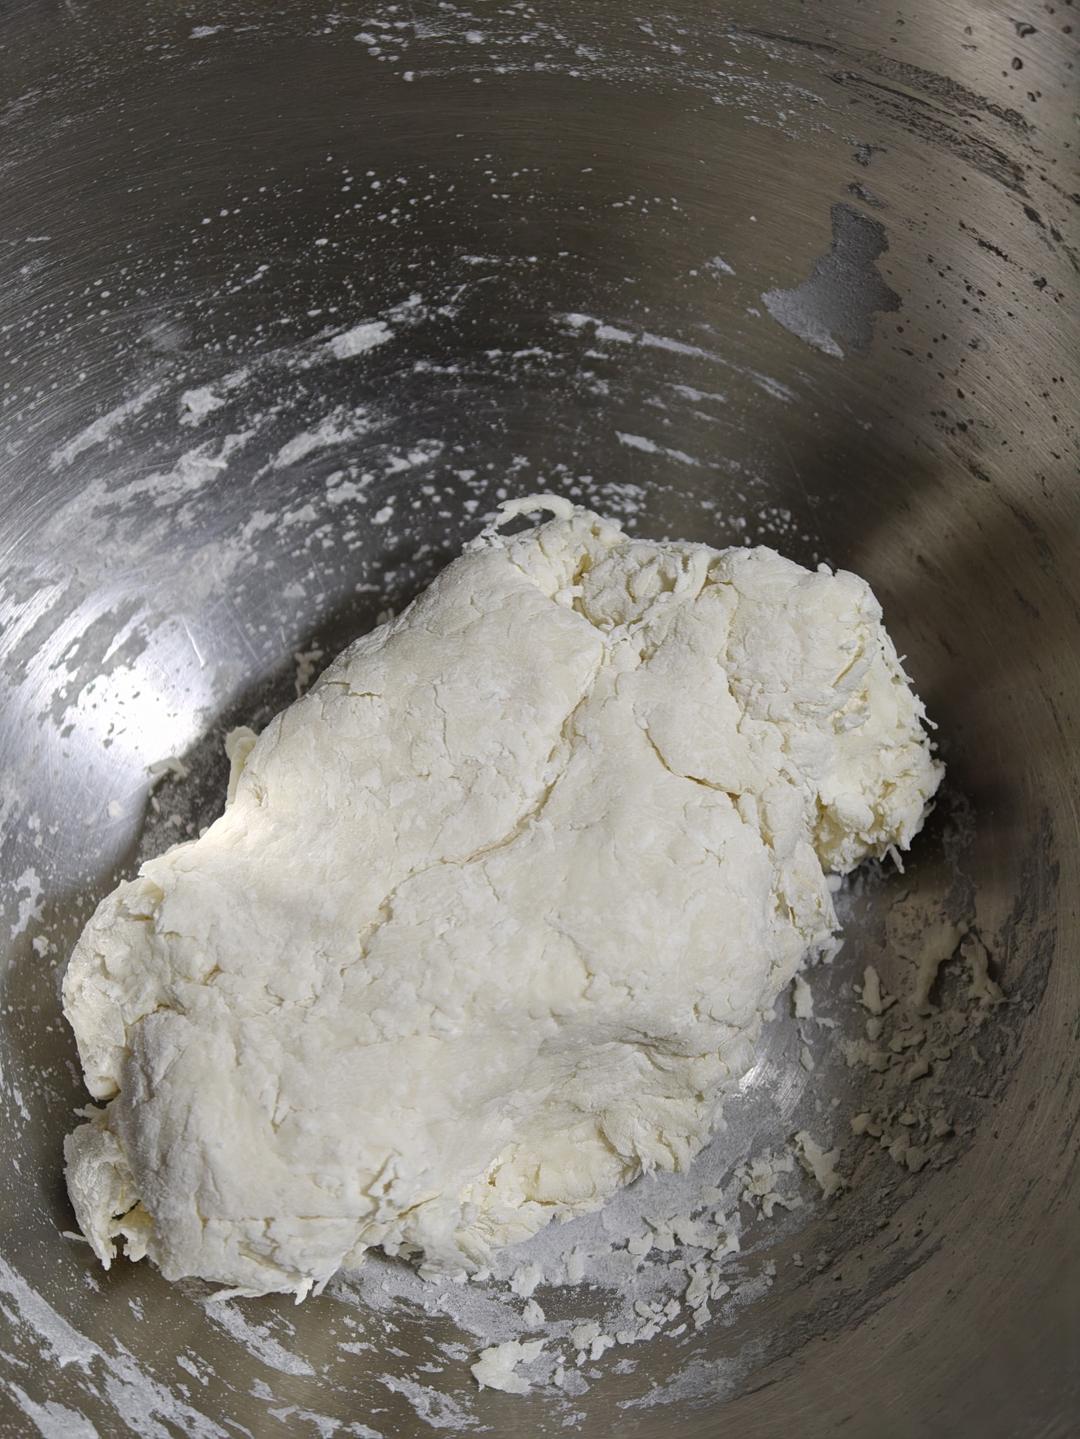
Step 2 — First Knead and Rest
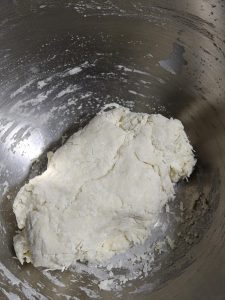
Knead the dough into a rough ball, cover it, and let it rest for at least 15 minutes. The rest hydrates the flour and relaxes the gluten, making the next knead easier.
Step 3 — Second Knead and Rest
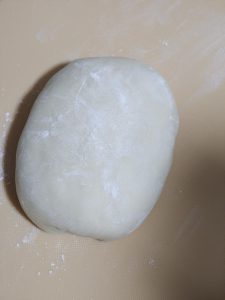
Knead the dough again until it is smoother, cover it, and rest another 15 minutes or more. Repeating the knead-rest cycle develops the gluten without arm fatigue.
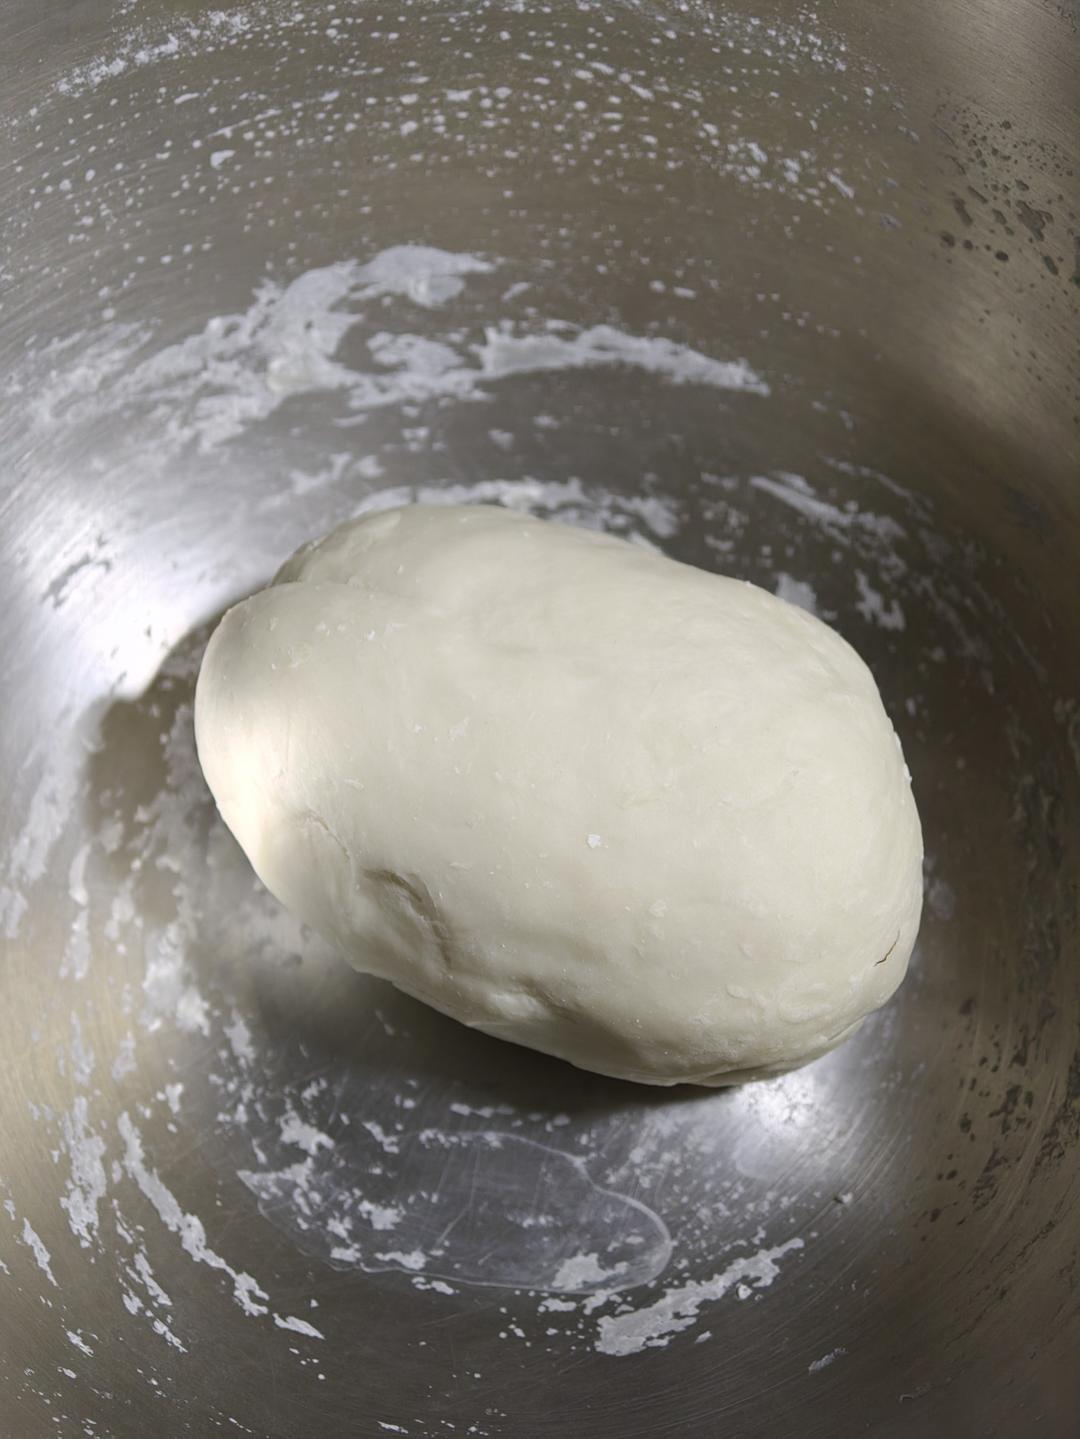
Step 4 — Third Knead and Rest
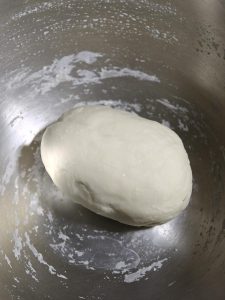
Knead once more, then rest a third time for at least 15 minutes. By now the dough should feel smooth, elastic, and slightly springy under your hand.
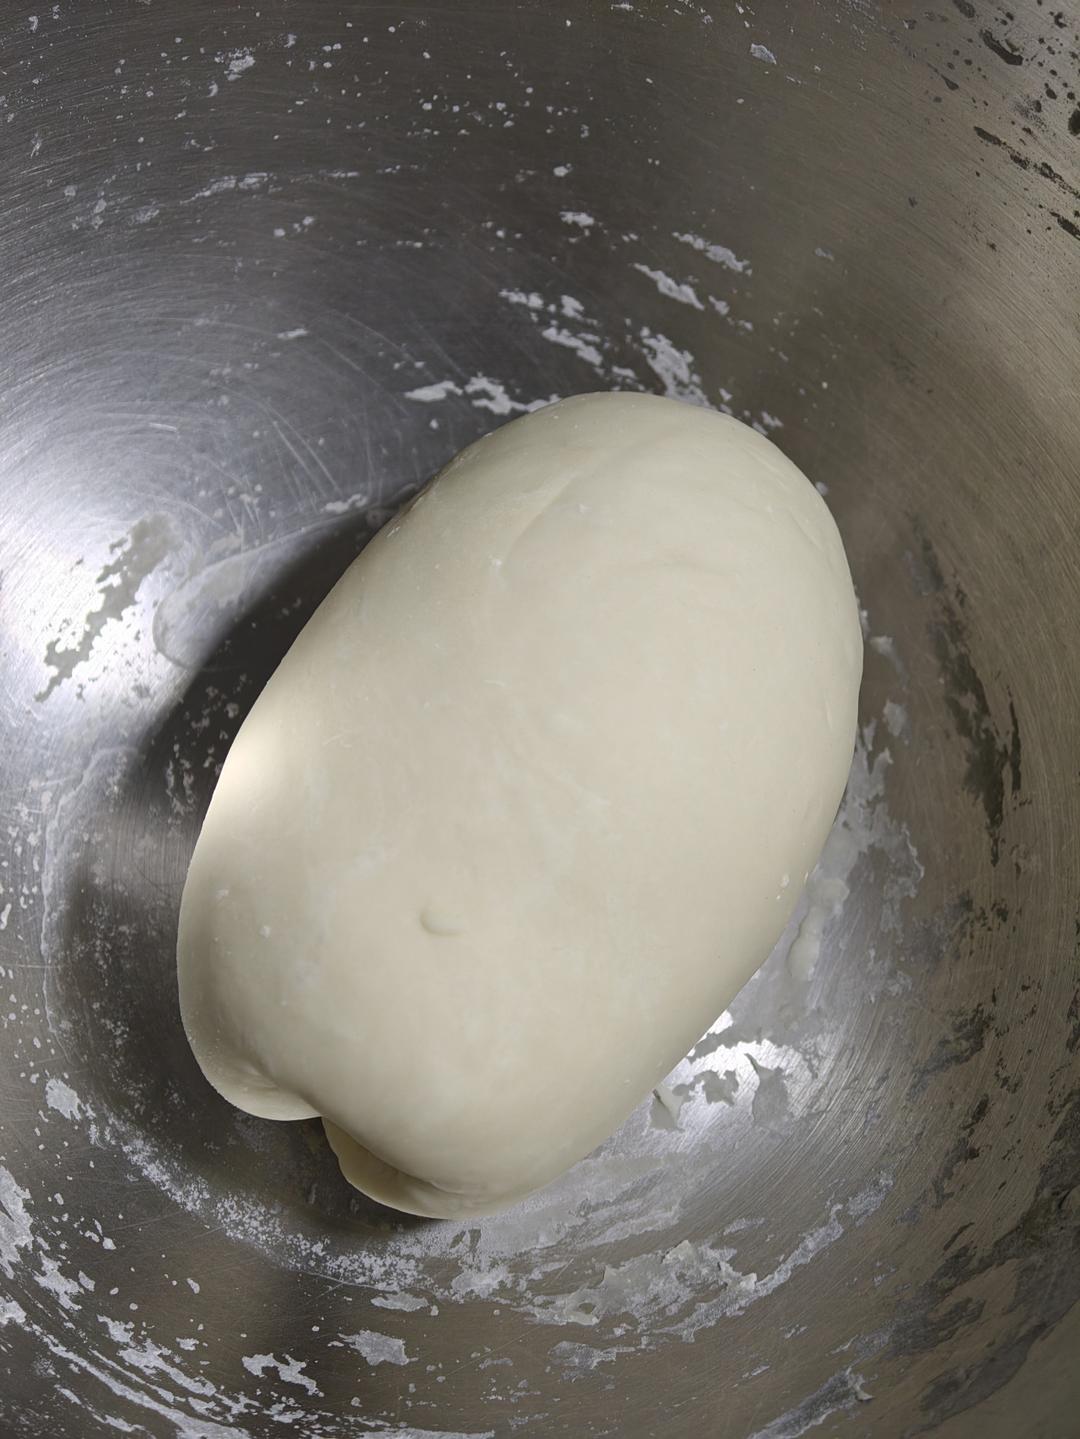
Step 5 — Dust With Flour
Sprinkle a little dry flour over the rested dough and your work surface so the sheet does not stick when you roll it.
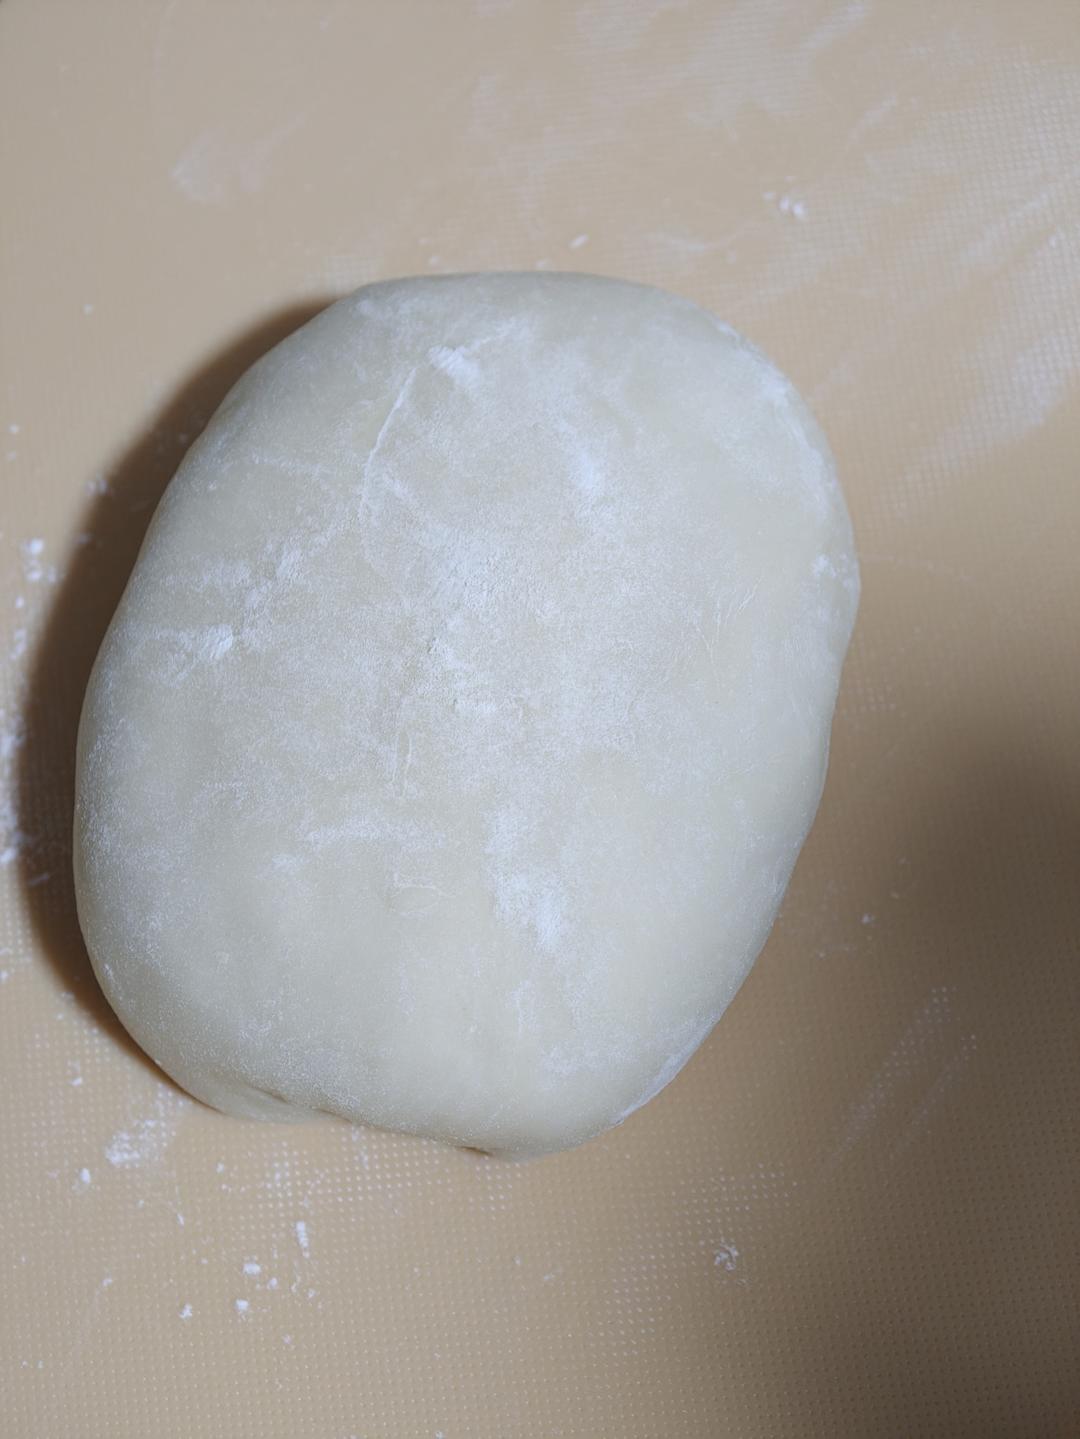
Step 6 — Roll the Dough Into a Sheet
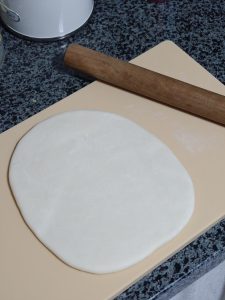
Roll the dough into a flat sheet about 1/4 in (6 mm) thick, working from the center outward to keep it even. It does not need to be perfectly rectangular.
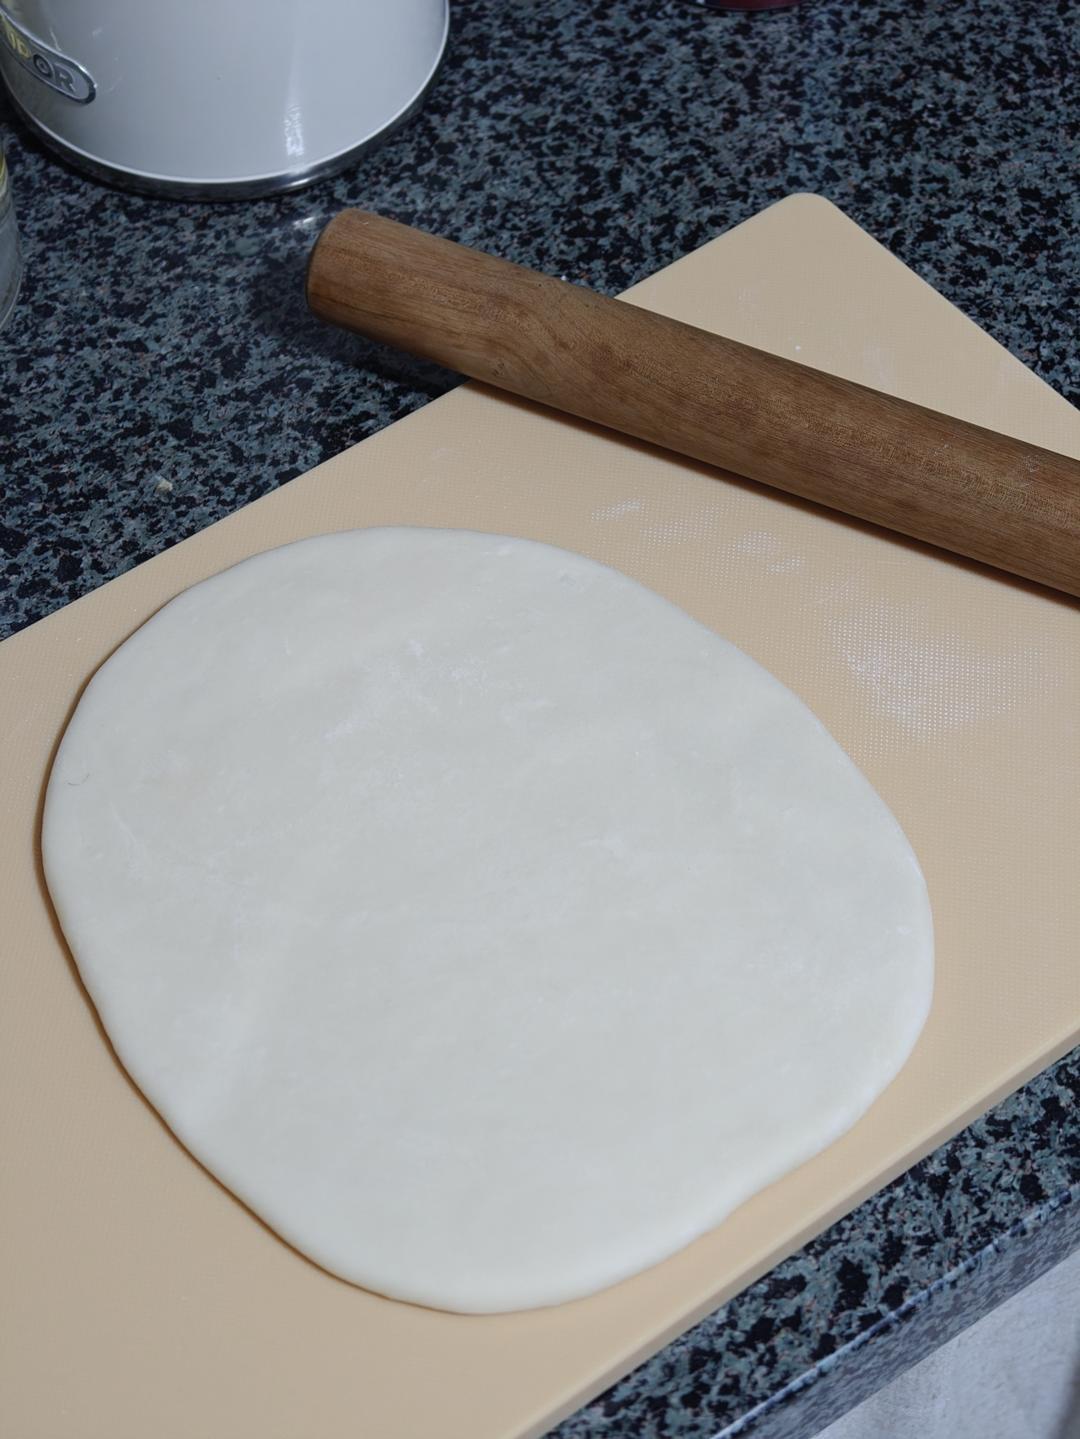
Step 7 — Cut the Sheet Into Strips
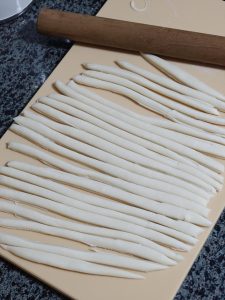
Using a sharp knife, cut the sheet into strips about 1 in (2.5 cm) wide. The strips can be slightly uneven; hand-pulled noodles are supposed to look handmade.
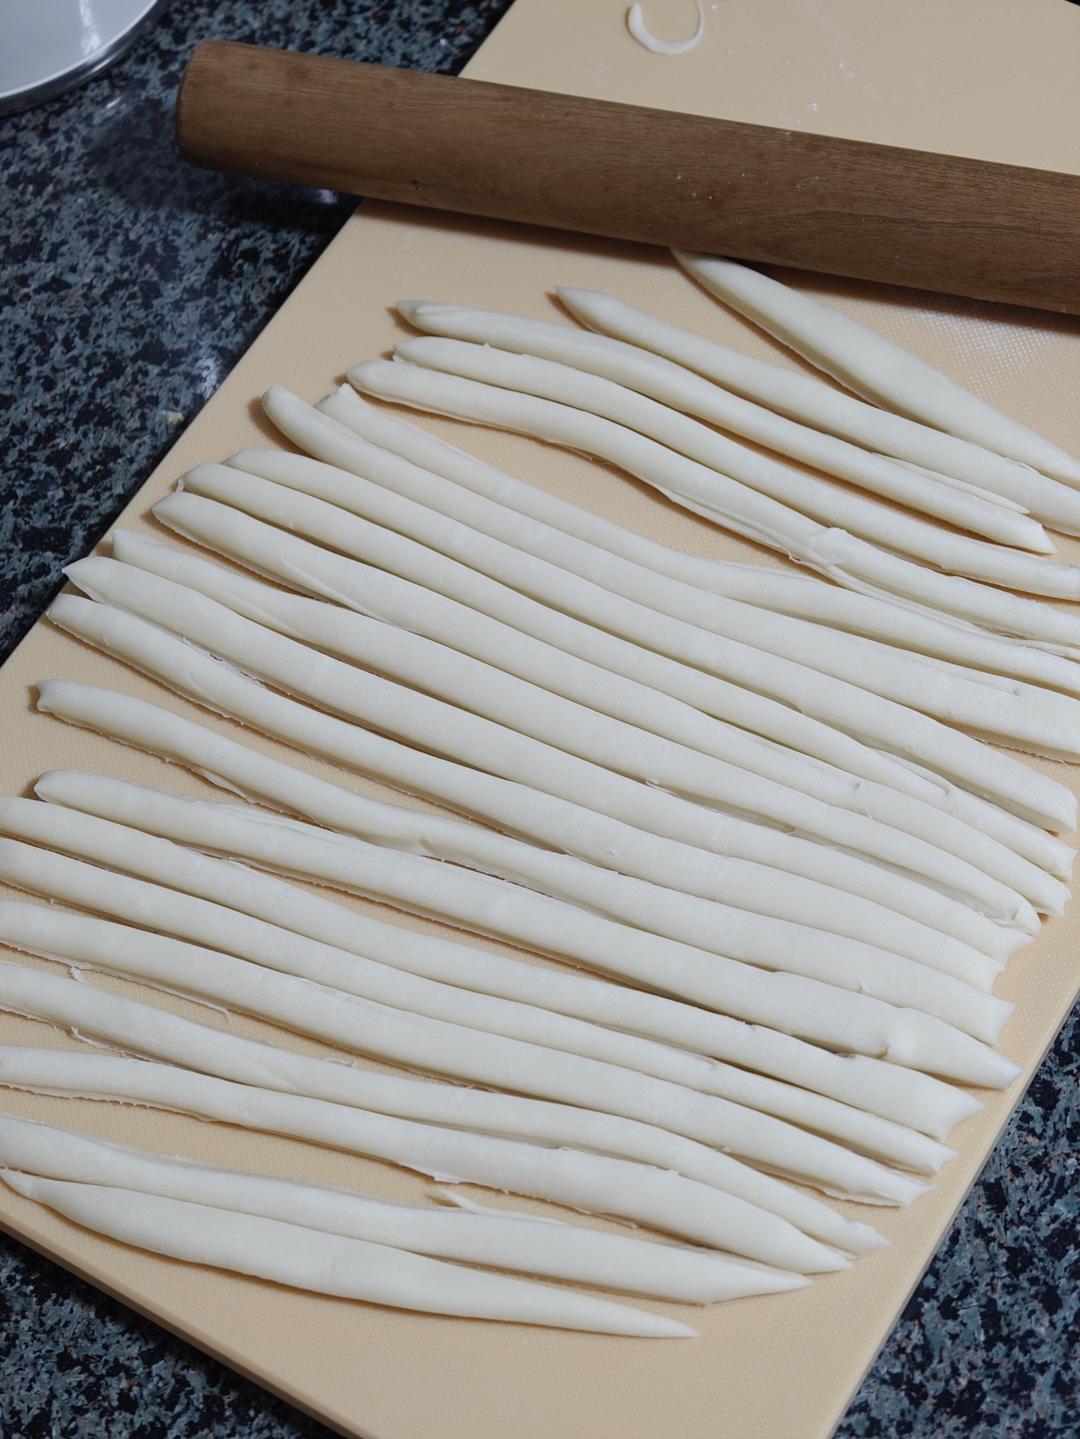
Step 8 — Oil the Strips and Rest an Hour
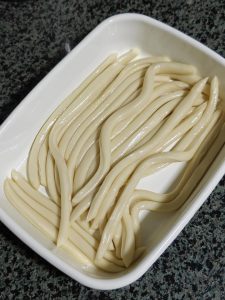
Brush or rub each strip with a little neutral oil, cover the whole batch with plastic wrap, and let it rest for 1 hour at room temperature, or overnight in the fridge. The oil and the long rest relax the dough completely, which is what allows each strip to stretch into a long noodle.
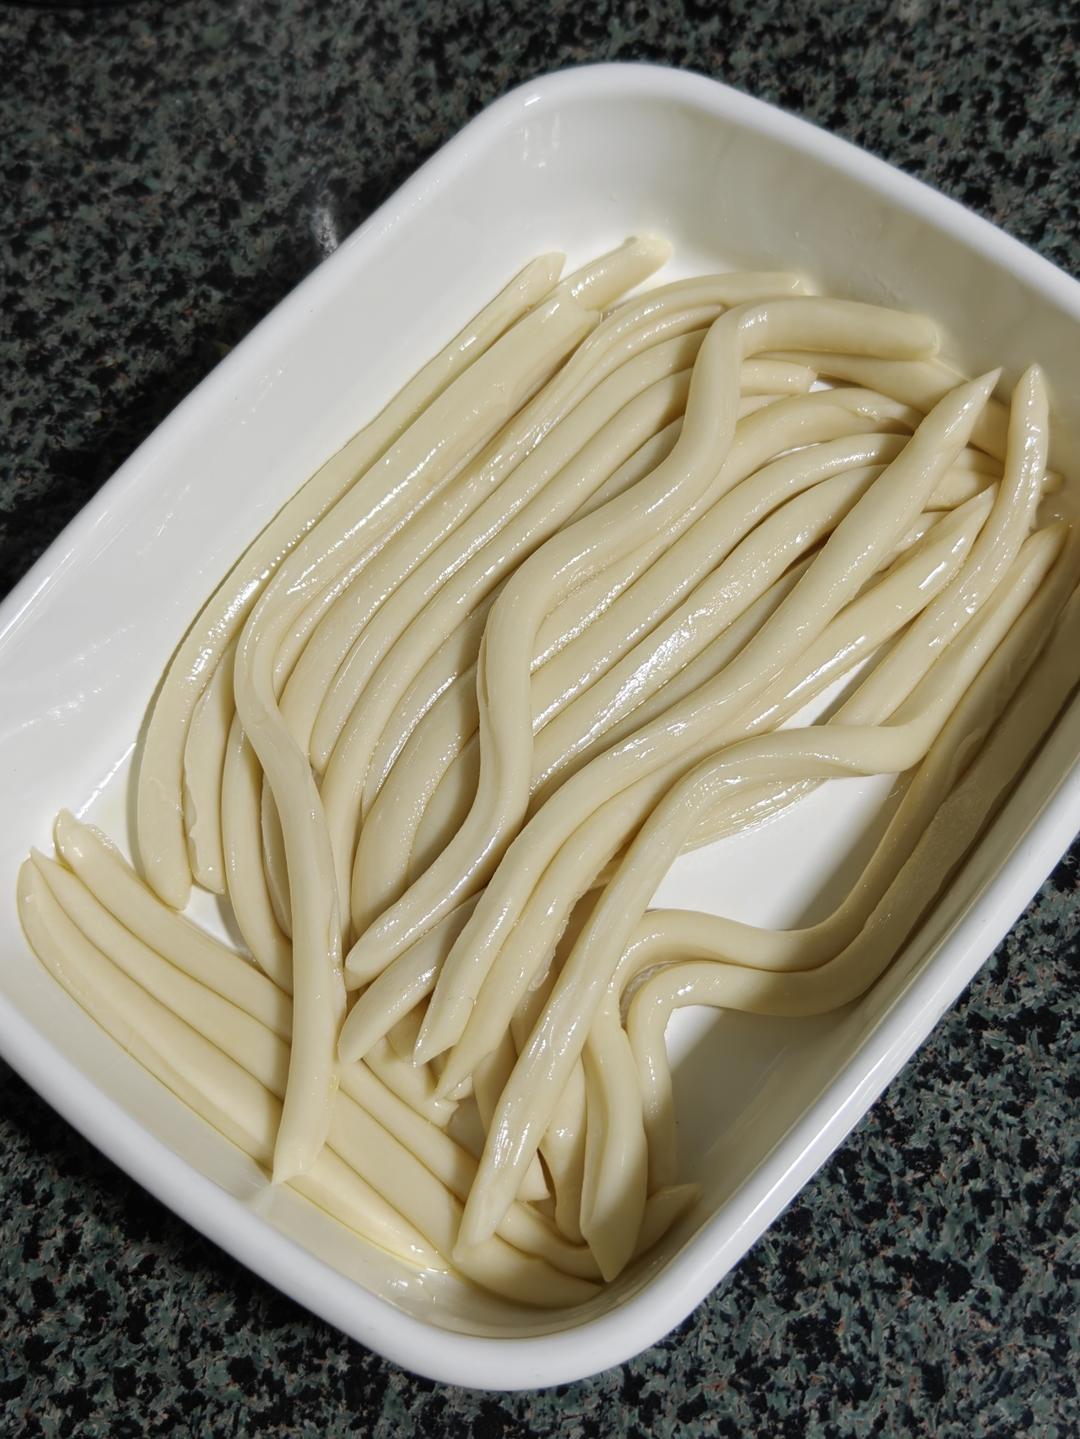
The hour-long rest is where the magic happens. Gluten is a protein network that gets tighter as it is worked, so a fresh dough snaps back when stretched. Given time, those proteins relax, and the oil keeps the surfaces from sticking, so a gentle pull turns each short strip into a long, even ribbon instead of tearing it.
Step 9 — Stretch and Boil the Noodles
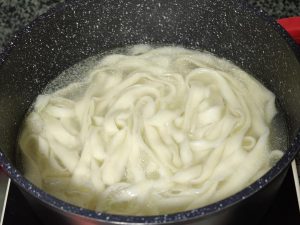
Bring a large pot of water to a boil and add 1 tsp salt. Take one oiled strip, hold it at both ends, and stretch it gently, bouncing it lightly against the counter to lengthen it, until it is as long as you like. Drop it into the boiling water and repeat; cook the noodles for 2 to 3 minutes until they float and taste done, then drain.
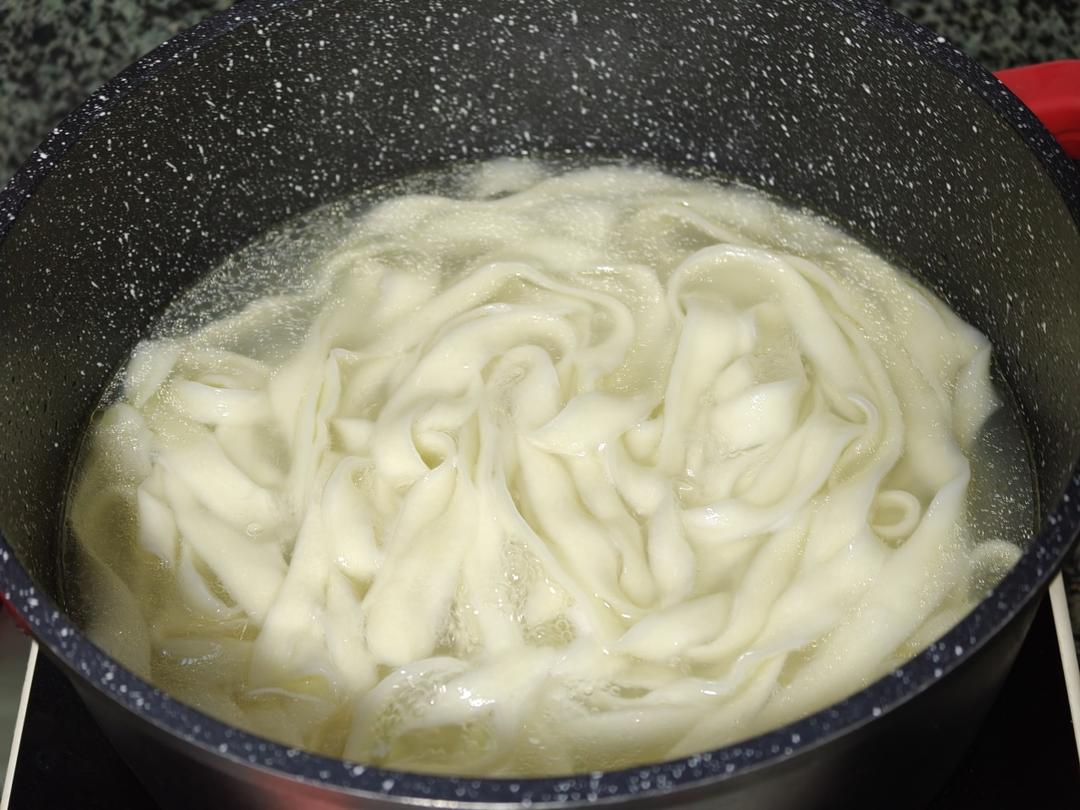
Step 10 — Dress With Soy, Vinegar, and Sizzling Chili Oil
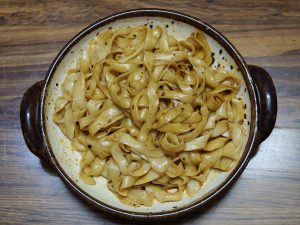
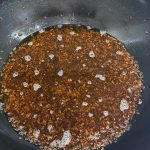
Toss the drained noodles with 2 tbsp light soy sauce and 1 tbsp black vinegar in a serving bowl. Pile the chili flakes and chopped scallion (and garlic, if using) on top, then pour 3 to 4 tbsp of oil heated until just smoking over them; it should sizzle and bloom. Toss everything together and eat immediately.
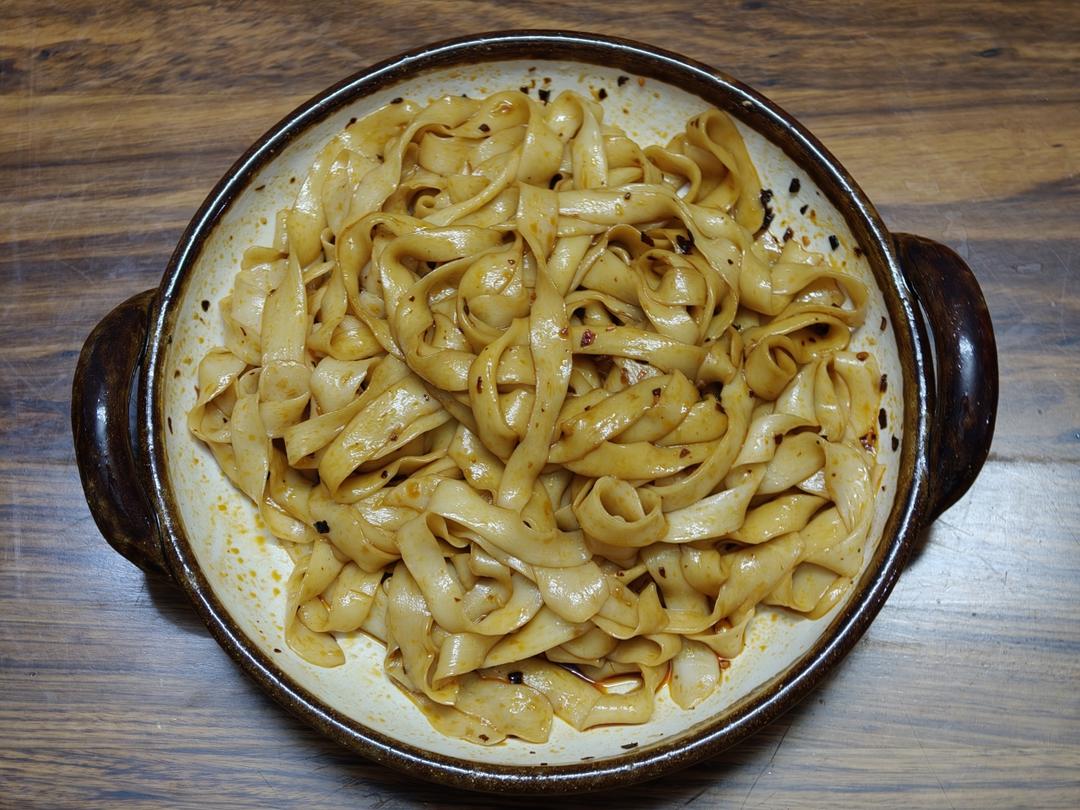
Common Mistakes When Making Hand-Pulled Noodles
1. The dough tears when stretched. Cause: the rests were skipped, or the dough was too soft. Fix: give the dough the full three knead-rest cycles and the hour-long oiled rest; a relaxed, firm dough stretches, a rushed one snaps.
2. The noodles turn to mush in the pot. Cause: too-soft dough, or boiling too long. Fix: keep the dough stiff and cook the noodles just until they float and lose their raw center, 2 to 3 minutes.
3. The strips stick together while resting. Cause: not enough oil. Fix: brush every surface of each strip with oil, not just the top.
4. Flat, inelastic noodles. Cause: using all-purpose flour or under-kneading. Fix: use high-gluten bread flour and knead until the dough feels smooth and springy between rests.
5. A raw chili taste in the dressing. Cause: the oil was not hot enough. Fix: heat the oil until it shimmers and just begins to smoke, then pour it over the chili immediately.
Variations
Tomato egg topping. Spoon tomato egg noodles over the plain che mian for a saucy, classic northern combination.
Minced pork or meat sauce. A spoonful of minced pork noodle sauce or tomato meat sauce turns the bowl into a full meal.
Soup version. Skip the chili dressing and serve the noodles in a rich broth, like the scallion-braised pork chop noodle soup, for a warming contrast.
Fried noodles. Boiled che mian also stir-fry beautifully; toss them the way you would Wenling fried rice noodles or Xinjiang fried rice noodles.
Frequently Asked Questions
How long do the noodles take in total? About 2 hours from mixing to boiling, but almost all of it is resting time. The hands-on work is roughly 20 minutes spread across the kneads and the final stretch.
Can I make the dough ahead? Yes. After cutting and oiling the strips, cover and refrigerate overnight. Let them come to room temperature for 30 minutes before stretching, and they will pull even more easily.
Do I need a pasta machine? No. The whole point is hand-stretching, and the recipe only needs a rolling pin and a knife to make the initial strips.
Why does the recipe rest the dough three times? Each rest relaxes the gluten a little more, so the dough gradually becomes smooth and elastic without a long, tiring knead. It is a patient person’s method, and it works.
Can I use the noodles in soup? Absolutely. Boil them the same way and add them to any broth; the chew holds up better than dried noodles.
How to Serve
Serve the noodles immediately, tossed with the chili oil, soy, and vinegar, with extra chili on the side for the brave. They are a meal on their own, but a plate of scallion oil noodles and a cold side make a proper noodle spread, and a bowl of plain broth alongside helps cool the heat.
Storage & Reheat
Cooked noodles keep in the fridge for a day; toss them with a little oil so they do not clump, and refresh in boiling water for 30 seconds or in a hot pan. The raw, oiled strips freeze well for up to 2 months, thaw in the fridge, and boil straight after warming to room temperature. Never leave cooked noodles at room temperature longer than 2 hours, and reheat leftovers thoroughly.
Allergen Notice
Contains gluten (wheat flour). The dressing contains soy (light soy sauce). If cooking for a soy-allergic guest, skip the soy and dress the noodles with black vinegar, chili oil, and salt alone, which is a common regional variation.
Nutrition Disclaimer
Nutrition information is calculated using an ingredient database and should be considered an estimate. In cases where multiple ingredient alternatives are given, the first listed is calculated for nutrition. Garnishes and optional ingredients are not included.
About the Author & Recipe Development
I am Lin, and I grew up watching the noodle master at my parents’ restaurant pull dough the way other kids watch magic tricks. This xiachufang recipe is the home version that taught me the secret: it is not arm strength, it is patience. I tested it three times, once rushing the rests, which produced noodles that tore at the stretch, and twice following the rhythm exactly, which produced the long, chewy ribbons in these photos. The oil-splashed chili at the end is the part that makes people close their eyes.
Authoritative References
King Arthur Baking on gluten for why resting builds stretchy dough, and USDA Safe Temperature Chart for reheating leftovers.
Hand-Pulled Noodles (扯面): Chewy Oil-Splashed Noodles

Equipment
- Large Mixing Bowl
- Rolling Pin
- Large Pot
- Pastry Brush
Ingredients
For the Noodles
- 200 g high-gluten bread flour about 1 1/2 cups plus 2 tbsp
- 90 ml water
- 0.25 tsp fine salt, for the dough plus 1 tsp for the boiling water
- 1 to 2 tsp neutral oil, for the strips
- 0.5 cup all-purpose flour, for dusting
For the Dressing
- 2 tbsp light soy sauce
- 1 tbsp black vinegar (Chinkiang)
- 2 tbsp chili flakes
- 1 scallion, finely chopped
- 3 to 4 tbsp neutral oil, heated until just smoking
- 1 clove garlic, minced (optional)
Instructions
- Mix 200 g high-gluten flour with 90 ml water and 1/4 tsp salt into a firm, stiff dough.

- Knead into a ball and rest at least 15 minutes.

- Knead again and rest 15 minutes more.
- Knead a third time and rest 15 minutes more.
- Sprinkle the dough and surface with dry flour.
- Roll the dough into a sheet about 1/4 in (6 mm) thick.
- Cut the sheet into wide strips about 1 in (2.5 cm) across.
- Oil the strips, cover, and rest 1 hour at room temperature, or overnight in the fridge.
- Boil salted water, stretch each strip gently into a long noodle, drop it in, and cook 2 to 3 minutes until done. Drain.
- Toss with soy and black vinegar, pile chili flakes and scallion on top, pour over oil heated until just smoking, toss, and eat immediately.


Leave a Reply