Introduction
If there is one dessert that perfectly bridges the gap between impressive presentation and zero-effort preparation, it is the Basque Burnt Cheesecake. Originating from the Basque region on the border of France and Spain, this cake is famous for breaking all the traditional cheesecake rules.

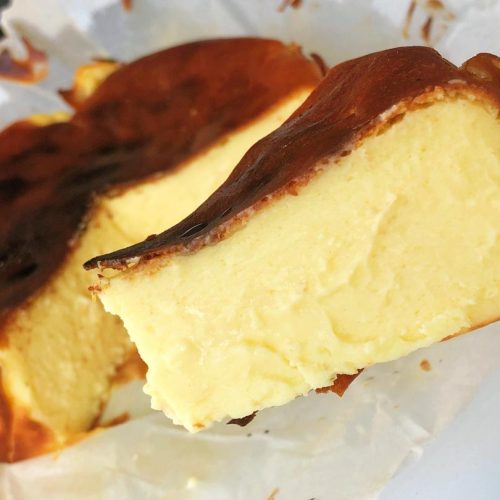
Forget water baths, graham cracker crusts, or worrying about cracks. This recipe is meant to be scorched on top! The burnt exterior provides a deeply caramelized, slightly bitter contrast to the incredibly rich, melt-in-your-mouth, pudding-like center. It’s a “half-baked” heavy cheese cake that is practically foolproof, even for absolute beginners. Just mix everything in one bowl and bake.
What Is Basque Burnt Cheesecake?
Unlike New York-style cheesecake, which is dense and uniformly pale, Basque Burnt Cheesecake is baked at a very high temperature. This intentionally scorches the top while leaving the center delightfully soft and creamy—almost molten when it first comes out of the oven.
If you are a fan of rich dairy desserts and want to try more baking, you might also enjoy our Milk Cream Cheese Bread or the traditional Chinese Jujube Cake.
Ingredients
- 8.8 oz (250g) Cream Cheese: Must be full-fat. Kiri brand is highly recommended for the smoothest, creamiest texture.
- 1/4 cup + 1 tbsp (60g) Caster Sugar: The sugar has been adjusted to be perfectly balanced, not overly sweet.
- 2 Large Eggs: Room temperature.
- 1 Egg Yolk: Adds extra richness to the custard.
- 1/2 cup (120g) Heavy Cream: Room temperature.
- 1 tbsp (10g) Cornstarch or Cake Flour: Just a touch to help stabilize the center.
- Optional Add-ins: A few drops of vanilla extract or lemon juice to brighten the flavor.
Equipment Needed
- 6-Inch Round Cake Pan: A springform or loose-bottom pan works best.
- Parchment Paper: For lining the pan.
- Hand Whisk or Electric Mixer
Prep & Mise en Place
- Soften the Cream Cheese: This is the most critical step for a smooth batter. Remove the cream cheese from the fridge 30 minutes before starting. It should yield easily when pressed with a finger, but it should not be melted. (If rushed, microwave on medium for 10-second bursts until soft).
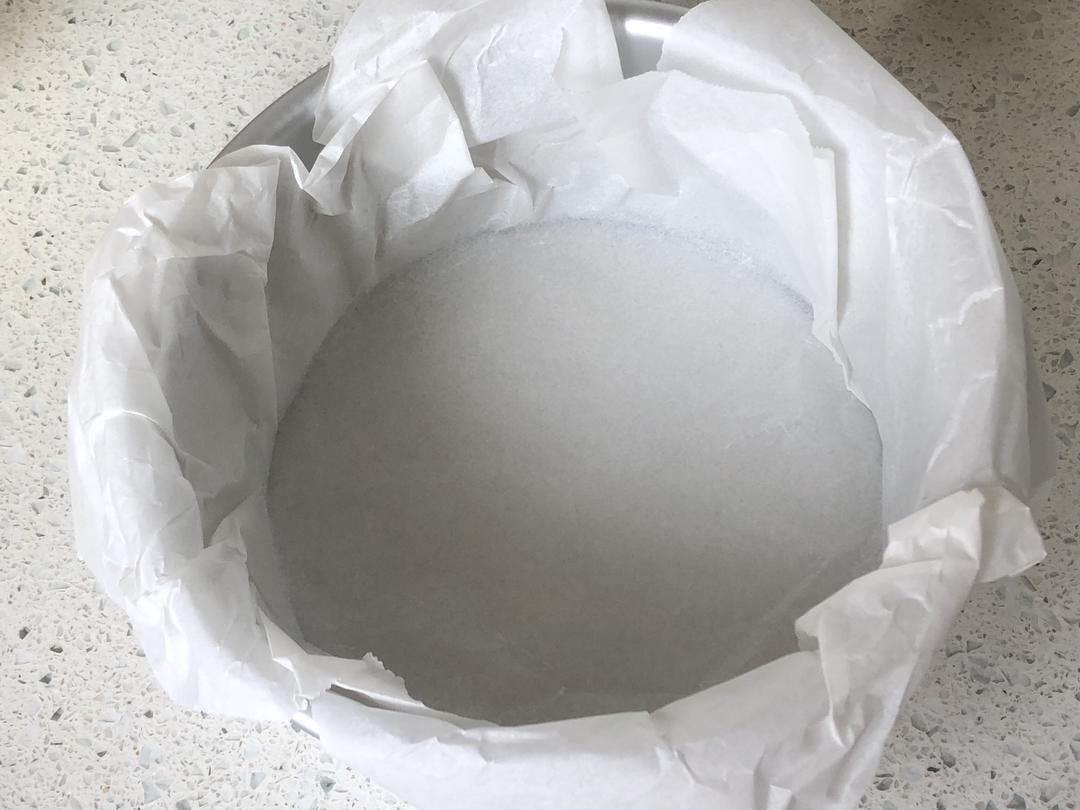
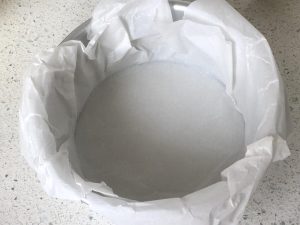
- Line the Pan: Take a large sheet of parchment paper, crumple it under running water, squeeze the water out, and flatten it. This hack makes the paper much easier to fit snugly into the 6-inch pan. Let the edges overhang.
Cooking Process
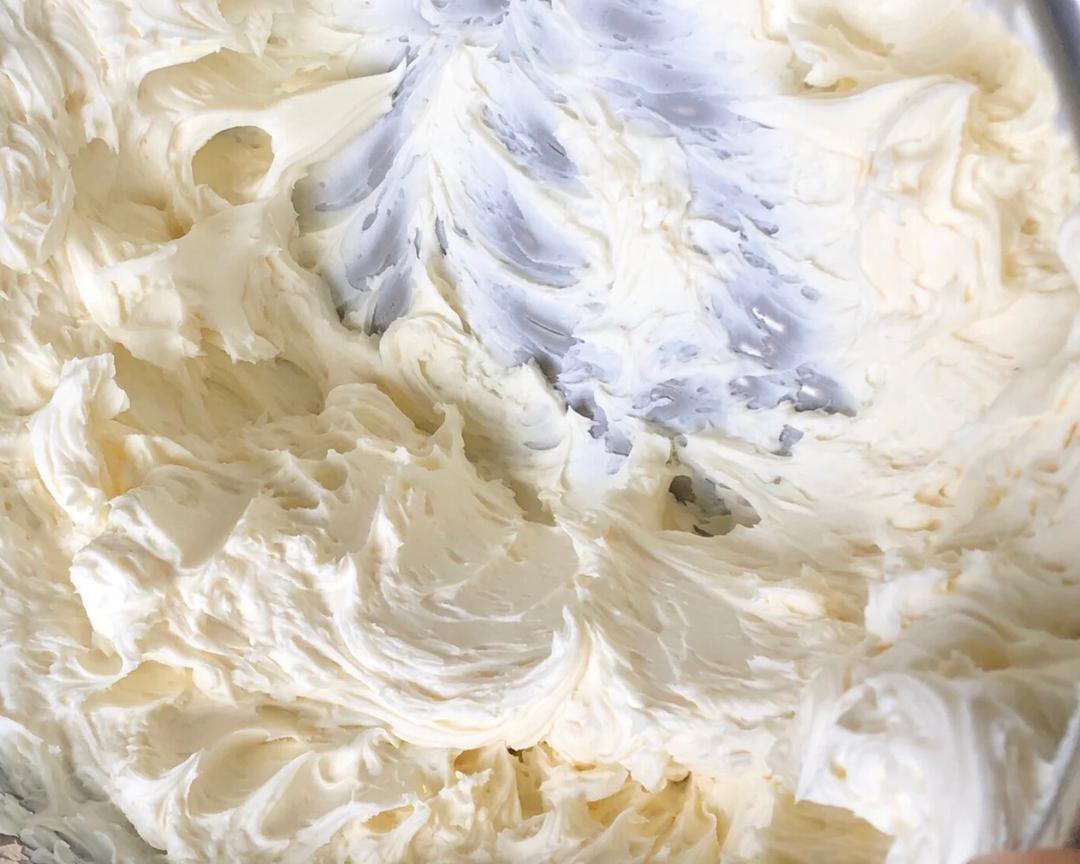
- Step 1: Cream the Cheese and Sugar (3–5 minutes)
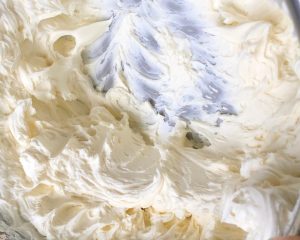
Add the caster sugar to the softened cream cheese. Using a hand whisk or an electric mixer on low speed, mix until completely smooth and creamy.
Note: Do not overmix or whip air into the batter; we want it smooth, not fluffy.
- Step 2: Add the Eggs (2–3 minutes)
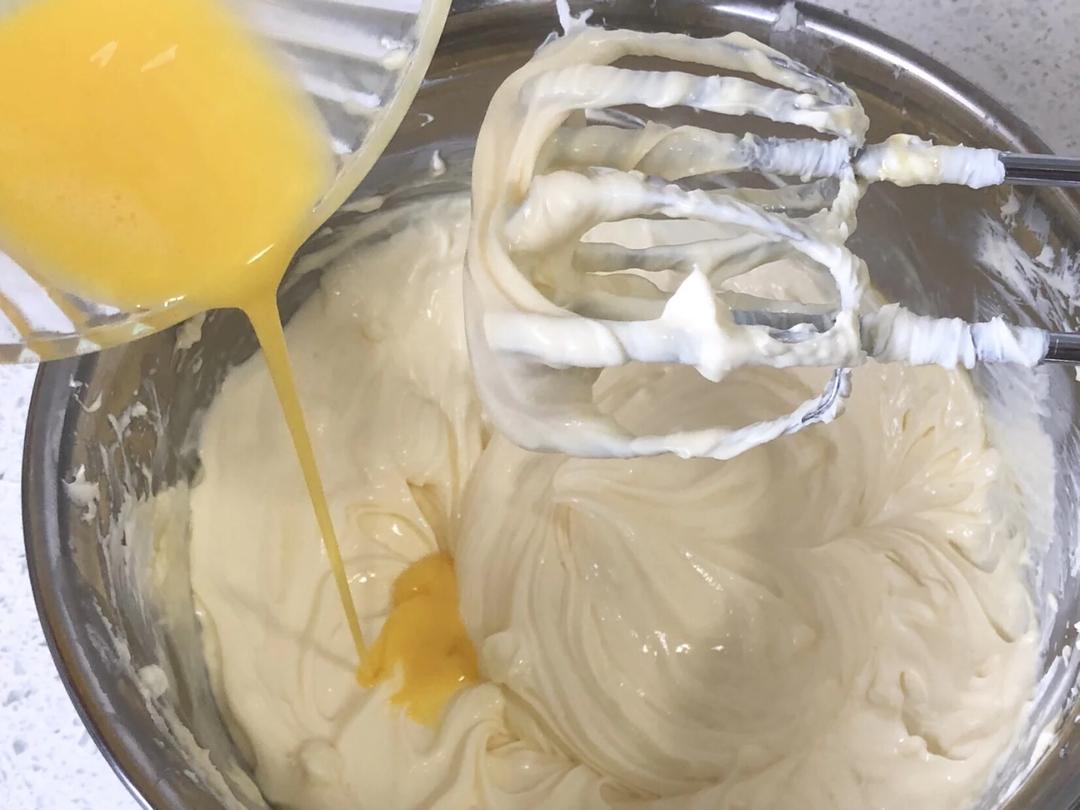
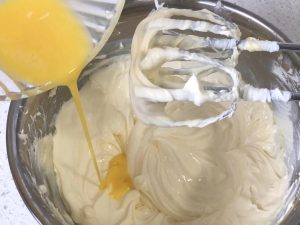
Lightly beat the 2 whole eggs and 1 egg yolk together. Gradually pour the egg mixture into the cream cheese in 3 or 4 additions, mixing until fully incorporated before adding more. Do not dump all the eggs in at once, or the batter may curdle.
- Step 3: Stir in the Heavy Cream (1–2 minutes)
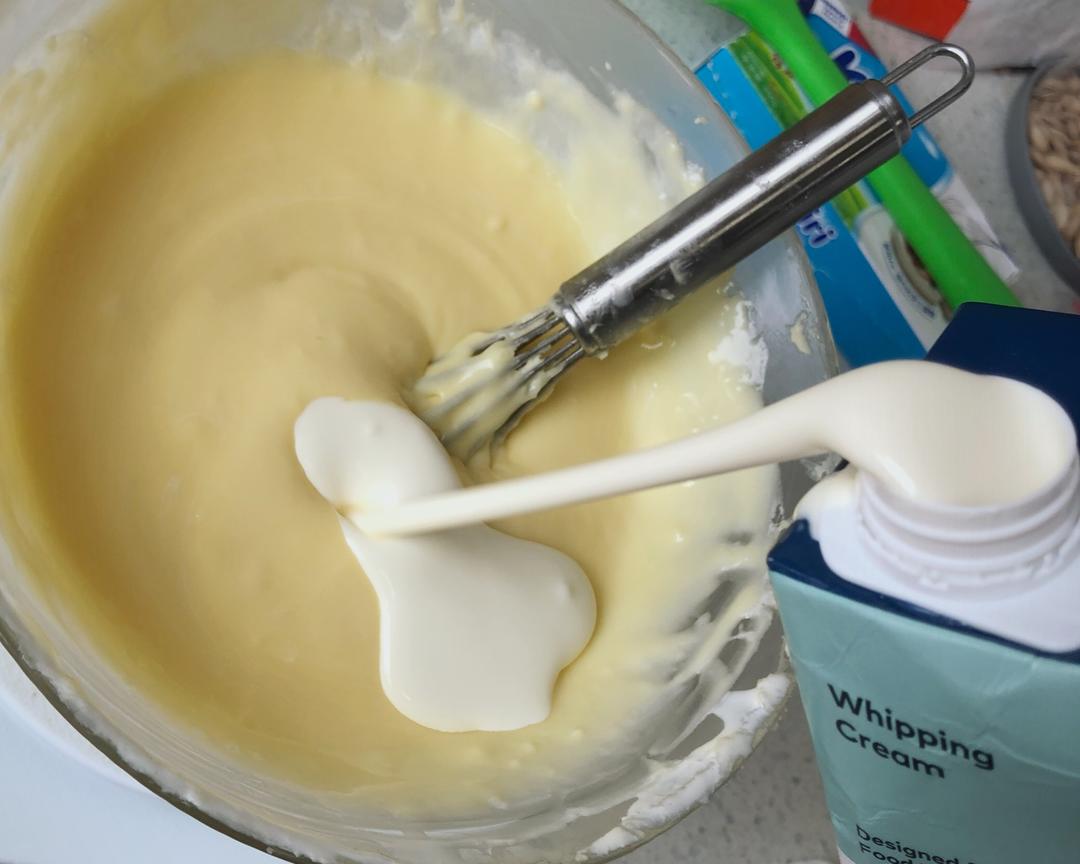
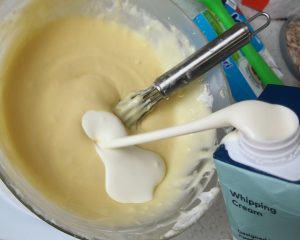
Slowly pour in the heavy cream while continuously stirring. Mix gently until just combined and silky. Again, avoid whipping air bubbles into the mixture. (You can add vanilla extract or lemon juice here).
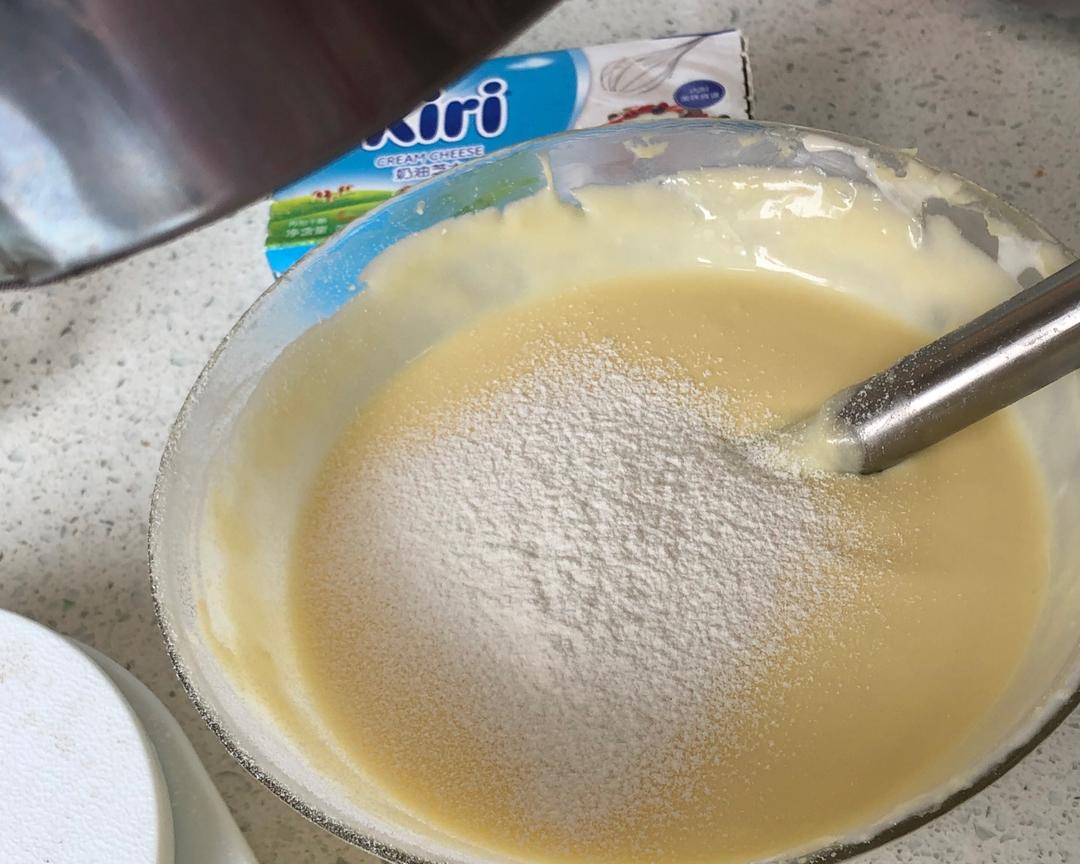
- Step 4: Sift and Fold the Starch (1 minute)
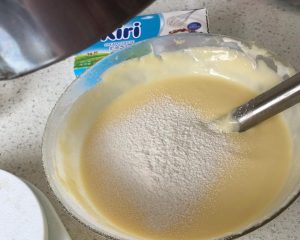
Sift the cornstarch (or cake flour) into the batter. Use a whisk to stir in a “Z” pattern until no lumps remain.
(Optional: Pass the entire batter through a fine-mesh sieve into your lined cake pan for the ultimate silky texture. Tap the pan on the counter a few times to pop large air bubbles).
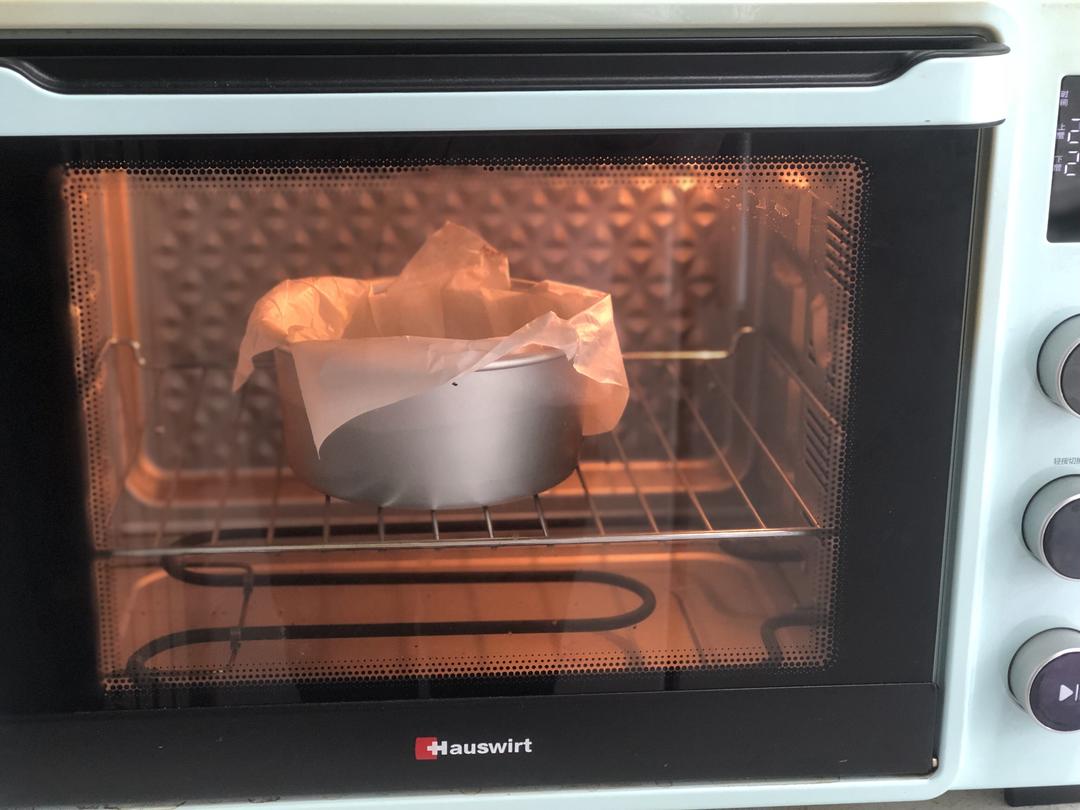
- Step 5: Bake the Cheesecake (20–25 minutes)
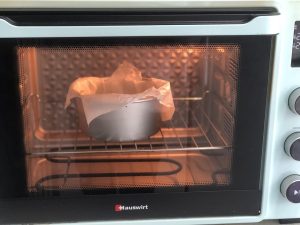
Preheat your oven to 430°F (220°C). Place the cake pan on the middle-lower rack. Bake for 20 to 25 minutes.
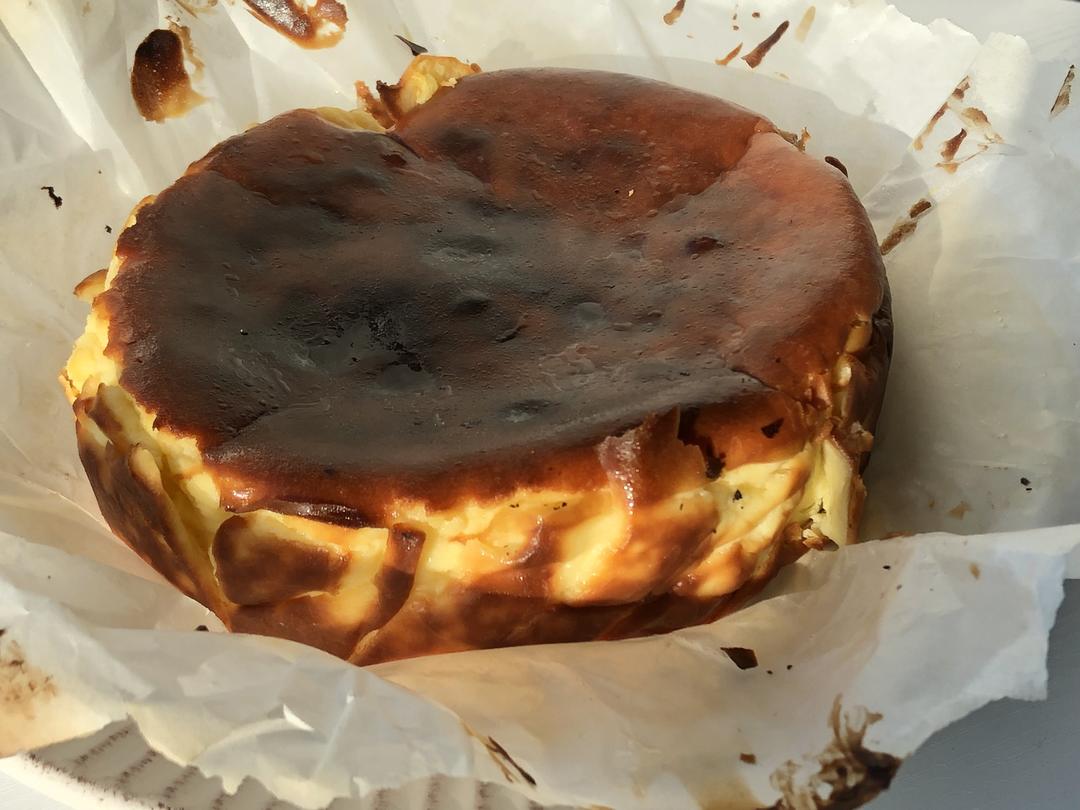
Watch closely: You are looking for a dark, scorched top. If your oven has a convection/fan setting, turn it on for the last 3-5 minutes to help caramelize the surface evenly.
“Baking at 430°F triggers aggressive Maillard browning and caramelization on the surface before the heat fully penetrates the center. This creates the signature contrast: a firm, caramelized crust protecting a delicate, half-baked custard inside.”
- Step 6: The Jiggly Exit
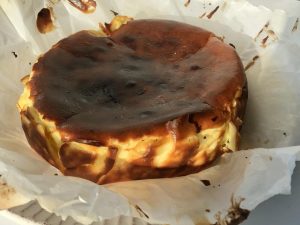
Remove the cake from the oven and drop the pan once onto the counter to release trapped steam. The cake will puff up and look very dark, but the center will jiggle wildly (like pudding) when shaken. Do not panic! It is supposed to be wobbly.
- Step 7: Cool and Chill (Overnight)
Let the cheesecake cool completely at room temperature (it will sink and flatten). Once cooled, place it in the refrigerator overnight (at least 6-8 hours). It must be chilled to fully set the center.
Why This Recipe Works
- High Heat, Short Time: The 430°F (220°C) oven creates the burnt top without overcooking the inside.
- Heavy Cream & Extra Yolk: Boosts the fat content, resulting in an ultra-luxurious, melt-in-your-mouth texture.
- Overnight Chilling: The residual heat finishes cooking the custard slowly, while the cold solidifies the fats for a perfect slice.
Variations
- Matcha Basque Cheesecake: Sift 12g of high-quality matcha powder along with the cornstarch in Step 4. If you love matcha, check out our Fluffy Matcha Chiffon Cake.
- Chocolate Basque Cheesecake: Melt 38g of dark chocolate and gently fold it into the batter at the very end of Step 4.
Common Mistakes When Making Basque Cheesecake
- Mistake: The batter is lumpy.
- Cause: The cream cheese was too cold, or you added the cold eggs too quickly.
- Solution: Always use room-temperature ingredients. If it’s already lumpy, passing it through a fine-mesh sieve before baking will save it!
- Mistake: The cake is dry or dense like a New York cheesecake.
- Cause: Overbaking.
- Solution: Take it out when the center is still very jiggly. If the top isn’t dark enough by minute 20, move it to the top rack or turn on the broiler for 1-2 minutes rather than baking the whole cake longer.
- Mistake: The cake fell apart when slicing.
- Cause: You didn’t chill it long enough.
- Solution: Basque cheesecake is essentially a custard when warm. It must be refrigerated overnight to set.
Frequently Asked Questions
- Can I bake this in an 8-inch pan?
- Is the burnt top bitter?
- Why did my cake sink so much in the middle?
This recipe is specifically scaled for a 6-inch pan to get the proper height and gooey center. If you use an 8-inch pan, it will be very flat and overcook quickly. Double the recipe for an 8-inch pan.
Slightly, but in a good way! The caramelized bitterness cuts through the heavy, sweet cream cheese, balancing the flavor perfectly.
This is completely normal. Basque cheesecakes puff up dramatically in the oven and collapse as they cool. If it sinks too deeply, you may have overbaked it.
How to Serve
Serve Basque Burnt Cheesecake straight from the fridge for a firmer slice, or let it sit at room temperature for 15 minutes if you prefer a softer, oozing center. Use a sharp knife dipped in hot water (and wiped dry) for clean slices.
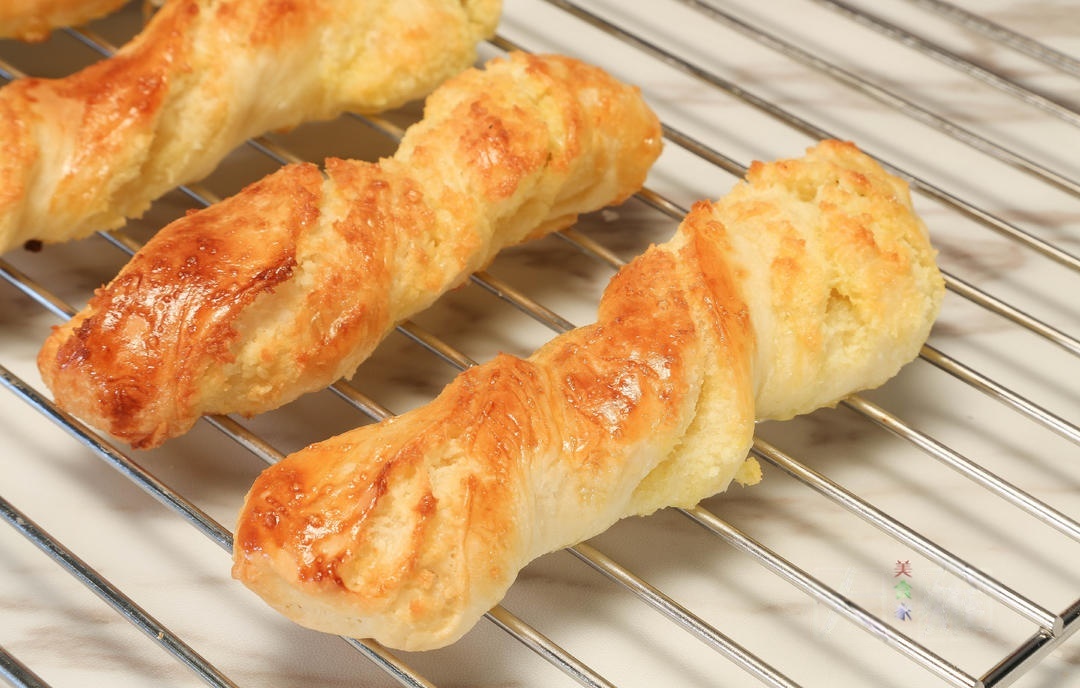
Enjoy it with a cup of strong black tea or coffee. If you’re hosting an afternoon tea, serve it alongside other easy bakes like our Pumpkin Chestnut Pound Cake or Fluffy Coconut Bread Strips.
1Easy Pumpkin Chestnut Pound Cake (Nan Gua Li Zi Dan Gao)A simple, moist, low-sugar Pumpkin Chestnut Pound Cake! This easy fall recipe uses simple ingredients like pumpkin puree and cooked chestnuts and is perfect for a cozy breakfast or dessert.Check out this recipe2Coconut Bread Strips (Ye Rong Mian Bao)These soft, fluffy Chinese coconut bread strips are filled with a sweet buttery coconut filling and twisted for a beautiful bakery-style look. Perfect for breakfast or a tea-time snack.Check out this recipe

Storage & Reheat
- Refrigerate: Keep the cheesecake in the fridge, covered or in an airtight container, for up to 4 days.
- Freeze: Wrap individual slices tightly in plastic wrap and freeze for up to 1 month. Thaw in the fridge overnight before eating.
Allergen Notice
- Contains Dairy (Cream Cheese, Heavy Cream) and Eggs.
- Contains Gluten if using cake flour (can be made gluten-free by exclusively using cornstarch).
Nutrition Disclaimer
Nutrition information is an estimate and provided for informational purposes only.
About the Author & Recipe Development
I’m Lin, a recipe developer for Woks of Love. While my expertise lies in Asian cuisine, I have a massive weak spot for Asian bakery culture, which enthusiastically adopted the Basque cheesecake trend. I’ve tested this ratio repeatedly to ensure it yields the perfect balance of a scorched crust and a molten center in standard home ovens. It’s the ultimate low-effort, high-reward dessert.
Authoritative References
- For more on the science of caramelization and baking temperatures, check out King Arthur Baking’s Guide to Cheesecake.
Foolproof Basque Burnt Cheesecake
Equipment
- 6-Inch Round Cake Pan
- Parchment paper
- Whisk or Electric Mixer
Ingredients
- 8.8 oz cream cheese softened at room temperature
- 1/4 cup caster sugar plus 1 tbsp (60g total)
- 2 large eggs room temperature
- 1 egg yolk
- 1/2 cup heavy cream room temperature
- 1 tbsp cornstarch or cake flour
- 1 tsp vanilla extract optional
Instructions
- Prep: Preheat oven to 430°F (220°C). Crumple a sheet of parchment paper, wet it, squeeze it dry, and use it to line a 6-inch round cake pan. Ensure cream cheese is softened.

- Cream Cheese & Sugar: In a mixing bowl, combine the softened cream cheese and sugar. Whisk until smooth and creamy. Do not whip air into it.

- Add Eggs: Beat the 2 whole eggs and 1 egg yolk. Gradually add the egg mixture to the cream cheese in 3-4 small additions, mixing until smooth after each pour.
- Add Cream: Slowly stir in the heavy cream (and vanilla extract, if using) until the batter is silky and well combined.
- Add Starch: Sift the cornstarch over the batter. Stir gently in a Z-pattern until no lumps remain. (Optional: pass batter through a fine-mesh sieve for ultimate smoothness).
- Bake: Pour batter into the prepared pan. Tap on the counter to release air bubbles. Bake on the middle-lower rack at 430°F (220°C) for 20-25 minutes until the top is darkly caramelized.
- Cool & Chill: Remove from oven (the center should be very jiggly). Let it cool completely at room temperature, then refrigerate overnight (at least 6-8 hours) to fully set before slicing.









Leave a Reply