Sometimes, you just need that spicy, tangy, and crunchy bite of kimchi, but you don’t have the time or energy to undergo a massive, multi-day traditional fermentation process. That is exactly where this “lazy” quick kimchi comes into play.

In my kitchen, efficiency is just as important as flavor. While I deeply respect the deeply complex, slow-fermented pao cai and kimchi styles I’ve encountered throughout my culinary career, this shortcut version is a lifesaver for busy weeknights. It requires minimal prep, just a few staple ingredients, and gives you a fantastic, crunchy side dish that is ready to enjoy after just a short rest in the fridge.
If you are intimidated by traditional fermentation or just want a fast, foolproof vegetable side to pair with your dinner, this recipe is for you.
What Is Lazy Quick Kimchi?
This recipe is essentially a highly simplified, quick-curing method inspired by both Chinese pao cai (pickled vegetables) and Korean fresh kimchi (geotjeori). Instead of making a complex porridge base or using dozens of ingredients, we rely on a quick salt-and-sugar wilt, followed by tossing the cabbage in a pre-made chili paste.
Because it’s not heavily fermented over weeks, the flavor is brighter, fresher, and the cabbage retains a much crisper texture. It is a fantastic introductory recipe for home cooks looking to add a kick of spice and probiotics to their daily meals without a massive time investment.
Note: If you are looking for dishes to pair with this, you might enjoy exploring my Kimchi Pork Belly Stir-fry, which is an absolutely perfect way to use up any leftover kimchi you make!
1Kimchi Pork Belly Stir-fry (La Bai Cai Chao Wu Hua Rou)A 15-minute savory, spicy, and tangy stir-fry featuring crispy rendered pork belly and fermented kimchi. This easy homestyle dish is the perfect appetite stimulant.Check out this recipe2Kimchi Pork Belly Stir-fry with Bean SproutsA quick, savory, and texture-rich stir-fry combining tender pork belly, spicy kimchi, and crunchy mung bean sprouts. A perfect weeknight meal ready in 20 minutes.Check out this recipe
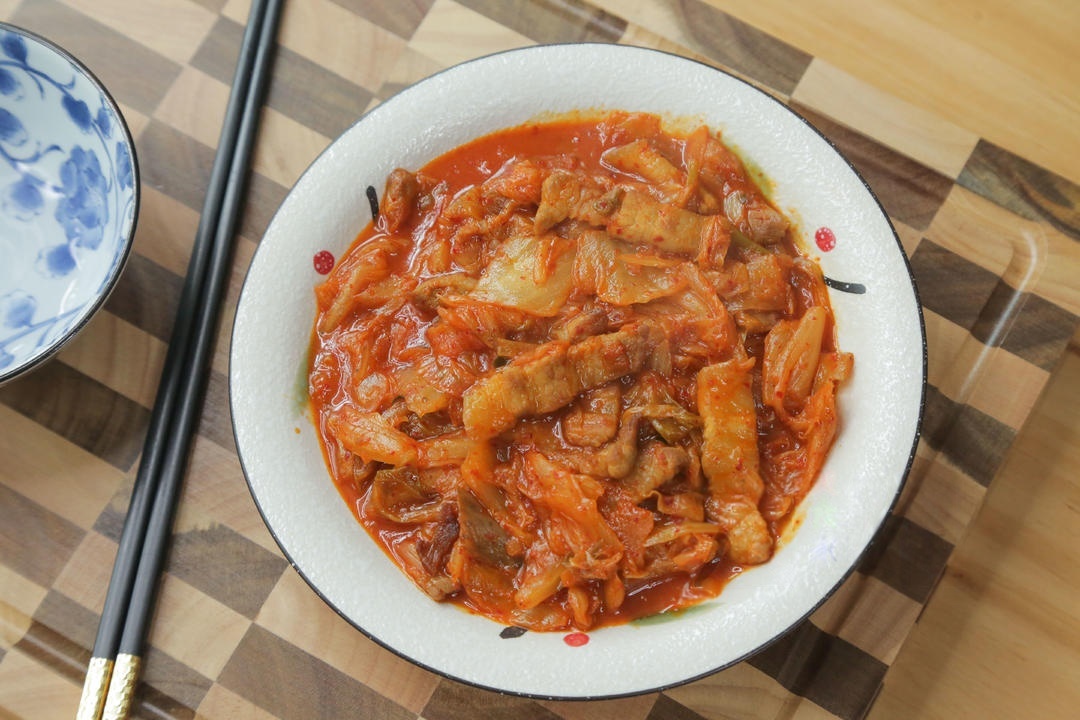

Ingredients
- 1 whole Napa Cabbage (approx. 2 lbs / 900g): Look for a firm, heavy head with tightly packed, blemish-free leaves.
- 4g Salt (approx. ¾ teaspoon): Plain fine sea salt or kosher salt works best. Avoid iodized table salt if possible, as it can sometimes cause the cabbage to darken.
- 4g Sugar (approx. 1 teaspoon): Standard white granulated sugar. This helps balance the saltiness and aids in the quick wilting process.
- Korean Chili Paste (Gochujang) or Homemade Spicy Paste (to taste): You will need roughly 3 to 4 tablespoons, depending on your heat tolerance. You can use store-bought Korean Gochujang, or a custom blend of chili flakes, garlic, and ginger.
Equipment Needed
- A large mixing bowl or basin
- Food-safe disposable gloves (highly recommended to protect your hands from the chili paste)
- A clean, airtight glass container or jar for storage
Prep & Mise en Place
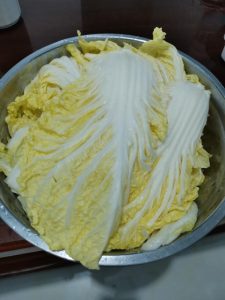
- Wash and Dry: Thoroughly wash the Napa cabbage leaves under cold running water to remove any dirt hidden near the base.
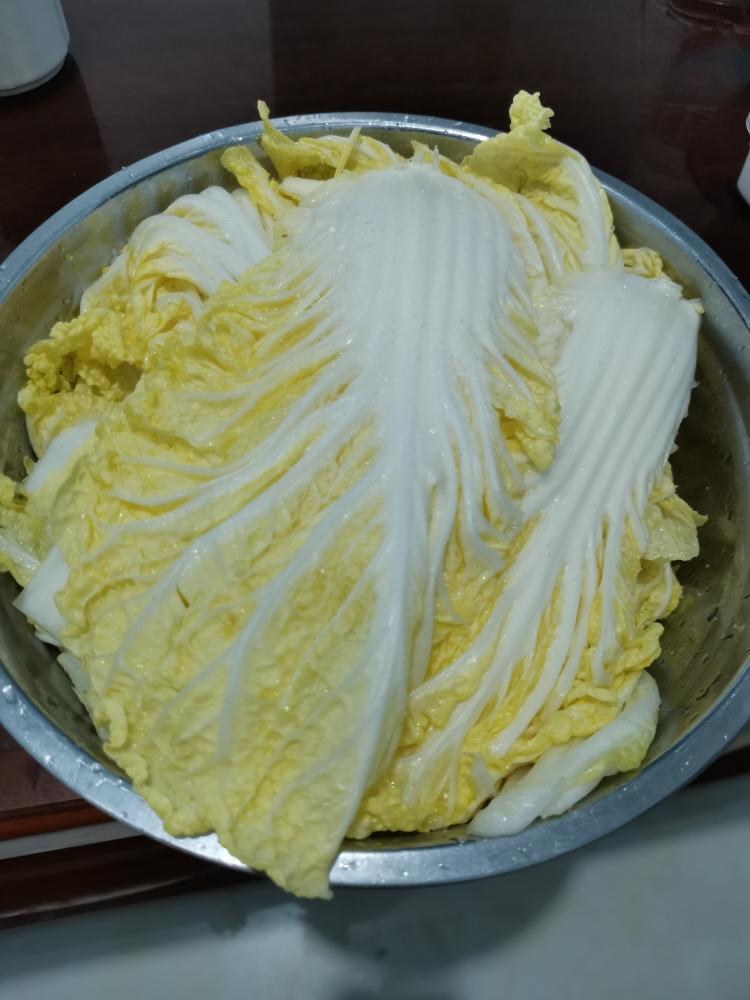
- Dry Completely: It is crucial to let the cabbage air dry or pat it completely dry with paper towels. Excess surface water will dilute your seasoning and make the final product soggy.
- Cut (Optional): You can leave the leaves whole for a traditional look, or chop them into bite-sized, 2-inch pieces for easier handling and faster eating.
Cooking Process
Step 1: The Wilting Phase (1 Hour) Place your dried cabbage in a large basin. Evenly sprinkle the 4g of salt and 4g of sugar over the leaves. Gently toss to combine. Let it sit at room temperature for exactly 1 hour.
The process of salting the cabbage relies on osmosis. The salt draws out the excess water from the cell walls of the cabbage, softening the leaves to make them pliable while preserving that satisfying interior crunch. It also ensures your final marinade doesn’t become a watery soup.
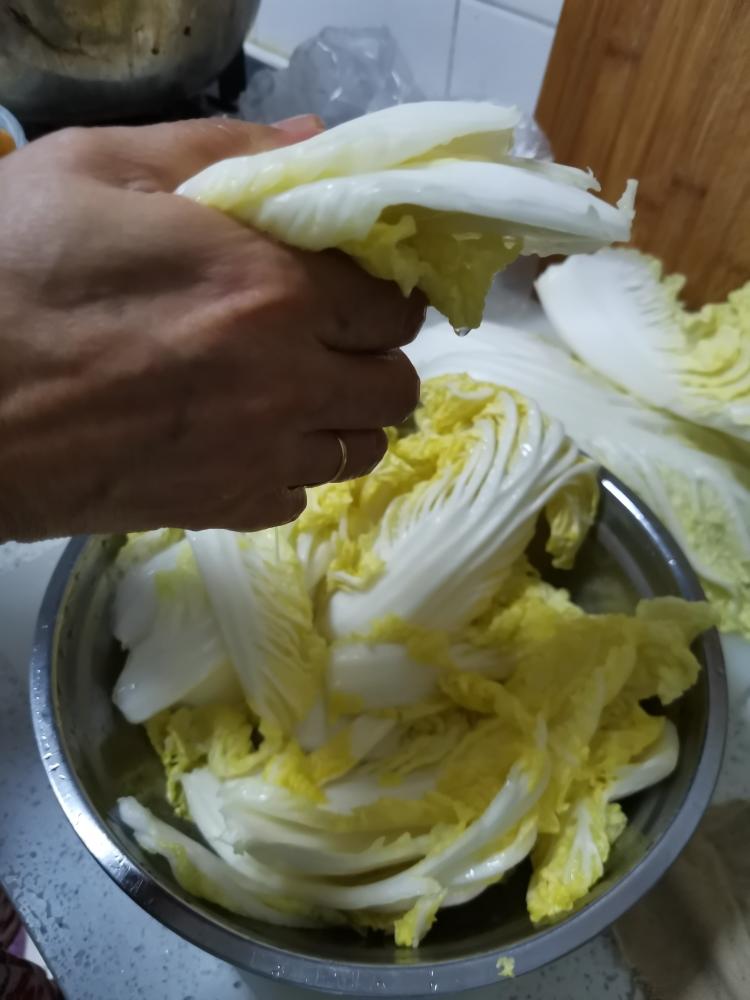
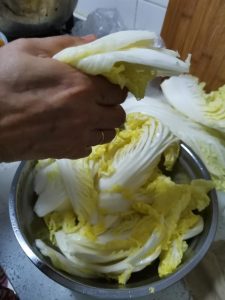
Step 2: Rinse and Squeeze (3-5 Minutes) After an hour, the cabbage will have released a pool of liquid. Optional but recommended: Give the cabbage a very quick rinse under cold water to wash away excess surface salt, especially if you are sensitive to sodium. Using your hands, firmly squeeze the cabbage to wring out as much moisture as humanly possible. Transfer the squeezed cabbage to a dry bowl.
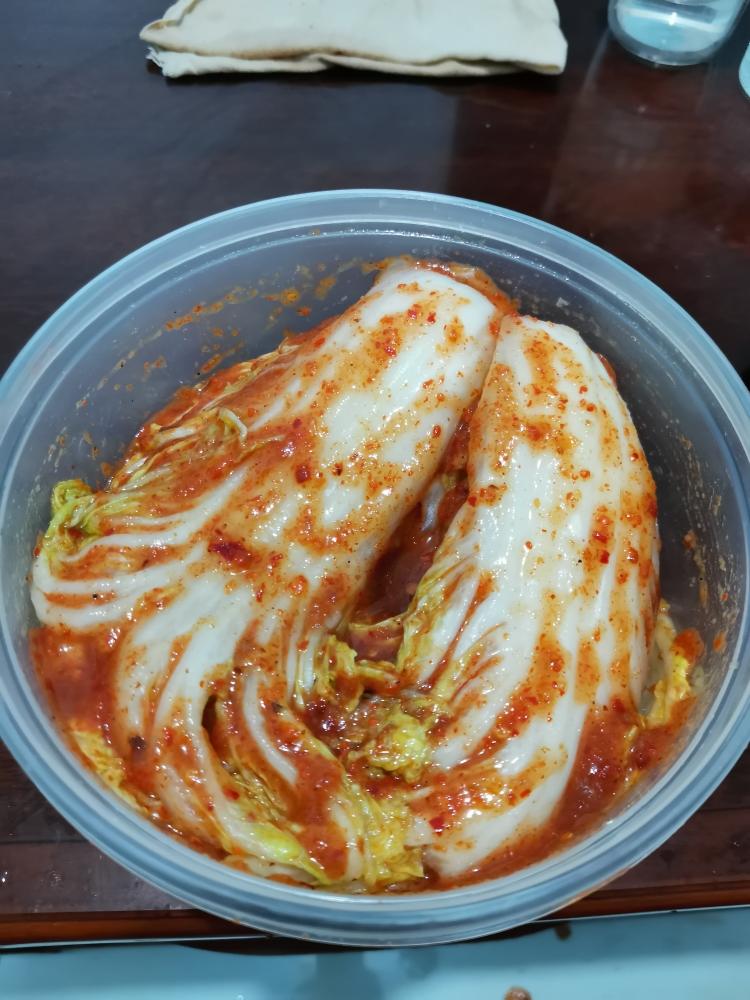
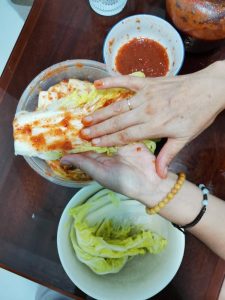
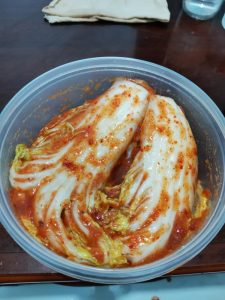
Step 3: Apply the Chili Paste (5 Minutes) Put on your food-safe gloves. Take your chili paste and massage it directly onto the cabbage. If you kept the leaves whole, smear the paste thoroughly onto every single leaf, ensuring an even coating. If chopped, just toss and massage the paste into the pieces until perfectly mixed.
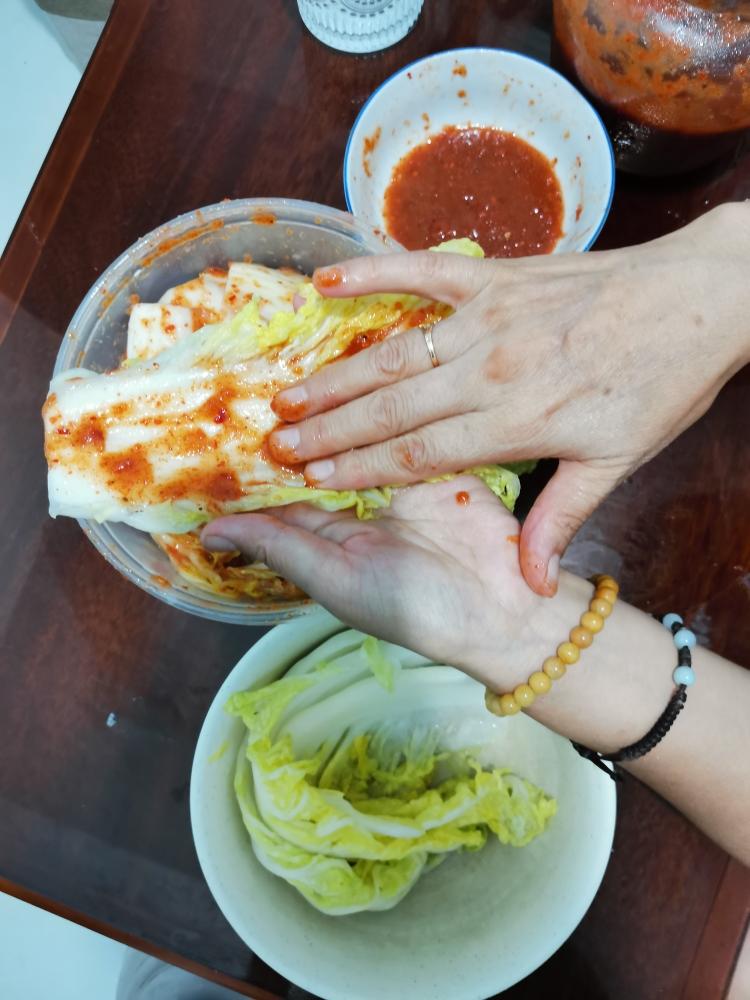
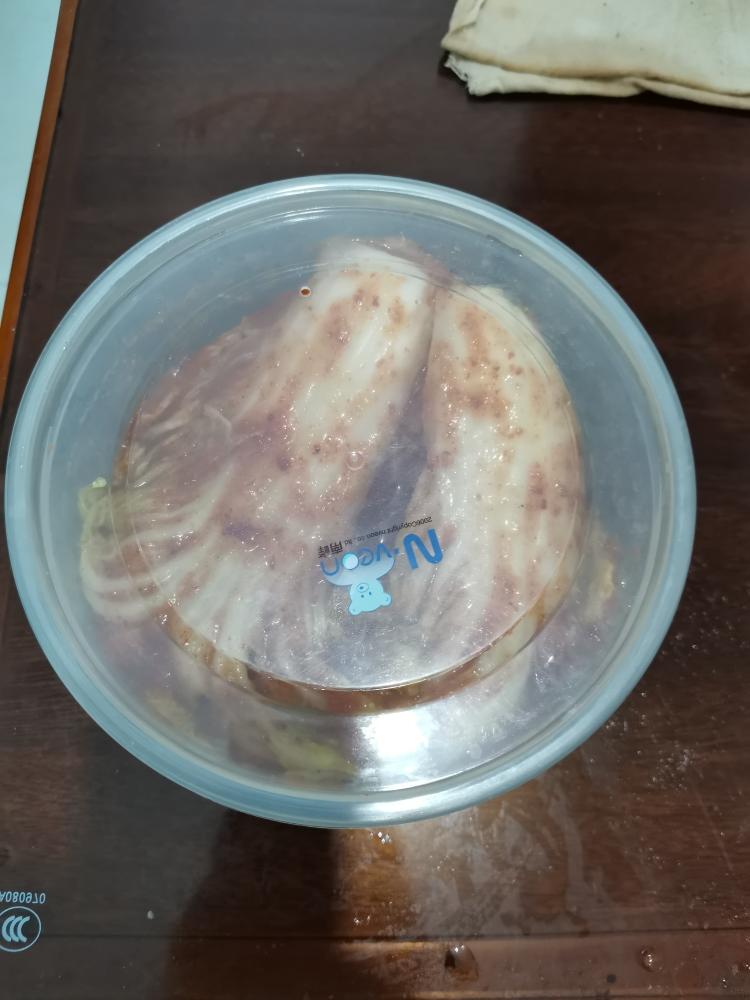
Step 4: Store and Chill Transfer the coated cabbage into your clean, airtight container. Press it down firmly to remove any air pockets. Seal the lid tightly. Place it in the refrigerator (below 40°F / 4°C) and let it rest for at least 3 days before eating to allow the flavors to meld and develop.
Why This Recipe Works
- Precision Wilting: The exact ratio of salt and sugar (4g each for a standard cabbage) ensures the cabbage softens without becoming overwhelmingly salty.
- Moisture Control: Squeezing the water out creates a “sponge” effect, allowing the cabbage to soak up the chili paste rather than its own water.
- Cold Maturation: Resting in the fridge for 3 days slows down the fermentation, preventing it from getting too sour too quickly, resulting in a fresh, bright bite.
Common Mistakes & Troubleshooting
- Mistake: The kimchi is too watery and bland.
- Cause: You didn’t dry the cabbage before wilting, or you didn’t squeeze it hard enough after the resting period.
- Solution: Always wring out the cabbage like a wet towel before applying the chili paste.
- Mistake: My hands are burning after making this!
- Cause: Capsaicin from the chili paste absorbs easily into the skin.
- Solution: Always wear disposable gloves when massaging the paste into the cabbage. If you forget, wash your hands with dish soap and cold water, or rub them with a little cooking oil to dissolve the capsaicin.
Variations
This exact method works brilliantly for other crisp vegetables:
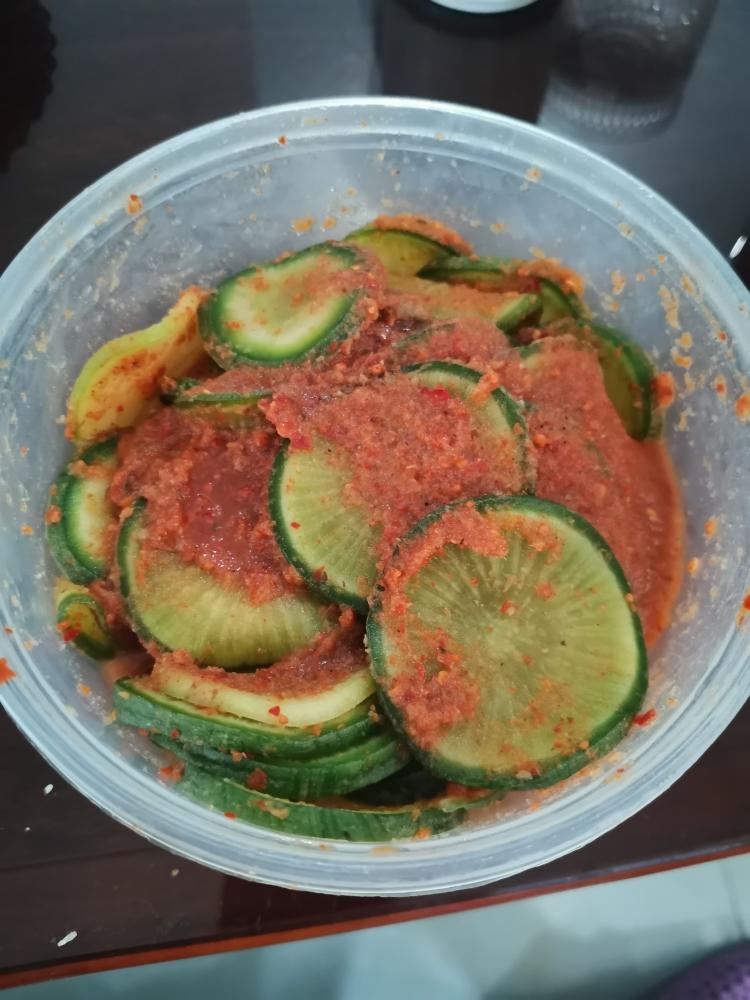
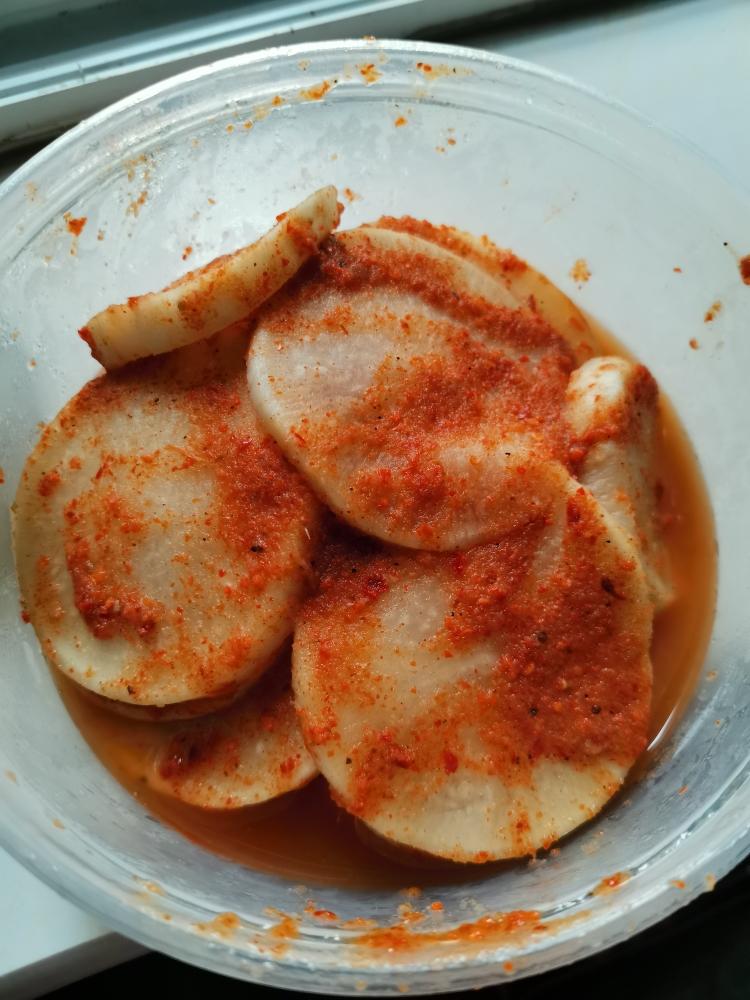
- Daikon Radish: Peel and slice into cubes or thick half-moons. (Follow the same 3-day resting rule).
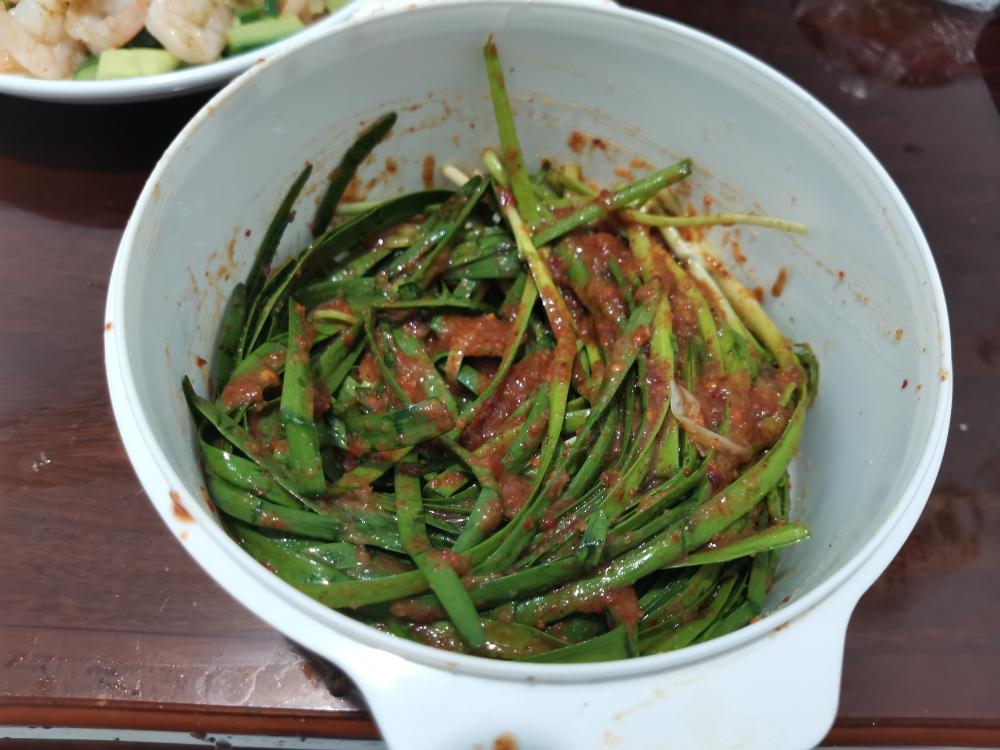
- Garlic Chives or Garlic Sprouts: Skip the 1-hour salt soak. Just wash, dry thoroughly, coat with the chili paste, and they only need 1 day in the fridge before they are ready to eat!
- Extra Spice: If you want a deeper roasted flavor along with the heat, you can mix a spoonful of Chinese Chili Oil into your paste.
Frequently Asked Questions
Can I substitute the cabbage? Yes! As mentioned in the variations, white daikon radish, cucumbers, or garlic chives are excellent substitutes.
Is this authentic traditional kimchi? No. This is a “lazy,” quick-style recipe designed for modern home cooks. Traditional kimchi involves making a glutinous rice porridge, using brined shrimp or fish sauce, and fermenting for much longer periods.
How long does this last in the fridge? Stored in a properly sealed, airtight container, it will easily last for 2 to 3 weeks in the refrigerator. It will grow progressively more sour the longer it sits.
Can I freeze it? I do not recommend freezing this. Freezing will destroy the cellular structure of the cabbage, turning it mushy when thawed.
How to Serve
This crunchy, spicy side dish is incredibly versatile. I love serving it alongside rich, fatty meats to cut through the heaviness. It is absolutely phenomenal next to a sizzling plate of pan-fried Pork Belly.
For a complete meal, pair it with comforting carbs like Korean Spicy Chicken and Rice Cakes or a warm, soothing bowl of Beef and Vegetable Mixed Grain Porridge.
Storage & Reheat
- Storage: Always keep refrigerated at 40°F (4°C) or below in a tightly sealed glass or BPA-free plastic container.
- Reheating: Do not reheat the kimchi if you are serving it as a side dish; it is meant to be eaten cold. If you use it as an ingredient in fried rice or stew, cook it just until heated through.
- Hygiene: Always use a clean, dry utensil to scoop out the portion you want to eat to prevent cross-contamination and mold.
Allergen Notice
- Soy / Gluten / Seafood: Depending entirely on the specific brand of chili paste or Gochujang you purchase, it may contain soy, wheat, or traces of seafood (like fish extract). Always check your condiment labels carefully if you have allergies.
About the Author & Recipe Development
I’m Lin, a professionally trained chef with over a decade of experience in professional kitchens. Growing up in my parents’ restaurant in Chengdu, I learned early on that good food doesn’t always have to be complicated. Currently, I am pouring all of my culinary knowledge and passion into writing my very first cookbook. While I love the complex, multi-day processes of traditional cooking, I developed this recipe for those busy weeknights when you want maximum flavor with minimal effort. It’s been tested thoroughly in my own home to ensure it delivers that perfect crunch every single time.
Authoritative References
To ensure the best quality and safety when doing any kind of cold-storage pickling or quick-fermentation at home, it is important to maintain proper refrigerator temperatures. According to the USDA Food Safety and Inspection Service, refrigerators should always be set to 40°F (4°C) or below to slow bacterial growth and ensure your vegetable sides remain safe and crisp.

15-Minute Easy Quick Kimchi (Lazy Homemade Pao Cai)

Equipment
- Large Mixing Bowl
- Airtight Glass Container
- Food-Safe Gloves
Ingredients
Cabbage Base
- 1 head Napa Cabbage firm and blemish-free
- 3/4 tsp salt fine sea salt or kosher salt
- 1 tsp sugar white granulated
Seasoning
- 4 tbsp Korean Chili Paste (Gochujang) adjust to personal spice preference
Instructions
- Wash the Napa cabbage thoroughly and dry the surface completely.

- Place the cabbage in a bowl. Sprinkle evenly with the salt and sugar. Toss to combine and let it marinate at room temperature for 1 hour.
- Optional: Briefly rinse the cabbage under cold water to remove excess salt. Firmly squeeze the cabbage to wring out as much moisture as possible.
- Wearing food-safe gloves, thoroughly smear and massage the chili paste onto every cabbage leaf.
- Transfer the coated cabbage into an airtight container, press down firmly, and seal. Refrigerate for at least 3 days before serving.








Leave a Reply