There is something undeniably magical about pulling a fresh, crackling loaf of bread out of your own oven. As someone who loves big, open-crumb breads with a shattering crust, Ciabatta has always been a personal favorite.
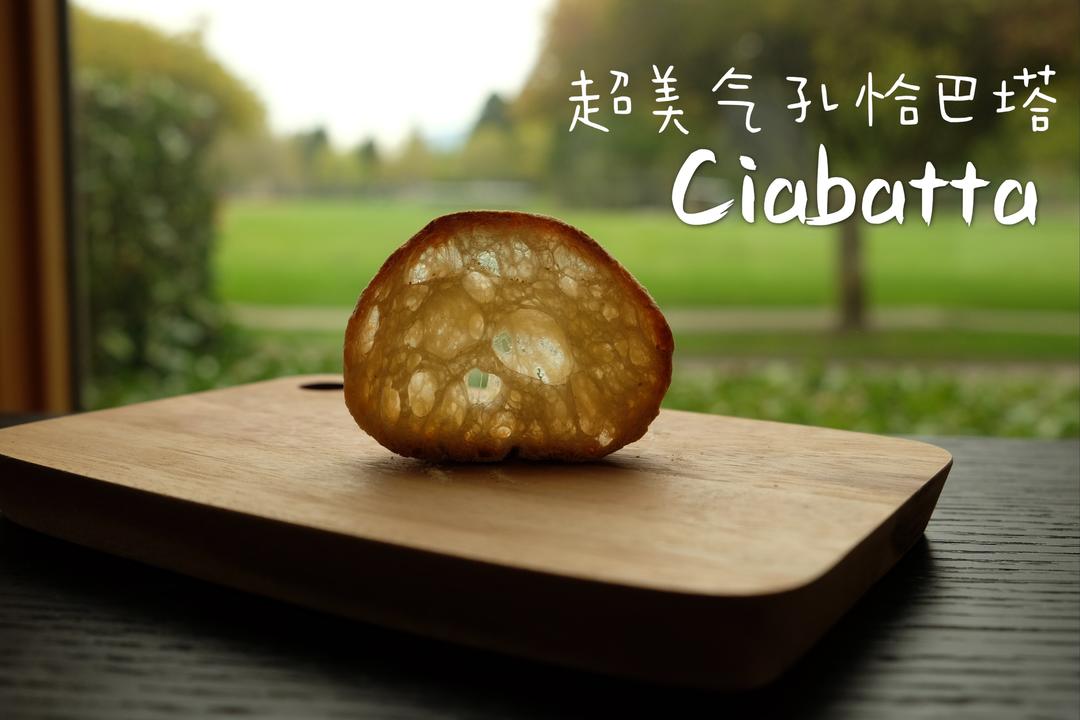
This recipe is a true blessing for those of us who want bakery-quality results without the exhaustion of kneading dough for twenty minutes. You don’t need a stand mixer or professional baking equipment—just your hands, some patience, and a bit of technique. The beauty of this recipe lies in the poolish (a pre-ferment) and the slow, relaxed folding process. It is the perfect weekend baking project that requires very little active time but delivers a phenomenal, artisanal loaf.
What Is Ciabatta?
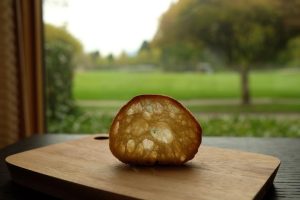
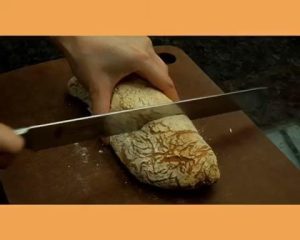
Ciabatta, which translates to “slipper” in Italian, is a rustic, high-hydration bread known for its elongated, broad, and flat shape. It is celebrated for its incredibly crispy crust and a soft, chewy interior filled with large, irregular air holes (the open crumb).
Unlike heavily enriched or kneaded doughs, ciabatta relies on a wet dough and a pre-ferment called a poolish. This slow fermentation process builds complex flavors and dough strength naturally, resulting in a bread that is light, airy, and perfect for dipping or making sandwiches.
Ingredients
To achieve the best texture, we use a combination of bread flour for strength and a little all-purpose flour for tenderness.
For the Poolish (Pre-ferment):
- Bread Flour: 50g (about 1/3 cup + 1 tbsp). Provides the necessary gluten structure.
- Water (Room Temperature): 50g (about 3.5 tbsp). Ideal temperature is around 23°C (73°F).
- Instant Yeast: 0.2g (a tiny pinch, roughly 1/16 tsp).
For the Main Dough:
- Water (Room Temperature): 165g (about 2/3 cup).
- Instant Yeast: 1g (about 1/4 tsp).
- Salt: 2.5g (about 1/2 tsp). Kosher or fine sea salt works best.
- Olive Oil: 7.5g (about 1/2 tbsp). Adds a subtle richness and softens the crumb slightly.
- All-Purpose Flour: 50g (about 1/3 cup + 1 tbsp).
- Bread Flour: 150g (about 1 cup + 3 tbsp).
- Ingredient Note: Because hydration is key in this recipe, I highly recommend using a digital kitchen scale to measure your ingredients in grams rather than volume cups.
Equipment Needed
- Mixing bowls (medium and large)
- Dough scraper / bench knife (highly recommended for handling wet dough)
- Baking stone or an inverted baking sheet (to mimic a stone hearth)
- Baker’s couche or a clean, heavy linen cloth (for proofing)
- Spray bottle filled with water (essential for creating steam)
- Parchment paper
Prep & Mise en Place
- Plan Ahead: The poolish needs 12 hours of fermentation, so it is best to mix it the night before you plan to bake.
- Room Temperature Check: This recipe is calibrated for a room temperature of about 23°C (73°F). If your kitchen is significantly warmer, the fermentation will happen faster; if colder, it will take longer.
Cooking Process
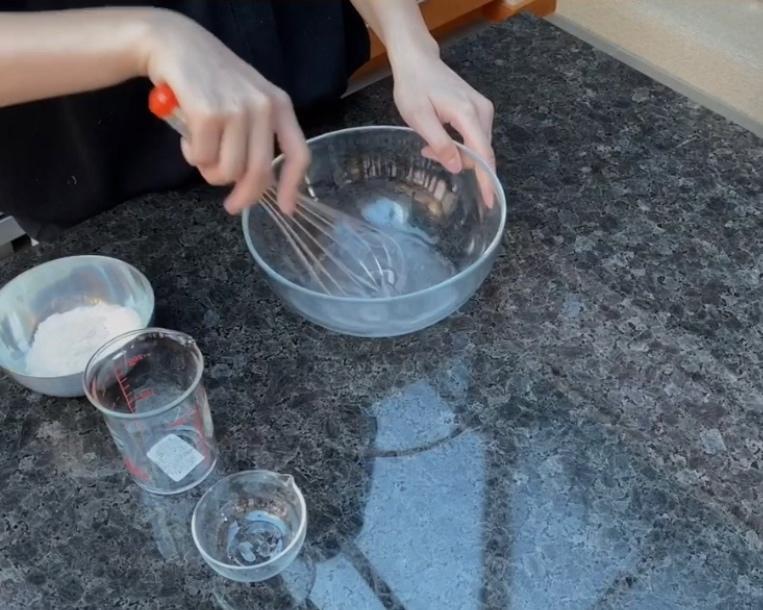
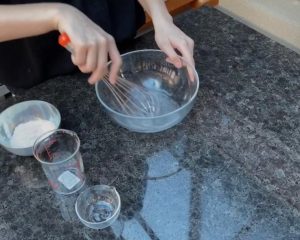
- In a clean bowl, combine 50g room temperature water and 0.2g instant yeast. Stir to dissolve.

- Add 50g bread flour and mix thoroughly until no dry spots remain.
- Transfer the mixture to a small, clean bowl or glass container. Cover tightly with plastic wrap and let it ferment at room temperature for 12 hours.
- Visual Cue: The poolish is ready when the surface is bubbly, highly active, and it smells pleasantly yeasty.

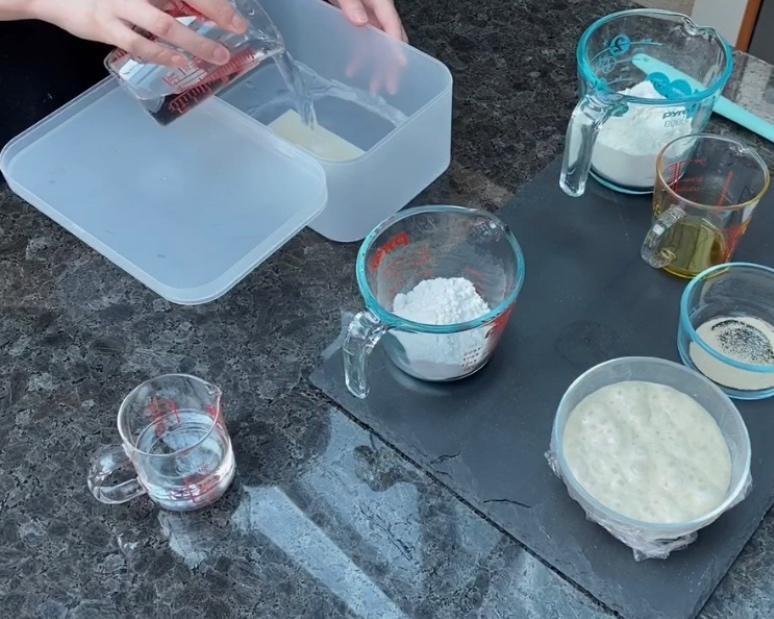
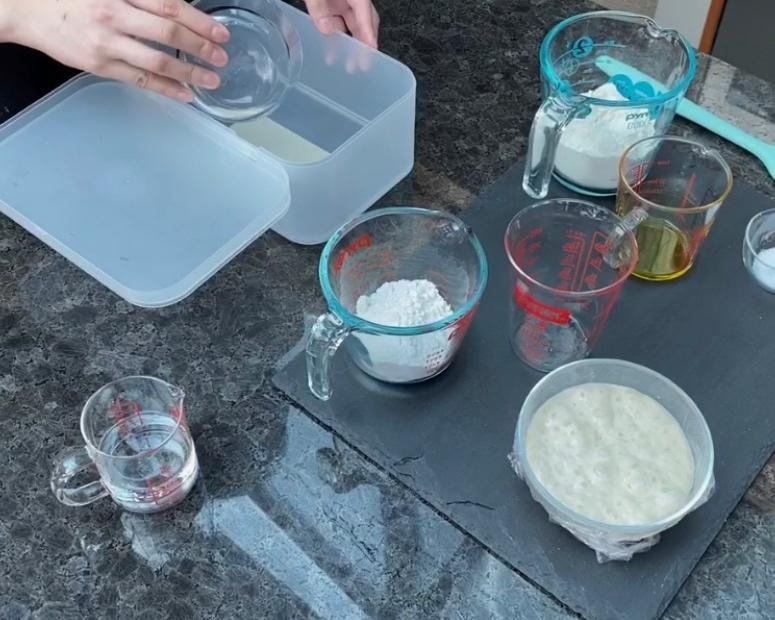
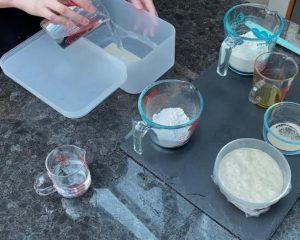
- In a large mixing bowl, pour in 165g room temperature water and add 1g instant yeast. Swirl the bowl gently to help the yeast dissolve.

- Add 2.5g salt and 7.5g olive oil. Stir lightly.
- Scrape all of the bubbly poolish into the water mixture.
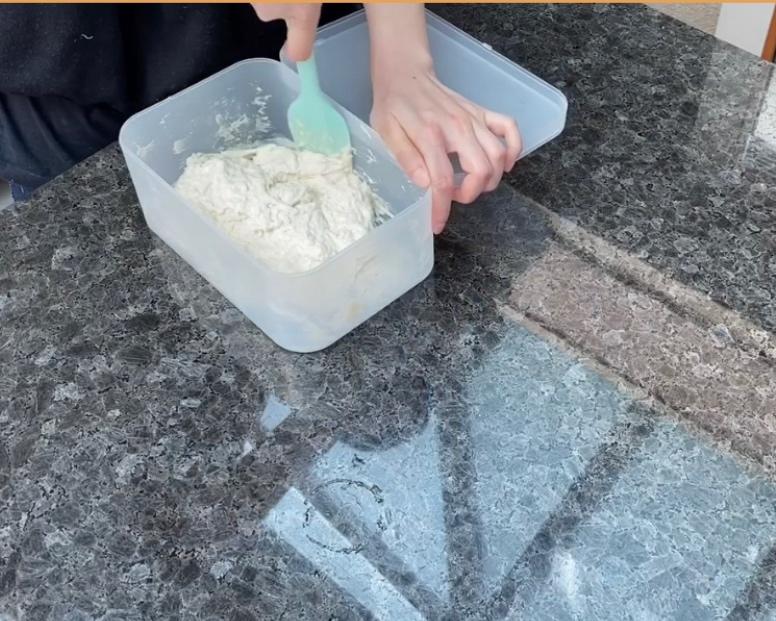
- Add the 50g all-purpose flour and 150g bread flour. Use a sturdy spatula or a dough whisk to mix everything until a shaggy, cohesive dough forms. No dry flour should remain.

- Cover the bowl securely and let it rest at room temperature for 45 minutes.
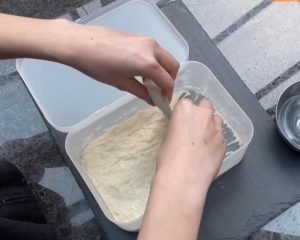
- Fold 1: After the 45-minute rest, uncover the dough. Wet your hands slightly to prevent sticking. Grab one edge of the dough, stretch it upwards gently until you feel resistance, and fold it over the center. Repeat this on all four sides of the dough (North, South, East, West). Cover and let rest for 30 minutes.

- Fold 2: Repeat the exact same stretching and folding process. Cover and let rest for 30 minutes.
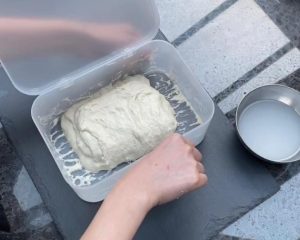
- Fold 3: Perform one final round of stretch and folds. You will notice the dough feels much stronger and more elastic now. Cover and let rest for a final 40 minutes.
- Visual Cue: By the end of this period, the dough should be visibly puffy and contain large, trapped gas bubbles.
- Step 4: Shaping and Final Proof
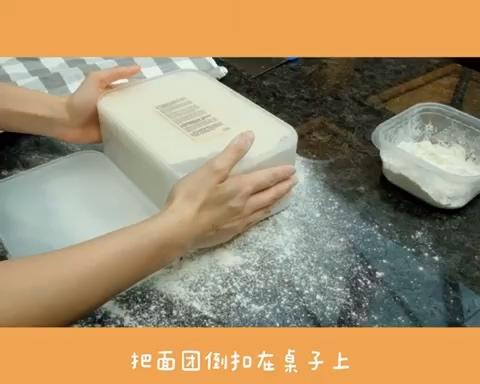
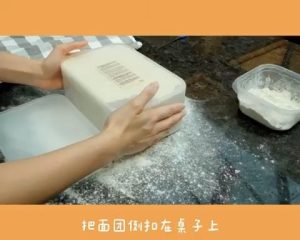
- Heavily dust your work surface with flour.

- Gently invert your bowl over the floured surface and allow the dough to fall out naturally. Do not pull or force it, as you want to preserve all the air bubbles you just spent hours building.
- Dust the top of the dough with a little more flour.
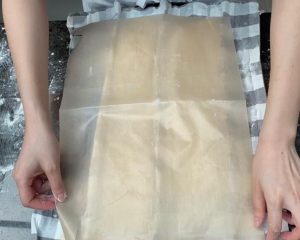
- Dust your baker’s couche (or a clean, dry pillowcase/linen cloth) generously with flour.
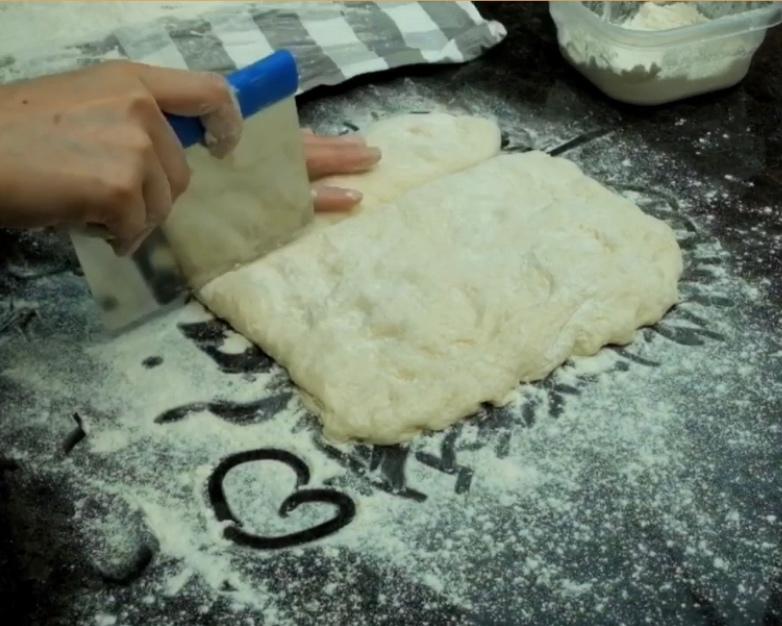
- Using a bench scraper, cleanly divide the dough into 3 equal, rectangular pieces.

- Gently transfer each piece to the floured cloth. Pull the cloth up between the dough pieces to create supportive walls (this helps the wet dough hold its shape rather than spreading flat).
- Cover lightly and let proof for 30 minutes.
- While the dough is in its final proof, place an inverted baking sheet (or a pizza stone) in the middle of your oven. Preheat the oven to 260°C (500°F).
- After 30 minutes, carefully transfer the shaped dough pieces from the cloth onto a sheet of parchment paper resting on a flat cutting board or pizza peel.
- Open the hot oven and quickly spray the interior walls with water (about 15 sprays) to create steam.

- Slide the parchment paper with the dough directly onto the preheated, inverted baking sheet.
- Quickly spray the oven interior with water again (about 10 sprays) and immediately shut the door.
- Lower the oven temperature to 250°C (480°F) and bake for 20 to 23 minutes, or until the crust is a deep golden brown.
The Science of the Bake: Creating steam in the early stages of baking keeps the dough’s exterior flexible, allowing the bread to rapidly expand (known as “oven spring”). Once the steam dissipates, the dry, intense heat triggers the Maillard reaction and starch gelatinization, which together form that signature thick, crunchy crust.
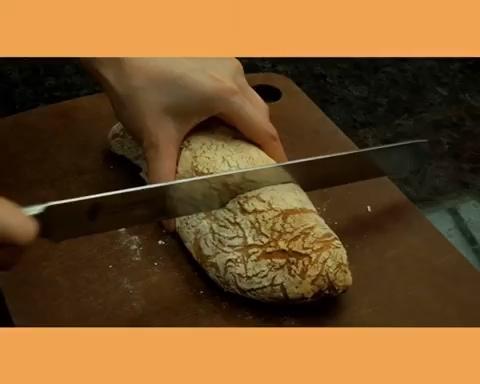
- Remove the ciabatta from the oven and transfer to a wire cooling rack. Allow them to cool completely before slicing to let the interior crumb set properly.

Why This Recipe Works
- The Poolish: Giving a small portion of the flour and yeast a 12-hour head start develops incredible depth of flavor and enhances the extensibility of the dough.
- High Hydration: The large ratio of water to flour is what creates steam inside the bread during baking, pushing the crumb open to form large, glossy air holes.
- Gentle Handling: By utilizing folds instead of aggressive kneading, and by letting gravity do the work when turning the dough out, we preserve the delicate gas pockets essential for the ciabatta’s airy texture.
Common Mistakes & Troubleshooting
- Mistake: The dough is too sticky and impossible to handle.
- Cause: High hydration doughs are naturally very wet and sticky.
- Solution: Do not add more flour to the dough mixture. Instead, wet your hands lightly with water when performing the folds, and use a well-floured surface and a bench scraper during the final shaping.
- Mistake: The bread has a tight, dense crumb with no large holes.
- Cause: Over-handling or rough shaping.
- Solution: When transferring the dough from the bowl to the counter, and from the counter to the baking sheet, treat it like a fragile water balloon. Touch it as little and as gently as possible.
Frequently Asked Questions
- Can I make this entirely with all-purpose flour?
- Yes, but the bread will have a slightly softer chew and may not hold its shape as vigorously during the final proof. Bread flour provides the strong gluten network needed for the best structure.
- Can I use active dry yeast instead of instant yeast?
- Yes. If using active dry yeast, you will need to dissolve it in the water first and let it sit for 5-10 minutes until foamy before proceeding.
- Why do I need to spray water in the oven?
- Steam prevents the crust from setting immediately, allowing the dough to rise to its maximum volume. It also contributes to a glossier, crispier crust.
- How do I know if my room temperature is too warm?
- If your kitchen is above 25°C (77°F), the poolish might over-ferment. In a warm kitchen, monitor the poolish—it might be ready in 8 to 10 hours instead of 12.
How to Serve
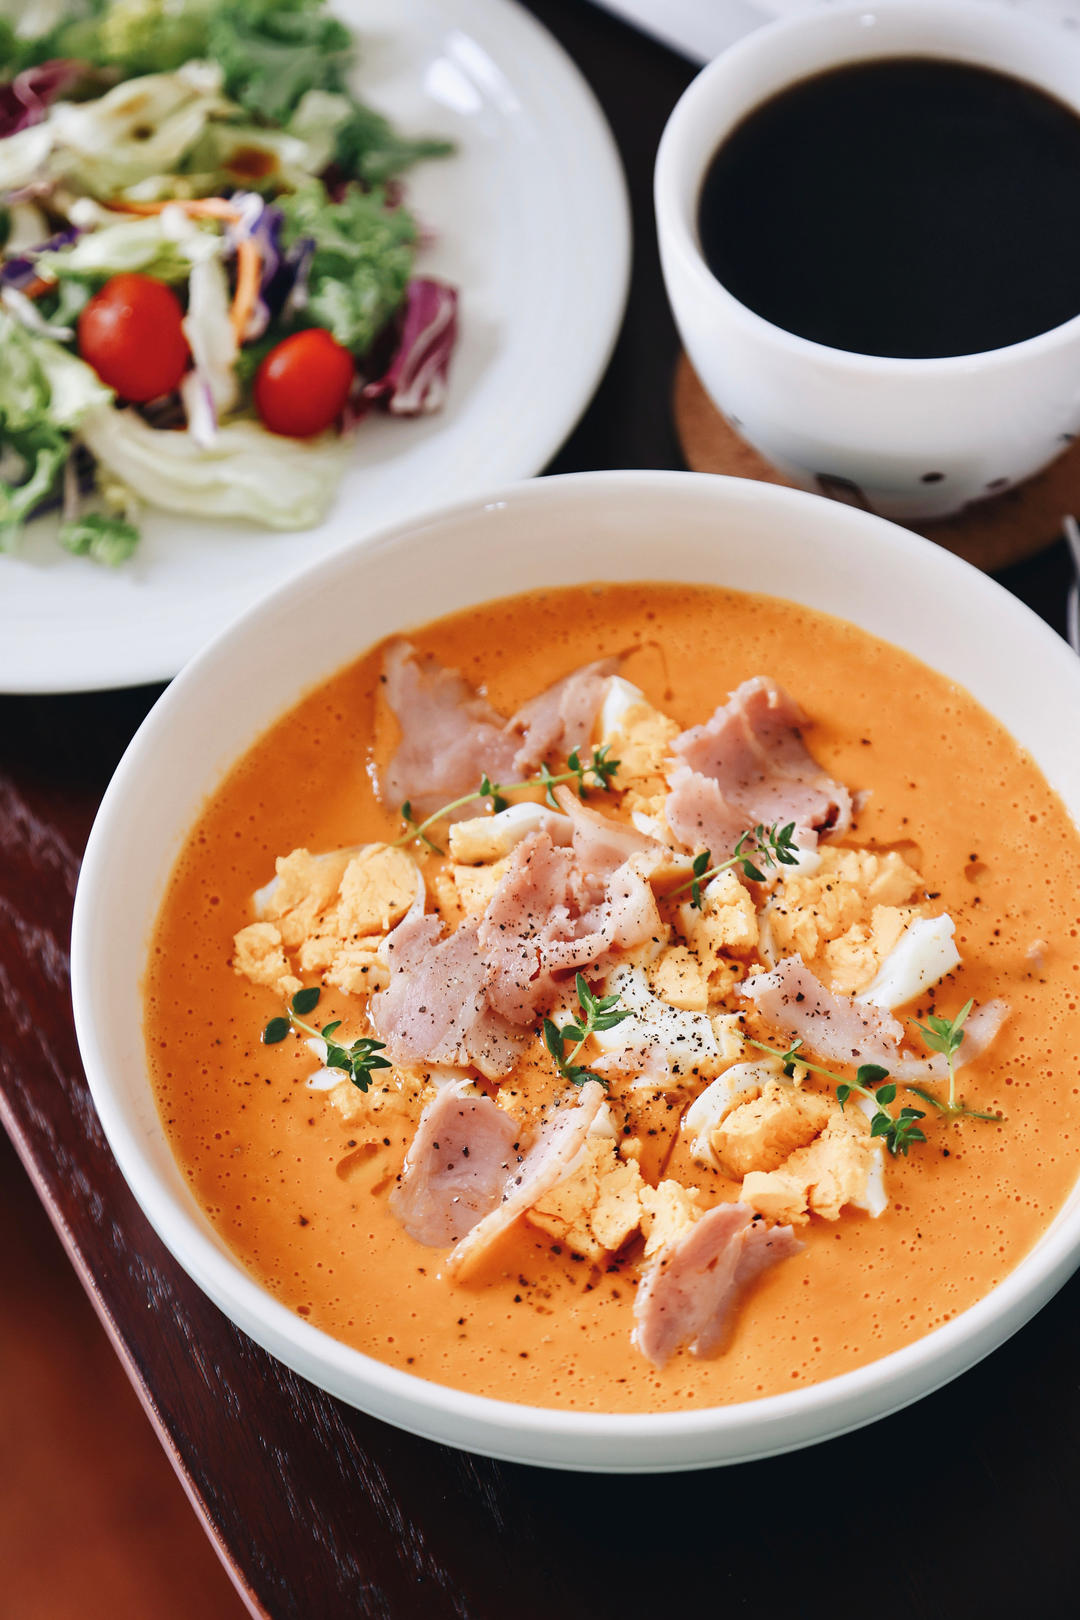
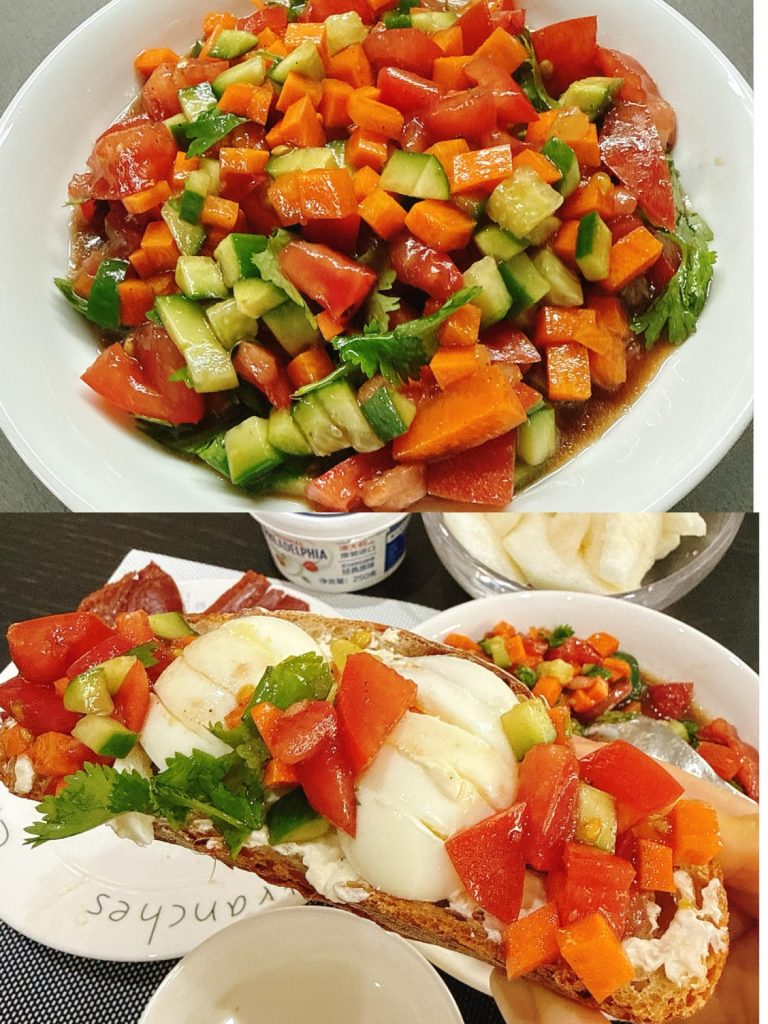
Ciabatta is incredibly versatile. It is the absolute best bread for soaking up flavorful broths, making it a perfect companion for a hearty bowl of Chinese Borscht or an Easy Spanish Gazpacho.
1Chinese Borscht (Luo Song Tang)A hearty, sweet, and tangy tomato beef soup known as Luo Song Tang. This Shanghai-style classic features tender beef shank, potatoes, carrots, and cabbage in a rich, buttery tomato broth.Check out this recipe2Easy Spanish Gazpacho (Lazy Version)A 5-minute “cheat” version of the classic Spanish cold soup. By blending vegetable juice with bread and olive oil, you create a creamy, rich soup without any chopping. Topped with egg and bacon for a complete meal.Check out this recipe

For a magnificent lunch, slice it horizontally and use it to build a phenomenal Hong Kong Style Egg and Ham Sandwich. If you’re hosting a dinner, serve warm slices alongside Pan-Seared Steak with Garlic Butter or savory Roasted Lamb Chops. And if you crave something sweet, a slice of toasted ciabatta drizzled with Homemade Sea Salt Caramel Sauce is out of this world!
Storage & Reheat
- Room Temperature: Store cooled ciabatta in a brown paper bag at room temperature for up to 2 days. Avoid plastic bags, which will make the crispy crust turn soft and rubbery.
- Freezing: To freeze, slice the bread first, place the slices in a zip-top freezer bag, and freeze for up to 2 months.
- Reheating: To revive the crust, place whole or sliced ciabatta in a 175°C (350°F) oven for 3–5 minutes until warm and crispy again.
Allergen Notice
- Gluten: Contains wheat.
- Nutrition Disclaimer: Nutrition information is an estimate and provided for informational purposes only. Factors such as exact brands of ingredients and slight measuring variations will alter the exact nutritional profile.
About the Author & Recipe Development
I’m Lin, the recipe developer and culinary enthusiast behind Woks of Love. While my heart belongs to traditional Chinese techniques, my kitchen is a playground for all types of global comfort food. I adapted this Ciabatta method to be as straightforward and foolproof as possible for the home baker, relying on time rather than machinery to build flavor and structure. After multiple tests in a standard home oven, this specific combination of hydration and folding proved to deliver the most consistent, bakery-worthy results.
Authoritative References
To understand more about the fascinating chemistry of baking, specifically how heat transforms dough into a beautifully browned loaf, I highly recommend reading up on the Science of the Maillard Reaction by Serious Eats.

Easy No-Knead Ciabatta Bread
Equipment
- Oven
- Baking Sheet or Pizza Stone
- Spray Bottle
- Baker’s Couche or Linen Cloth
Ingredients
Poolish (Pre-ferment)
- 1/3 cup bread flour Plus 1 tbsp
- 3.5 tbsp water room temperature (approx 23°C / 73°F)
- 1/16 tsp instant yeast a tiny pinch
Main Dough
- 1/3 cup all-purpose flour Plus 1 tbsp
- 1 cup bread flour Plus 3 tbsp
- 1/2 tsp salt
- 1/4 tsp instant yeast
- 1/2 tbsp olive oil
- 2/3 cup water room temperature
Instructions
- Make the Poolish: In a clean container, mix 50g water, 0.2g yeast, and 50g bread flour until no dry spots remain. Cover tightly and let it ferment at room temperature (about 23°C/73°F) for 12 hours until bubbly.

- Mix the Dough: In a large bowl, dissolve 1g instant yeast in 165g water. Stir in 2.5g salt and 7.5g olive oil. Add the fermented poolish, 50g all-purpose flour, and 150g bread flour. Mix until a cohesive, shaggy dough forms. Cover and rest for 45 minutes.
- Fold 1: With slightly wet hands, gently stretch the dough upwards and fold it over itself from all four sides. Cover and rest for 30 minutes.

- Fold 2 & 3: Repeat the stretching and folding process. Rest 30 minutes. Perform a third fold, cover, and let rest for a final 40 minutes.
- Shape: Heavily flour your work surface. Gently invert the bowl and let the dough fall out naturally to preserve the air bubbles. Dust the top with flour and divide into 3 rectangular pieces using a bench scraper.
- Final Proof: Transfer the pieces to a generously floured baker’s couche or linen cloth. Pinch the cloth upward between the loaves to create supportive walls. Cover and proof for 30 minutes.
- Bake: Preheat the oven to 260°C (500°F) with an inverted baking sheet inside. Transfer the proofed dough to parchment paper. Spray the hot oven walls with water 15 times. Slide the dough onto the hot pan, spray 10 more times, and close the door quickly.
- Finish: Lower the oven temperature to 250°C (480°F) and bake for 20 to 23 minutes until deeply browned. Cool completely on a wire rack before slicing.








Leave a Reply