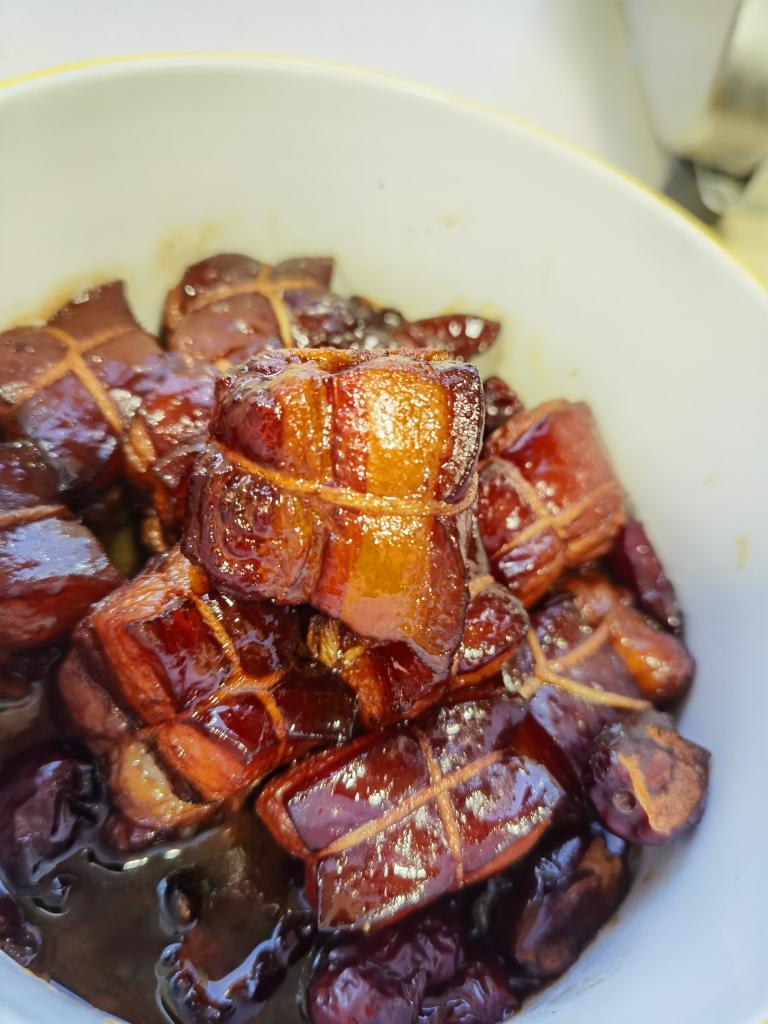
A legendary Hangzhou classic — Dongpo Pork (东坡肉) is braised pork belly named after the Song dynasty poet Su Dongpo. The pork is first seared to render excess fat, then slowly braised in Shaoxing wine, soy sauce, and caramelized rock sugar until impossibly tender, and finally steamed with red dates for a glossy, melt-in-your-mouth finish.

Ingredients
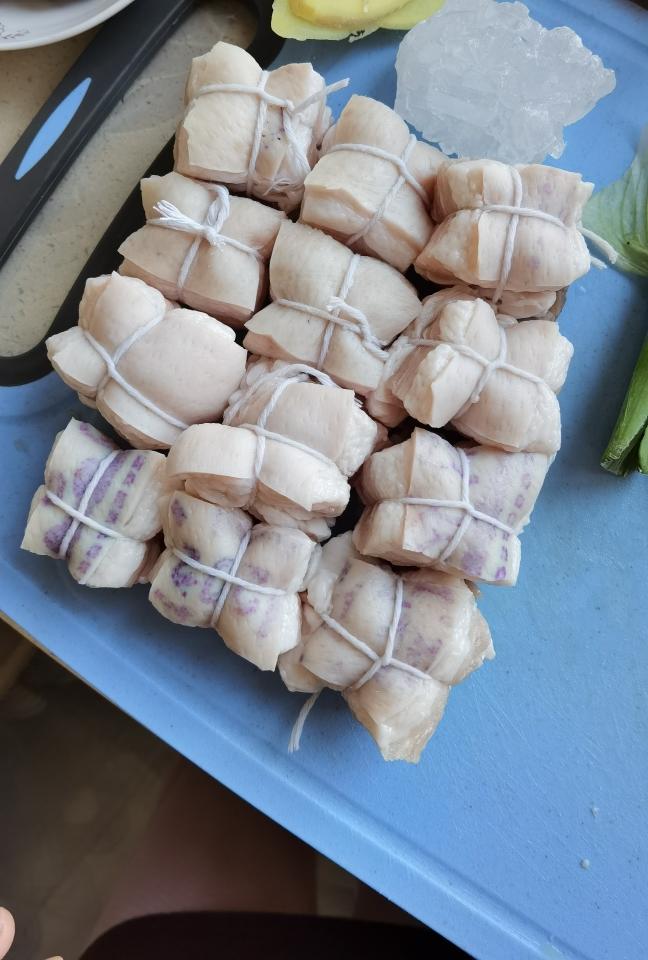
- 750 g pork belly, cut into 3-4 cm cubes, tied with kitchen twine
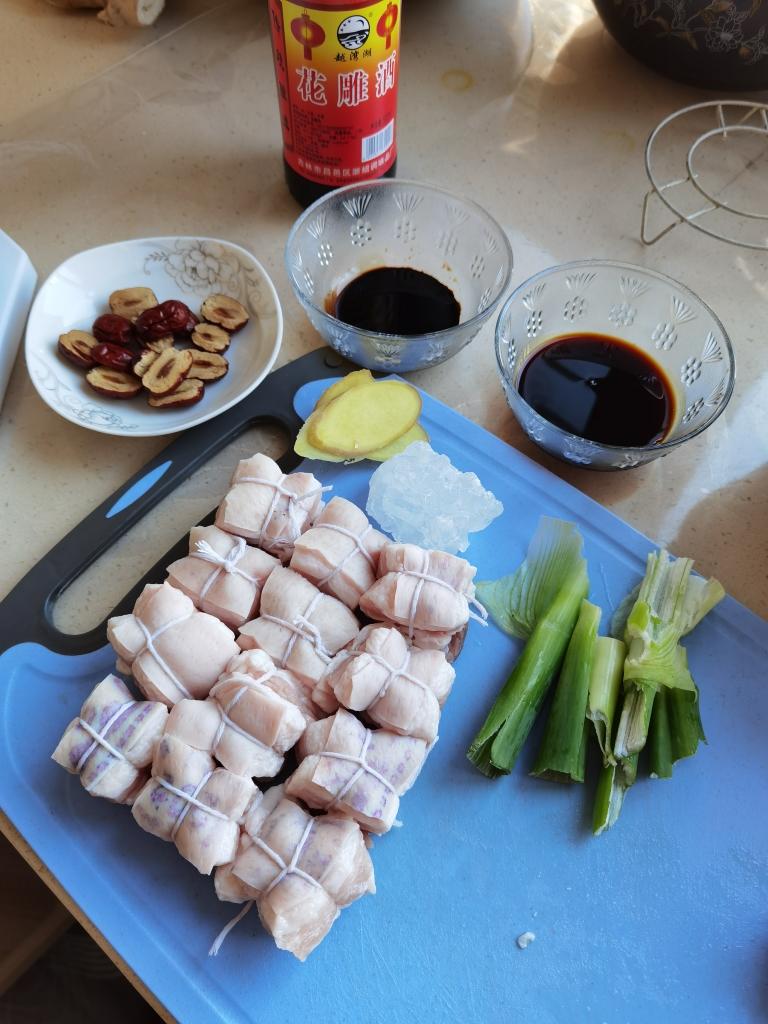
- 50 g Shaoxing wine (Huadiao)
- 75 g rock sugar (reduce to 50 g for less sweet)
- 50 g dark soy sauce
- 150 g light soy sauce
- 5-6 slices ginger
- A few scallion sections (white and green parts)
- 6-7 dried red dates (jujube), halved
- Water, as needed
Instructions
Step 1: Wash and Cut the Pork
Wash the pork belly thoroughly. Cut into 3-4 cm (about 1.5 inch) cubes and tie each piece securely with kitchen twine to help the meat hold its shape during the long braise.
Step 2: Prepare the Aromatics
Prepare all the other seasonings and aromatics. If you don’t like things too sweet, reduce the rock sugar to about 50 g. My family loves the sweetness, so I use the full amount.
Step 3: Render the Fat — The Most Important Step
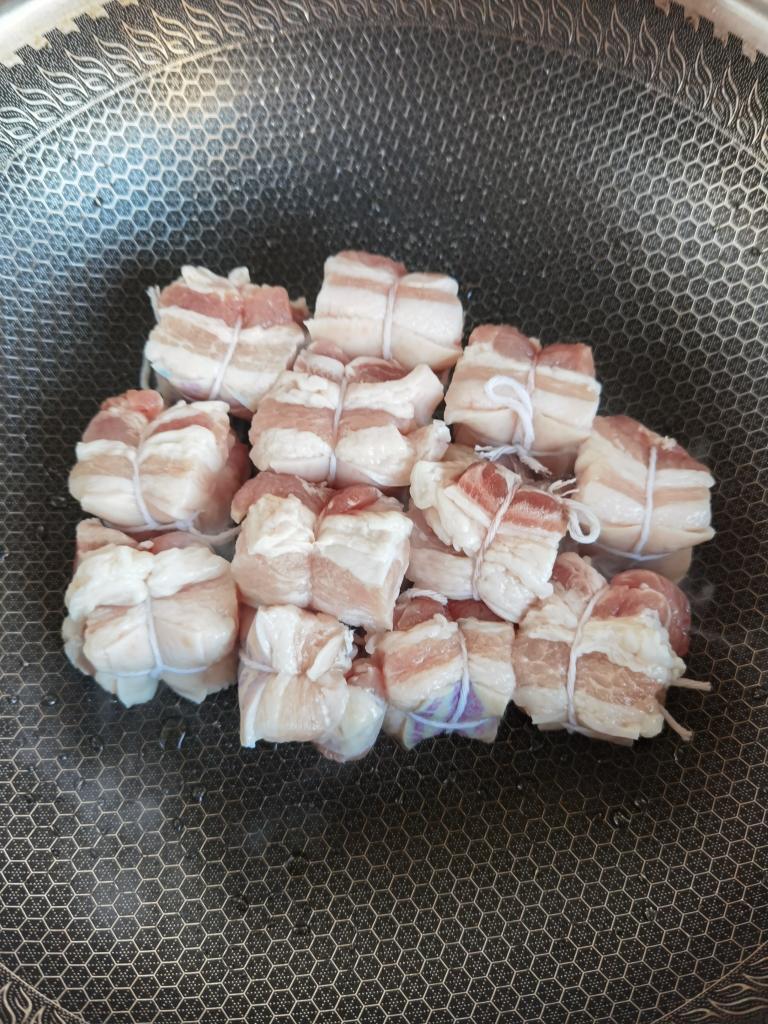
This is the most tedious step, but it makes all the difference. Sear the pork belly on all five sides except the skin side over low heat to render out the fat. Keep the heat low and be patient — if the heat is too high the meat will scorch before the fat renders. This step takes at least 30 minutes.
Step 4: Golden Brown Perfection
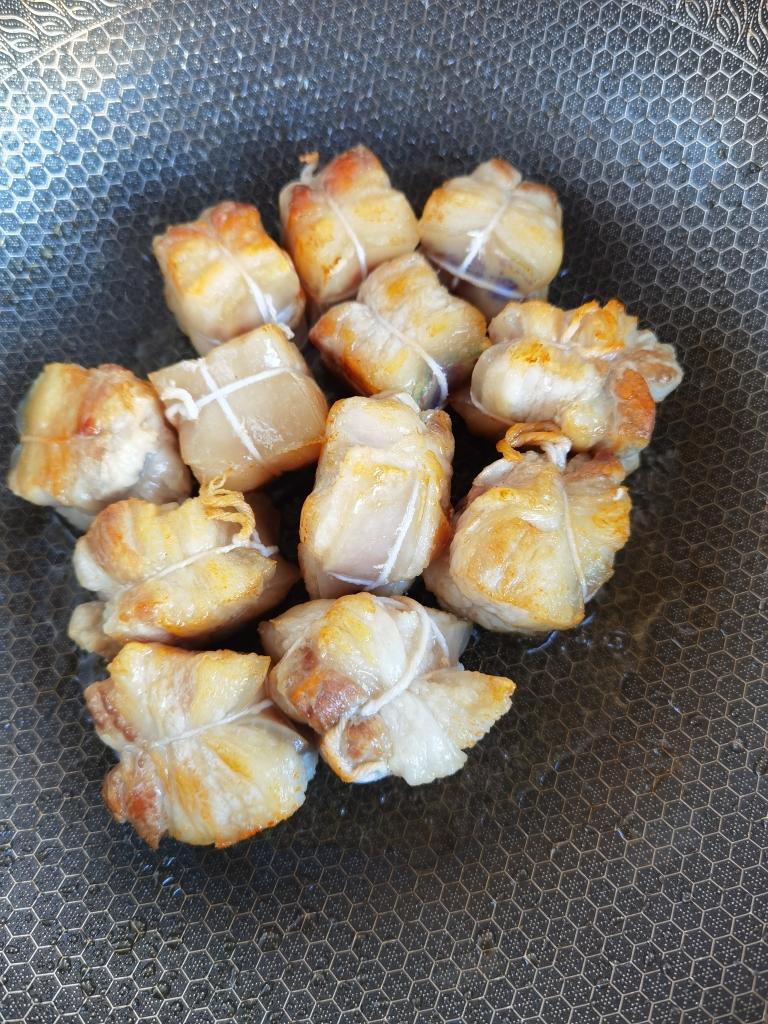
Sear until the surface is light golden brown and you’ve rendered out about half a small bowl of liquid fat.
Step 5: Set Up the Braising Pot
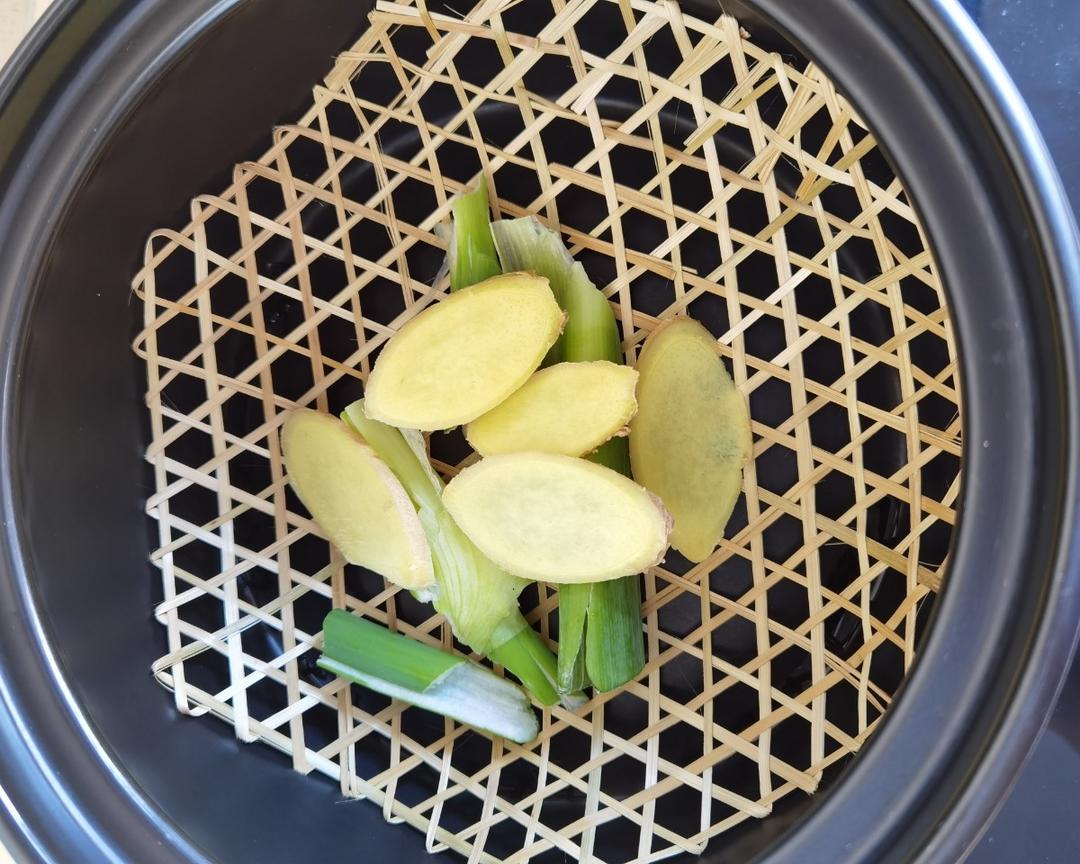
Place a bamboo mat at the bottom of a clay pot to prevent sticking. Arrange scallion sections and ginger slices on top.
Step 6: Arrange the Pork
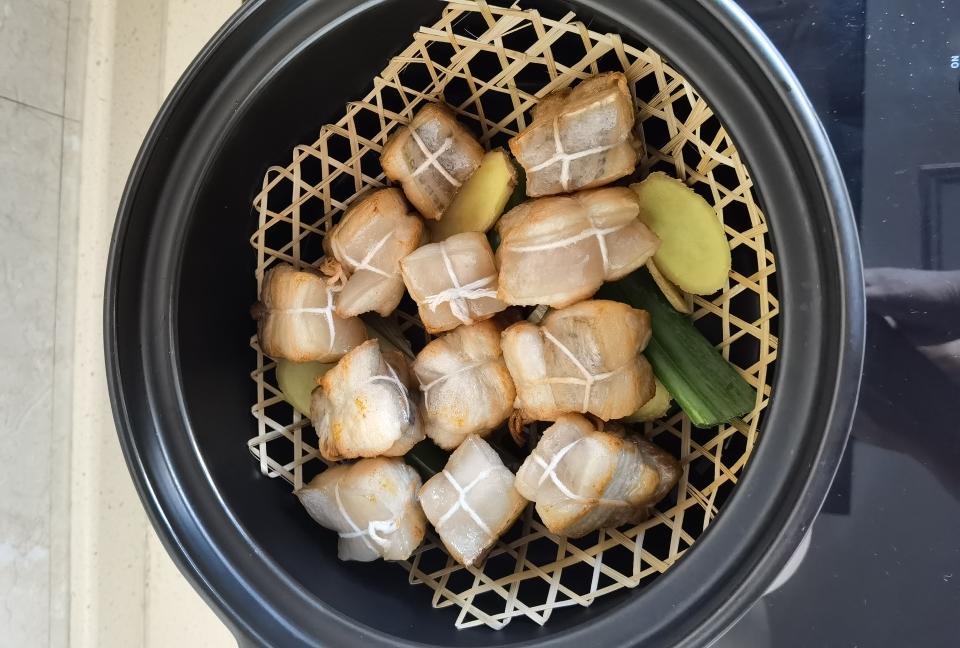
Place the pork pieces skin side up in the pot, nestling them snugly together.
Step 7: Make the Caramel
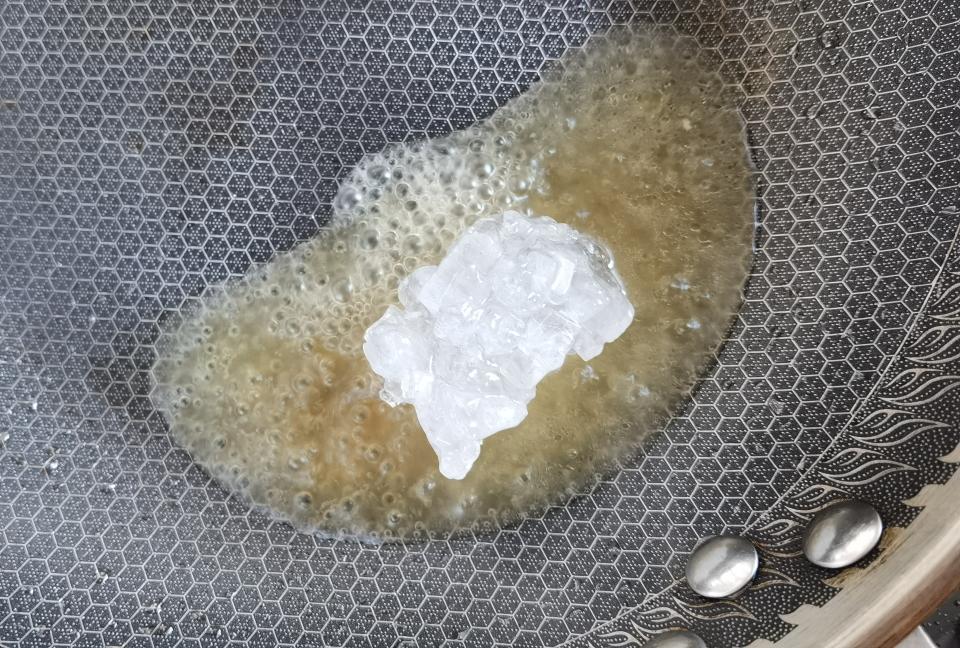
In a separate pan, add a small amount of water with rock sugar. Melt slowly over gentle heat.
Step 8: Water Evaporates
The water has mostly evaporated. Sugar is concentrating.
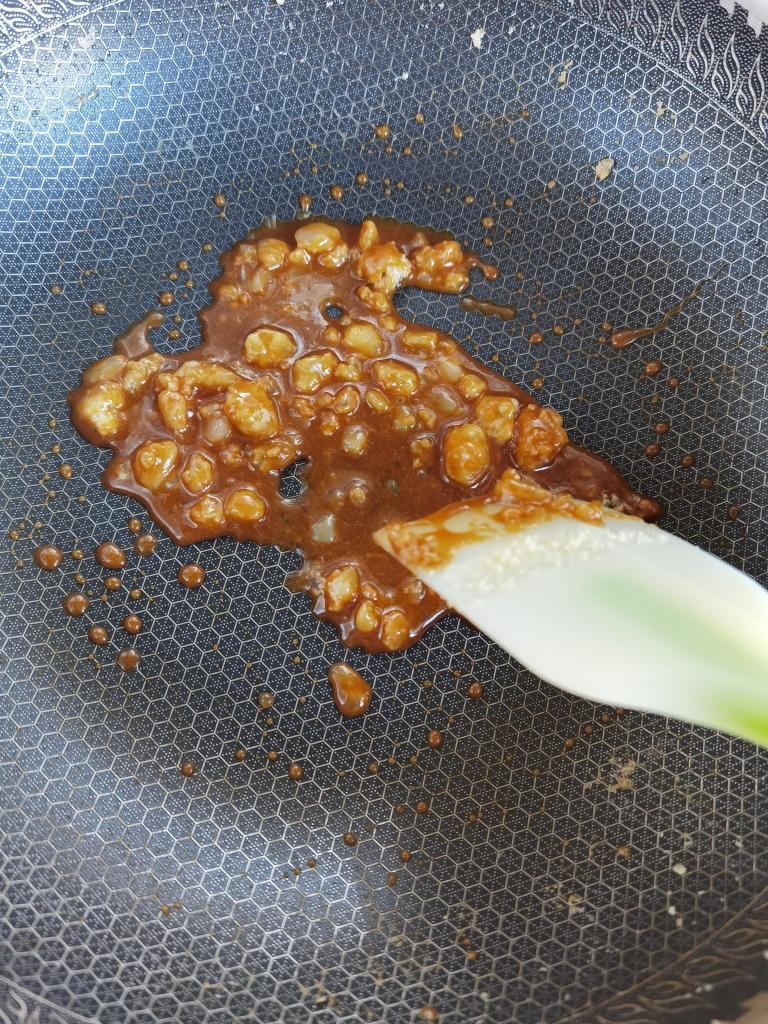
Step 9: Sugar Melts
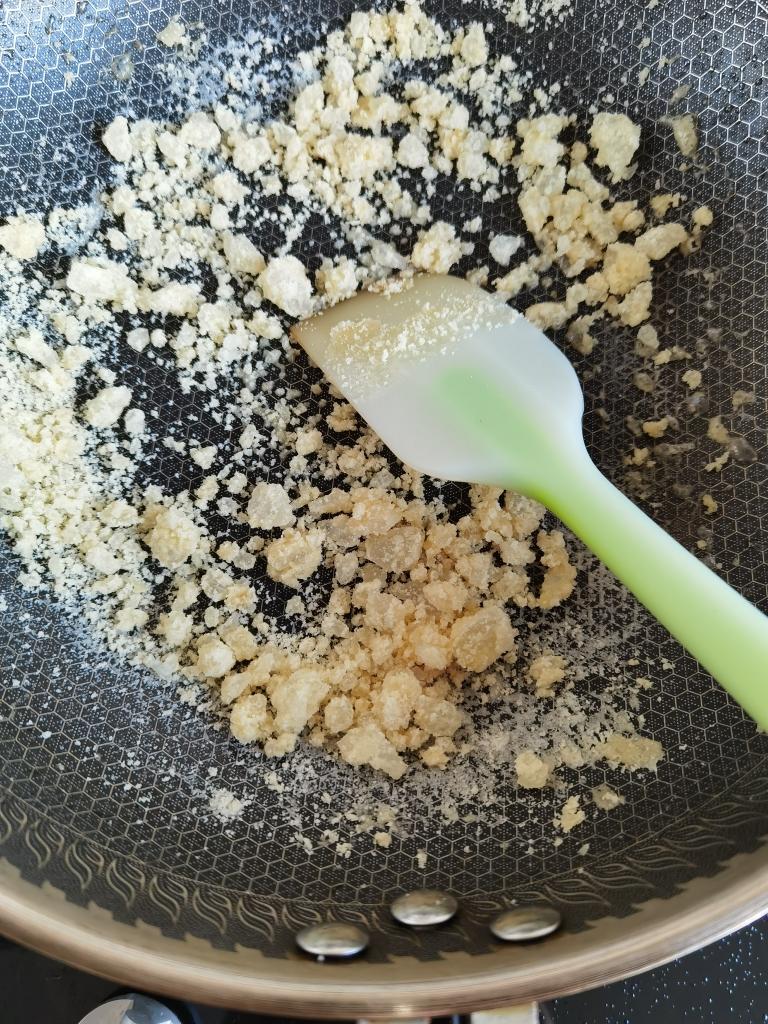
The sugar begins to melt and take on color. Watch carefully.
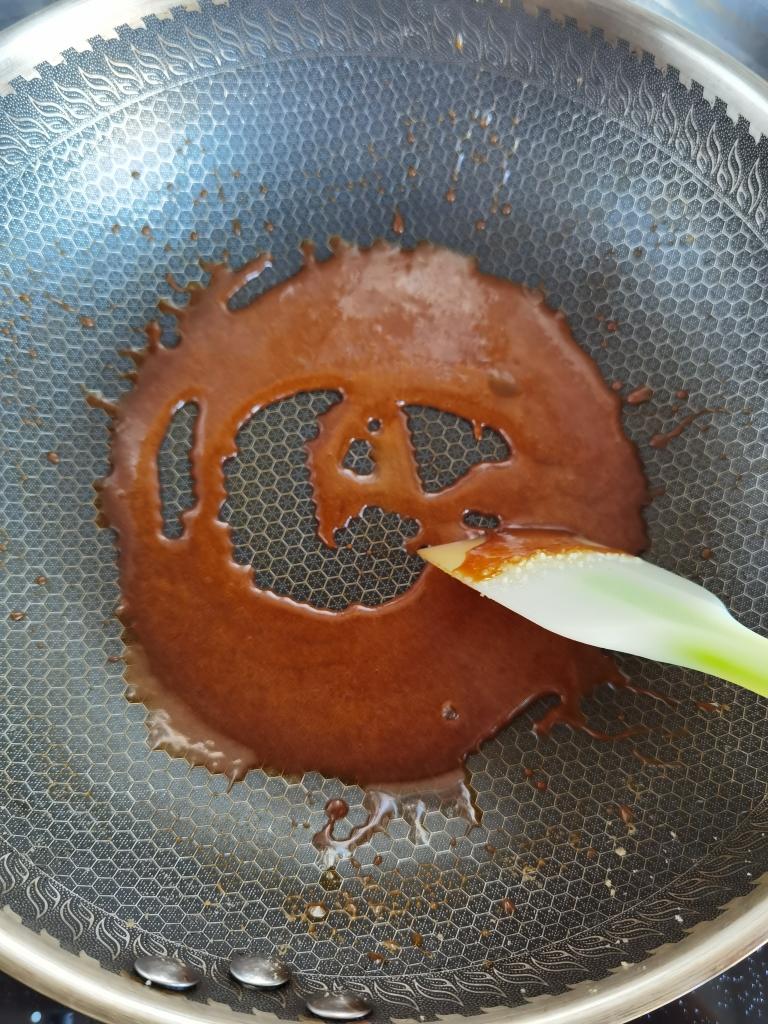
Step 10: Perfect Amber
Deep amber caramel achieved. Remove from heat immediately.
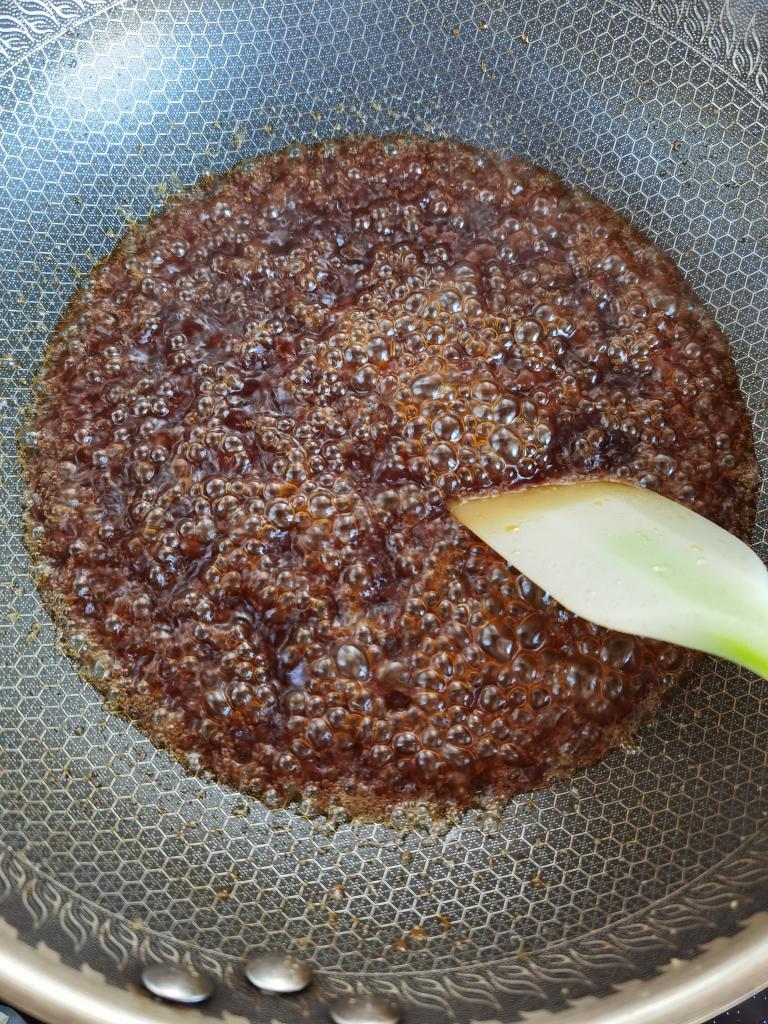
Step 11: Dissolve the Caramel
Add hot water carefully — it will splatter violently. Stir to dissolve into liquid sauce.
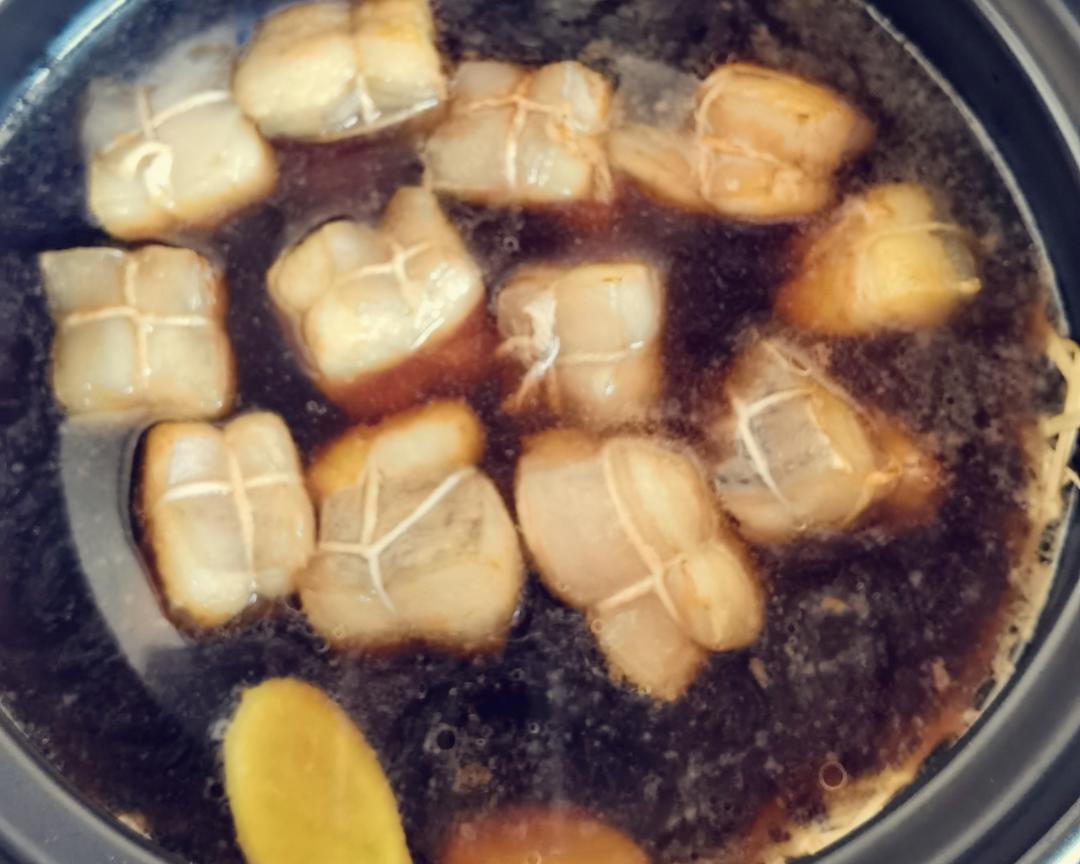
Step 12: Braise the Pork
Pour caramel over pork. Add soy sauces and Shaoxing wine. Add water just to cover skin. Boil then simmer 1 hour.
Step 13: Check the Sauce
Check periodically. Sauce should reduce to a thick, glossy layer at pot bottom.
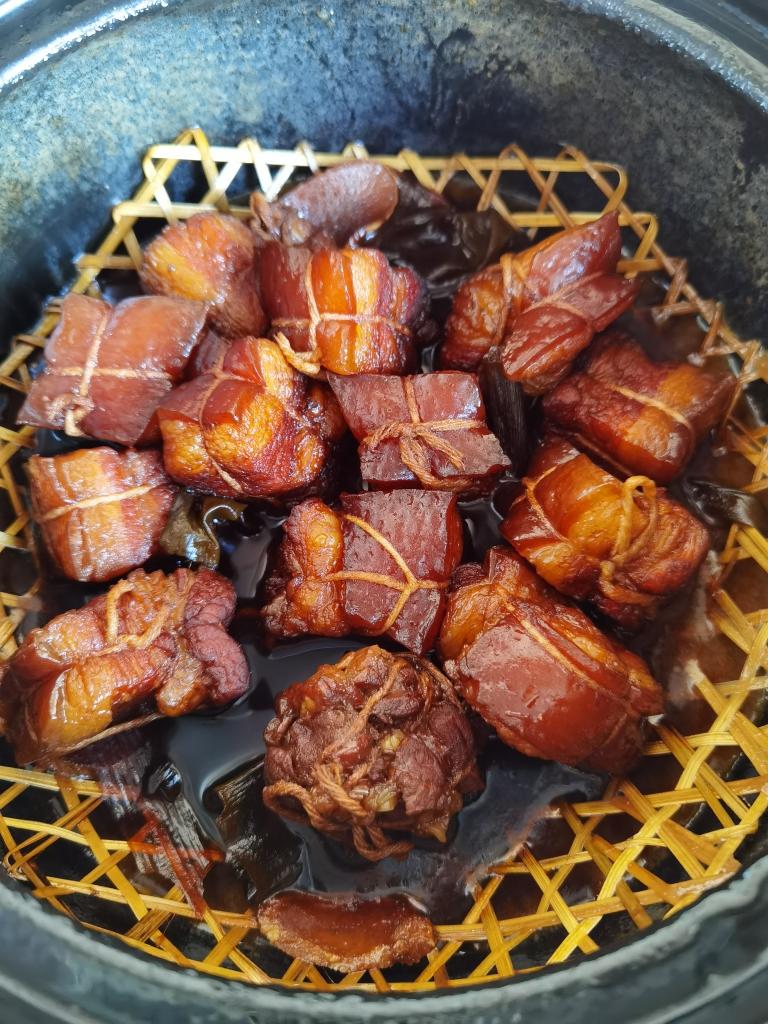
Step 14: Transfer to Bowl
Carefully lift pork into serving bowl. Drizzle with remaining sauce.
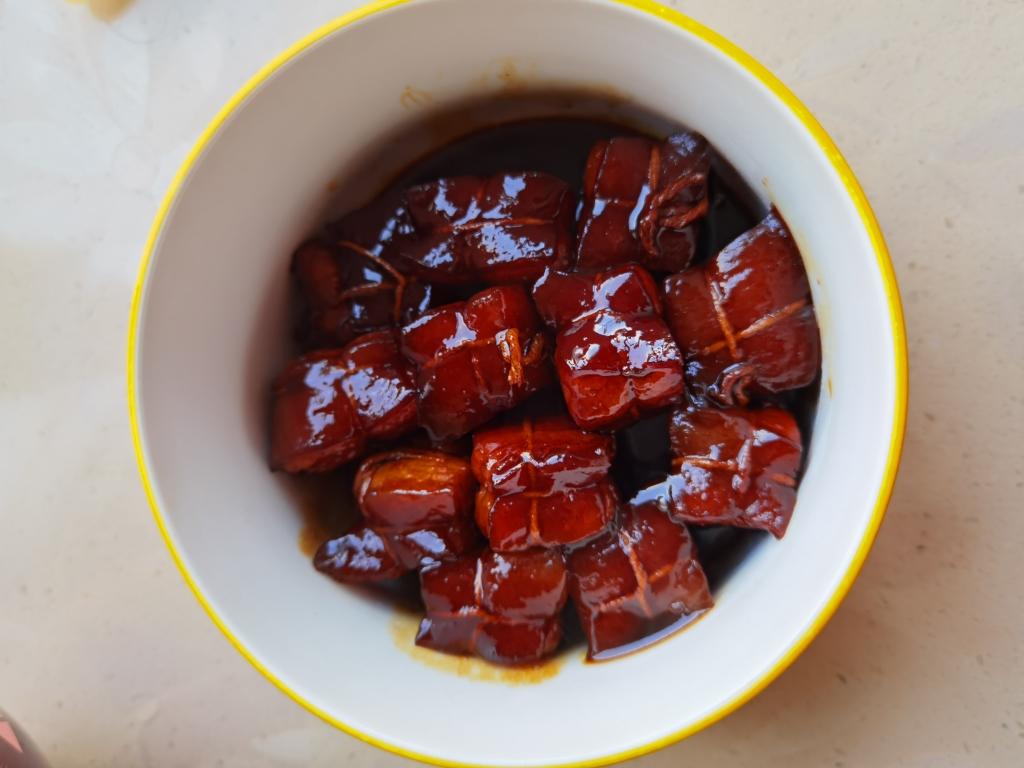
Step 15: Steam with Red Dates
Scatter halved red dates over pork. Steam for 1 hour (longer for softer texture).
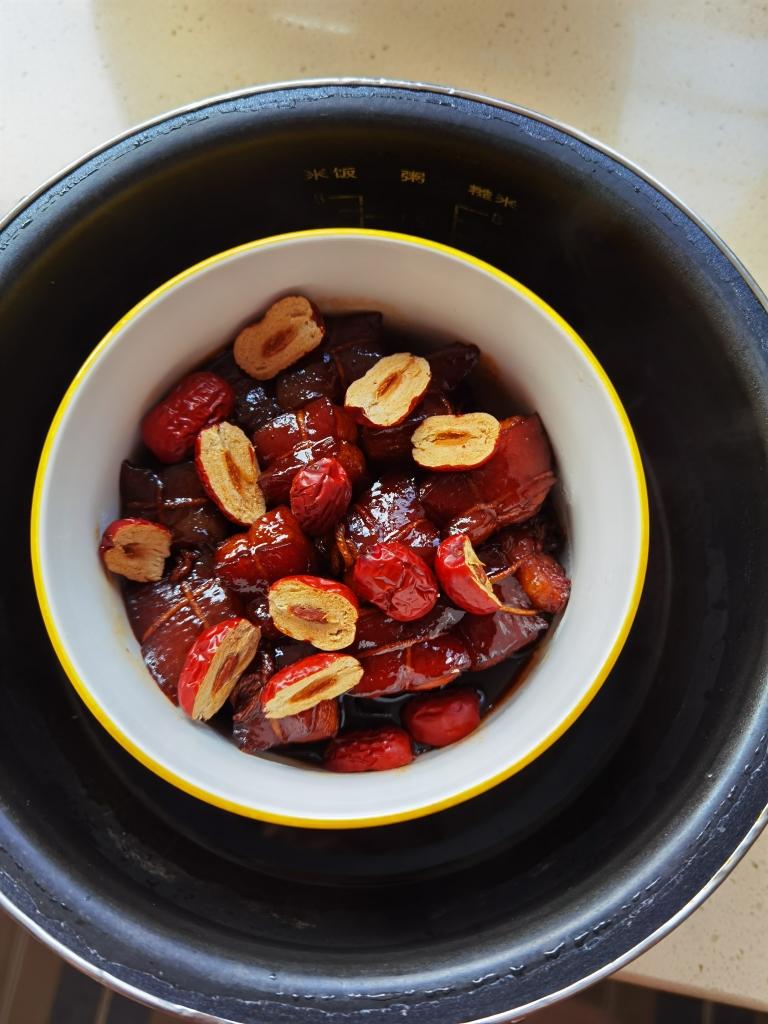
Step 16: The Finished Dish
The finished Dongpo Pork — glossy, deeply colored, impossibly tender.
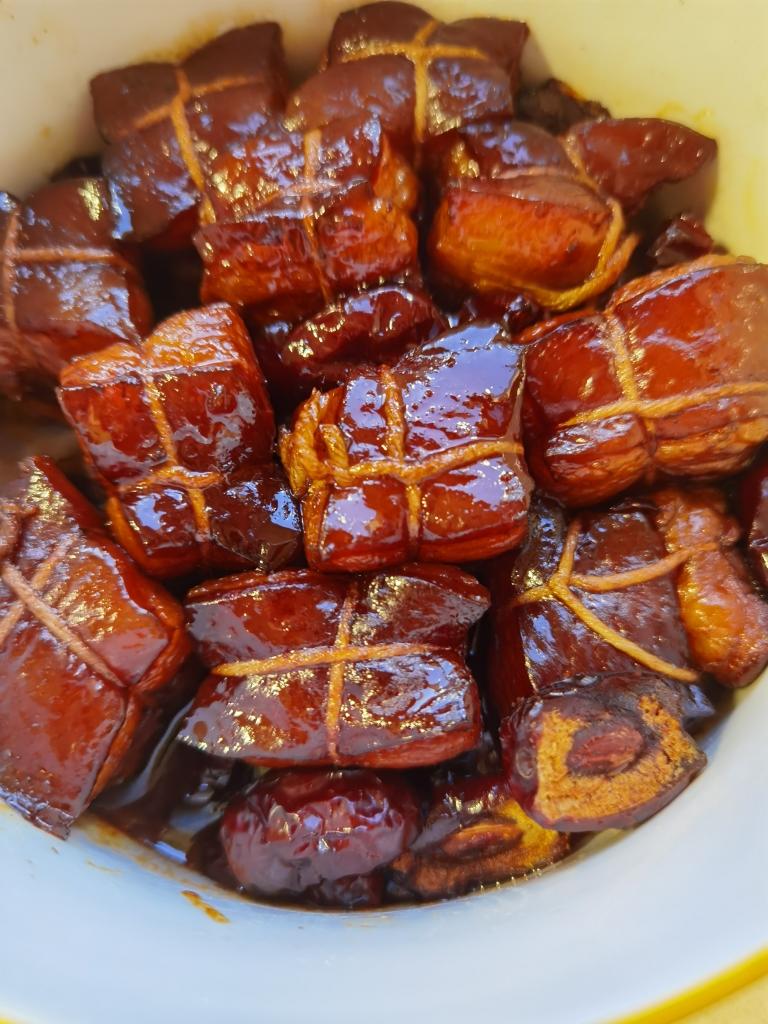
Step 17: Absolutely Incredible
Restaurant-quality Dongpo Pork at home. Serve with steamed rice.
Recipe Notes
Dongpo Pork is named after Su Dongpo, a renowned poet and gastronome of the Song Dynasty. Key techniques: (1) rendering fat over low heat before braising for a non-greasy result, (2) using a bamboo mat to prevent sticking, and (3) the final steaming step with red dates for signature melt-in-your-mouth tenderness. Serve with steamed jasmine rice and a simple green vegetable.


Leave a Reply