Introduction
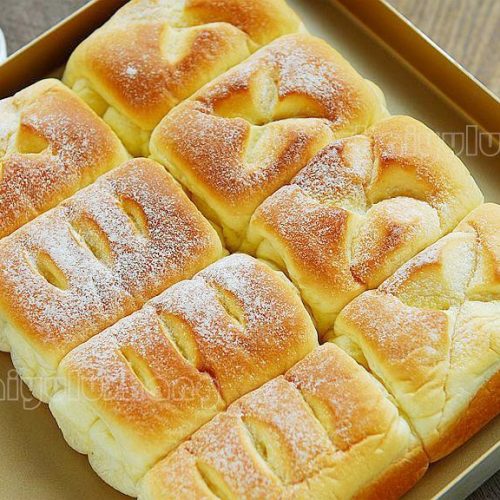
I have tested countless bread recipes for Woks of Love, but this specific one is arguably the softest, most cloud-like bread you will ever bake at home. When I first pulled these out of the oven, the pan was scorching, but the rolls were so incredibly tender that I barely knew how to transfer them without squishing their delicate structure!
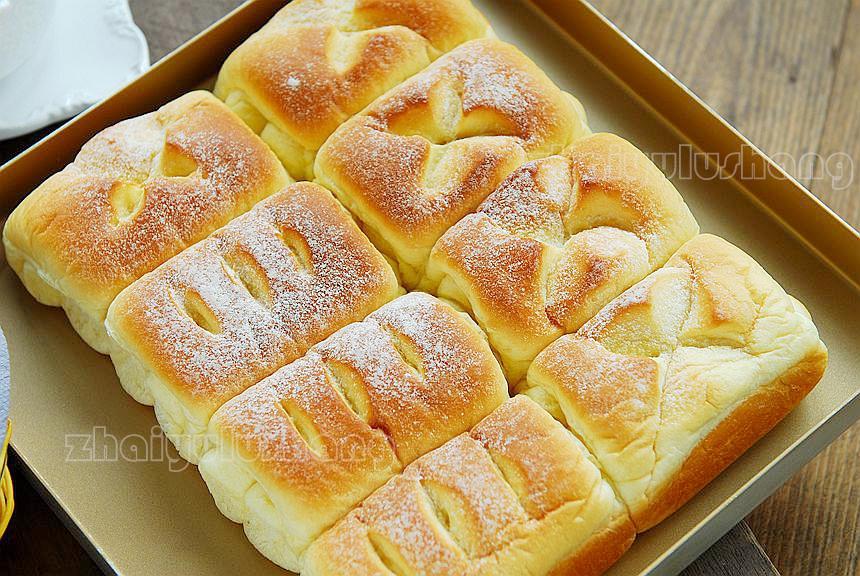
These Japanese-style milk rolls crush standard dinner rolls in both flavor and texture. If you’ve ever wanted bread that literally “melts in your mouth,” this is the recipe. We use the Zhongzhong (sponge dough) method, which requires a little advance planning but rewards you with an unmatched pillowy crumb.
What Is the Zhongzhong (Sponge) Method?
In Asian baking, Zhongzhong (中种) is a pre-ferment method—similar to a poolish or biga in European bread making. You mix a portion of the flour, milk, and yeast ahead of time and let it ferment until it triples in size. This sponge is then torn into pieces and kneaded into the main dough.
This technique dramatically improves the dough’s hydration capacity, extends the bread’s shelf life (keeping it soft for days without preservatives), and develops a deeper, sweeter flavor profile. If you love this texture, you will also adore our Milk Cream Cheese Bread and Fluffy Coconut Bread Strips, which utilize similar soft-bread techniques!
Ingredients
For the Sponge Dough (Zhongzhong):
- 1 ⅔ cups (210g) Bread Flour: High-protein bread flour is non-negotiable for the structure.
- 1 tbsp (15g) Caster Sugar: Feeds the yeast.
- 1 tsp (3g) Instant Yeast: Saf-Instant Gold (osmotolerant yeast) is highly recommended for sweet doughs.
- ½ cup + 1 tbsp (130g) Whole Milk: Cold or room temperature.
- ¾ cup (90g) Bread Flour
- 1 ½ tbsp (10g) Milk Powder: Adds a rich, milky aroma.
- ¼ tsp (1g) Instant Yeast
- 3 ½ tbsp (45g) Caster Sugar
- ¾ tsp (4g) Fine Sea Salt: Regulates yeast and balances sweetness.
- 1 Large Egg (approx. 50g without shell): Cold from the fridge if your kitchen is warm.
- 2 tbsp (30g) Whole Milk: Cold.
- 3 tbsp (45g) Unsalted Butter: Softened to room temperature.
For the Main Dough:
Equipment Needed
- Stand Mixer: Highly recommended. This dough is very sticky initially; kneading by hand will test your patience.
- Kitchen Scale: Bread baking is a science. Always measure by weight (grams) for consistent results.
- 11×11-inch (28×28 cm) Square Baking Pan
- Sharp Razor/Lame: For scoring the dough.
Prep & Mise en Place
- Plan Ahead: The sponge dough needs to ferment until it reaches 3 to 4 times its original volume. This takes about 3 hours at 77°F (25°C), or you can cold-ferment it in the fridge for 17 to 24 hours (highly recommended for best flavor; no need to bring to room temp before using).
- Temperature Control: If baking in the summer, use chilled milk and a cold egg to prevent the dough from overheating and over-fermenting in the mixer.
Cooking Process
- Step 1: Make the Sponge Dough
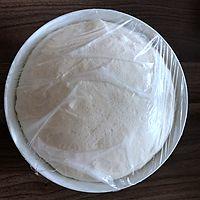
Mix the sponge ingredients (210g bread flour, 15g sugar, 3g yeast, 130g milk) until a smooth ball forms. You don’t need to pass the windowpane test here. Cover the bowl with plastic wrap and let it ferment until 3 to 4 times its original size. The interior should look like a web of gluten strands.
- Step 2: Mix the Main Dough
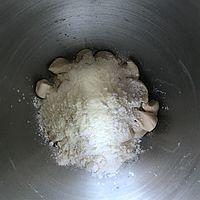
In the bowl of your stand mixer, add the liquid ingredients for the main dough (the egg and 30g milk—combined they should weigh about 80g), salt, and 45g sugar. Tear the fermented sponge dough into small chunks and drop them in. Finally, add the 90g bread flour, 10g milk powder, and 1g yeast on top.
- Step 3: Knead to Gluten Development
Using the dough hook, knead on low speed until combined, then increase to medium until the dough is smooth and slightly elastic. It will be sticky—trust the process and do not add extra flour.
- Step 4: Incorporate Butter (The Windowpane Stage)
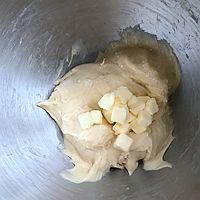
Add the 45g of softened unsalted butter. Knead until the butter is fully absorbed and the dough becomes incredibly smooth, shiny, and pulls away from the sides of the bowl.
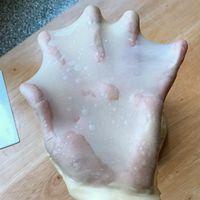
Test for doneness: Gently stretch a small piece of dough. It should form a translucent, strong membrane without tearing easily. This is the “windowpane stage.”
“Reaching the windowpane stage ensures that the gluten network is fully developed. This strong web traps the carbon dioxide produced by the yeast, resulting in a bread that rises exceptionally high and maintains a feathery, cloud-like crumb.”
- Step 5: First Resting (30 minutes)
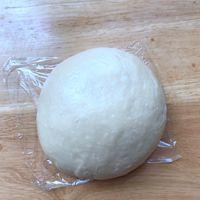
Shape the dough into a smooth ball. Cover and let it rest at room temperature for 30 minutes. (Note: This is just to relax the gluten to make shaping easier; it is not a full fermentation step).
- Step 6: Divide and Pre-shape
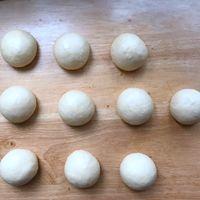
Punch down the dough gently to deflate. Divide it into 10 equal portions (about 62g each). Roll each portion into a tight, smooth ball. Cover with plastic wrap and let them rest for 20 minutes.
- Step 7: Final Shaping
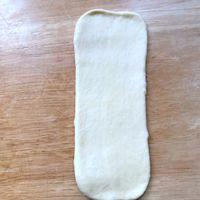
Take one dough ball, flatten it slightly to degas, and roll it into a short oval. Fold the left and right sides toward the middle (overlapping slightly in the center). Flatten with a rolling pin into a long rectangle (tongue shape). Starting from both the top and the bottom short ends, roll them tightly toward the center so they meet in the middle. Flip it over (seam side down) and place it into your baking pan. Repeat for all 10 rolls.
- Step 8: Final Proofing (45 minutes)
Place the pan into your turned-off oven. Place a separate pan of hot water (around 140°F / 60°C) on the bottom rack to create a warm, humid environment. Let the rolls proof for about 45 minutes until noticeably puffy. (Remove the water pan before baking!)
- Step 9: Score and Bake
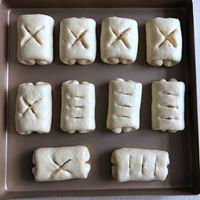
Remove the proofed rolls from the oven. Sift a light dusting of bread flour over the tops and use a sharp blade to score them.
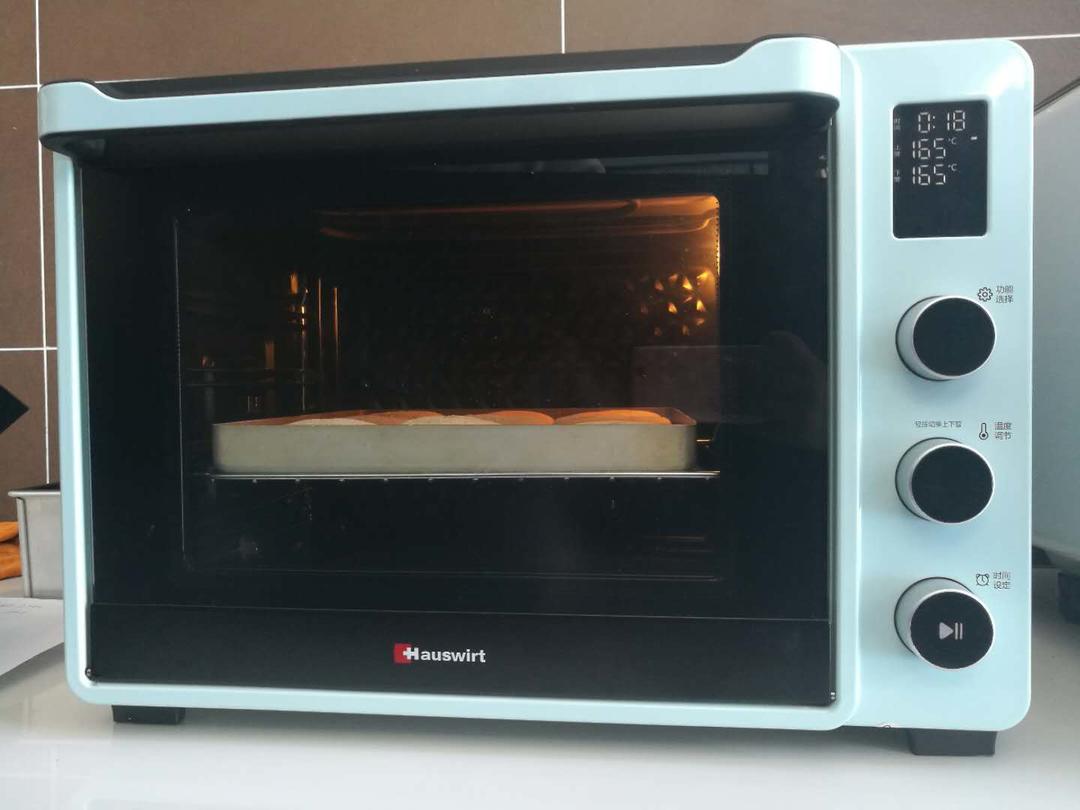
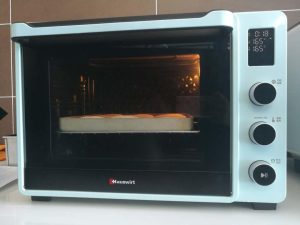
Preheat your oven to 355°F (180°C). Once hot, place the rolls on the middle rack and immediately drop the temperature to 330°F (165°C). Bake for 18 minutes.
Crucial: Keep an eye on them. Around the 8-minute mark, when the tops are golden brown, cover them quickly with aluminum foil to prevent over-browning.
Why This Recipe Works
- The Sponge (Pre-ferment): Gives the yeast a head start in a wet environment, drastically improving hydration and crumb softness.
- High Hydration + Butter: The combination of milk and butter creates a rich, tender crumb that stays soft for days.
- Temperature Management: By keeping liquids cold in a warm kitchen, we prevent the butter from melting out of the dough during the mechanical friction of kneading.
Common Mistakes When Making Milk Rolls
- Mistake: The dough is too sticky, so you added more flour.
- Cause: Milk bread dough is notoriously wet at the beginning. Adding flour ruins the hydration ratio, resulting in dense, dry bread.
- Solution: Keep kneading! As gluten develops, the dough will naturally pull together and become manageable. Use a scraper to help handle it.
- Mistake: The bread didn’t rise much in the oven (poor oven spring) and feels heavy.
- Cause: The dough never reached the windowpane stage, or the yeast was dead/old.
- Solution: Always test your yeast if you aren’t sure it’s active. Knead until you can stretch the dough paper-thin without it breaking.
Frequently Asked Questions
- Can I knead this by hand?
- Can I use all-purpose flour?
- Can I substitute the milk powder?
- How can I make this ahead of time?
Yes, but it is challenging due to the stickiness. Search for the “slap and fold” technique. A stand mixer is highly recommended.
No. Bread flour has a higher protein content (usually 12-14%), which is required to build the gluten structure necessary for this soft, tearable texture.
Milk powder adds a concentrated dairy flavor and tenderizes the crumb. If you omit it, the bread will still work, but it won’t have that signature milky richness.
The sponge dough can be kept in the fridge for up to 24 hours. The shaped rolls can also be cold-proofed in the fridge overnight before baking the next morning.
How to Serve
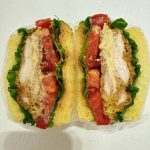
These milk rolls are slightly sweet and perfect on their own with a cup of coffee, or sliced open for sliders. To serve them at dinner, they pair beautifully with hearty soups and stews to soak up the broth. Try them alongside:
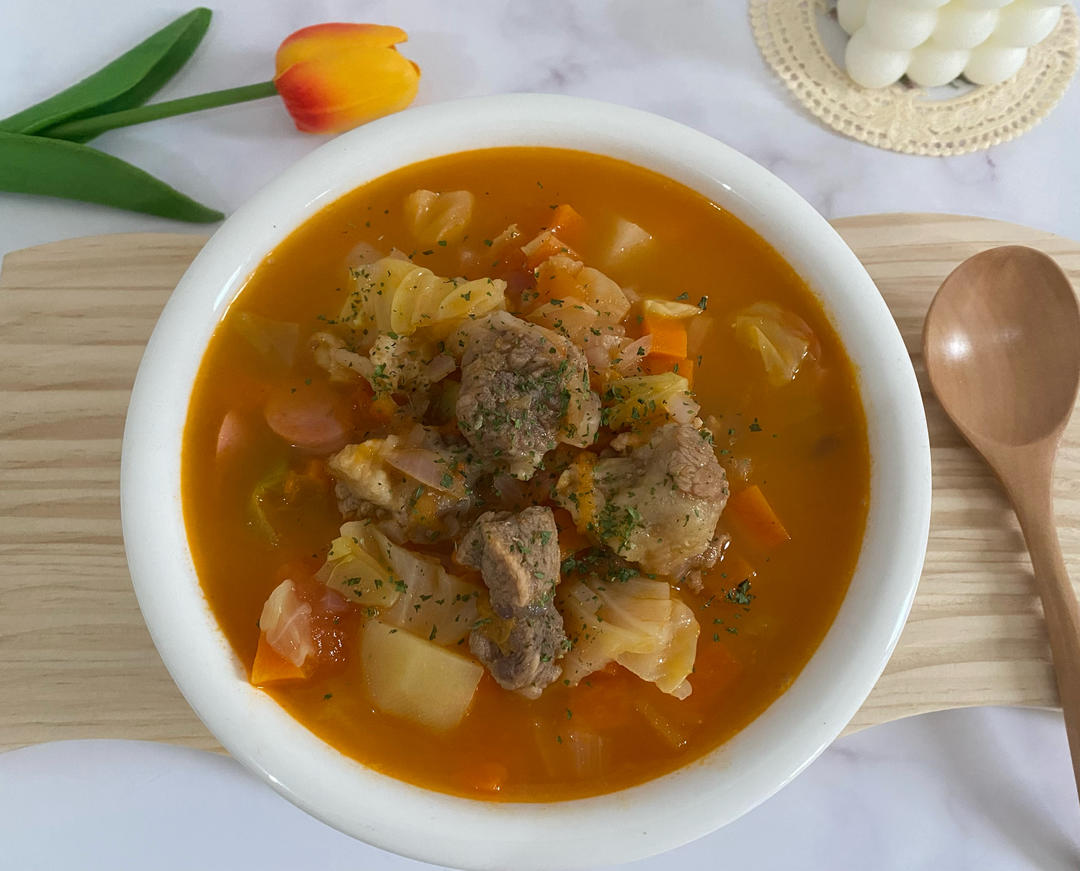
- Chinese Borscht
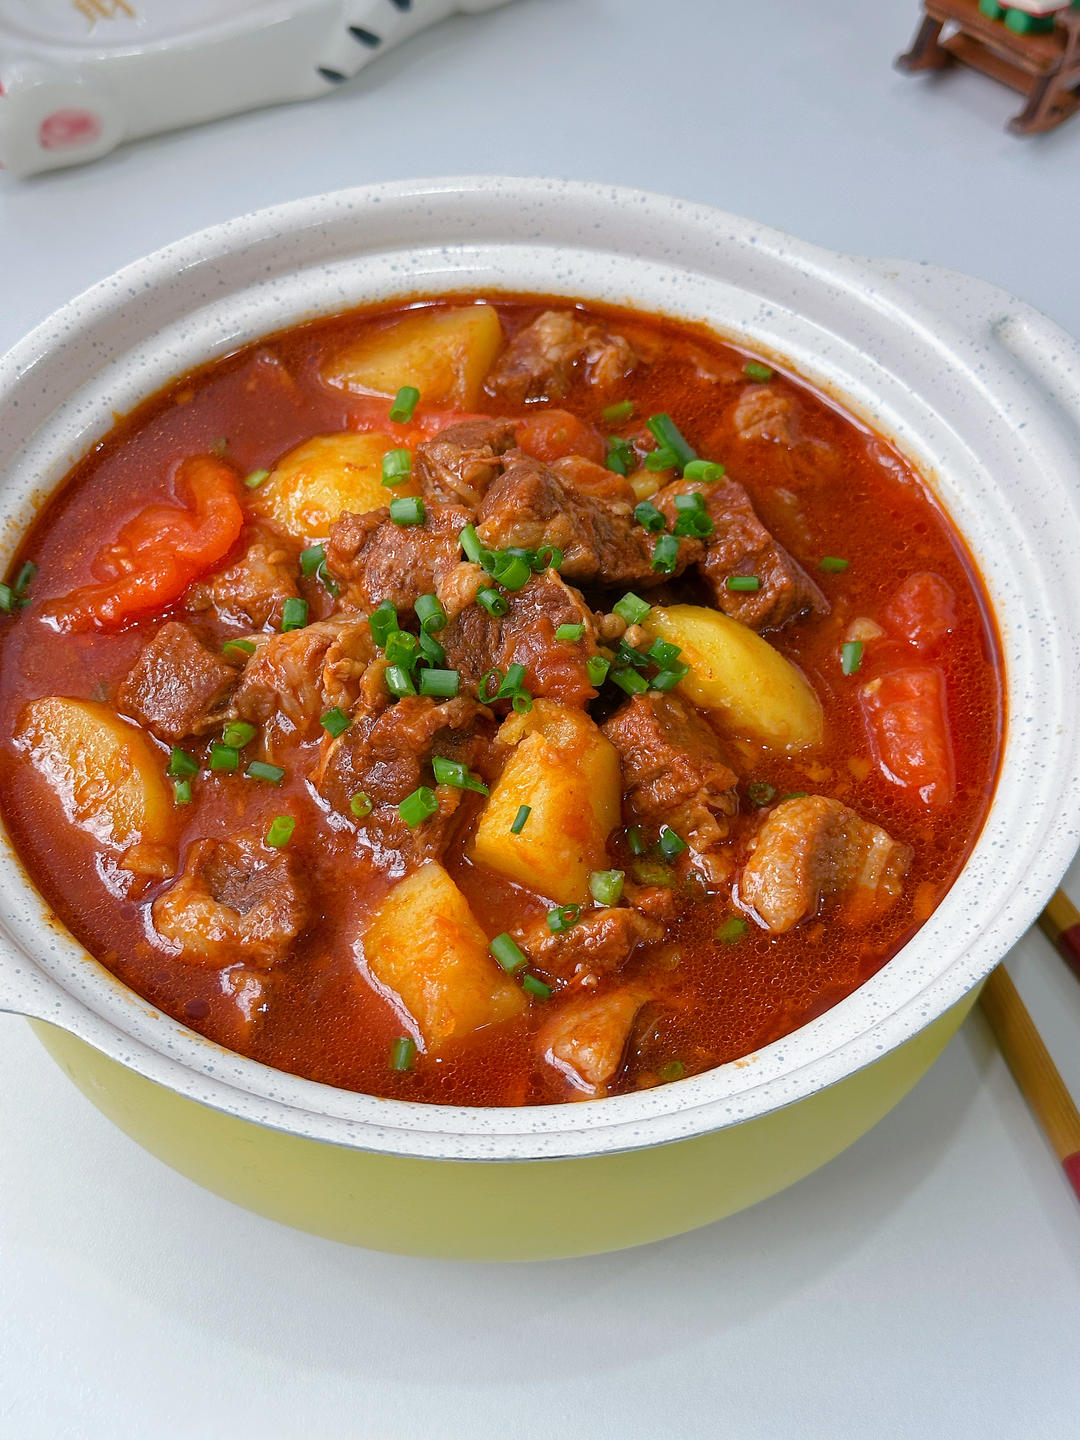
- Hearty Tomato Beef Stew
- Creamy Chinese Corn Juice (for a comforting breakfast combo!)
You can also use this same dough base to make stuffed variations, much like our Pork Floss Buns.
1Chinese Borscht (Luo Song Tang)A hearty, sweet, and tangy tomato beef soup known as Luo Song Tang. This Shanghai-style classic features tender beef shank, potatoes, carrots, and cabbage in a rich, buttery tomato broth.Check out this recipe2Hearty Tomato Beef Stew (番茄土豆炖牛肉)This easy, no-fail Tomato Beef Stew features fall-apart tender beef and fluffy potatoes in a rich, savory tomato broth. Perfect comfort food for the whole family.Check out this recipe
Storage & Reheat
- Room Temperature: Once completely cooled to room temperature, store in an airtight bag. They will stay incredibly soft for 3 days on the counter. Never store bread in the refrigerator, as it causes staling.
- Freeze: For longer storage, freeze the baked rolls in an airtight ziplock bag.
- Reheat: Thaw frozen rolls at room temperature. To regain that fresh-out-of-the-oven texture, bake at 300°F (150°C) for about 3 minutes.
Allergen Notice
- Contains Wheat/Gluten, Dairy (Milk, Butter, Milk Powder), and Eggs.
Nutrition Disclaimer
Nutrition information is an estimate and provided for informational purposes only.
About the Author & Recipe Development
I’m Lin, a recipe developer for Woks of Love. While traditional Chinese cooking is my foundation, mastering Asian bakery-style breads has been a personal passion. I’ve tested this specific hydration ratio and sponge method extensively in my home kitchen to ensure it works reliably in a standard home stand mixer, bypassing industrial bakery equipment. The result is a foolproof path to bakery-quality milk bread at home.
Authoritative References
- To understand why bread goes stale in the fridge (starch retrogradation), see the explanation by Serious Eats on Bread Storage.
- For visual guides on assessing gluten development, refer to King Arthur Baking’s Windowpane Test Guide.
Cloud-Soft Milk Bread Rolls (The Sponge Dough Method)
Equipment
- Stand mixer
- Kitchen Scale
- 11×11-inch Square Baking Pan
Ingredients
Sponge Dough (Zhongzhong)
- 210 g bread flour approx. 1 2/3 cups
- 15 g caster sugar approx. 1 tbsp
- 3 g instant yeast approx. 1 tsp, osmotolerant preferred
- 130 g whole milk approx. 1/2 cup + 1 tbsp
Main Dough
- 90 g bread flour approx. 3/4 cup
- 10 g milk powder approx. 1.5 tbsp
- 1 g instant yeast approx. 1/4 tsp
- 45 g caster sugar approx. 3.5 tbsp
- 4 g fine sea salt approx. 3/4 tsp
- 50 g egg approx. 1 large egg
- 30 g whole milk approx. 2 tbsp
- 45 g unsalted butter softened, approx. 3 tbsp
Instructions
- Make the Sponge: Mix 210g bread flour, 15g sugar, 3g yeast, and 130g milk until a smooth dough forms. Cover and ferment at room temperature until 3 to 4 times its original volume (about 3 hours, or cold ferment in fridge for 17-24 hours).

- Mix the Main Dough: In a stand mixer, add the egg, 30g milk, 4g salt, and 45g sugar. Tear the fermented sponge into small pieces and add to the bowl. Top with 90g bread flour, 10g milk powder, and 1g yeast.
- Knead on low to medium speed until a cohesive dough forms. It will be sticky; do not add flour.
- Add the 45g softened butter. Continue kneading until the dough reaches the windowpane stage (you can stretch a small piece into a thin, translucent membrane without it tearing). This takes about 10-15 minutes.
- Round the dough into a ball, cover, and let it rest (relax) at room temperature for 30 minutes.
- Punch down the dough and divide into 10 equal portions (about 62g each). Roll into tight balls, cover, and rest for 20 minutes.
- Shape: Flatten a ball into an oval. Fold the left and right thirds to the middle. Roll it out lengthwise into a long tongue shape. Roll both short ends tightly toward the middle until they meet. Place seam-side down in a baking pan. Repeat for all 10.
- Final Proof: Place the pan in a warm, turned-off oven with a separate bowl of hot water on the bottom rack. Let proof for 45 minutes until puffy.
- Bake: Remove pan (and water). Preheat oven to 355°F (180°C). Sift flour over the rolls and score the tops with a razor. Bake on middle rack at 330°F (165°C) for 18 minutes. Tent with foil around 8 minutes to prevent over-browning. Cool slightly and enjoy!





Leave a Reply