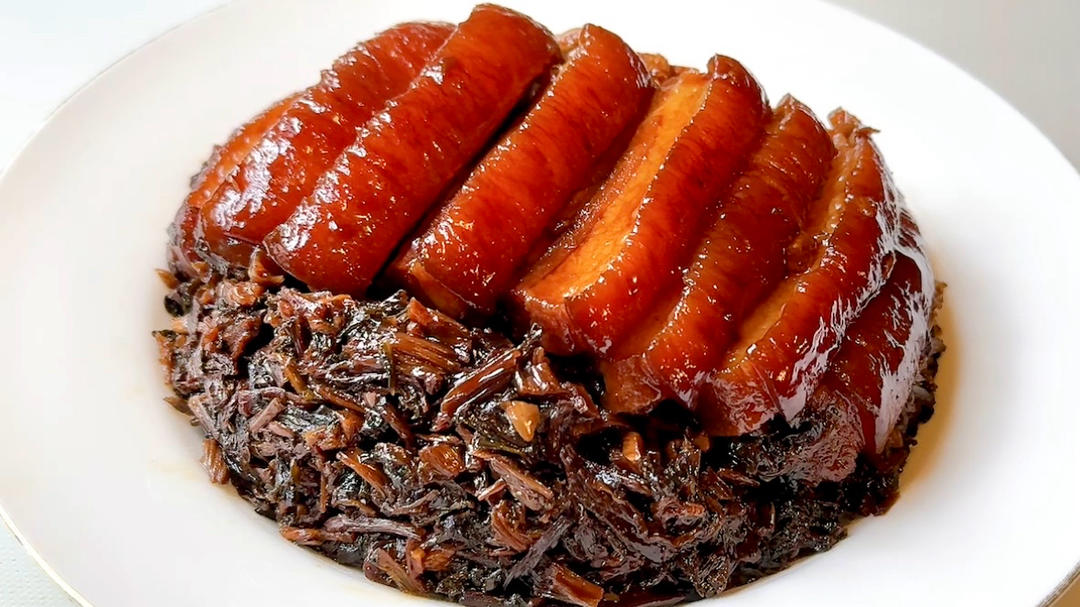
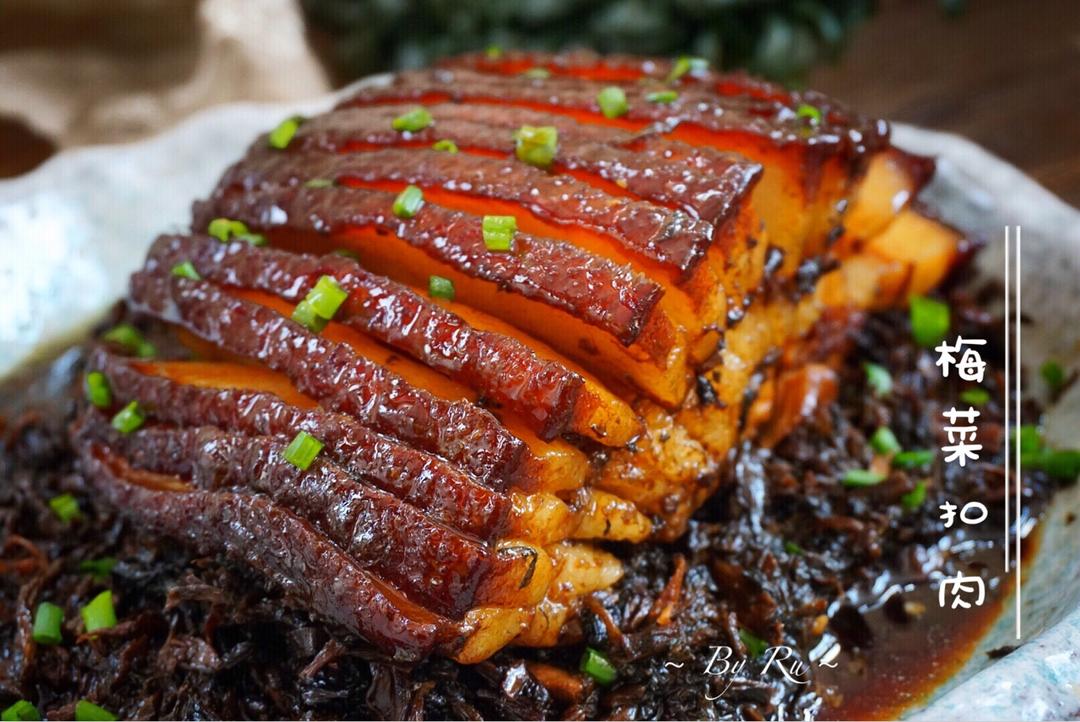
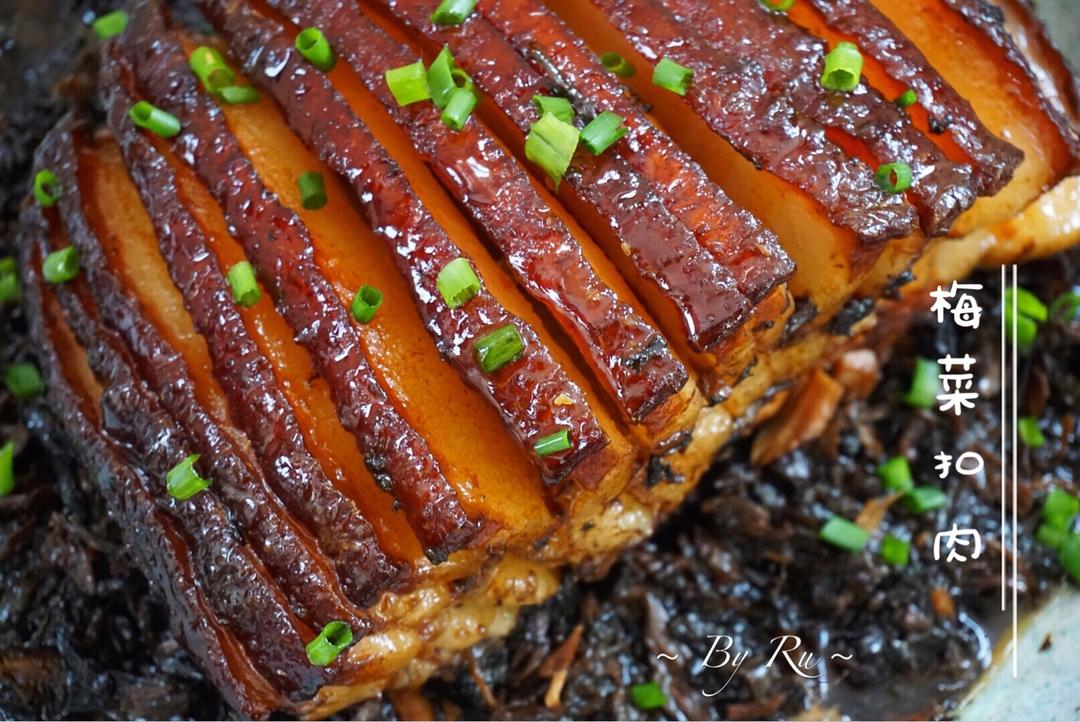
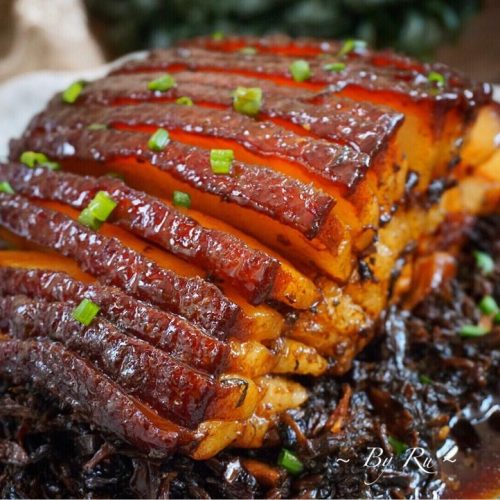
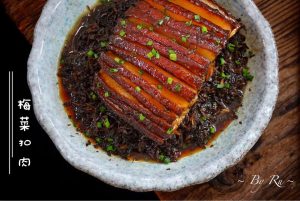
Mei cai kou rou is the dish Chinese families reserve for the moments that matter: Lunar New Year tables, family reunions, the one dinner a year where everyone clears their schedule. A square of pork belly is boiled, lacquered with dark soy, pricked and fried until its skin crackles into amber blisters, then sliced, stacked in a bowl with preserved mustard greens, and pressure-cooked until the meat collapses into butter-soft layers. You invert the bowl onto a plate, lift it away, and there it is: a glossy dome of pork shining over dark, wine-sweet greens.
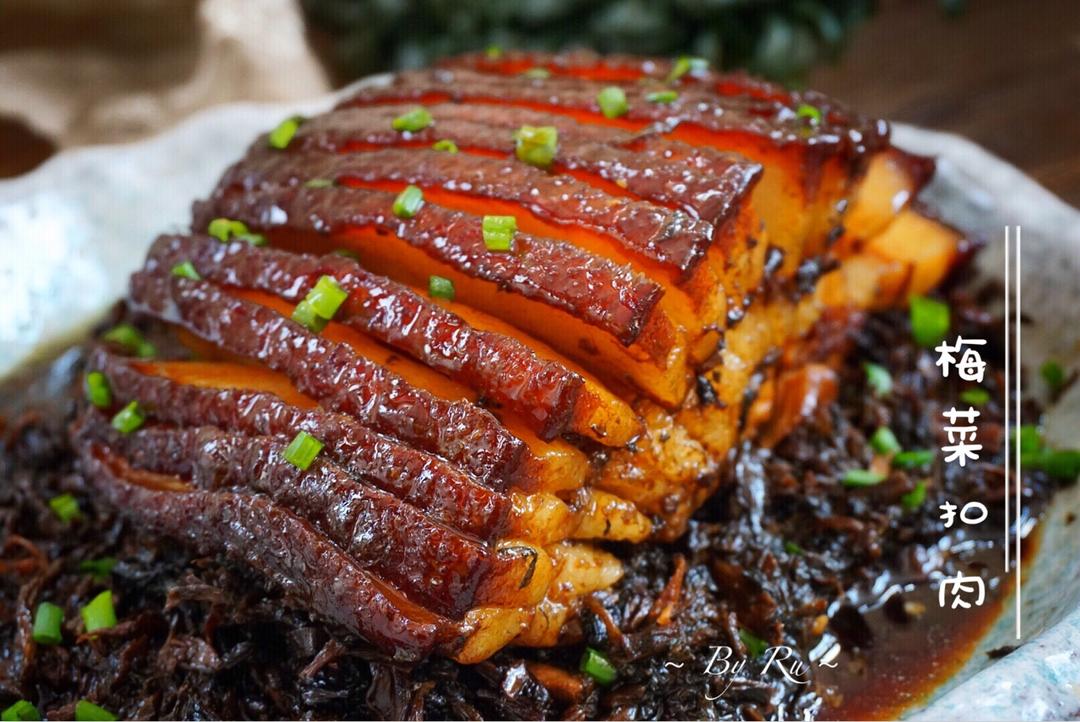
The name gives away the most dramatic step: kou (扣) means “invert” — the bowl is turned upside down onto the serving plate, revealing the beautiful layered pork. It sounds fussy, and the ingredient list looks long, but every step is simple and most of the work happens while the pressure cooker hums. Once you have made it once, it will demand a place at your own special-occasion table.
What Is Mei Cai Kou Rou (Mei Cai Kou Rou)?
Mei cai kou rou (梅菜扣肉) is a classic Cantonese banquet dish of pork belly braised with mei cai — preserved, salt-cured mustard greens that carry a deep, sweet-savory, slightly smoky flavor. The pork is first prepared so its skin blisters into crisp, bubbled “tiger skin,” then sliced and layered skin-side-down in a bowl over the seasoned greens. Steamed under pressure until meltingly tender, the bowl is inverted for serving — the famous “kou” (扣) reveal. The preserved greens are the quiet hero: they soak up the rendered pork fat, so the finished dish tastes rich without being greasy, and the pork tastes sweet from the greens. It is the same idea as my authentic mei gan cai kou rou, and this version focuses on the classic no-frills home method with a pressure cooker.
Kou rou belongs to the big family of slow-braised pork belly dishes, and if you love it, the rabbit hole goes deep: my authentic mei gan cai kou rou is the melt-in-mouth classic, homestyle braised pork belly is the simpler everyday cousin, and red-braised pork belly is the Shanghainese favorite — three roads to the same happy place.
1Authentic Mei Gan Cai Kou Rou (Melt-in-Mouth Pork)Learn the chef’s secret to melt-in-your-mouth Authentic Mei Gan Cai Kou Rou (Steamed Pork Belly with Preserved Mustard Greens). No more tough pork skin!Check out this recipe
Why This Recipe Works
- Boil-then-fry builds the “tiger skin”: boiling first relaxes the skin, then pricking and frying it in oil turns the surface into crisp, amber blisters that soak up sauce instead of fat.
- Dark soy does the coloring: soaking the pork in dark soy before frying gives it the deep, glossy mahogany that defines kou rou — no caramel or sugar syrup needed.
- Meicai is the anti-grease secret: the preserved mustard greens absorb the rendered pork fat as they steam, so the finished dish is rich yet light, and the greens taste like candy.
- Pressure cooking melts the collagen: 40 to 50 minutes under pressure breaks down the pork belly’s connective tissue into gelatin, delivering the signature melt-in-mouth texture.
- Serving inverted, not stirred: the layering means every portion gets crisp skin, tender meat, and sauce-soaked greens in one perfect slice.
Equipment Needed
- A pot large enough to hold the pork belly
- A toothpick or sausage needle for pricking the skin
- A small skillet or pot for frying the skin (with a lid!)
- A deep steaming bowl and a plate that covers it
- A pressure cooker (stovetop or electric)
Ingredients
- 1 square piece of pork belly (about 900 g / 2 lb), skin on
- 100 g (about 1 cup) dried mei cai (preserved mustard greens)
- 1–2 star anise
- 1 small piece of ginger, sliced
- 1 section of scallion
- Dark soy sauce, for coating (about 3–4 tbsp)
- 2 tbsp beer (or Shaoxing wine)
- 2 tbsp light soy sauce
- 1 tsp sugar
- 2 tsp white pepper
- 1 tsp sesame oil
- Sliced scallions, to finish
- Neutral oil, for frying the skin
Ingredient Notes
Pork belly should be a thick, square slab with the skin on — ask the butcher for “kou rou” cut if you are at an Asian market, and have the hair scraped off. Mei cai (梅干菜/梅菜) is dried, salt-cured mustard green sold in vacuum packs; rinse it well, as it can be sandy and salty. Dark soy sauce is the thick, slightly sweet soy used for color — it is what lacquers the pork mahogany. Beer is the original recipe’s choice (any lager works); Shaoxing wine is a fine substitute.
Prep & Mise en Place
This dish rewards a little organization. Rinse the mei cai and soak it in cold water while the pork boils. Slice the ginger and scallion. Set out the dark soy, light soy, beer, sugar and white pepper in one place — the sauce comes together in under a minute. Have a tray or wide bowl ready for the dark soy coating, and a toothpick for the skin. If you have a pressure cooker, this is the moment to dust it off; everything after the frying step is basically assembly.
Cooking Process
Step 1 — Boil the Pork Belly
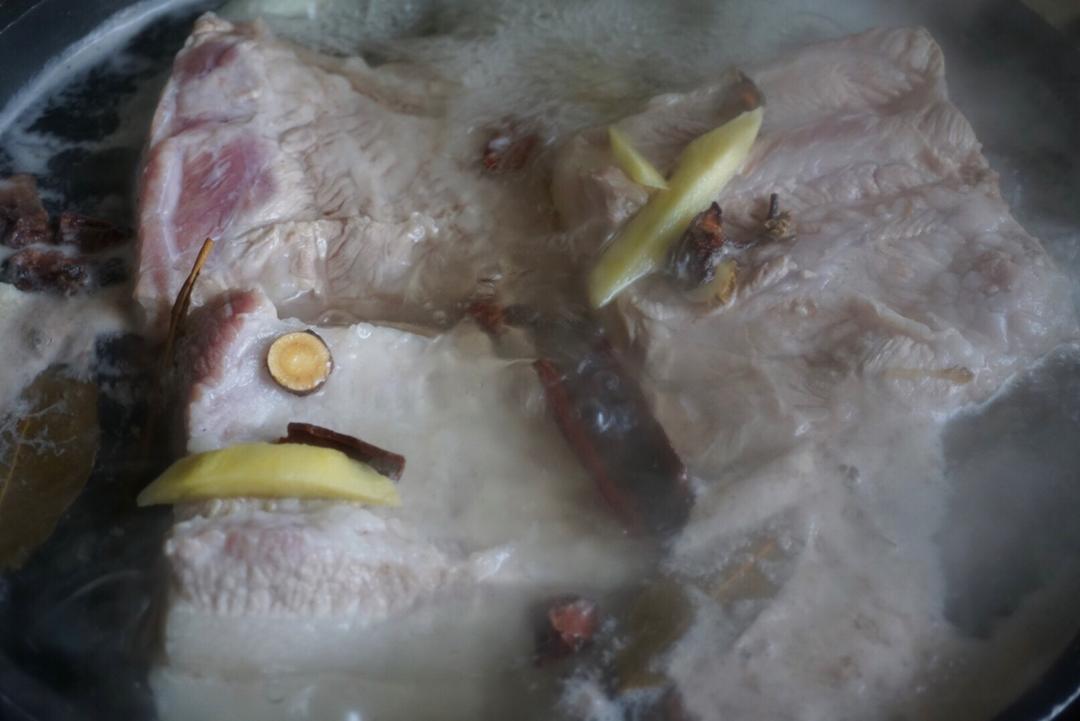
Rinse the pork belly and place it in a pot of cold water with the sliced scallion, ginger and star anise. Bring to a boil, then cook for 5 minutes, flip the pork, and cook 5 to 6 minutes more.
Step 2 — Coat with Dark Soy
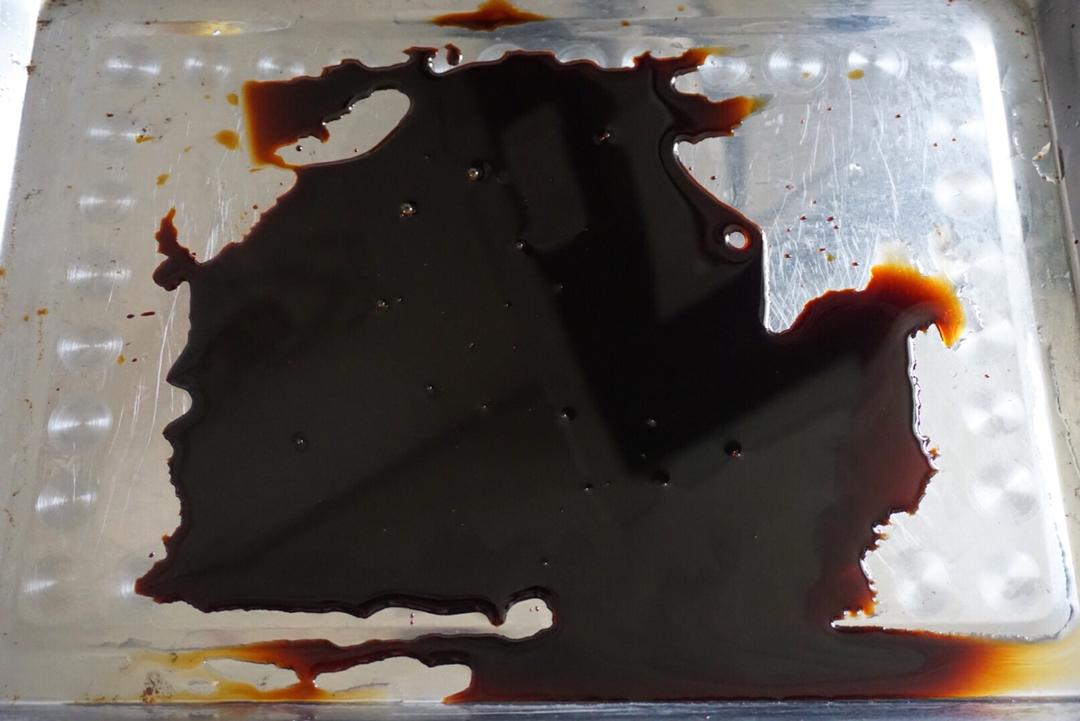
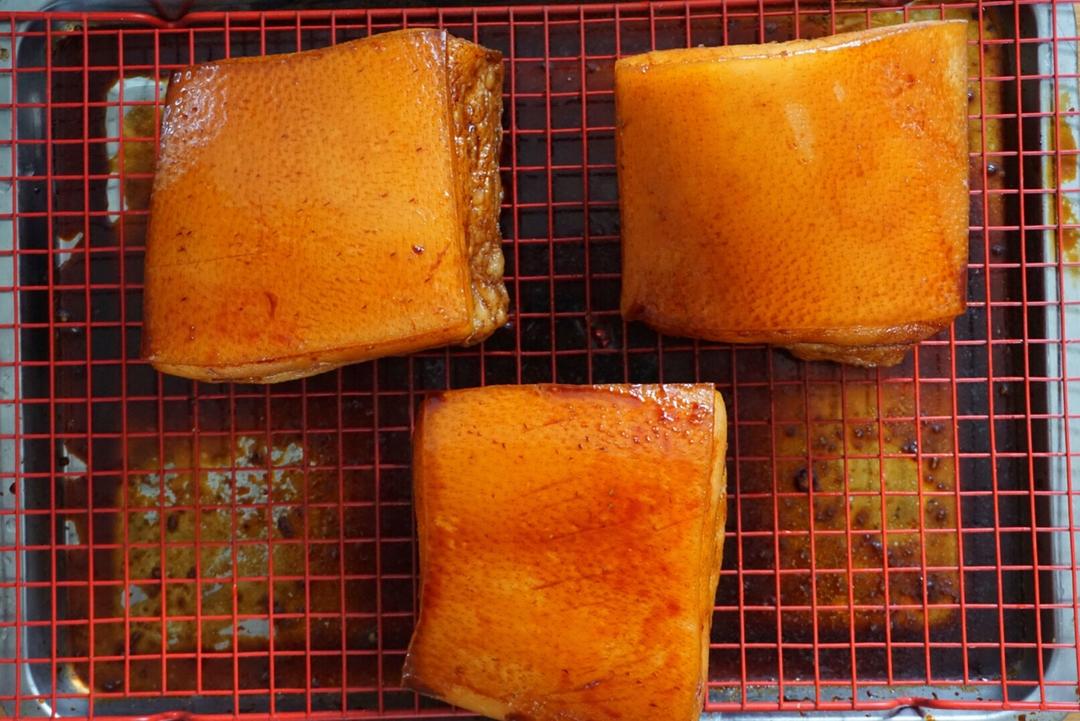
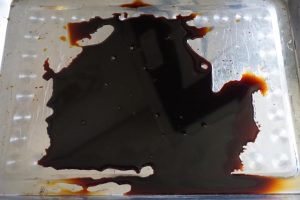
While the pork cooks, pour a shallow layer of dark soy sauce into a tray or wide bowl. As soon as the pork is done, lift it out while still hot and roll it in the dark soy so every side is coated.
Step 3 — Prick the Skin
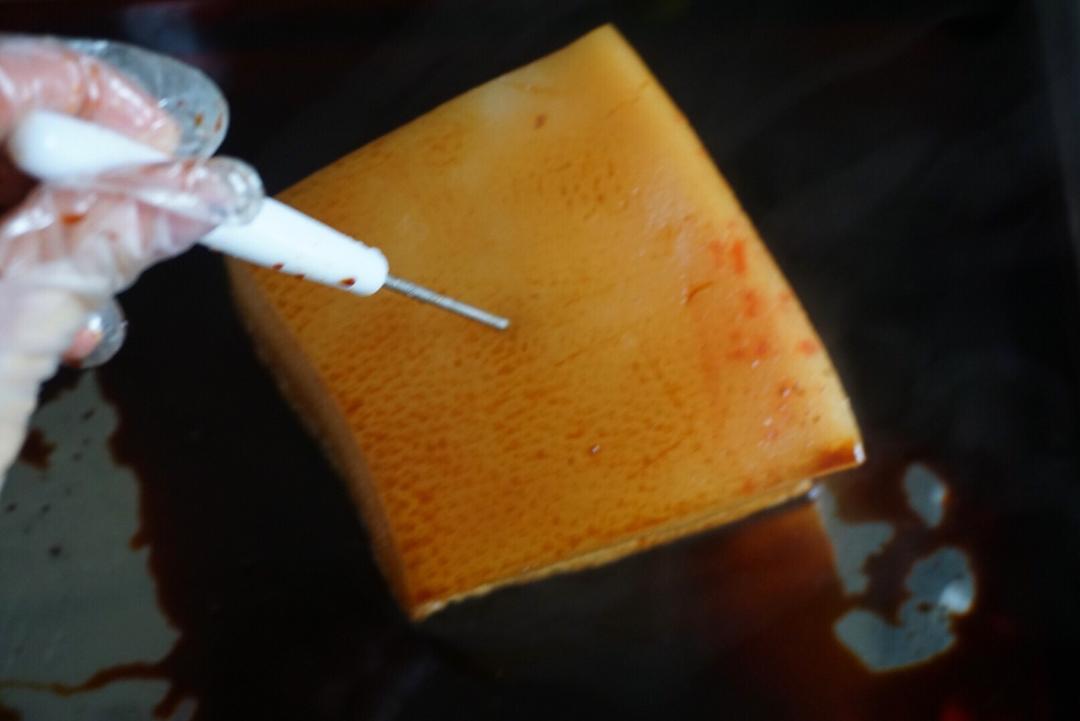
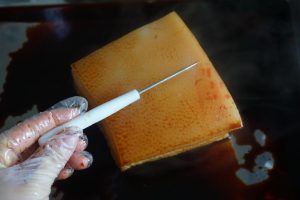
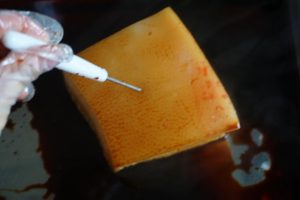
Take a toothpick or sausage needle and prick the skin all over — dozens of small holes. The holes are what let the skin blister into “tiger skin” when it fries.
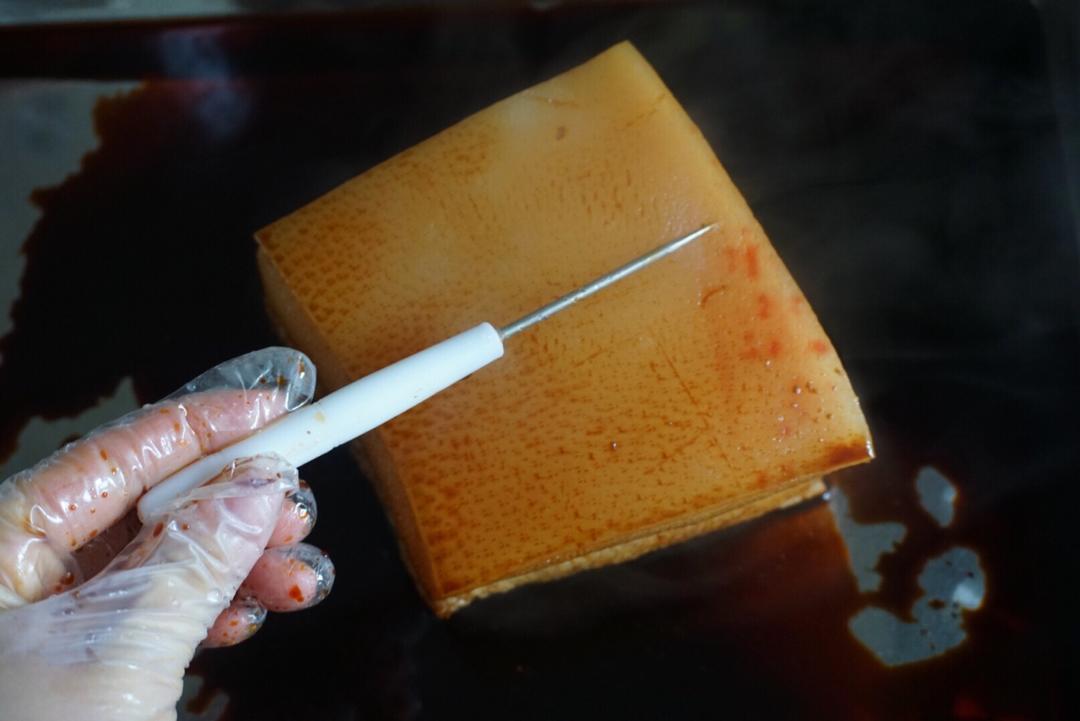
Step 4 — Soak in Dark Soy
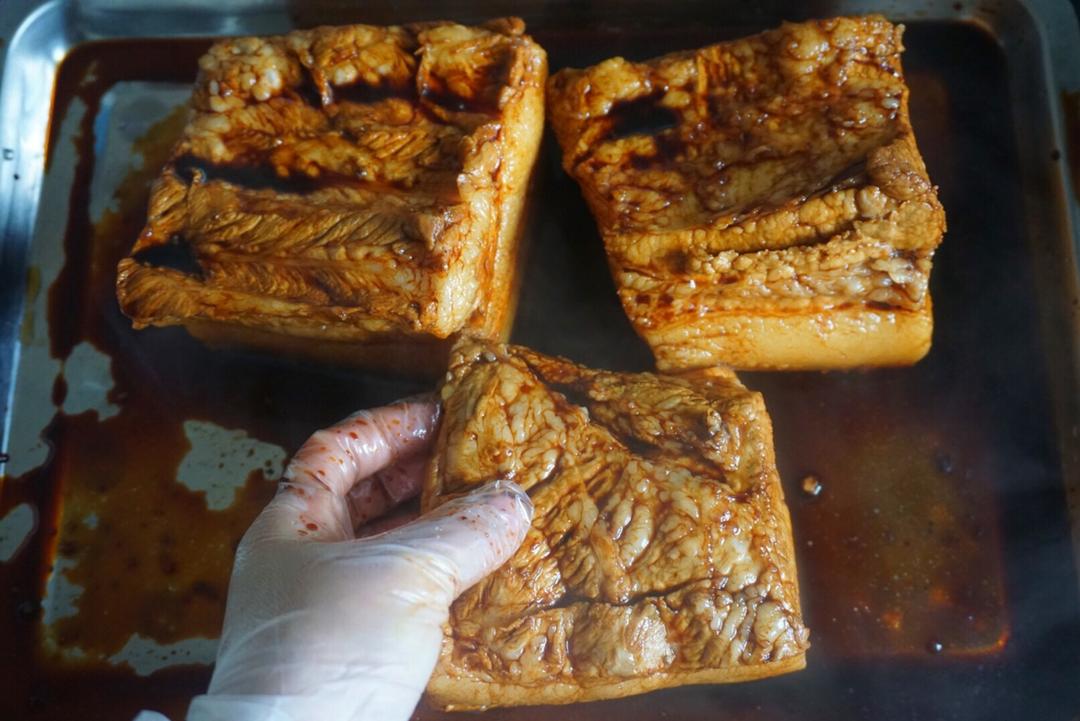
After pricking, coat the pork again with the dark soy, place it skin side down in the tray, and let it soak for 10 minutes or longer so the color penetrates. Then set it skin side up to dry until the soy is absorbed.
Step 5 — Fry the Skin
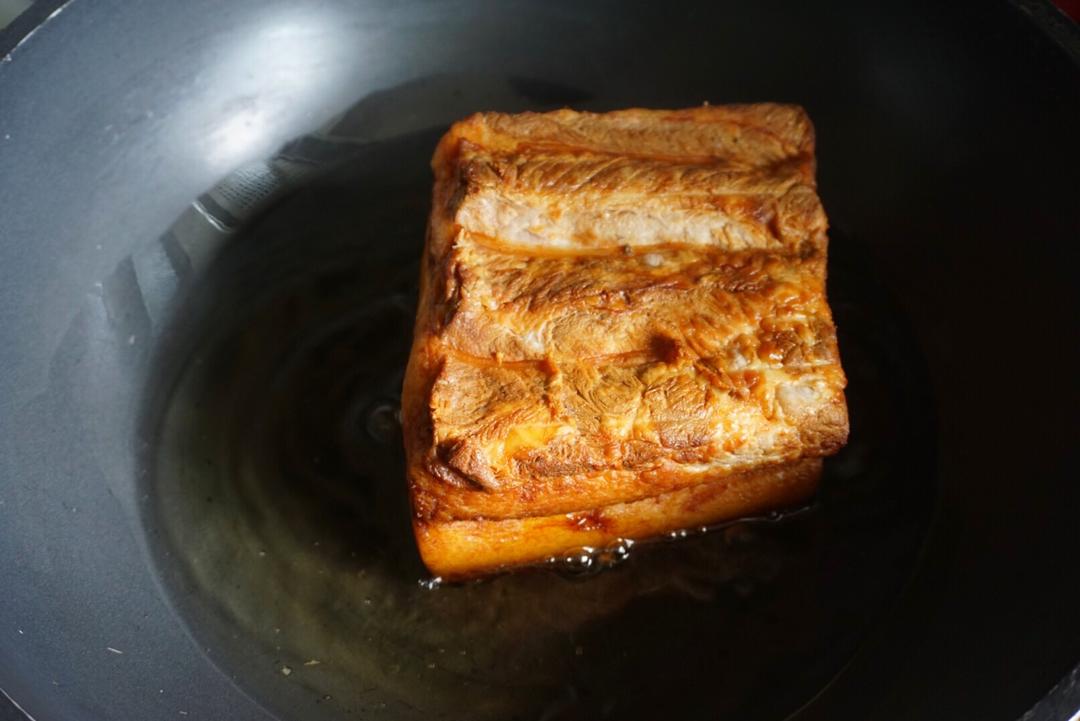
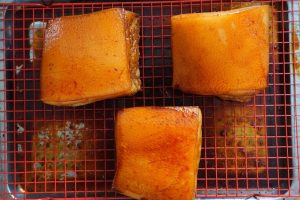
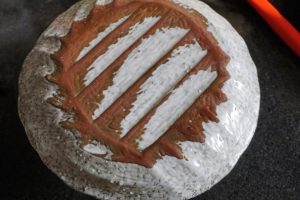
Add enough oil to the skillet to cover the skin (about 1 cm deep). Over low heat, lay the pork in skin side down, immediately cover the pan, and fry for about 3 minutes — the skin will blister, puff and crackle. Covering the pan is essential; the fat spits. When the skin is deep amber and blistered, remove the pork and let it cool.
The blistered “tiger skin” is pure steam physics: the pricked skin holds pockets of moisture, and when the hot oil hits them, the moisture flashes to steam and puffs the surface into crisp bubbles. Covered and on low heat, the skin blisters evenly without scorching — and the lid keeps the popping oil from decorating your kitchen.
Step 6 — Soak the Mei Cai
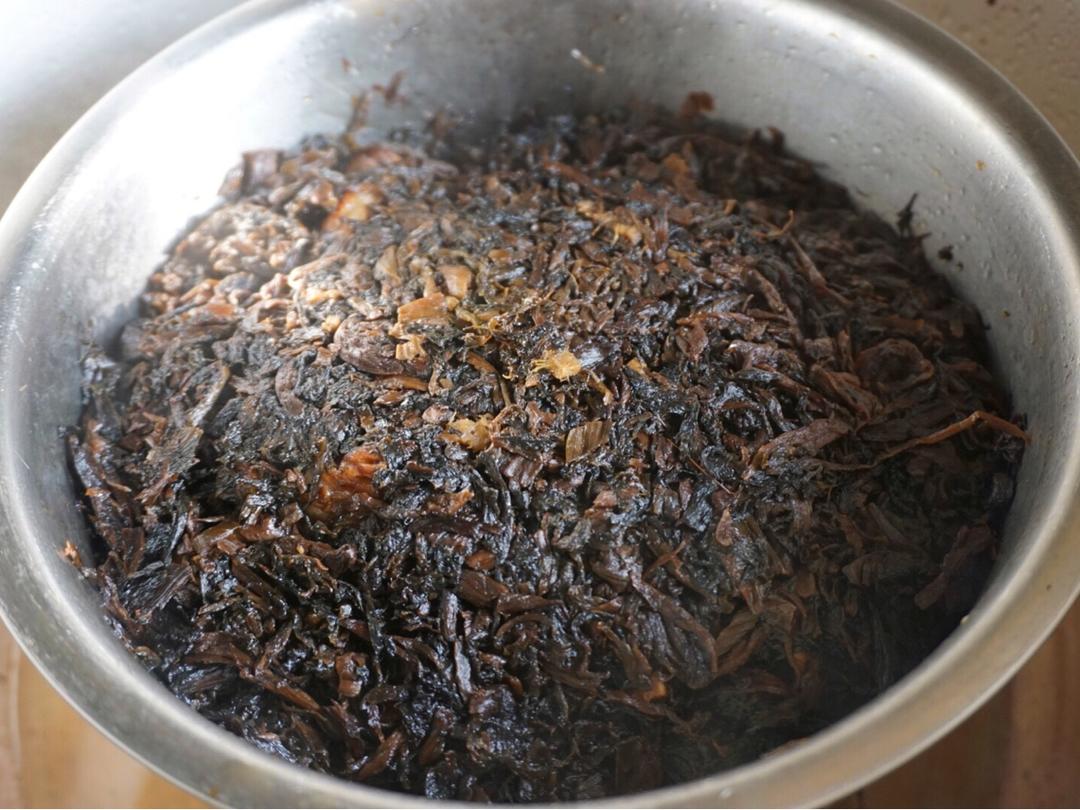
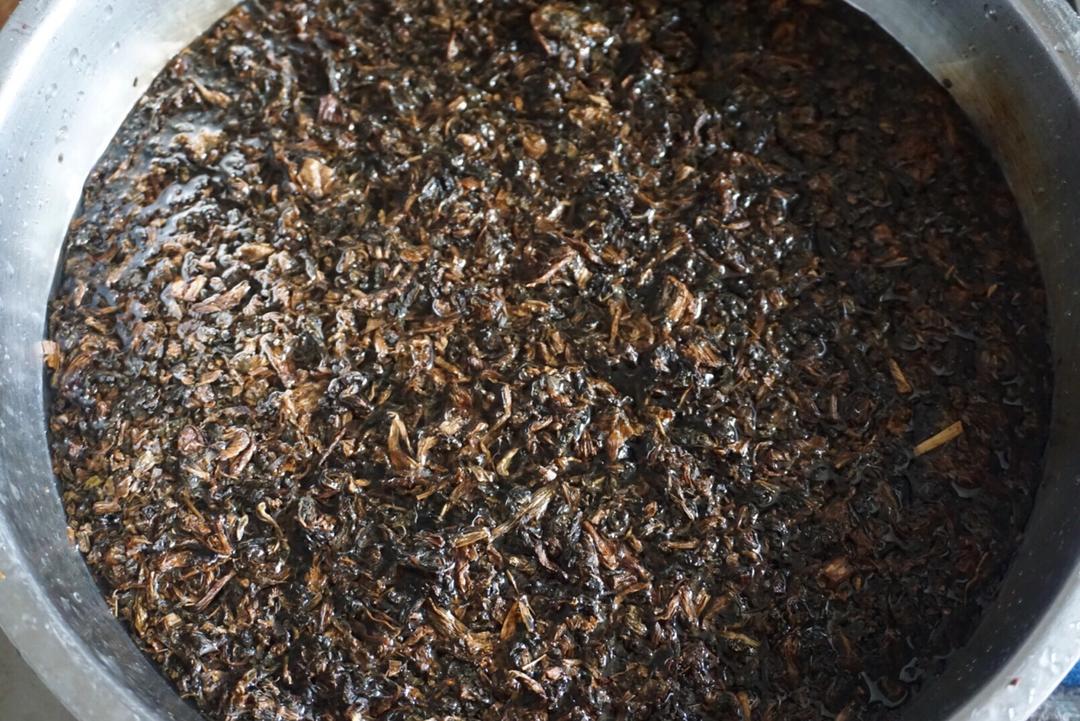
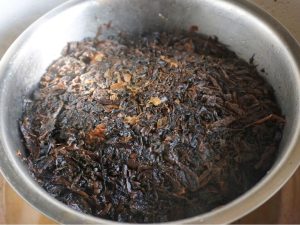
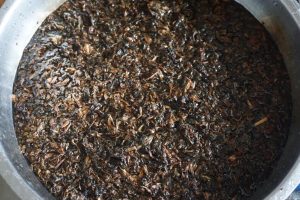
While the pork cools, rinse the mei cai and soak it in cold water. Squeeze it dry before use — soak it just until soft if you like a little bite, or longer if you want it very tender.
Step 7 — Make the Sauce
In a bowl, mix the leftover dark soy from the soaking tray with 1 tsp sugar, 2 tbsp light soy, 2 tbsp beer and 2 tsp white pepper. Stir until the sugar dissolves.
Step 8 — Slice and Arrange the Pork
Slice the cooled pork, skin side up, into thick pieces about 1 cm wide, keeping the bottom attached so the slab stays together, or slicing all the way through — your choice. Arrange the slices in a deep steaming bowl, pour over half the sauce, and coat each slice so the seasoning reaches every piece. Set the pork skin side down in the bowl and pour the rest of the sauce over it.
Step 9 — Cook the Mei Cai
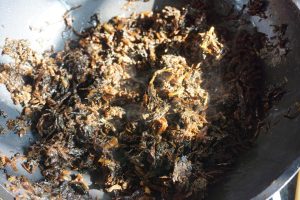
Use the oil left from frying the skin. Sauté a little sliced ginger until fragrant, then add the squeezed-dry mei cai and stir-fry. Pour in the remaining sauce, toss until well coated, taste for salt (mei cai is already salty), and finish with a little sesame oil.
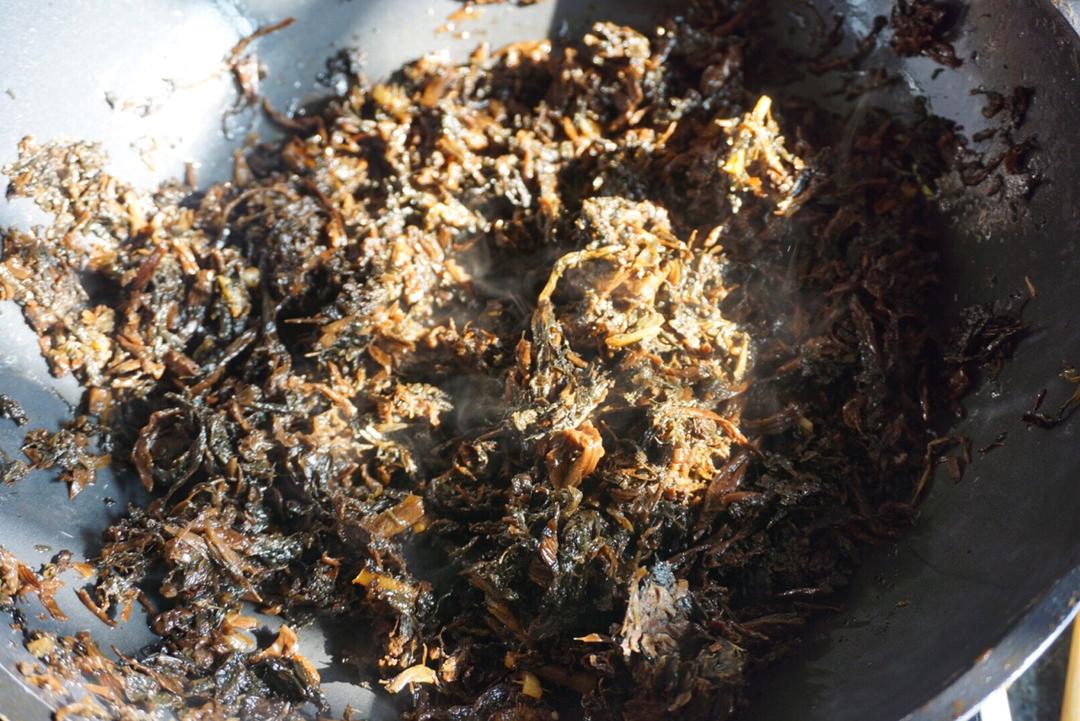
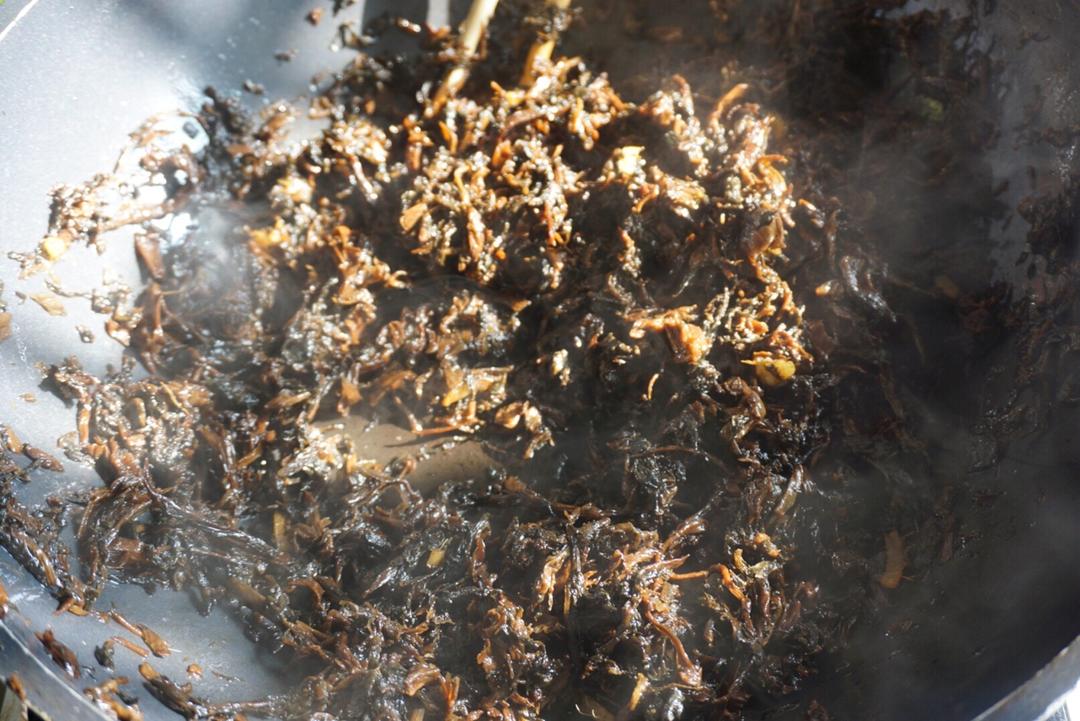
Step 10 — Pack the Bowl
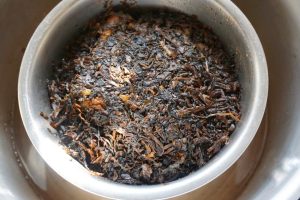
Pack the cooked mei cai into the bowl around and over the pork, pressing it down firmly so the bowl is full and compact. The greens will absorb the fat and sauce as they steam.
Step 11 — Pressure-Cook
Add water to the pressure cooker, set in the trivet, and place the bowl on top. Cover, bring up to pressure, then cook on medium-low heat for 40 to 50 minutes, depending on the size of the pork.
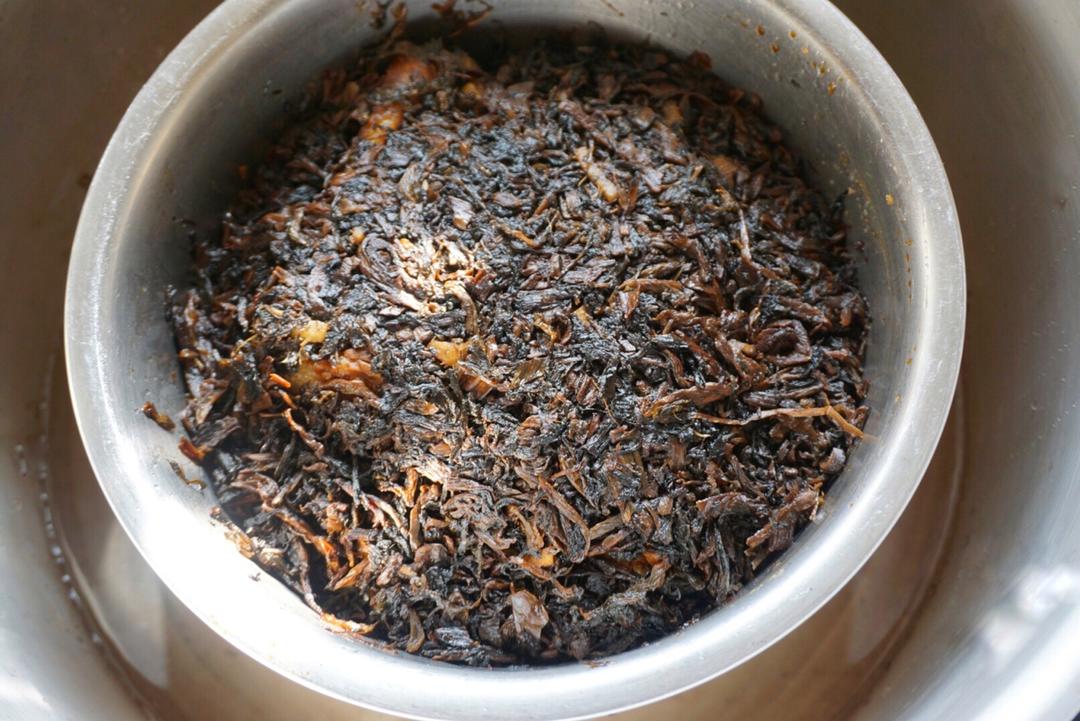
The long pressurized steam is what turns chewy pork belly into kou rou: the heat unravels the collagen in the connective tissue into gelatin, which is what makes the meat feel like it dissolves on the tongue. In the same sealed bowl, the mei cai soaks up the rendered fat and seasoned liquid — the two ingredients braise each other.
Step 12 — Invert and Serve
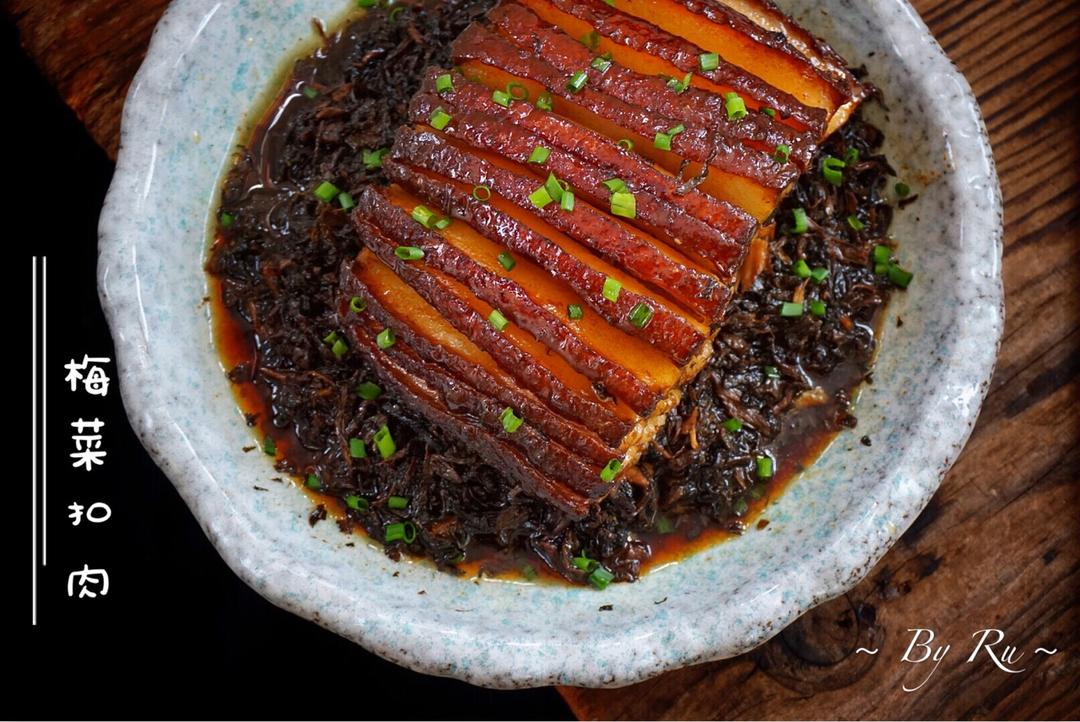
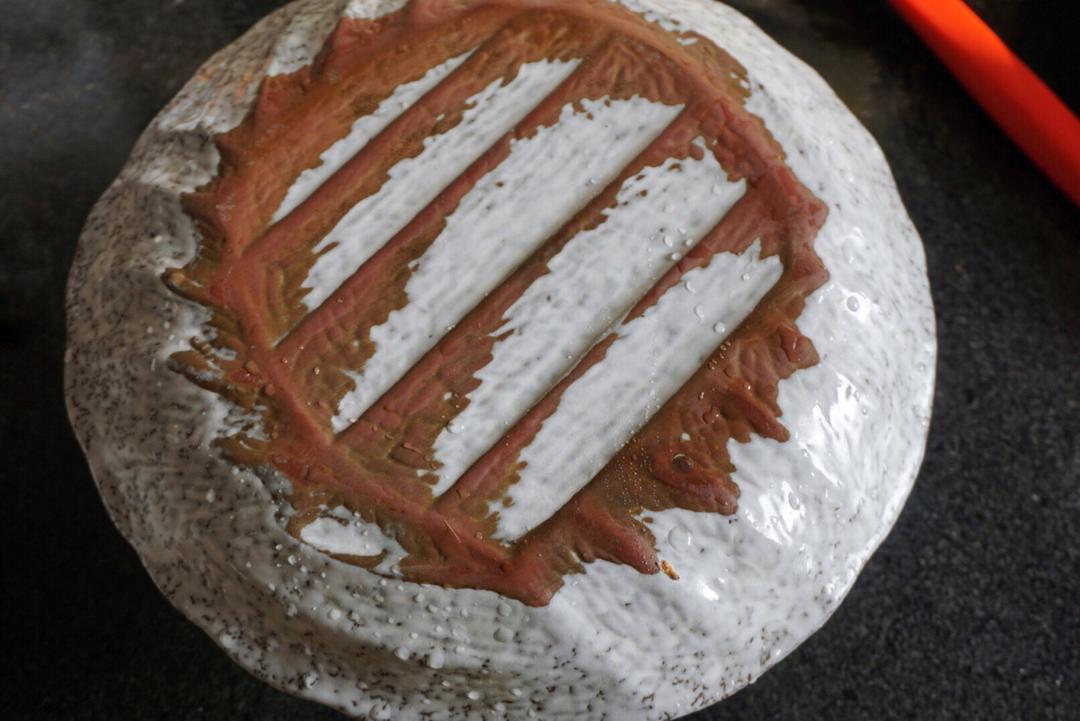
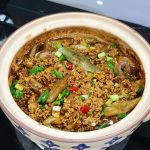
Carefully remove the bowl and rest it for a few minutes. Place a serving plate over the bowl, hold both together firmly, and flip quickly. Lift the bowl away to reveal the glossy dome of pork. Sprinkle with sliced scallions and serve hot.
Common Mistakes When Making Mei Cai Kou Rou
1. The skin does not blister. Cause: not pricked enough, or not dried before frying. Fix: prick the skin thoroughly (dozens of holes) and let the dark soy soak and dry into the skin before the oil bath.
2. The skin burns while frying. Cause: heat too high or the pan uncovered. Fix: fry on low heat, covered, for about 3 minutes — the blisters form from trapped steam, not from high heat.
3. The dish is greasy. Cause: the mei cai did not get a chance to absorb the fat. Fix: press the greens firmly into the bowl around the pork, and use enough meicai — it is the anti-grease engine of the dish.
4. The pork is tough instead of melt-in-mouth. Cause: not enough pressure-cook time. Fix: give it the full 40 to 50 minutes on medium-low after pressure builds; the meat should offer zero resistance.
5. The dish is too salty. Cause: mei cai not rinsed well enough, or too much light soy. Fix: rinse the mei cai thoroughly and taste the cooked greens before adding extra salt — preserved greens carry a lot of salt on their own.
Variations
This recipe is the classic home version; regional versions vary. Some cooks add fermented bean curd (nan ru) to the sauce for a red, slightly funky version — try my red braised pork belly for that direction. Others steam the bowl over plain water for 1.5 to 2 hours instead of pressure-cooking — same result, more time. You can also swap the mei cai for preserved radish (cai puo), or add a few dried shiitake to the greens for extra depth.
Frequently Asked Questions
What is mei cai? Mei cai (梅菜) is mustard green that has been salted, sun-dried and fermented — sold dried in vacuum packs at Asian grocers. It has a sweet-savory, slightly smoky flavor and is the classic partner for fatty pork.
Can I use a regular pot instead of a pressure cooker? Yes. Steam the covered bowl over simmering water for about 1.5 to 2 hours, or until the pork is completely tender.
Why is the skin pricked and fried? The pricks let moisture escape as steam when the skin hits hot oil, puffing it into the signature crisp “tiger skin” that drinks up the sauce. Without it, the skin stays leathery.
Do I have to keep the slices attached? No — cutting all the way through makes serving easier; keeping the bottom attached makes the inversion neater. The original recipe leaves them attached; I slice through for convenience.
Can I make kou rou ahead? Absolutely, and it improves overnight. Steam the full bowl, cool, and refrigerate for up to 3 days; re-steam for 30 to 40 minutes before inverting and serving.
How to Serve
Kou rou is a centerpiece — serve it with plenty of steamed rice to catch the sauce, and treat the blistered skin as the prize. For a banquet-style table, pair it with steamed pork ribs with black bean sauce, another festive steamer classic, and braised pork trotters if you are going all out. On a quiet night, it needs nothing but rice and maybe a simple poached pork belly with garlic sauce on the side for contrast.
Storage & Reheat
Kou rou keeps refrigerated in its bowl (do not invert until serving) for up to 3 days, and the flavors deepen overnight. Re-steam, covered, for 30 to 40 minutes before inverting. It also freezes well for up to 2 months — thaw overnight and re-steam until piping hot. Always reheat pork to an internal temperature of 165°F (74°C) to be safe.
Allergen Notice
This recipe contains soy (soy sauce) and gluten (soy sauce; beer contains gluten). Use gluten-free tamari and a gluten-free beer or Shaoxing substitute for a gluten-free version. Contains no nuts, eggs or shellfish.
Nutrition Disclaimer
Nutrition information is calculated using an ingredient database and should be considered an estimate. In cases where multiple ingredient alternatives are given, the first listed is calculated for nutrition. Garnishes and optional ingredients are not included. Nutrition information is an estimate and provided for informational purposes only.
About the Author & Recipe Development
I’m Lin, a chef who spent a decade in Chinese restaurant kitchens before writing recipes for home cooks. Kou rou was a banquet-kitchen staple I watched being made hundreds of times — and made myself on every family holiday. The home version here compresses the restaurant process into one pressure cooker without losing the two things that matter: the blistered skin and the melt-in-mouth meat. I tested the frying time across thick and thin slabs of belly, and the 3-minute covered fry is the sweet spot that blisters the skin without scorching it. My father, a northern cook through and through, always insisted the greens were the best part — and after a few decades of holidays, I have come around to his side.
Authoritative References
For safe handling of the pork, I follow the USDA safe minimum internal temperature chart, which recommends cooking pork to 145°F (63°C) with a rest — the long pressurized cook here far exceeds that. The science of collagen breaking down into gelatin is described in this overview of collagen in meat science from ScienceDirect.
Classic Mei Cai Kou Rou (Pork Belly with Preserved Greens)

Equipment
- Large Pot
- Skillet with Lid
- Deep Steaming Bowl
- Pressure cooker
Ingredients
For the Pork
- 1 square piece of pork belly about 900 g (2 lb), skin on
- 1 piece ginger small, sliced
- 1 section scallion
- 1 star anise or 2
- 3 tbsp dark soy sauce for coating
- neutral oil for frying the skin
For the Sauce
- 2 tbsp light soy sauce
- 2 tbsp beer or Shaoxing wine
- 1 tsp sugar
- 2 tsp white pepper
- 1 tsp sesame oil
For the Greens
- 100 g dried mei cai (preserved mustard greens) rinsed and soaked
- sliced scallions to finish
Instructions
- Rinse the pork belly and place it in a pot of cold water with scallion, ginger and star anise. Bring to a boil and cook 5 minutes, flip, then cook 5 to 6 minutes more.

- Pour a shallow layer of dark soy into a tray. Lift the hot pork out and roll it in the dark soy until every side is coated.

- Prick the skin all over with a toothpick or sausage needle.
- Coat the pork again with dark soy, place it skin side down in the tray, and soak for 10 minutes or longer. Set skin side up to dry until absorbed.
- Add enough oil to cover the skin in a skillet. Over low heat, lay the pork in skin side down, cover, and fry about 3 minutes until the skin blisters and turns deep amber. Remove and cool.
- Rinse the mei cai and soak in cold water, then squeeze dry.
- Mix the reserved dark soy with sugar, light soy, beer and white pepper.
- Slice the cooled pork, skin side up, into thick pieces. Arrange in a deep bowl, coat each slice with half the sauce, then set skin side down and pour the rest of the sauce over.

- In the oil left from frying, saute ginger until fragrant. Add the squeezed mei cai and stir-fry, pour in the remaining sauce, taste for salt, and finish with sesame oil.
- Pack the cooked mei cai around and over the pork in the bowl, pressing firmly.
- Place the bowl in a pressure cooker with water and a trivet. Bring to pressure, then cook on medium-low heat for 40 to 50 minutes depending on size.
- Cover the bowl with a serving plate, hold both together, flip quickly, and lift the bowl away. Sprinkle with sliced scallions and serve hot.



Leave a Reply