Mooncakes are the one pastry that every Chinese family buys in September, and making them at home is a small act of love — which is exactly what the cook who posted this recipe calls it: “mooncakes hiding love.” The dough is the classic Cantonese one, made from golden syrup, oil, and lye water, pressed into carved molds and baked to a deep, glossy brown around a filling of red bean, mung bean, taro, or black sesame.
What makes Cantonese mooncakes different from other styles is the crust. The syrup and lye water (枧水) give it a soft, slightly sticky texture that bakes into a thin, shiny shell, and the pastries need a day or two in a sealed container to soften fully — the “回油” rest that mooncake lovers wait for. The standard proportions are simple: 15 g of dough to 35 g of filling for a 50 g mooncake.
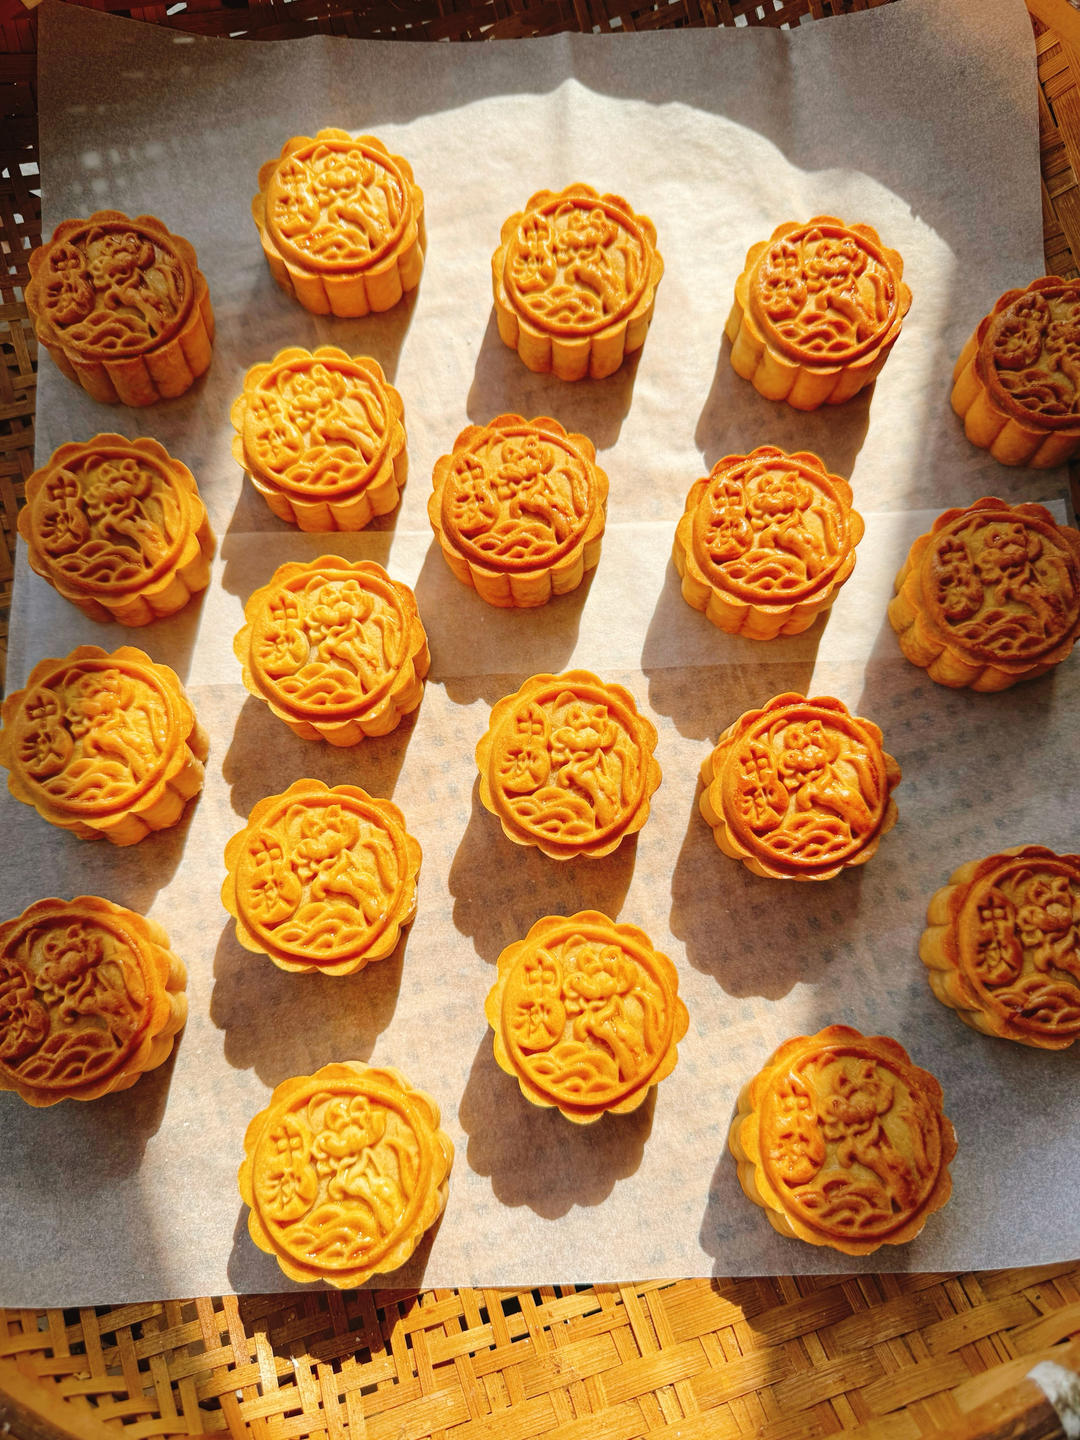
What Are Cantonese Mooncakes (广式月饼)?
Cantonese mooncakes are the classic Mid-Autumn Festival pastry of southern China: a thin, glossy crust made from golden syrup, oil, lye water, and flour, wrapped around a sweet filling such as red bean paste, mung bean paste, taro, or black sesame, then pressed in a carved mold and baked.
The crust’s character comes from the syrup and lye water, which keep the dough soft and give the baked top its signature shine. Because the crust is thin and the filling dense, mooncakes are baked hot and briefly, then left to rest so the crust absorbs moisture from the filling and turns tender. A mooncake fresh from the oven is crisp and slightly dry; two days later it is soft and glossy.
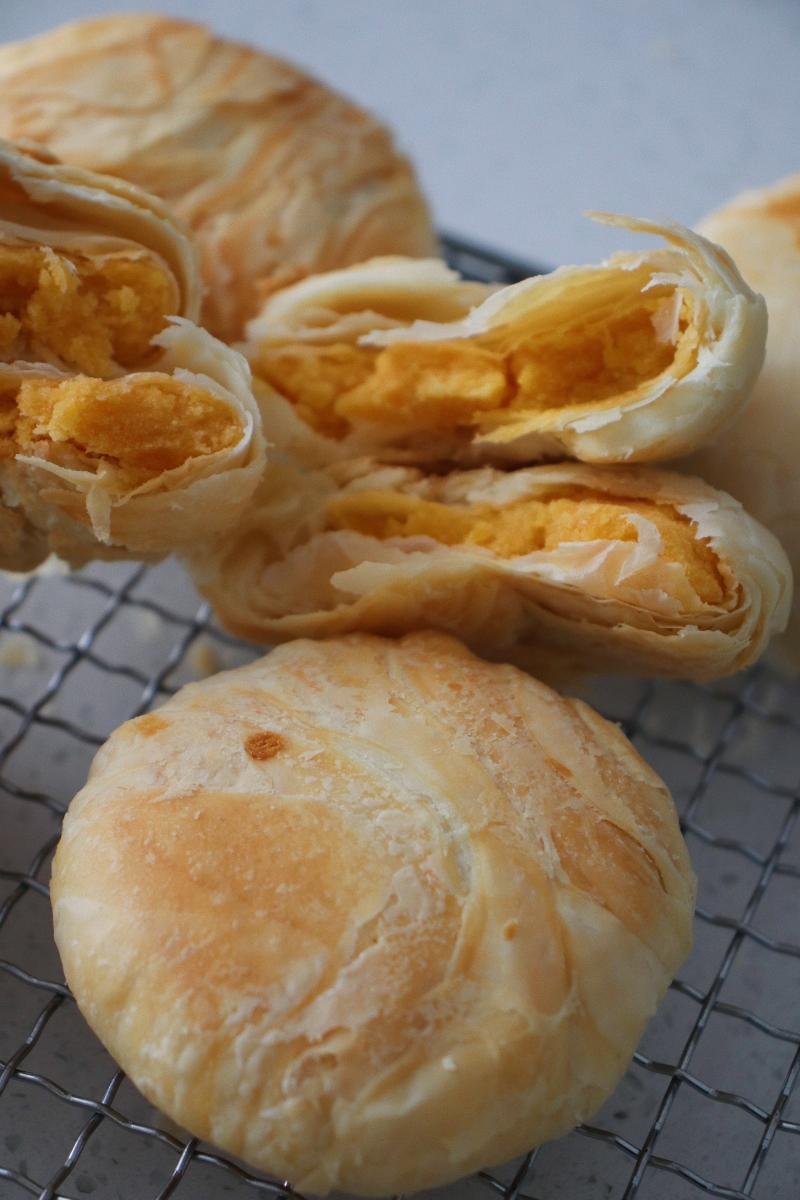
If you love Mid-Autumn pastries, my Huangzhuang mooncakes are the flaky, layered cousin of these glossy Cantonese ones.
1Flaky Huangzhuang Mooncakes (黄庄月饼): Crumbly Golden YolkNorthern-style flaky Huangzhuang mooncakes with corn-oil pastry layered around a golden salted-egg yolk and sweet white bean filling.Check out this recipe
Why This Recipe Works
- Golden syrup makes a soft, pliable crust. It keeps the dough workable and gives the baked shell its amber color.
- Lye water (枧水) is essential. A few grams help the crust brown evenly and stay tender around the dense filling.
- The 15 g to 35 g ratio is the classic standard. Thin crust, generous filling — the proportions that make a proper 50 g mooncake.
- Spraying with water before baking prevents cracking. A fine mist keeps the crust from drying out and splitting in the oven.
- The two-stage bake with an egg wash gives the shine. Five minutes, then a brush of egg, then 15 more — that is the classic finish.
Equipment Needed
- Mooncake molds (50 g)
- Kitchen scale
- Mixing bowls
- Spray bottle for water
- Pastry brush
- Baking sheet lined with parchment
Ingredients
- 200 g (1.6 cups) all-purpose flour (中筋面粉)
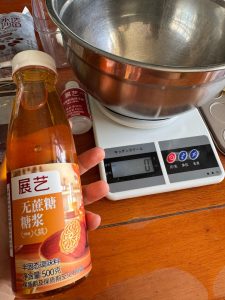
- 140 g (1/2 cup) golden syrup (无蔗糖糖浆 or regular)
- 50 g (1/4 cup) neutral oil
- 4 g (1 tsp) lye water (枧水)
- Filling of choice: red bean paste, mung bean paste, taro paste, or black sesame paste
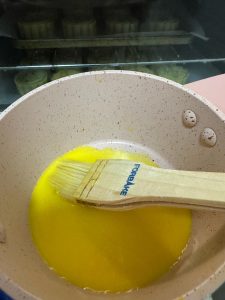
- Egg wash: 1 egg yolk plus one-third of the egg white, mixed with 15 g of water
- Water, in a spray bottle, for the crust
Ingredient Notes
Golden syrup. Sold as mooncake syrup (转化糖浆) in Asian markets; it is what makes the crust soft and glossy. Do not substitute honey.
Lye water (枧水). An alkaline solution sold for mooncakes; a small amount helps the crust brown and stay tender. It is not optional in this recipe.
Filling. Use any paste you like — the cook shows red bean, mung bean, taro, and black sesame. Ready-made pastes are convenient; homemade ones taste fresher.
Prep & Mise en Place
Weigh all the crust ingredients and have the filling portioned and ready. Line a baking sheet with parchment and set up a water spray bottle and a pastry brush. Preheat the oven to 190°C (375°F) for at least five minutes before the mooncakes go in.
Cooking Process
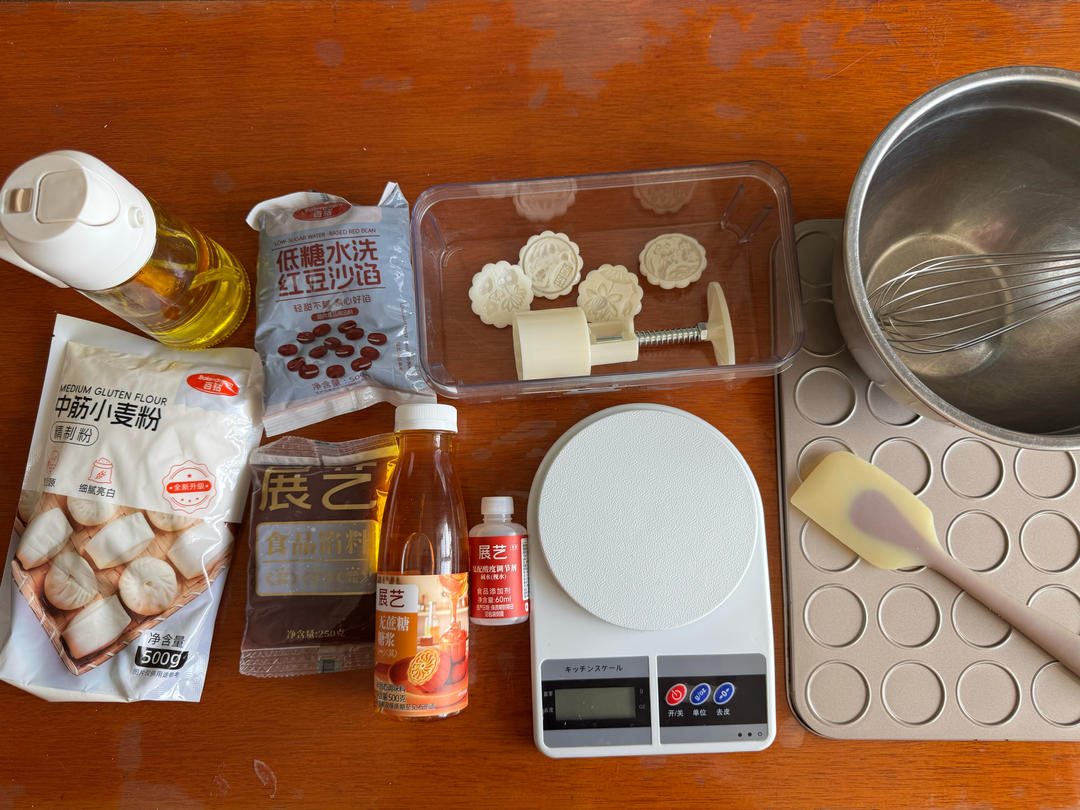
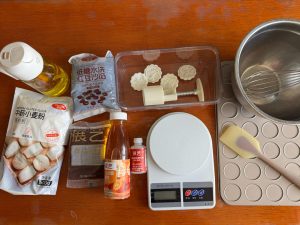
Step 1 — Gather Your Tools and Ingredients
Set out the flour, syrup, oil, lye water, filling, mold, spray bottle, and brush.
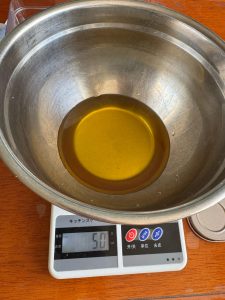
Step 2 — Weigh Everything
Weigh the crust ingredients according to the proportions.
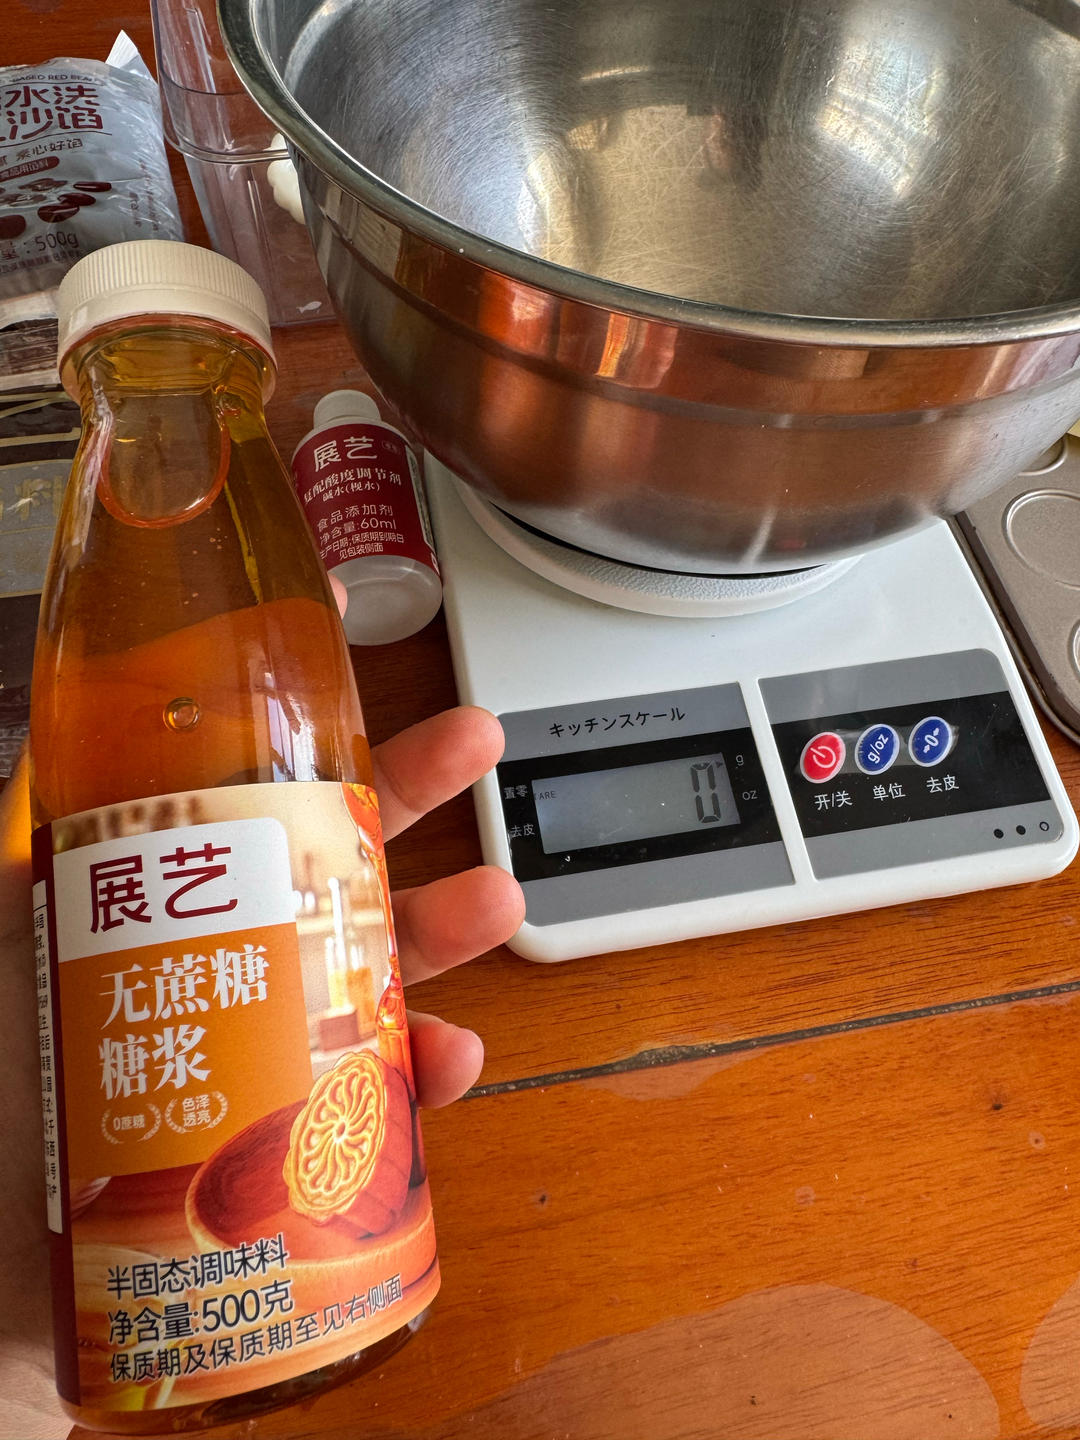
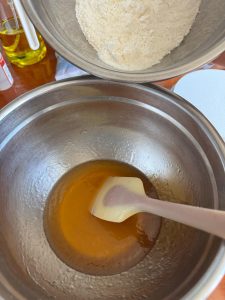
Step 3 — Combine Syrup, Oil, and Lye Water
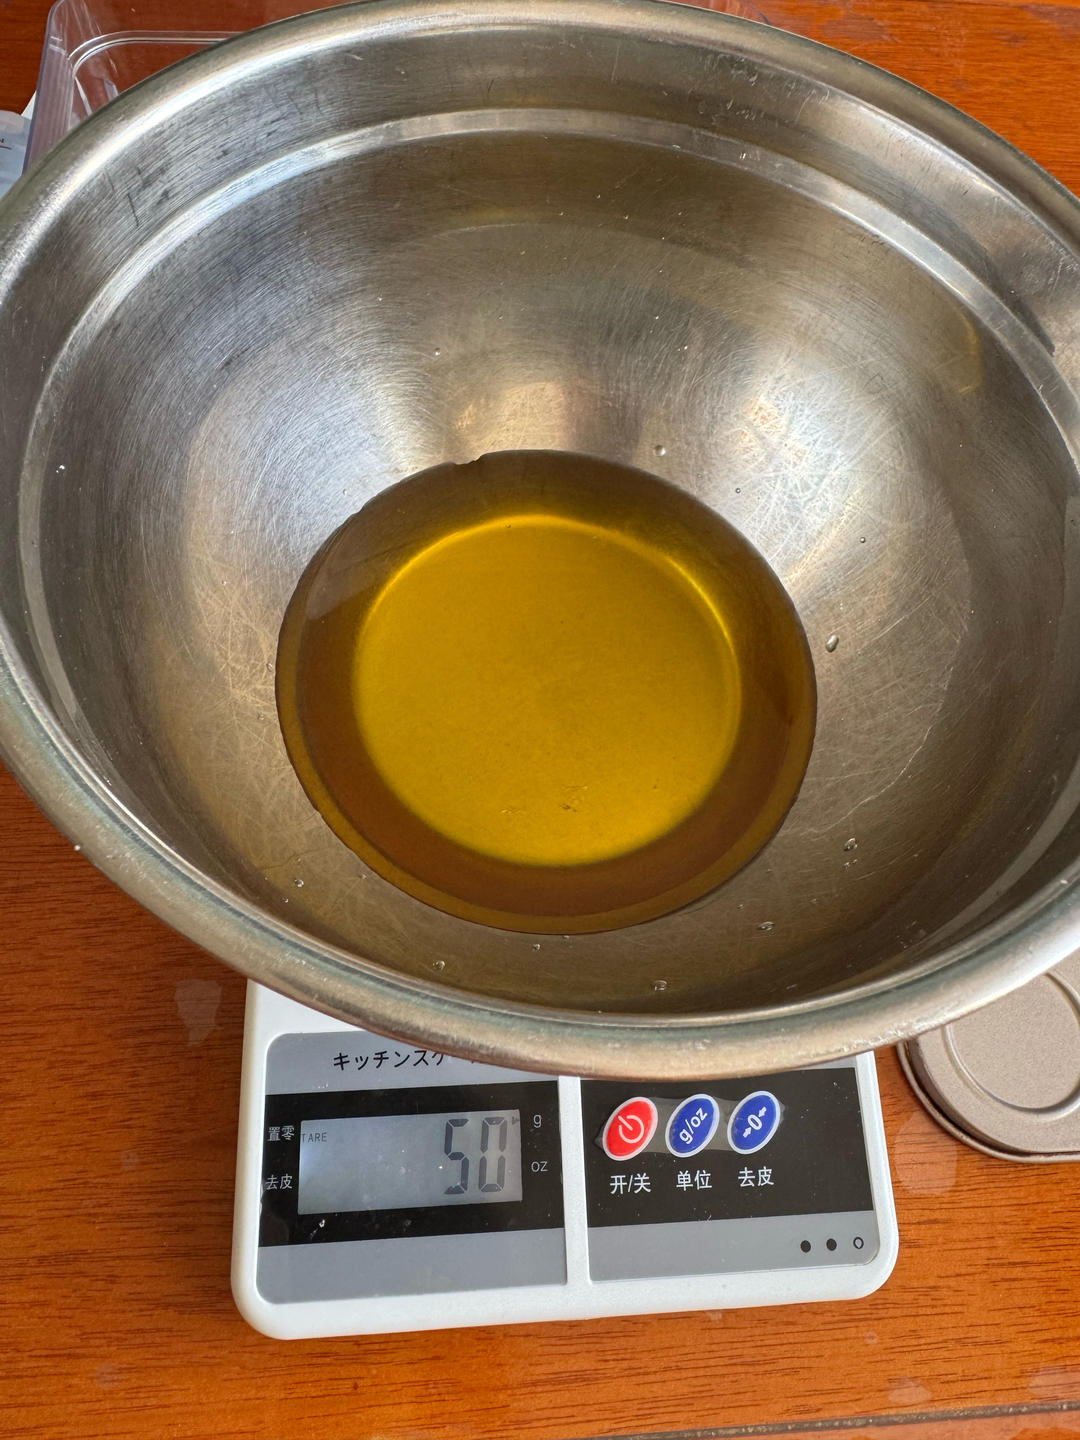
Pour the syrup, oil, and lye water into a bowl.
Step 4 — Stir Until Emulsified
Stir the liquids together until evenly combined.
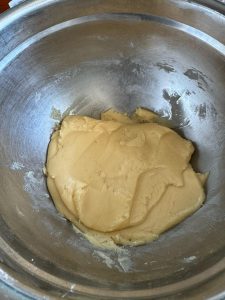
Step 5 — Add the Flour and Mix
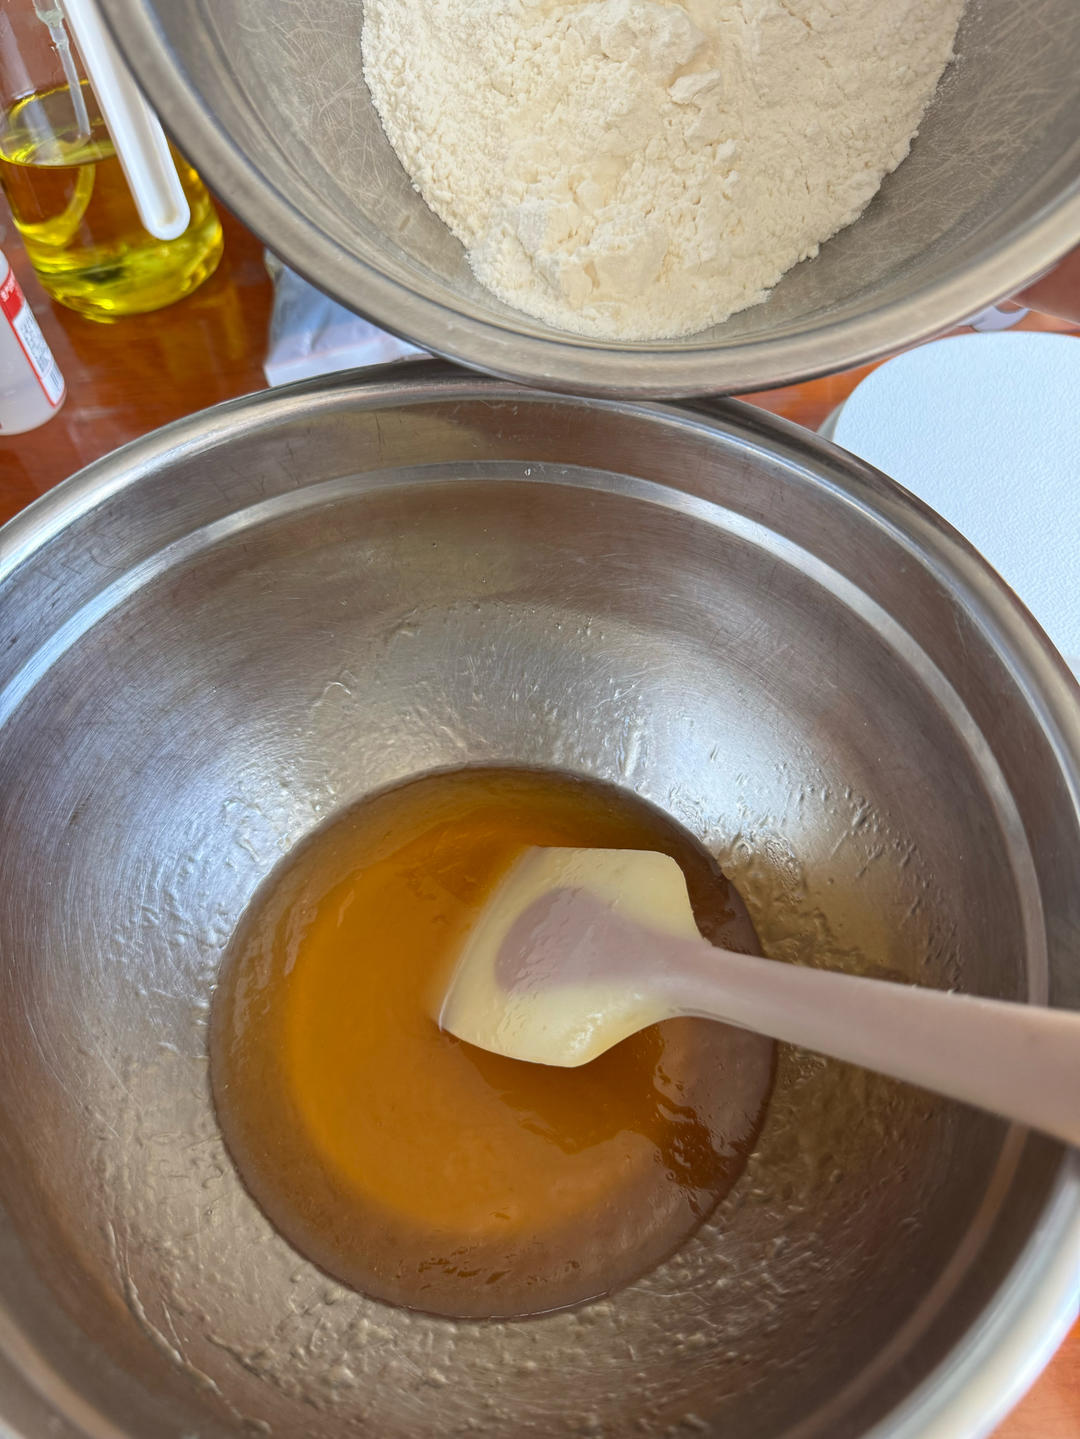
Add the flour and stir until a soft dough forms.
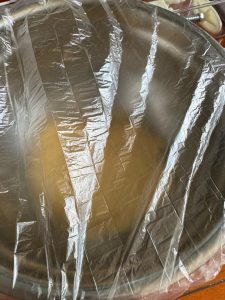
Step 6 — Cover and Rest at Least an Hour
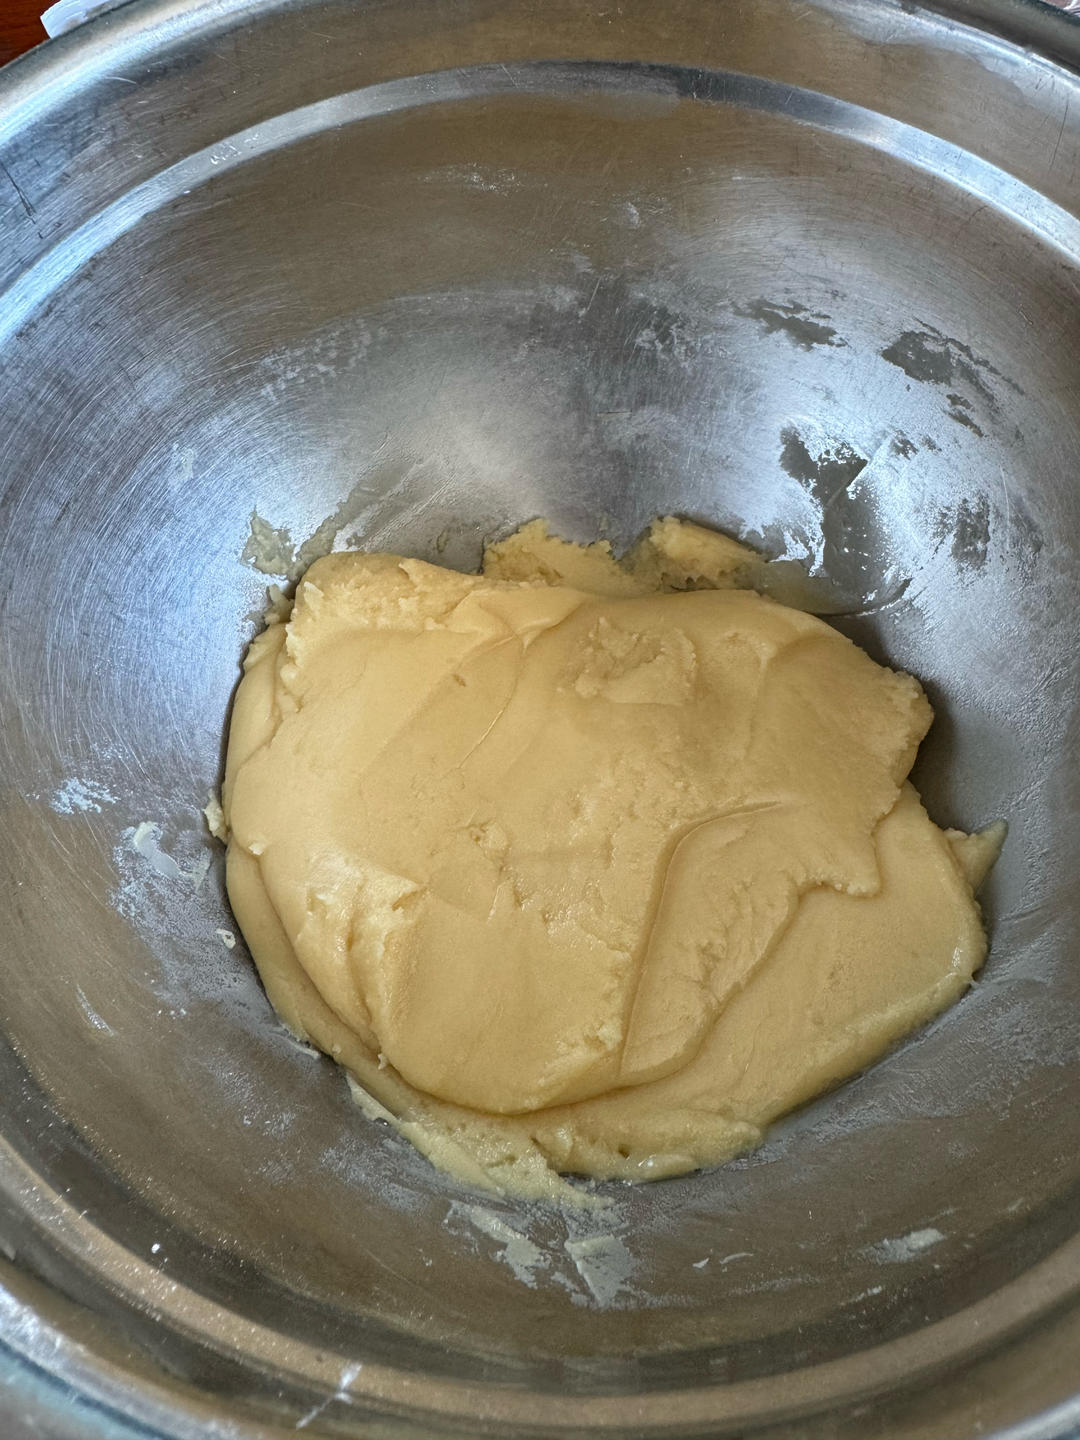
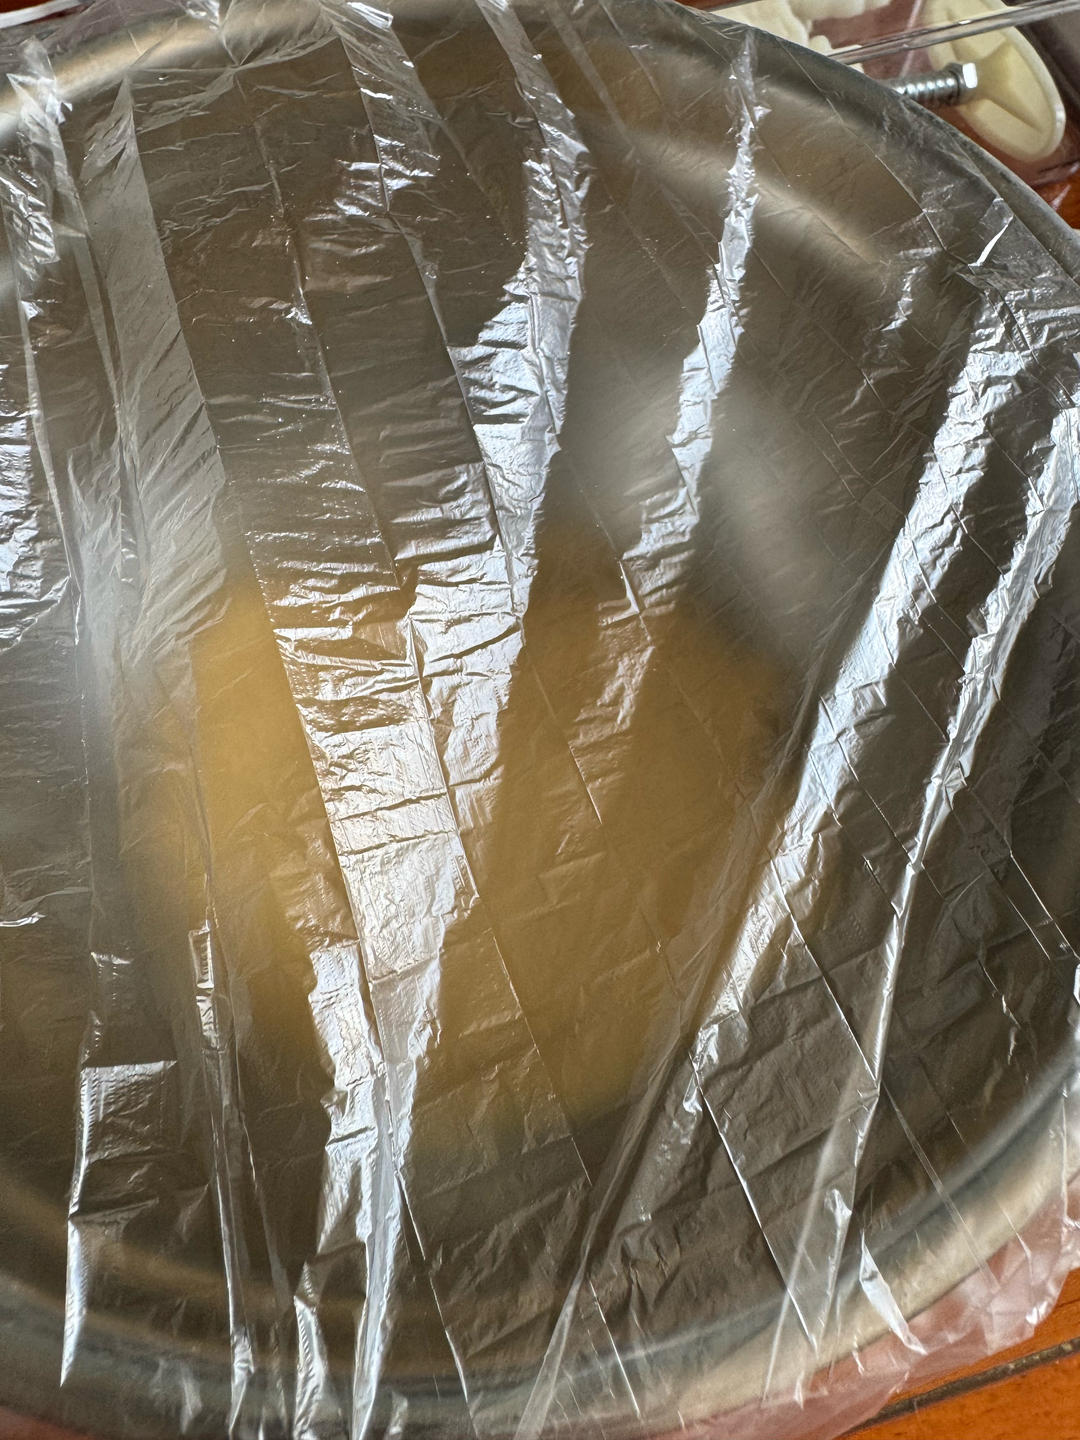
Cover the dough and let it rest for at least an hour.
Step 7 — Portion the Filling and Dough
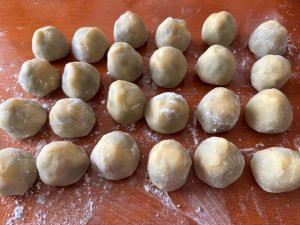
For 50 g mooncakes, weigh 35 g of filling and 15 g of dough per cake.
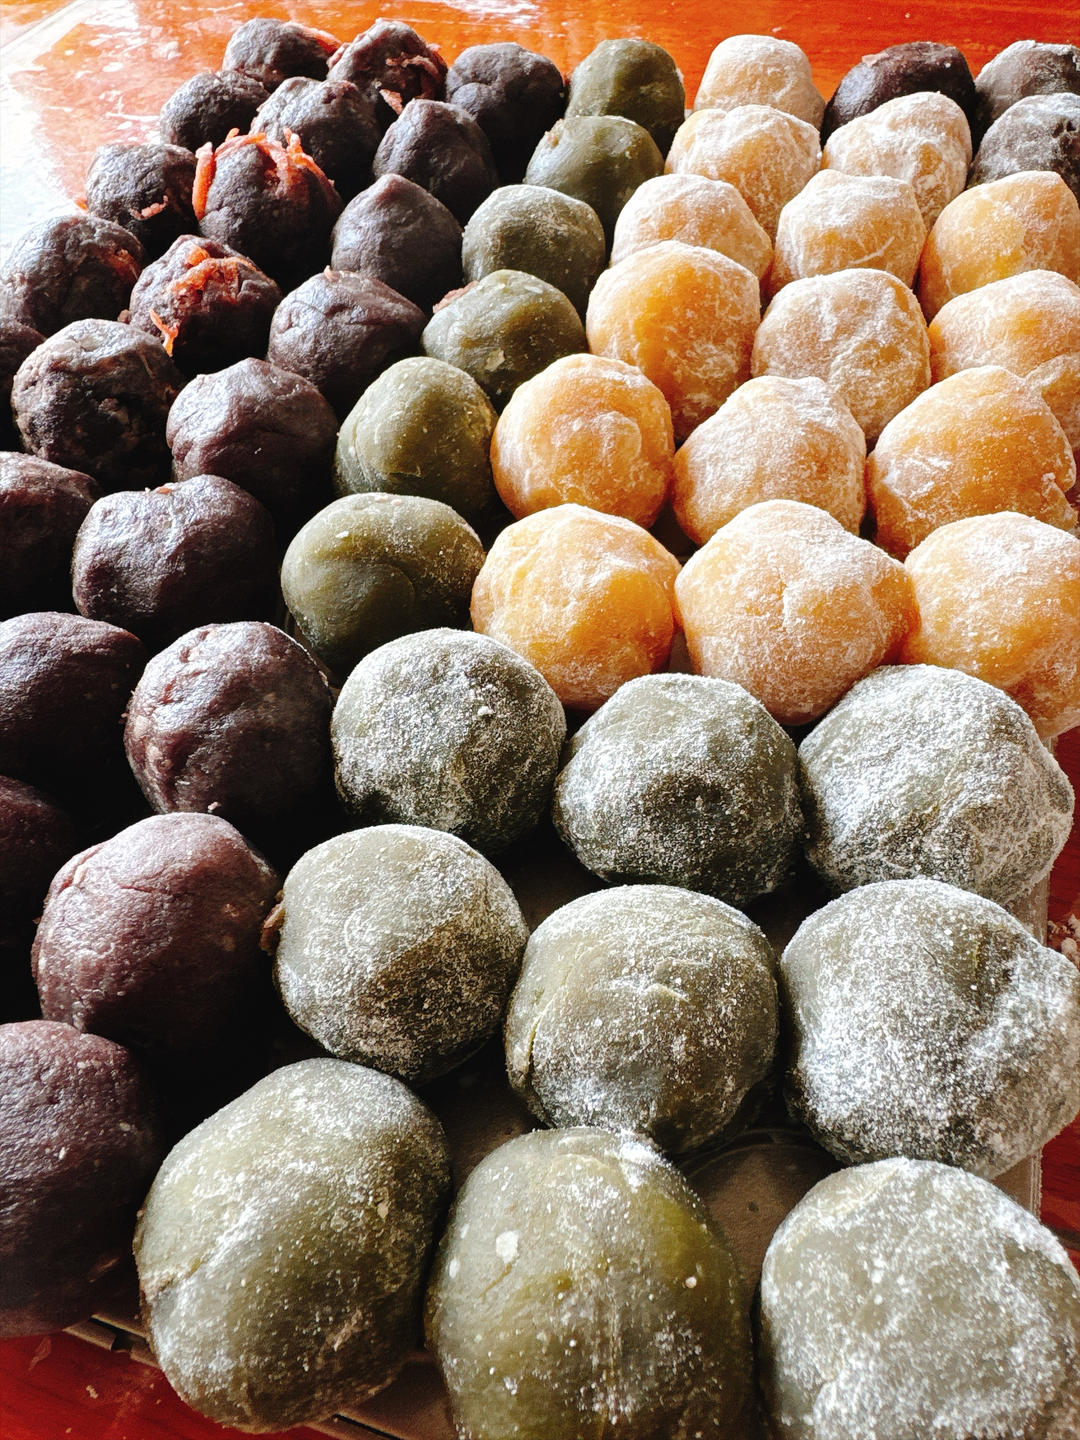
Step 8 — Wrap the Filling in the Dough
Flatten each piece of dough and wrap it completely around a ball of filling, sealing carefully.
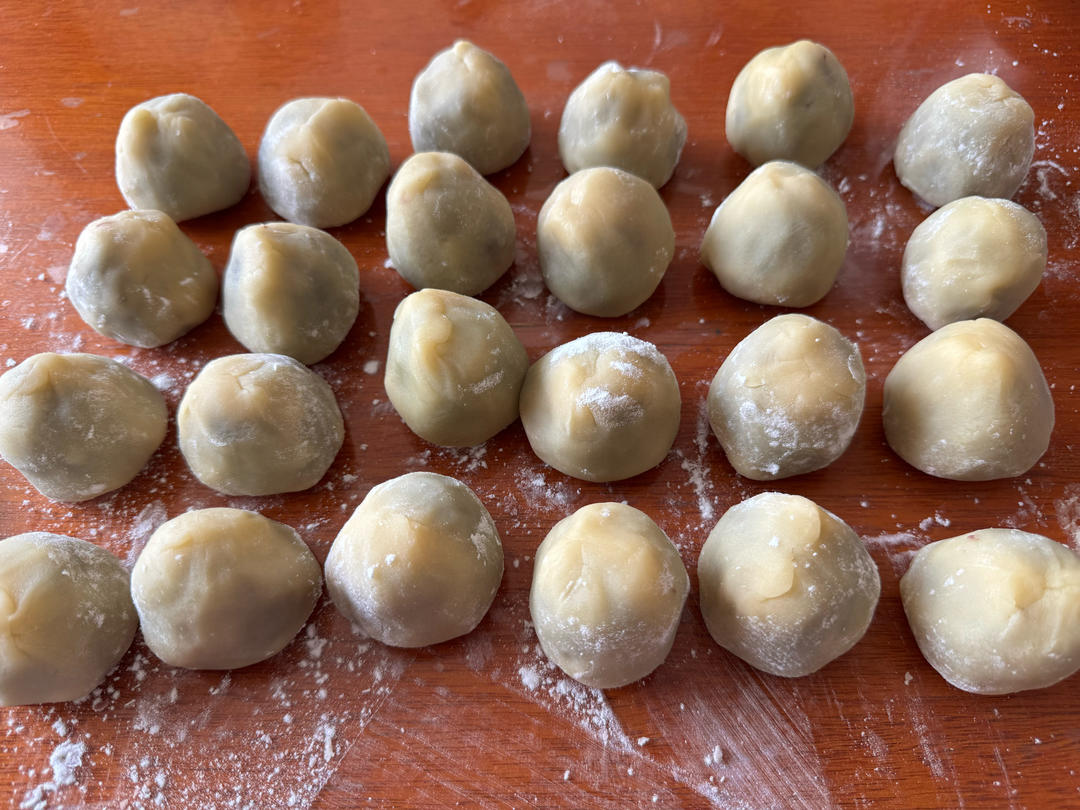
Step 9 — Press in the Mold
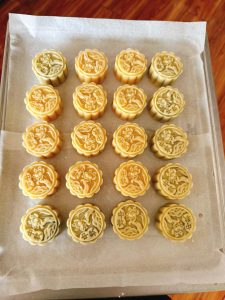
Press each ball into the mooncake mold to imprint the pattern.
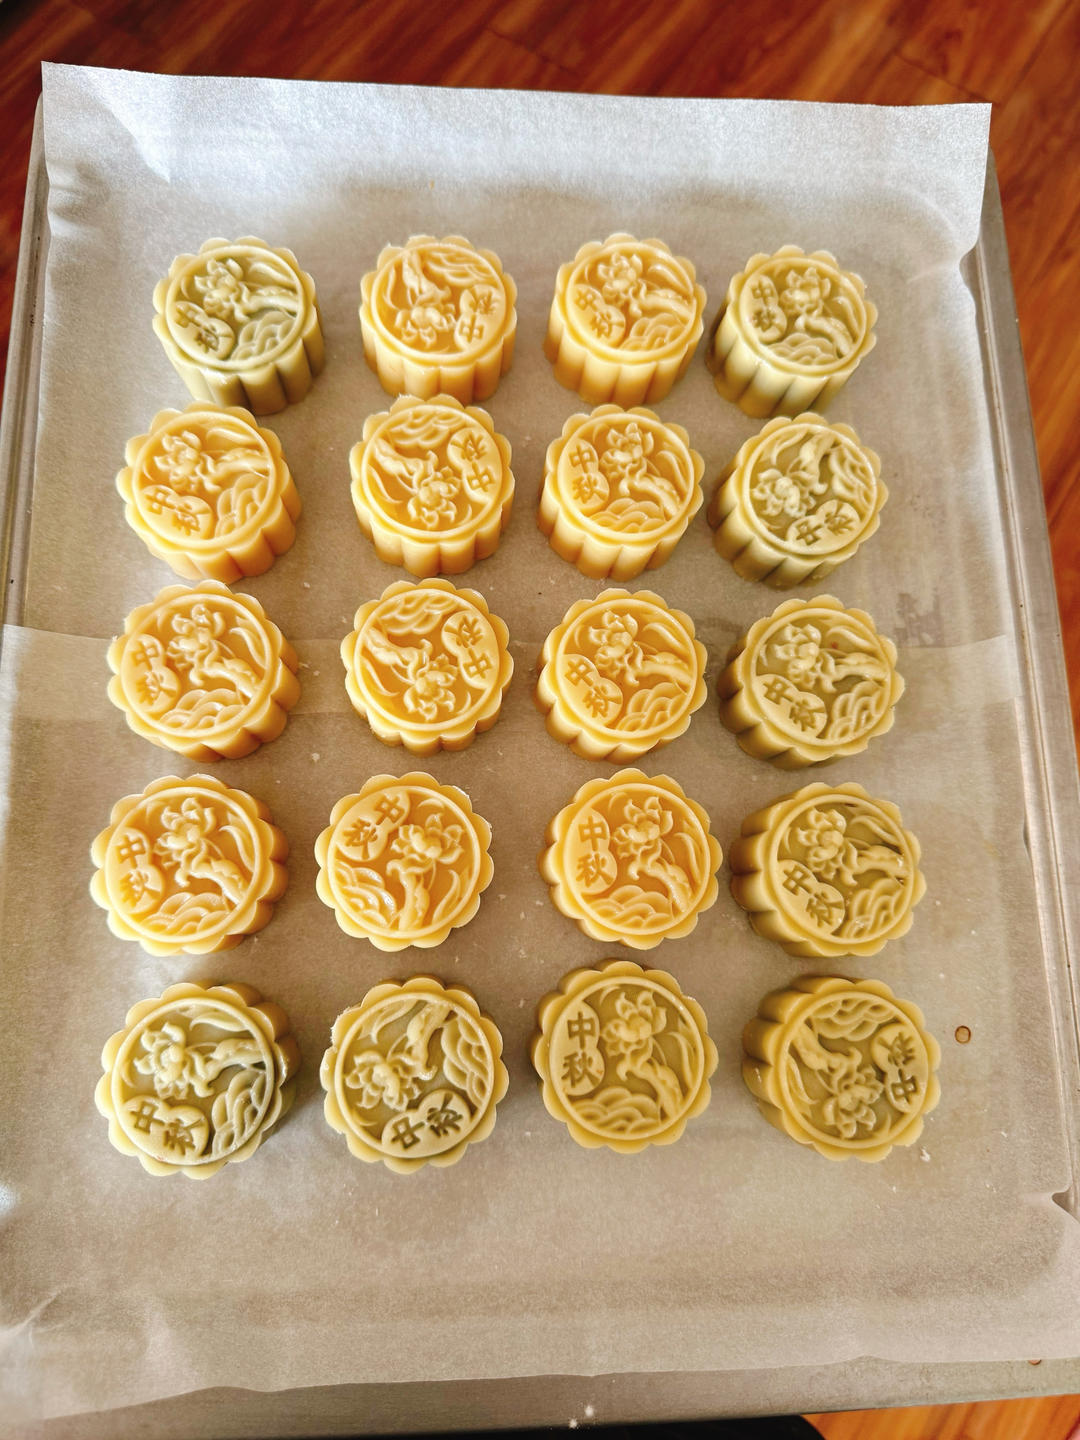
Step 10 — Spray With Water and Preheat to 190°C
Spray the mooncakes with a fine mist of water — the cook stresses this — and preheat the oven to 190°C (375°F) for 5 minutes before baking.
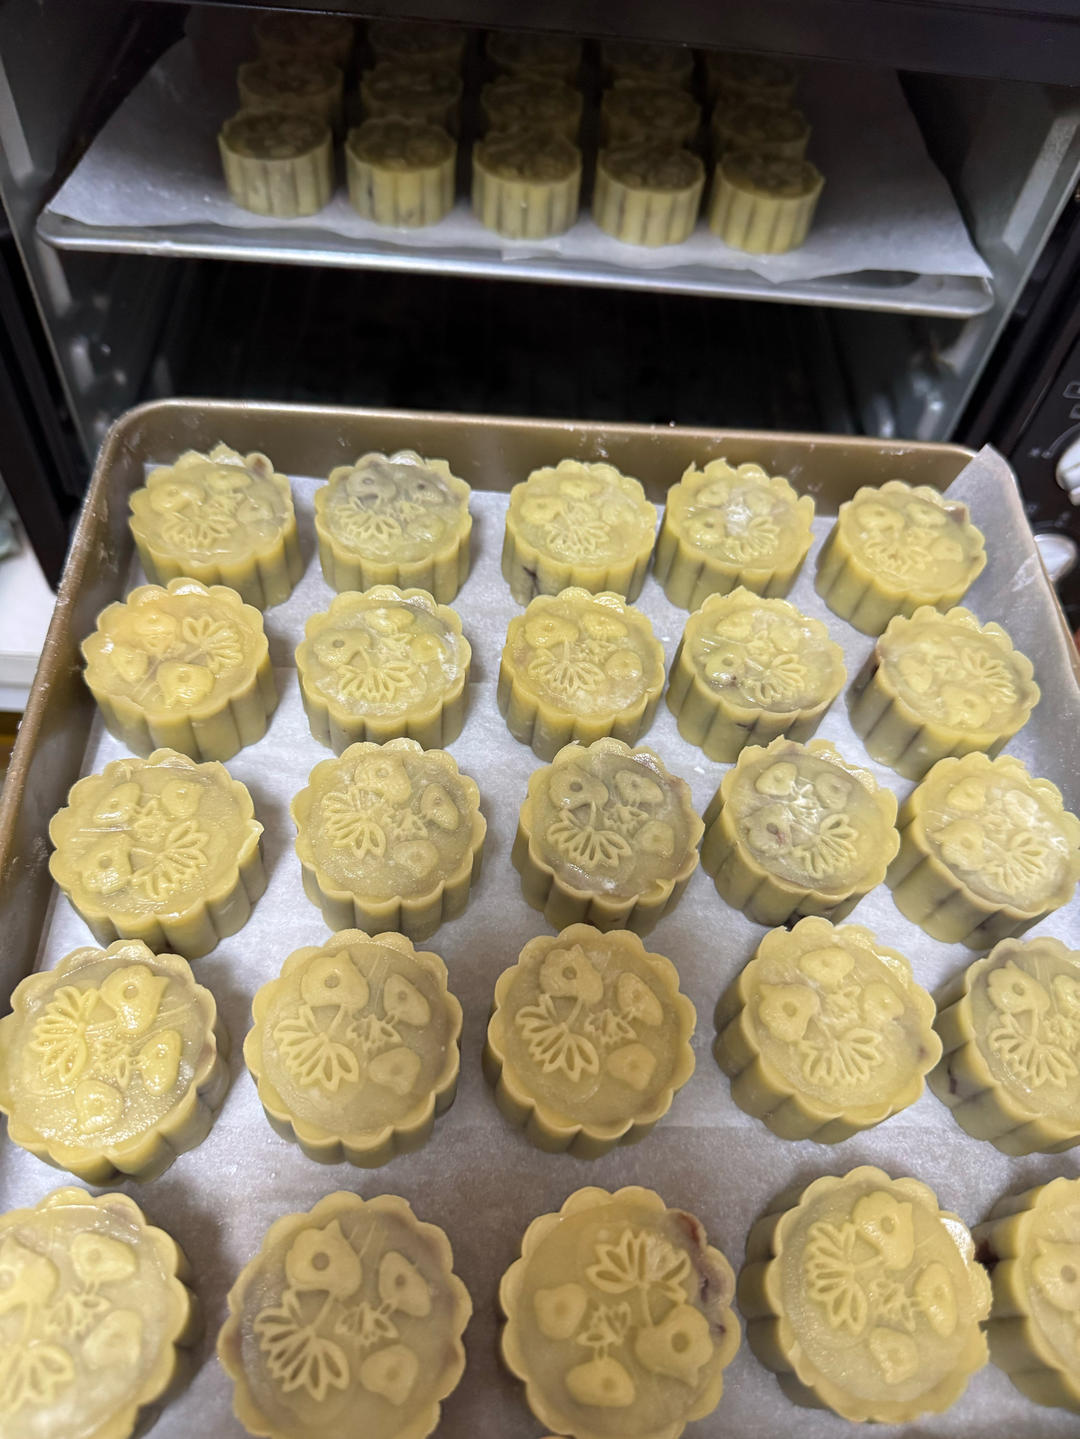
Step 11 — Bake 5 Minutes, Brush With Egg, Bake 15 More
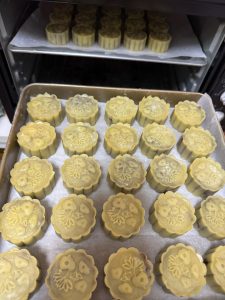
Bake 5 minutes, brush the tops with the egg wash using a pastry brush, then bake another 15 minutes. Every oven differs — watch the base and top color, and extend the time slightly if needed.
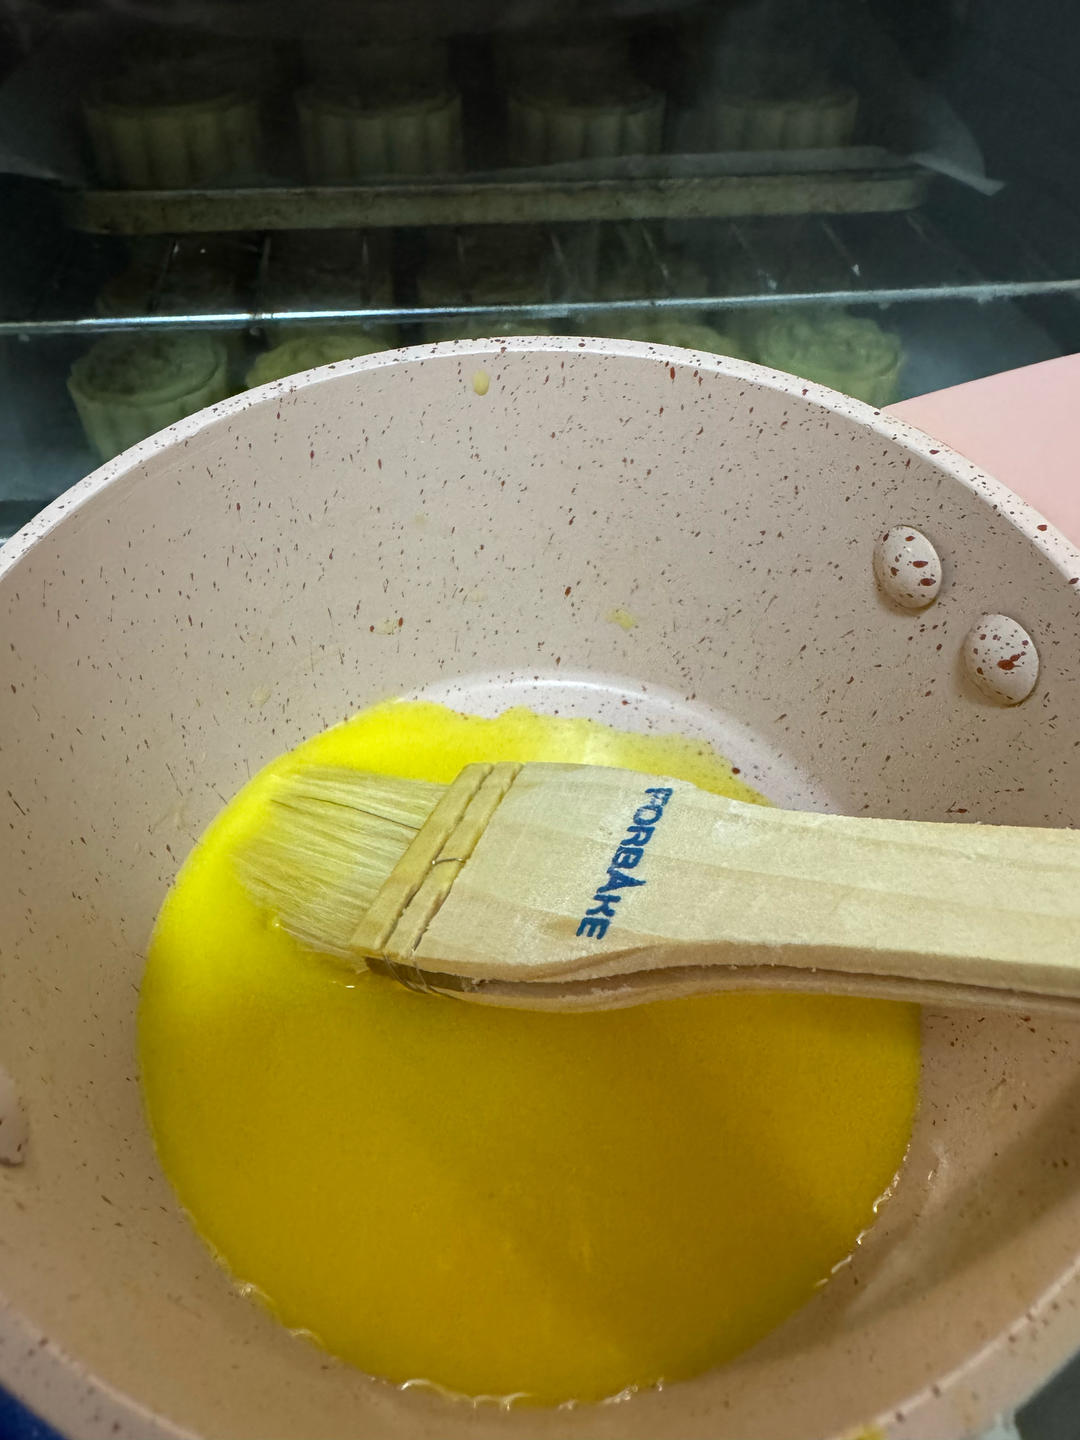
The egg wash is applied after five minutes, not before, for a reason. If you brush raw dough, the egg drags the pattern and the crust cracks as it expands; waiting until the surface has set lets the wash sit on top, giving that even, glossy mahogany finish that defines a Cantonese mooncake.
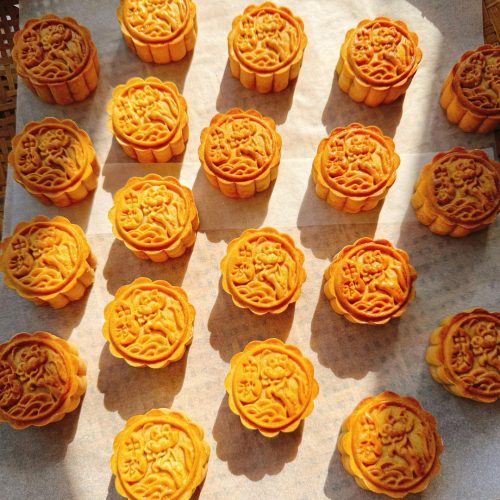
Step 12 — The Golden Finish
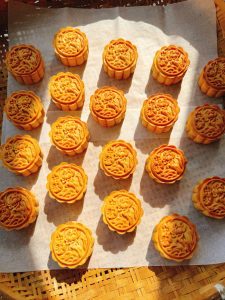
When they come out, the mooncakes should be a deep, even gold.
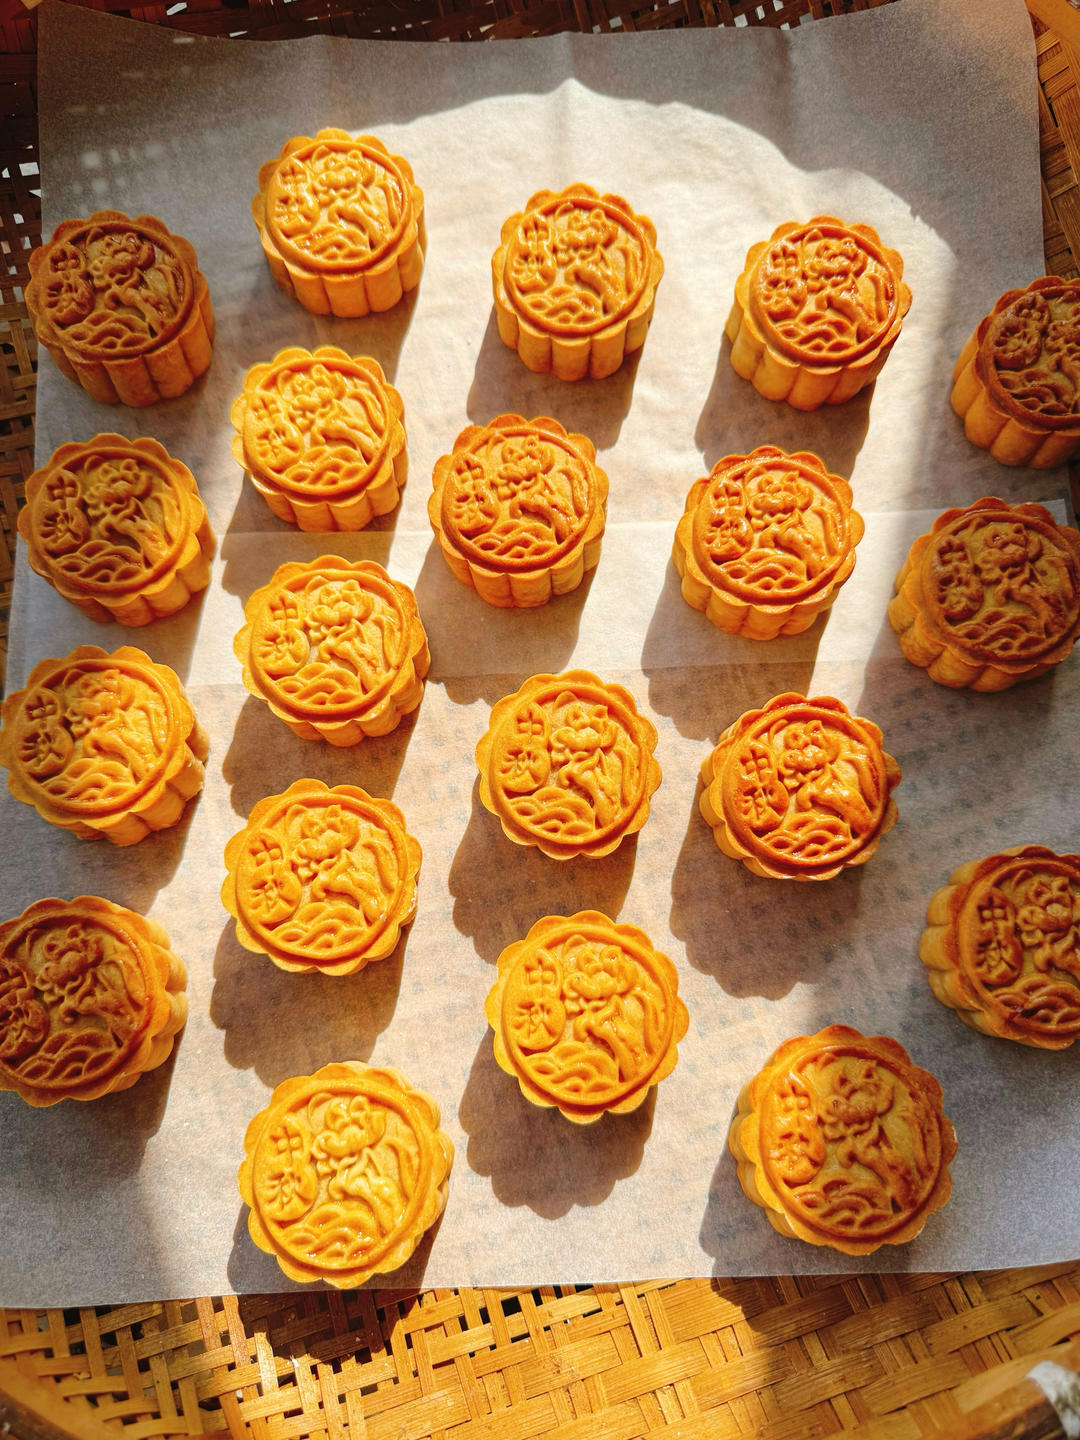
Step 13 — Cool and Package
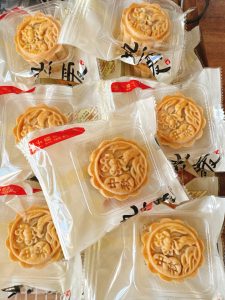
Let them cool, then wrap and seal them — the cook photographs hers before packaging.
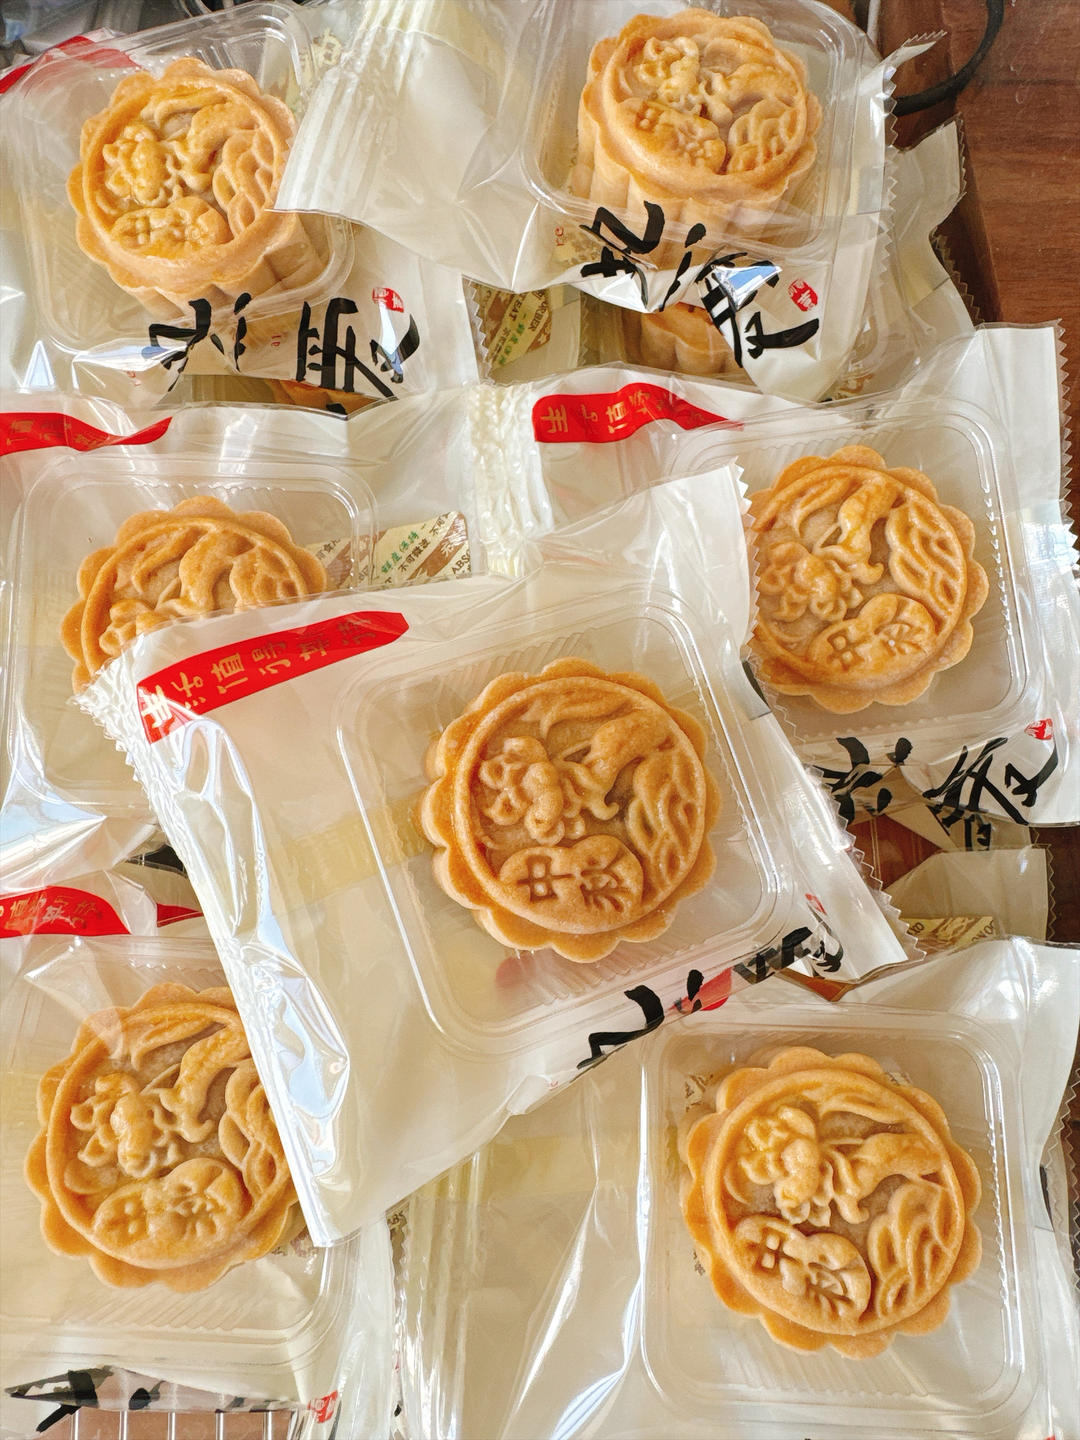
Step 14 — Ready to Give
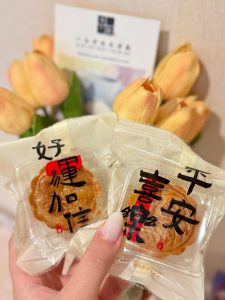
Wrapped mooncakes are ready to share.
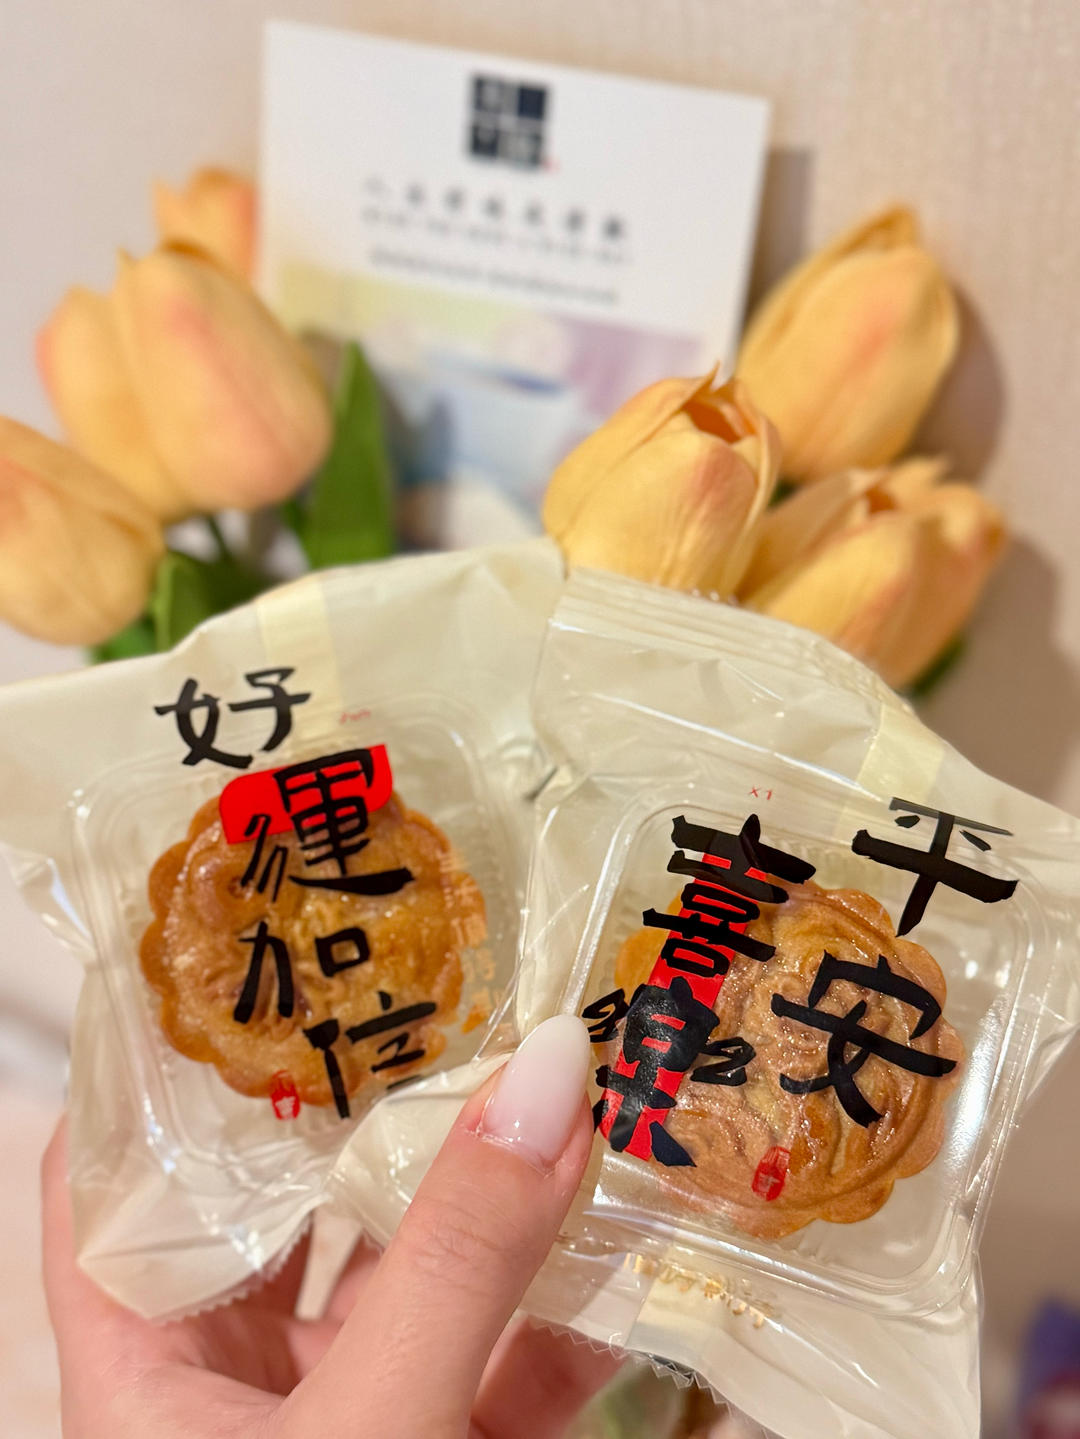
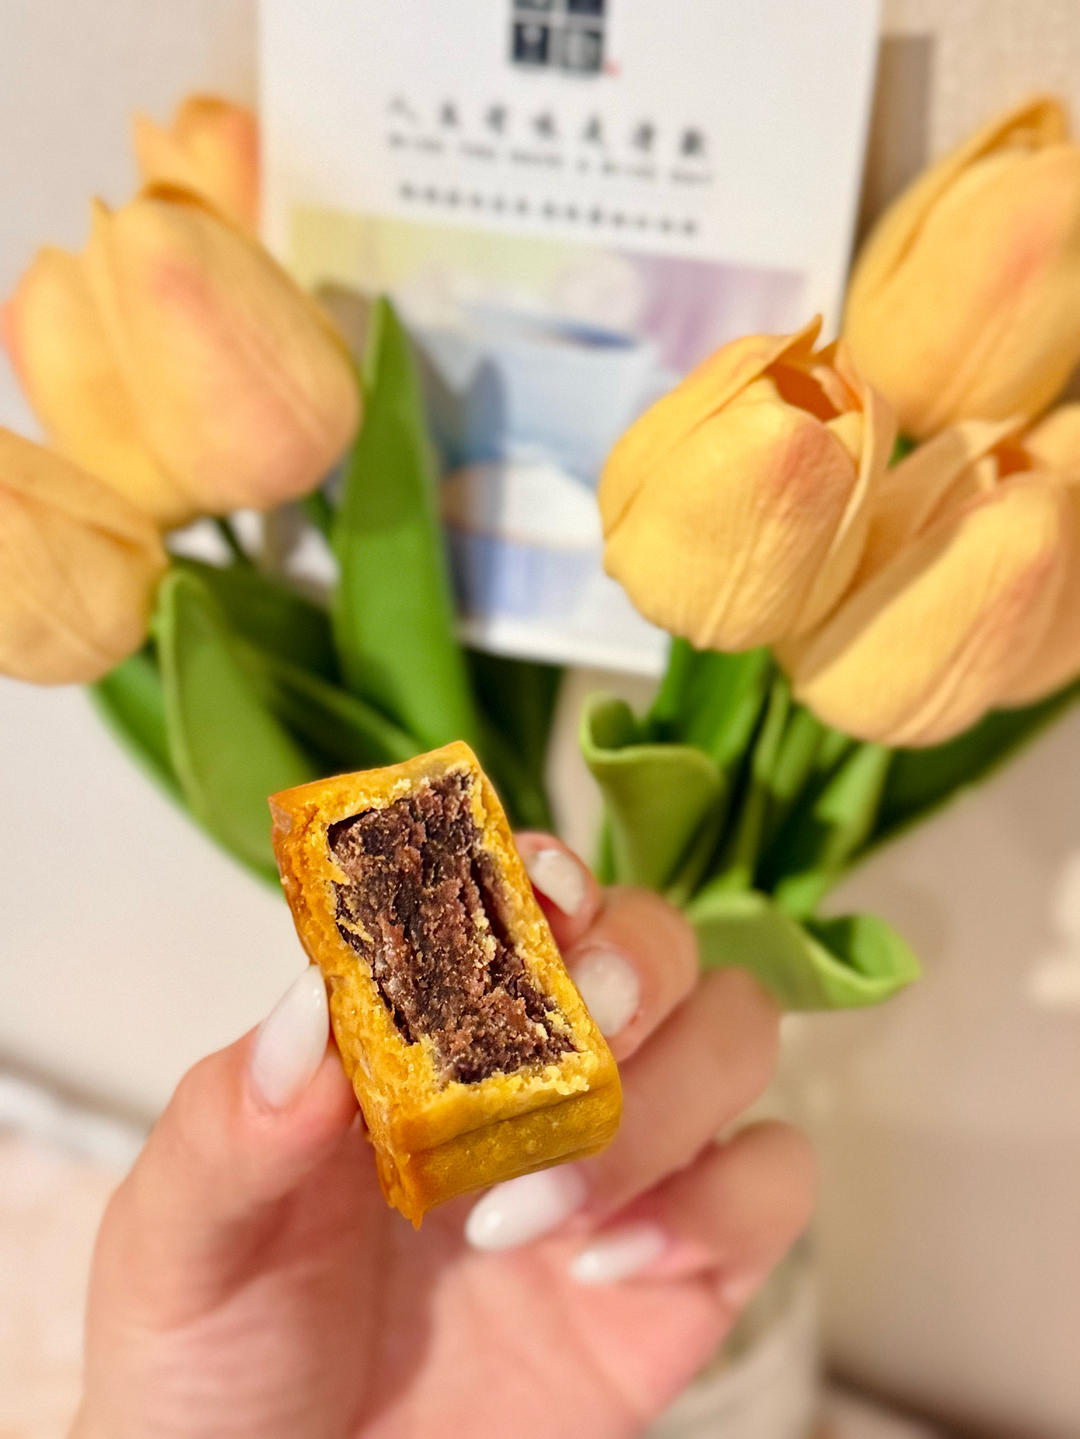
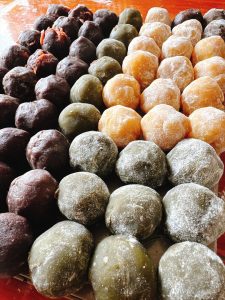
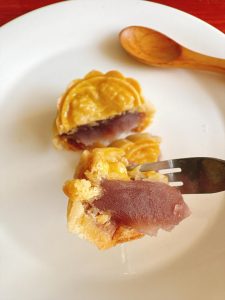
Step 15 — Red Bean Filling
Red bean paste is one of the classic fillings.
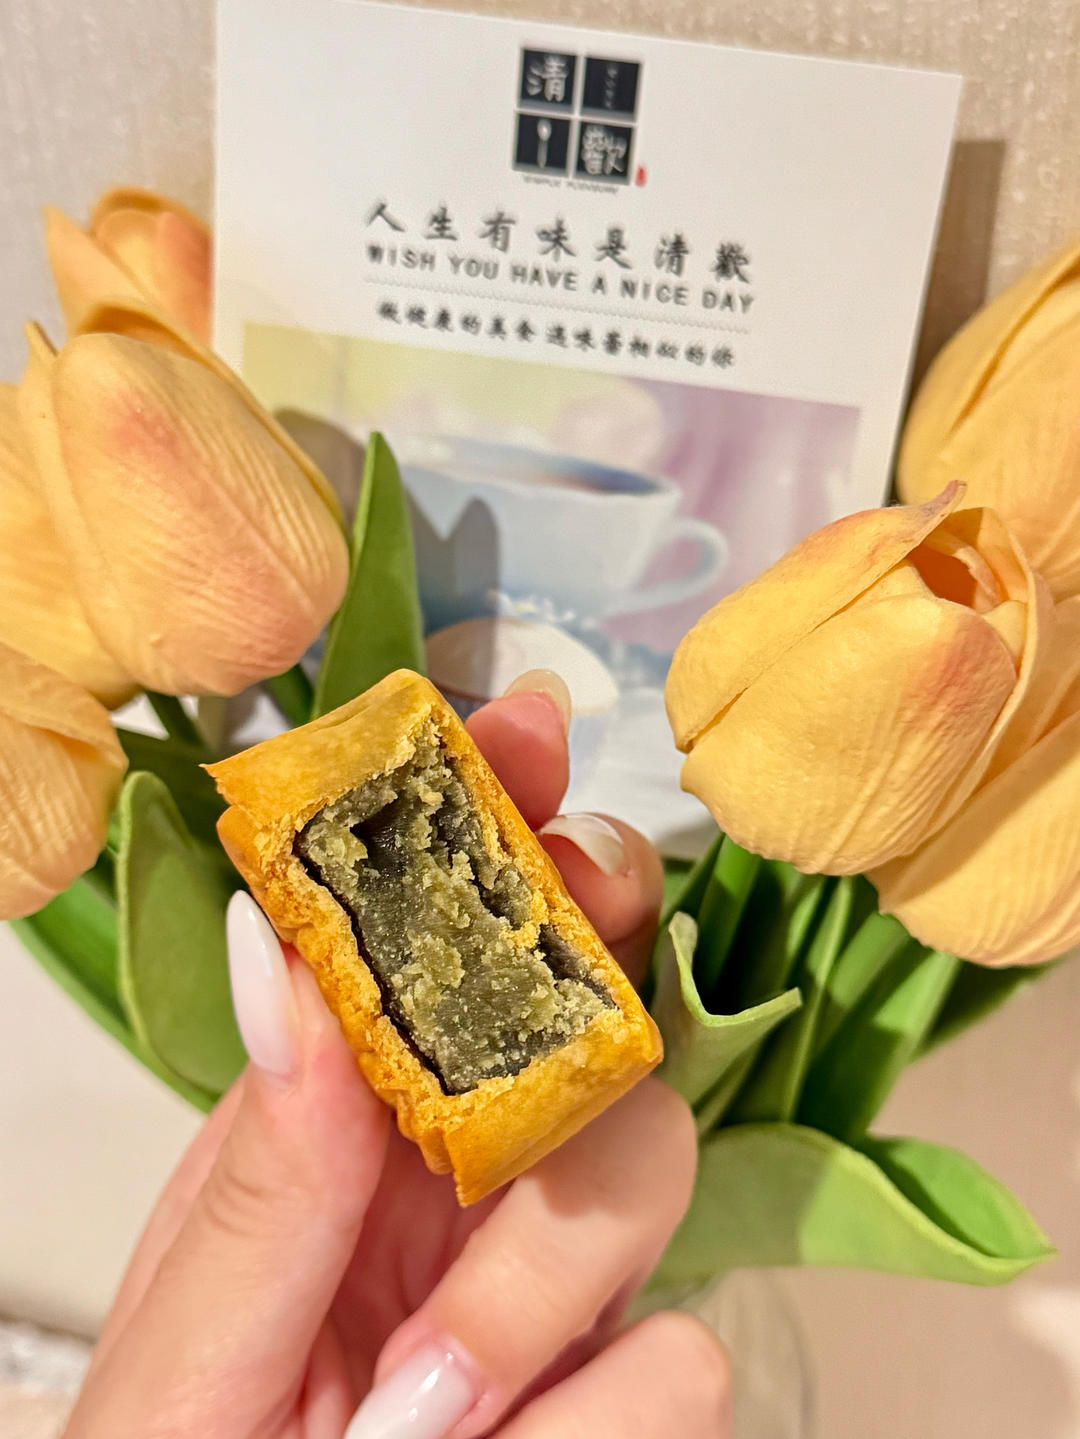
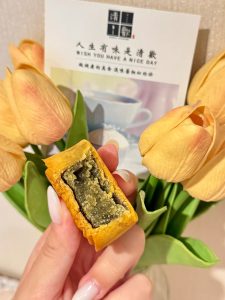
Step 16 — Mung Bean Filling
Mung bean paste gives a pale, mildly sweet version.
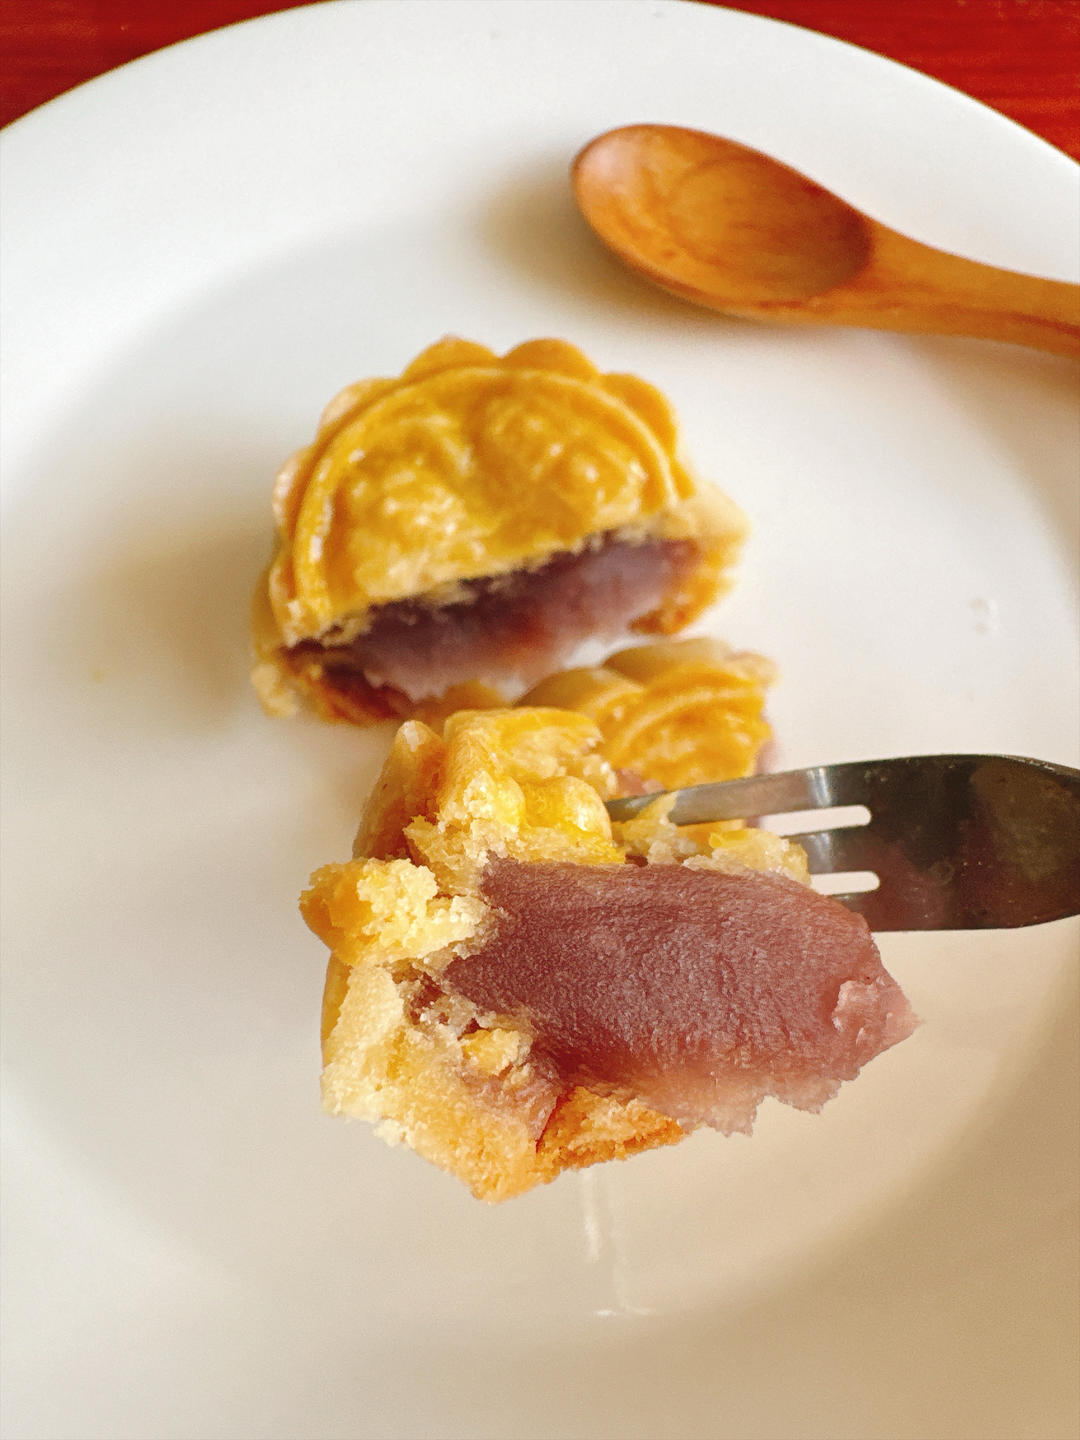
Step 17 — Taro Filling
Taro paste is a favorite for its creamy texture.
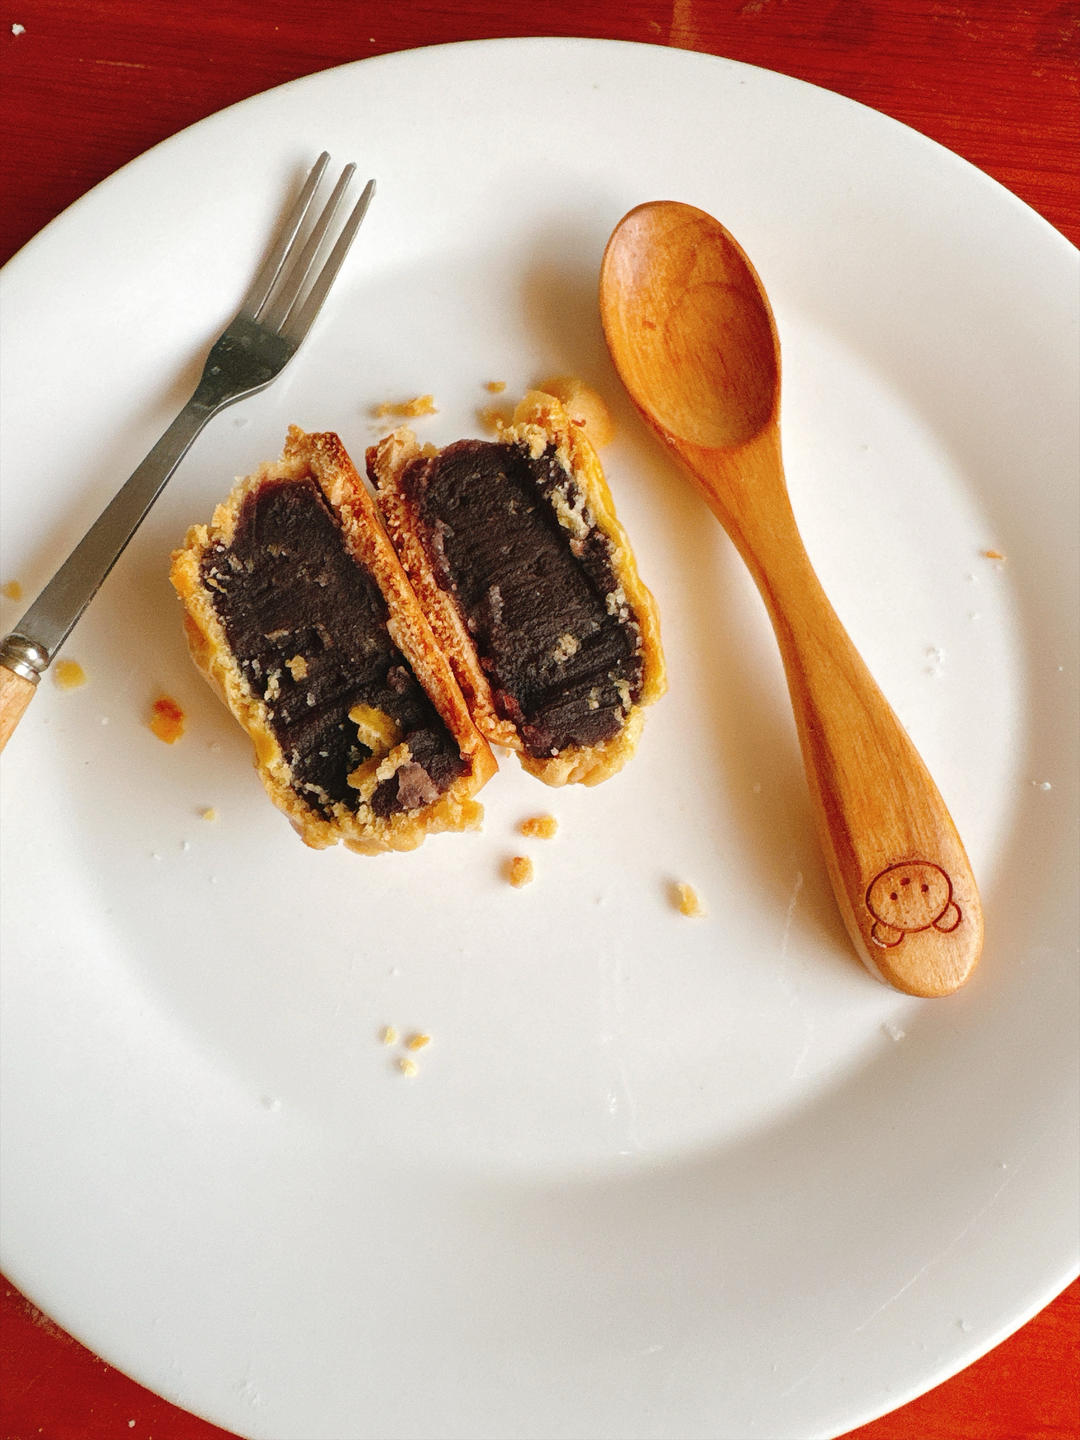
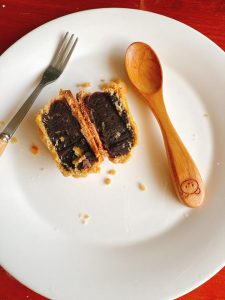
Step 18 — Black Sesame Filling
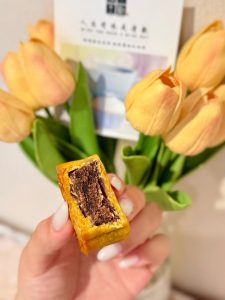
Black sesame paste gives a deep, nutty finish — and the cook wishes everyone a happy Mid-Autumn Festival.
Common Mistakes When Making Cantonese Mooncakes
1. The crust cracks in the oven. Cause: dry dough or no water spray. Fix: rest the dough an hour and spray the tops with water before baking.
2. The pattern blurs. Cause: brushing egg wash too early or too thickly. Fix: bake 5 minutes first, then brush lightly with a pastry brush.
3. The crust is tough. Cause: skipping the rest after baking. Fix: seal the cooled mooncakes for 1-2 days so the crust softens (回油).
4. The filling bursts out. Cause: too much filling or a thin seal. Fix: keep the 15 g dough to 35 g filling ratio and seal completely.
5. They brown unevenly. Cause: oven hot spots or syrup substitution. Fix: use real golden syrup and rotate the tray if needed.
Variations
Different fillings. Red bean, mung bean, taro, black sesame — or a salted egg yolk in the center for the classic savory-sweet version.
Smaller cakes. Scale to 30 g or 100 g molds, adjusting the 3:7 dough-to-filling ratio.
Snow skin style. For a no-bake version, use a glutinous rice wrapper instead of the baked crust.
Frequently Asked Questions
What is lye water? An alkaline solution sold for mooncakes and noodles; it helps the crust brown and stay tender. It is essential here.
Why do mooncakes need to rest? The sealed rest (回油) lets the crust absorb moisture from the filling and turn soft and glossy.
How long do they keep? Sealed and cool, 1 to 2 weeks; refrigerate for longer storage.
Can I use honey instead of syrup? No — honey behaves differently; use mooncake syrup or golden syrup.
Can I make the filling at home? Yes — paste like the mung bean cakes filling works beautifully, and a spoon of hawthorn jam in a sweet filling adds a lovely tart note.
How to Serve
Serve the mooncakes with tea, cut into quarters to share, alongside taro paste buns and date cake for a Mid-Autumn sweets table, or with shortbread cookies and lemon cookies for a pastry spread.
Storage & Reheat
Seal the cooled mooncakes in an airtight container for 1 to 2 days to let the crust soften, then keep at room temperature for up to a week, or refrigerate for 2 weeks. Serve at room temperature — do not reheat.
Allergen Notice
Contains wheat (flour), egg (egg wash), and possibly nuts or sesame depending on the filling. Fillings may contain dairy.
Nutrition Disclaimer
Nutrition information is calculated using an ingredient database and should be considered an estimate. In cases where multiple ingredient alternatives are given, the first listed is calculated for nutrition. Garnishes and optional ingredients are not included.
About the Author & Recipe Development
I am Lin, and I grew up in my parents’ restaurant kitchen in Chengdu, where Mid-Autumn meant boxes of mooncakes arriving from relatives and disappearing one by one. This xiachufang recipe is called “mooncakes hiding love,” and the cook’s care shows in every step — the water spray, the egg wash timing, the four different fillings she photographs. I tested it twice: the first time I brushed the egg wash immediately and the patterns smeared; the second time, waiting five minutes, each mooncake came out glossy and sharp. Sealed for two days, the crust turned soft and rich, exactly as it should.
Authoritative References
King Arthur Baking for general baking technique, and USDA Safe Temperature Chart for storing baked goods safely.
Cantonese Mooncakes (广式月饼): Mid-Autumn Made at Home

Equipment
- Mooncake molds
- Kitchen Scale
- Spray Bottle
- Pastry Brush
Ingredients
For the Crust
- 1.6 cups all-purpose flour 200 g
- 0.5 cup golden syrup 140 g
- 0.25 cup neutral oil 50 g
- 1 tsp lye water (枧水) 4 g
For the Filling and Finish
- 455 g filling of choice (red bean, mung bean, taro, or black sesame paste) 35 g per mooncake
- 1 egg yolk plus 1/3 egg white for the egg wash
- 15 g water, for the egg wash plus extra in a spray bottle
Instructions
- Gather all the tools and ingredients.

- Weigh everything according to the recipe proportions.

- Combine the syrup, oil, and lye water in a bowl.
- Stir until evenly emulsified.
- Add the flour and mix into a soft dough.
- Cover and rest the dough at least 1 hour.
- Portion 35 g filling and 15 g dough per 50 g mooncake.
- Wrap the filling completely in the dough.
- Press each ball into the mooncake mold.
- Spray the tops with water and preheat the oven to 190°C (375°F) for 5 minutes.
- Bake 5 minutes, brush with egg wash, then bake 15 more minutes, checking the color.
- The mooncakes should be a deep, even gold when done.
- Cool completely before wrapping.
- Wrap the cooled mooncakes for gifting or storing.
- Red bean filling is a classic option.
- Mung bean filling gives a pale, mild version.
- Taro filling is creamy and sweet.
- Black sesame filling is deep and nutty. Happy Mid-Autumn Festival!




Leave a Reply